Manage the State of a Symfony-React application with MobX
Time to read:
This post is part of Twilio’s archive and may contain outdated information. We’re always building something new, so be sure to check out our latest posts for the most up-to-date insights.

State management is one of the most important aspects of any software application, especially in web and mobile apps. The ability to create, retrieve, and reuse application data from different page components is a necessary feature of reactive applications.
In this tutorial, I will show you how to manage the state of application data within web applications built with Symfony and React. Earlier in a previous article. I covered the step-by-step guide involved inBuilding a Single Page Application with Symfony PHP and React. In that article, I covered many fundamentals required to set up and combine the power of Symfony APIs and the handling of frontend logics of an app built with React.
We will leverage the knowledge gained from that article and enhance it by adding state management using MobX, a simple, scalable state management solution. Rather than start from scratch, I am going to extend the previous application.
What we will build
To begin, we will start by cloning a starter template of Symfony and React from here on GitHub and enhance it to build a shopping cart. Similar to what is obtainable in most E-commerce apps, a user will be able to add and subtract items to and from a shopping cart. For proper implementation of a cart, one needs to be able to keep track of products a user wishes to buy, their respective quantities, and prices.
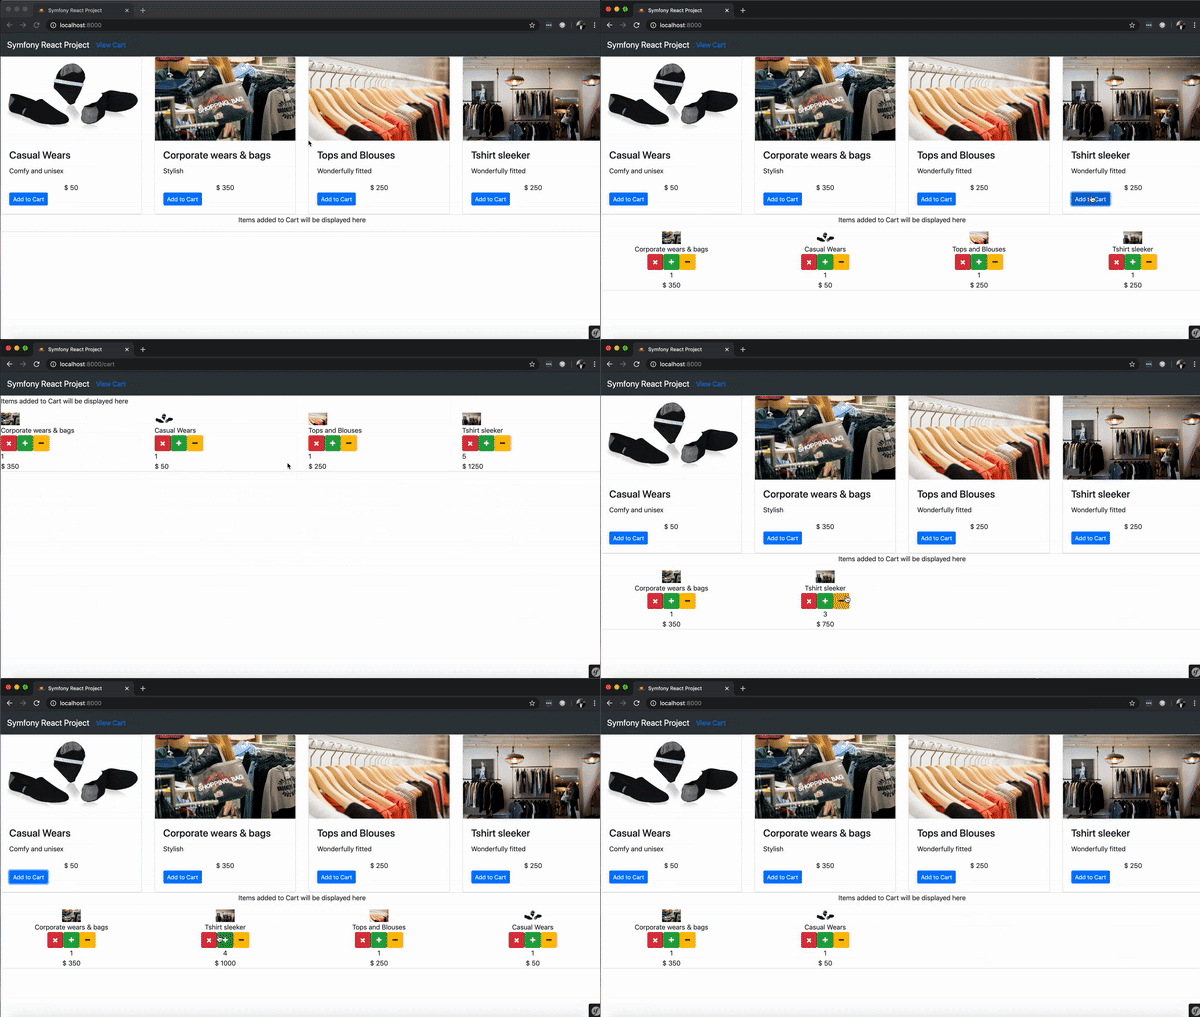
Here, we will use MobX to store and facilitate the process of managing the cart data in the app. To keep things simple, we will not authenticate users in this application. Here is a sneak peek into the final outcome of following this tutorial:

As shown here, users can click on the “Add to Cart” button to add a particular item to the cart and can also increase or decrease the number of quantities needed. The list of items added to the cart is displayed below the images and also on the cart page. This is happening in real-time and accessible from anywhere within the application. We will discover how all this works later in the article.
I encourage you to complete this tutorial in its entirety so that we can learn something new together, but if you prefer to access the code immediately, you can find it on the mobx-completed branch of this repository.
What is state management?
The state of an application is the currently available value that can be used throughout the entire reusable components in an application. It also determines the contents that need rendering. Once your application starts to scale and increase in size, it becomes difficult to keep data global and accessible. To handle such a situation, the concept of state management was introduced.
State management interprets monitoring and managing the data (i.e the state) of your application. With that in place, you will have less or no issues accessing data from anywhere within your application and reusable components will become “reactive”.
MobX is one of the three popular options used in single-page applications for state management and gaining lots of popularity in the tech community. For your continued education, other options includeReact Context API and Redux.
Prerequisites
This tutorial requires basic knowledge of React, Object-Oriented Programming with PHP, and familiarity with building applications using Symfony. You also need to ensure that you have Node.js, Yarn package manager andComposer installed on your development machine. Lastly, you need to install the Symfony installer in order to run the Symfony application and a local webserver.
Why MobX?
MobX is a scalable library used to host data in any application. It is best known and quite popular within the React community as a library that can be easily combined with React. It provides mechanisms to optimally synchronize application state with React components by using a reactive virtual dependency state graph that is only updated when strictly needed and is never stale.
While using MobX as a state management library, you can define the state of any data structure you prefer to use within your application like objects, arrays, and classes, and make them observable. Being observable means that your defined data will remain under observation and will automatically update within the view whenever any state change occurs. It cool to know that MobX is portable and can also be used with other JavaScript frontend frameworks apart from React.
To learn more about MobX and its awesome features, feel free to check the official documentation.
Getting started
We are going to use the boilerplate from the master branch of this repository to kickstart our project. The starter project contains a couple of required dependencies that you will need to install. To begin, download or clone the repository using Git as shown below:
Once the installation process is completed, move to the project directory and use Composer to install all the dependencies for Symfony:
This will install all the dependencies for a traditional Symfony web application. Next, we need to install all the JavaScript dependencies. Do that by running the following command from the project’s directory:
With the starter project containing minimal code and functionality installed successfully, here is a quick overview of the most important files and directories in it:
src/Controller/DefaultController.php: this Controller handles all HTTP requests sent to the application.templates/default/index.html.twig: this template will render the React application within Symfony by binding the React app to thedivwith an id ofroot.assets/js: this directory holds all the React components for the application.
The basic setup for the Symfony and React application has been completed and we will add more features that will showcase state management using MobX later in the tutorial. To run the application, you need to compile and watch the JavaScript files for any changes using the following command:
The preceding command will build and compile all the JavaScript files and write the output to the public/build directory. Next, open a new tab in your terminal from the project’s directory and run the command below to start the Symfony application:
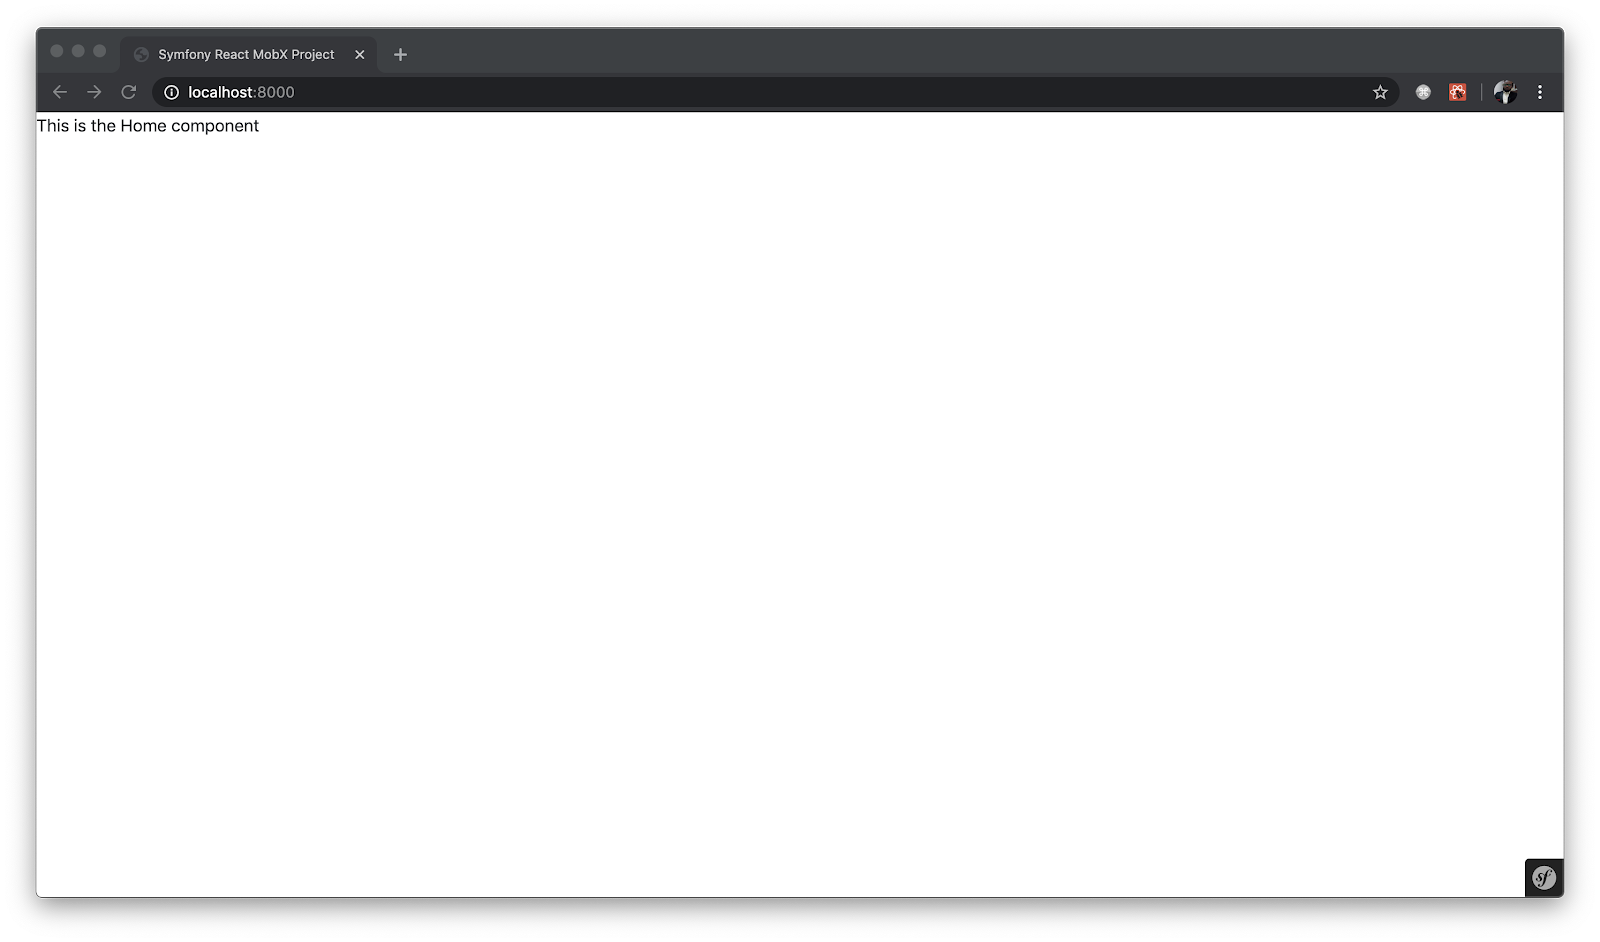
This will start the app on the development server on http://localhost:8000:

We will start making the application more functional in the next section. Feel free to go through the previous tutorial if you will like to learn how to set up the application from scratch.
Installing MobX
Run the following command in a new terminal to use Yarn to install MobX and an additional tool for utilizing it with React:
This command will install the following dependencies:
mobx: this is the main MobX library that powers state management.mobx-react: this library contains React specific functions available through MobX.
Install other dependencies and configure Babel
MobX uses decorators to handle its state management and React doesn't come with support for decorators by default. You will install a Babel plugin @babel/plugin-proposal-decorators to incorporate them.
To use class properties and arrow functions within our React application, we will need to install another Babel plugin named @babel/plugin-proposal-class-properties. Run the following command to install all these plugins:
Once the installation process is completed, go ahead and create a new file within the root of your application and name it .babelrc. Open this new file and use the following content for it:
NOTE: This is a standard process of configuring Babel and it takes priority over the Babel configuration added by Encore.
Setting up MobX store
Next, we will create a store that will hold the state of our application. Stores in MobX are usually quite useful and sometimes compulsory to use. This is because they help to move logic and state out of your React components into a standalone testable unit that can be used in JavaScript applications.
To begin, go ahead and create Store.js file within the assets/js folder. Open the newly created file and paste the following content in it:
From the code snippet above, we created three different arrays which are:
products: this array will house all the available products that a user can add to the cart. To avoid having empty products on our product page, we initialized the array with three hardcoded items.carts: all items added to the cart by the user will be stored in this array.currentCart: this array will hold the initial state of the cart.
To carry out a couple of actions such as adding or removing items from the cart, we will create more methods. Update the Store.js file by adding the following contents:
Here, we created functions to:
- Remove items from a cart
- Increase the quantity of a particular item in a cart
- Decrease the quantity of a particular item in a cart
- Add a new item to carts
- Retrieve all the data in the
cartsarray
Creating application components
React applications are always best structured as a self-contained module, also known as a component. We will create a couple of components for our application.
Creating the cart component
Earlier we defined the cart variable within the MobX store. To display the data in it, we will create a Cart component with the sole responsibility of displaying the data. To achieve that, create a file within the assets/js/components folder and name it Cart.js. Open this newly created file and paste the following content in it:
Here, you configured the Cart component to display the list of items added to the cart array within the store. Each item in the cart will contain an image, the name of the item, description, price, and the quantity needed by the user.
Creating the product component
Next, we will create a component named Product.js within the assets/js/components folder. This will house all the items available as a product for the user to add to a cart and buy. In production, you should fetch and populate this array with items from your backend API. For efficiency of time, we will hardcode the items in the store. Open the Product.js file and add the following content to it:
First, we imported the appropriate modules from React and MobX-React. Then we imported the Cart component created earlier to display the entire list of items added to or removed from the cart by the users. To ensure that the application always renders every updated content within the products array, we wrapped the Product component with a higher-order component named observer. This automatically subscribes the component to an observable to easily monitor and re-render the component incase of any changes.
Updating the home component
Next, replace the content of the home component located in assets/js/components with the following:
MobX makes provision for a built-in decorate utility which can be used to apply decorators to your classes and objects. Here, within the component above, you imported the Store defined earlier and used the decorate utility to indicate that the products and currentCart are entities that can be observed by components for changes.
addToCart, increaseQuantityInCart, decreaseQuantityInCart, and removeFromCart are functions used to update the store.
Add stylesheet
To include a custom stylesheet to make the application more appealing, open assets/css/app.css file and update its content with the following:
Testing the application
Now, run the application and test its functionality. Before that, ensure that both the Symfony and React application are currently running from separate terminals within your project directory. In case you have closed it, use the command below to resume the Symfony application:
And from the second terminal, run the following command to compile the React application and watch the JavaScript files for any changes:
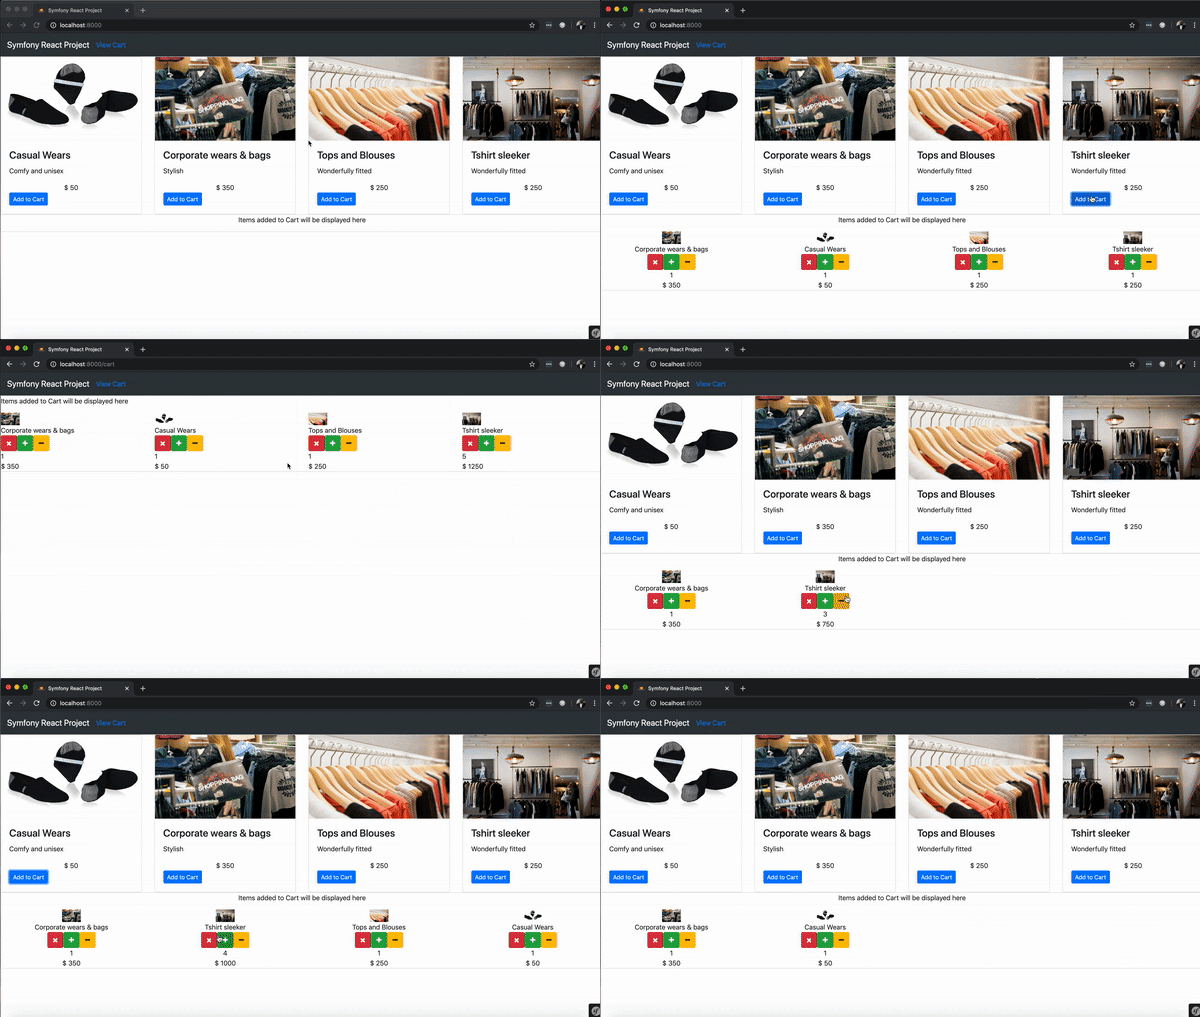
Open this link http://localhost:8000 from your favorite browser to view the application and test it out:

Conclusion
In this tutorial, you have learned about the importance of state management and how to update and distribute data within your Symfony and React application without hassle. MobX is generally available for use and it is compatible with any other JavaScript libraries or framework.
I do hope you found this tutorial helpful. Check out the mobx-completed branch of this repository for the complete source code for this tutorial.
Olususi Oluyemi is a tech enthusiast, programming freak, and a web development junkie who loves to embrace new technology.
Twitter: https://twitter.com/yemiwebby
GitHub: https://github.com/yemiwebby
Website: https://yemiwebby.com.ng/
Related Posts
Related Resources
Twilio Docs
From APIs to SDKs to sample apps
API reference documentation, SDKs, helper libraries, quickstarts, and tutorials for your language and platform.
Resource Center
The latest ebooks, industry reports, and webinars
Learn from customer engagement experts to improve your own communication.
Ahoy
Twilio's developer community hub
Best practices, code samples, and inspiration to build communications and digital engagement experiences.


