Implementing Chat in JavaScript, Node.js and React Apps
Time to read:
This post is part of Twilio’s archive and may contain outdated information. We’re always building something new, so be sure to check out our latest posts for the most up-to-date insights.

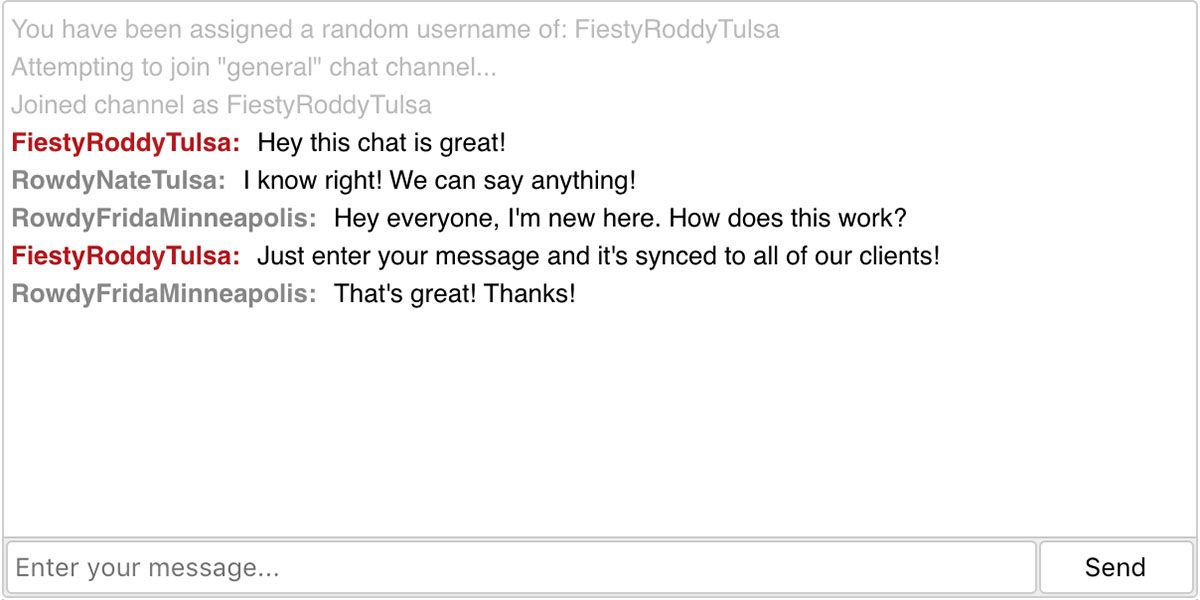
If you’re building a chat user interface using JavaScript React, how do you integrate the rest of the backend functionality into your application? In this article, we’ll start by cloning a Git repository with the completed chat interface, then implement Programmable Chat and test sending and receiving messages between multiple users.
Getting Started
We’re going to start with a simple React application that has just a few components for submitting and displaying messages. With git and npm installed, we can clone the repository, install the application’s dependencies, and start the application:
When we start the application, we’ll see a simple chat interface where we can enter a few messages and see them displayed in our message list.

So far we can only have a one-sided conversation. In order to allow multiple people to chat, we need to configure our application to use Twilio’s Programmable Chat service.
Creating Our Token Server
In order to communicate with the Programmable Chat API from our React application, we’re going to need an authenticated access token. Because we need to use our private credentials to generate these tokens, we’ll want to handle access token generation outside of our client interface.
We’ll start by gathering our API credentials and storing them in a .env file so that we can access them from our server.
We can find the account SID in our Twilio account console, and our API key and secret can be generated on the API keys page. To get our chat service SID, we’ll need to visit our Programmable Chat Dashboard and create a new chat service. Click the
“Create new Chat Service” button, give it a name, and then click “create”. We don’t need to change any of the settings on the next screen so we can just click save.
Now that we have our credentials stored in our .env file, we can begin creating our server. The server will be a simple Express application that has a single GET route at /token which will request and return a token from Twilio. We’ll need Express and a few other libraries to handle everything our token route requires. Fortunately, npm makes that easy.
Now we can create a server.js file with the necessary logic. Use dotenv to pull in our environment variables, twilio to create access tokens, and chance to generate random strings.
When a request is made to our /token route, we create a new access token, assign a random name to the token identity using Chance, then add the chat grant to the token and return a JSON object containing the identity and token. This server will run on port 3001 since our client application is already making use of port 3000.
With our environment variables defined and our server logic in place, we can start the server. Let’s open a new terminal window, then cd into our project directory and run our use node to start our server.
Configuring The Proxy
Our starter project was generated using a tool called Create React App, which gives us a modern suite of build tools including Babel and Webpack. But another great feature of this tool is its ability to proxy any request that does not match a static asset to another server. We’ll use this functionality to simplify making requests to our token server. To enable this, we need to define the proxy attribute in our ./package.json file.
After adding this line we’ll need to restart our client application build process. In our terminal instance we press ctrl-C to stop the process, then run npm start to restart it with the new configuration. Now any request to http://localhost:3000/token in our client application will be proxied to our server running on port 3001.
Getting a Token
Our application has a few presentational components that handle displaying our message list and message form, but for the Programmable Chat integration, we’re going to focus on our top level App component.
Inside of our App component, we’ll use jQuery to make the AJAX request to our server, so we’ll first need to add that dependency.
In our App.js file we’ll import our new dependency and define a default value to the username key in our state. Then we’ll create a getToken method for handling communication with our token server.
Our getToken method will instantiate a new Promise, fetch the token, assign the token’s identity to the username key in our state, then resolve with the token or reject with an error message.
Finally, we’ll invoke this method in our componentDidMount React lifecycle method.
If we reload out client interface now and the server is running, we’ll just see the message “Connecting…”, but if the server is not running our error message will be displayed.

Adding Messages Helper Method
Because we need to update the state of our messages in a few places, let’s make ourselves a little helper method to simplify this syntax.
Then we can change the previous calls to setting message state to use this.addMessage({ body: "..." }).
Creating a Chat Client
The next step in implementing Programmable Chat is instantiating a chat client, which is what we needed the token for. We’ll use the twilio-chat library to get access to this functionality.
Since our getToken method returns a promise that resolves with the token, we can chain our next method onto the this.getToken() call. In this createChatClient method we’ll instantiate a new TwilioChat instance, passing it the JSON web token value from our token.
Joining a Channel
To join a channel, we’ll follow a similar pattern. We’ll chain a new method onto our series of promises in componentDidMount, then define the method’s logic.
Inside of our promise we’re first getting a list of subscribed channels from Twilio. Then we’re attempting to get a specific channel named “general”. If the channel is found, then we add another system message, store the channel in our application’s state, and attempt to join the channel. If we join the channel successfully, we notify the user that they’ve joined the channel with their random username, then bind a beforeunload event to the window that will leave the channel so that users who are no longer in the channel don’t contribute to our channel user limit.
If the general channel is not found, we’ll call reject with an error stating that the channel could not be found.
Creating a Channel
While displaying an error about a missing channel might help us in development, it doesn’t do much for someone trying to use our chat application. Instead rejecting our joinGeneralChannel promise with an error message, let’s call a method that will create the general channel for us.
Now if the general channel doesn’t exist, we call our createGeneralChannel method which uses the chat client to create the channel, then we attempt to join the general channel again.
Displaying Messages from Programmable Chat
With a connection established to our Programmable Chat service and a channel stored in our state, we’re ready to bind methods to events in our channel. We’ll add one more method call to our promise chain that will handle binding all of our channel events.
When a member of the channel joins, leaves, or adds a new message, our application will add a message to our client interface, but when we add a new message we’re still just updating our local state. In order to complete our Programmable Chat integration, we need to update our handleNewMessage method so that it sends our messages to our Programmable Chat service as well.
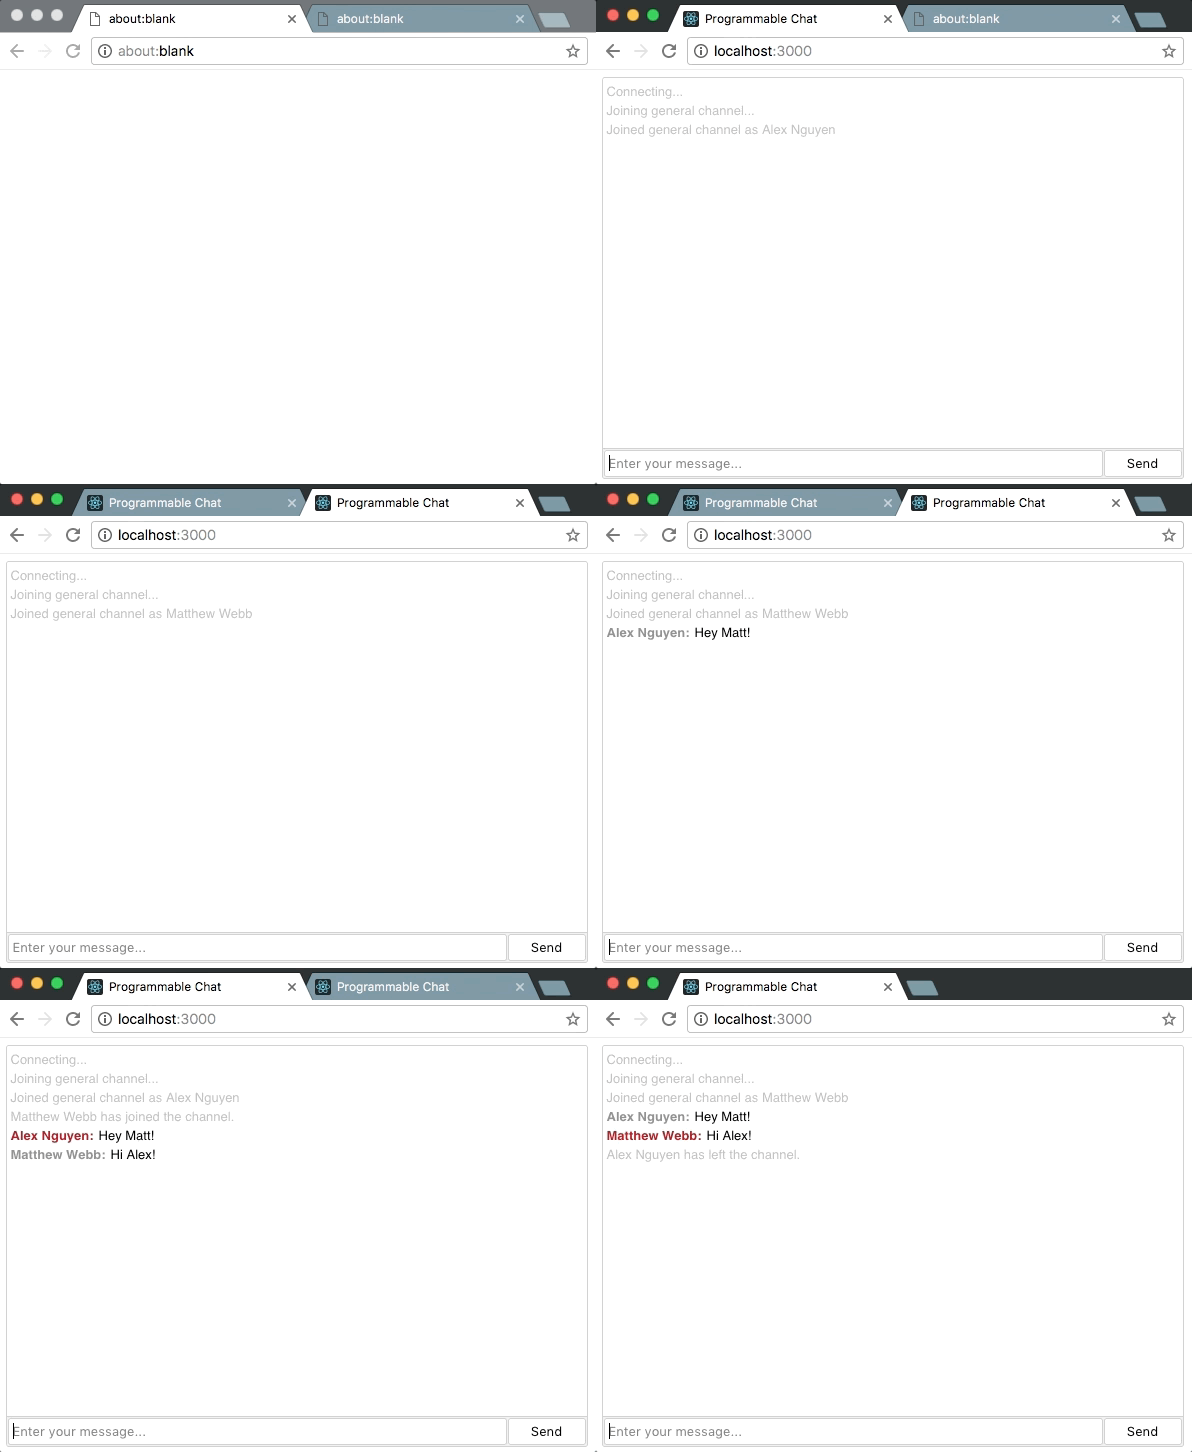
With that small change, we now have a fully configured programmable chat service that multiple clients can connect to! To test it, open two browser tabs to http://localhost:3000 and type a few messages in each tab.

Wrapping It Up
We’ve covered just the basics necessary to integrate Twilio’s Programmable Chat into a React application, but you could take it further by allowing users to pick their usernames, join multiple channels, and more!
The full source for the application we built here is available on Github, and you can read more about Twilio’s Programmable Chat in the API documentation.
If you have any questions, comments, or suggestions for ways to improve this implementation, you can reach me at any of these:
- Email: email@kevinthompson.info
- Twitter: @kevinthompson
- Github: kevinthompson
Related Posts
Related Resources
Twilio Docs
From APIs to SDKs to sample apps
API reference documentation, SDKs, helper libraries, quickstarts, and tutorials for your language and platform.
Resource Center
The latest ebooks, industry reports, and webinars
Learn from customer engagement experts to improve your own communication.
Ahoy
Twilio's developer community hub
Best practices, code samples, and inspiration to build communications and digital engagement experiences.


