Deploy your Twilio Resources with Terraform
Time to read:
In this blog post, we are going to introduce the fundamentals of the Infrastructure as Code (IaC) process applied to Twilio products. At the end of this article, you will be able to deploy and maintain your Twilio resources using Terraform.
Prerequisites
In order to follow along, you need:
- A Twilio account. You can get a free one here.
- The Twilio CLI. You can install it using the instructions here.
- The Terraform CLI. You can install this using the instruction here.
- Optional: a Terraform account. You can sign up for Terraform here.
Infrastructure as Code
Terraform is an infrastructure as code tool that allows you to build, change, and version infrastructure safely and efficiently. This includes both low-level components like compute instances, storage, and networking, as well as high-level components like DNS entries and SaaS features.
With the rise of cloud services, the need for managing infrastructure configuration has become prominent. The DevOps movement fueled a transformation in the development and operations practices, and automation needs for code integration and delivery (see CI/CD) forced many developers to get a better understanding of where their code will eventually run.
- Each developer has their own local environment for testing the application during development
- For each new feature, they create a new branch and once done, they request a code review (e.g. Pull Request)
- The new feature goes through automated unit and end-to-end testing on a specific staging environment
- All developers involved in the code review may want to test the changes in their own environment before approving them
- Once the feature is approved, it's merged into the main deployment branch and deployed to production.
The main challenge in the above cycle is making sure that any changes in the environments that the feature is based on are correctly reflected in all staging environments and in production. This is particularly challenging when developers have to review and test their peer's code without affecting their own work environments.
IaC helps streamline this process because the configuration is stored as code / scripts and passed along with the code, allowing for any changes to the environment to be easily applied and rolled back without error-prone manual interventions.
The core Terraform workflow consists of three main steps after you have written your Terraform configuration:
- Initialize: prepares the working directory so Terraform can run the configuration.
- Plan: enables you to preview any changes before you apply them.
- Apply: makes the changes defined by your Terraform configuration to create, update, or destroy resources.
Let's see that in practice with an example.
Twilio Taskrouter with IaC
In this example, we will focus on Twilio TaskRouter, but the main concepts can be reused for all other Twilio products and resources. Twilio TaskRouter is a skills-based routing engine for contact centers. It enables contact centers to match tasks (such as incoming calls or SMS) to the right worker.
Create a new project
We are now ready to create a new project that includes all the dependencies needed. From a terminal session, create a new folder and navigate into it.
Now, let's initialize the Terraform CLI:
Paste the below code in the main.tf file created in the step before.
Then run the below command to initialize terraform.
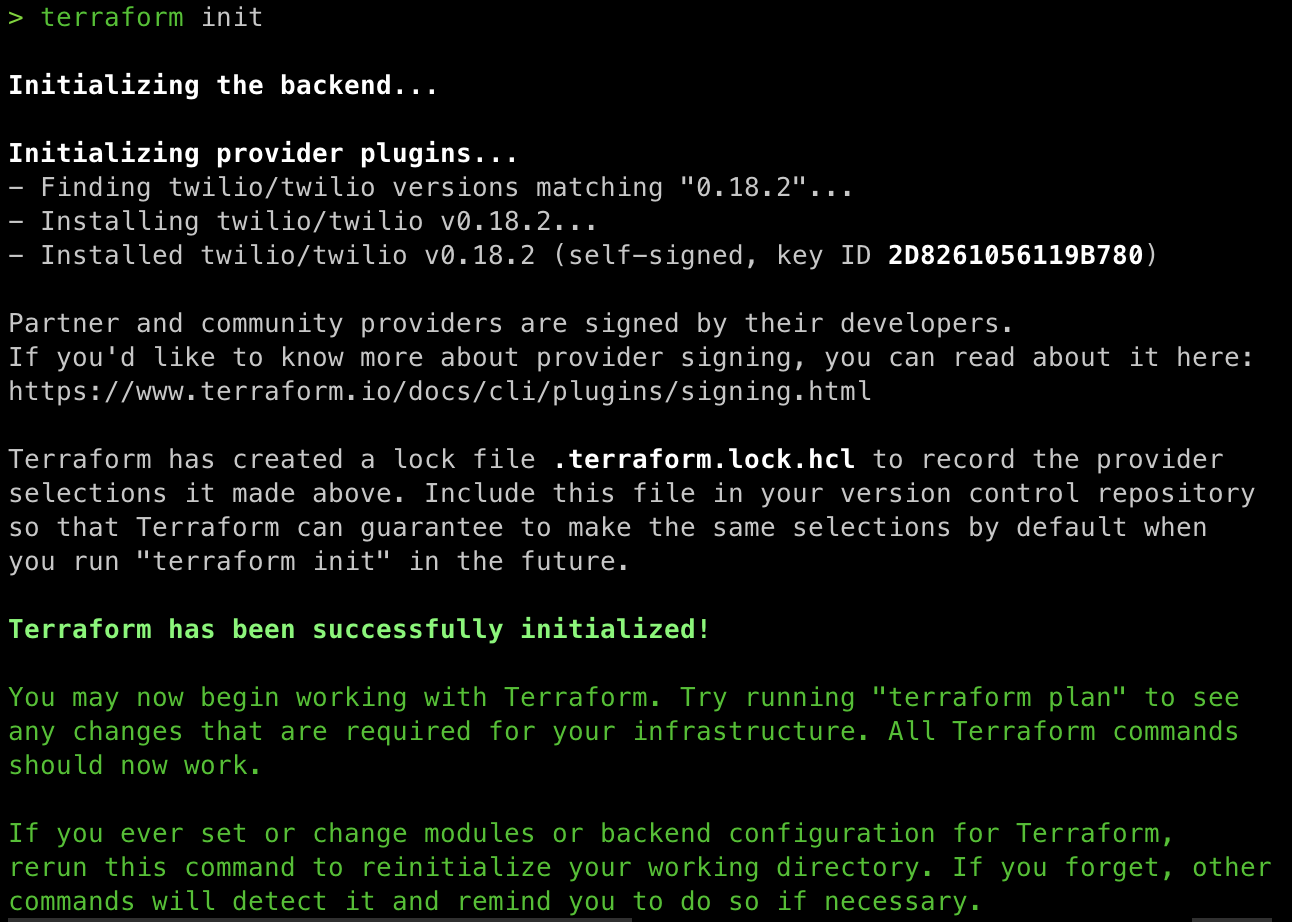
The output should look like this after you run the terraform init command.
Describing your infrastructure using code
In this example, we want to create a routing strategy within Twilio's TaskRouter that will have two queues (English and Spanish) where agents will be picking up calls. To build that from scratch, you will need a TaskRouter Workspace, two TaskQueues, a Workflow, and (at least) two Workers.
To describe our TaskRouter Workspace using the Twilio terraform provider, add the following code to your main.tf file:
Note that describing a component is as simple as configuring an instance of the object. In this case, we are using the twilio_taskrouter_workspaces_v1 object exposed by the twilio/twilio package.
| Name | Type | Required | Description |
| friendly_name | string | Yes | A descriptive string that you create to describe the Workspace resource. It can be up to 64 characters long. For example: `Customer Support` or `2014 Election Campaign`. |
| multi_task_enabled | bool | No | Whether to enable multitasking. Can be: `true` to enable multitasking, or `false` to disable it. However, all workspaces should be created as multitasking. The default is `true`. Multi-tasking allows Workers to handle multiple Tasks simultaneously. When enabled (`true`), each Worker can receive parallel reservations up to the per-channel maximums defined in the Workers section. In single-tasking mode (legacy mode), each Worker will only receive a new reservation when the previous task is completed. |
| prioritize_queue_order | string | No | The type of TaskQueue to prioritize when Workers are receiving Tasks from both types of TaskQueues. Can be: LIFO or FIFO and the default is FIFO. |
Next, let’s add the TaskQueue resources, one for English and one for Spanish. This goes in the same main.tf file, after the workspace definition:
Note that when creating the TaskQueue resource, we need to pass the SID of the TaskRouter workspace.
In order to do that, we use the sid attribute of the workspace resource created in the previous step. The ability to reference other resources and their attributes( e.g. SID, friendly_name, etc.) is one of the most important features of IaC platforms.
Let’s now create the two workers, adding the workerOne and workerTwo resource definitions after all the other resources:
Finally, let’s pull all the resources together, with the code for the workflow at the bottom of the file.
The complete file should look something like this:
Create your resources
We are now ready to test our implementation and create the actual resources in our Twilio project.
First step, make sure that your Twilio CLI is logged into the project you want to deploy these resources to. If you are not sure which project you are logged in to, you can use twilio profiles:list to list all the profiles, and twilio profiles:use to select the one you want to use. If your project is not listed, then use twilio profiles:create to log in to a new Twilio project, and then run twilio profiles:use <profile_name> to select that.
You can check the configuration by running the following:
The above command should produce an output like:
Once the plan is verified, you are ready to create the resources. Execute the command below:
You should have a prompt awaiting your confirmation to create the resources:
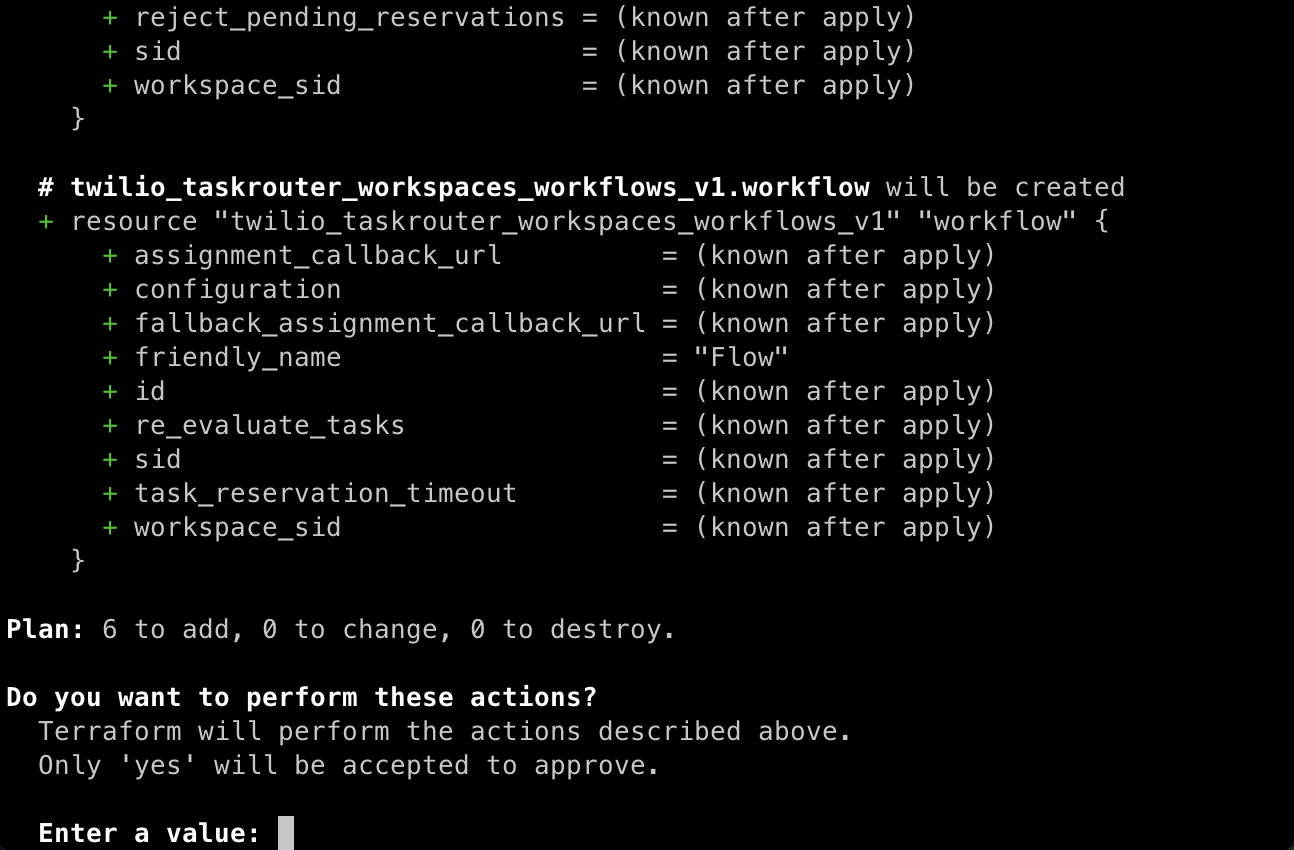
Enter ‘yes’ and hit the enter key. If everything ran successfully, you should see the following message:
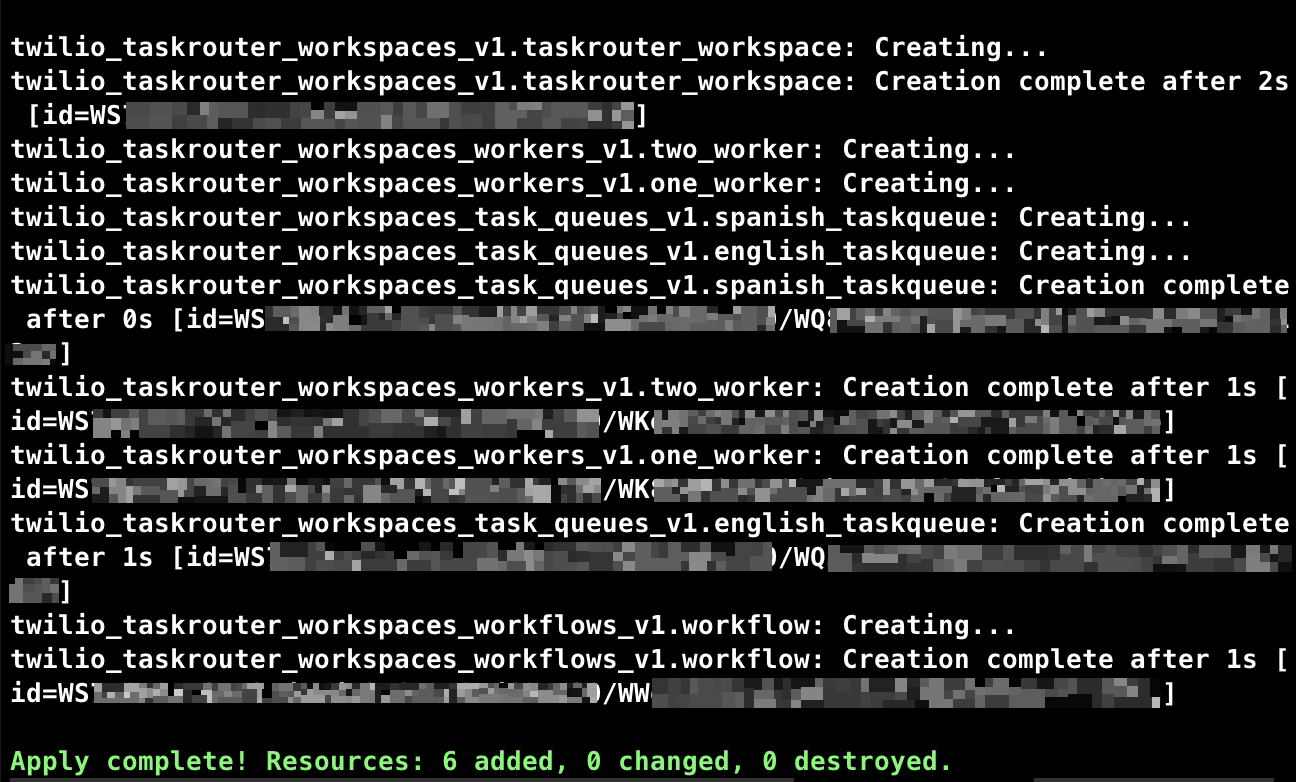
If you now navigate to your Twilio console and look at the TaskRouter Workspaces, you will see that a new Workspace has been created with the friendly_name as specified in the workspace resource in your main.tf file. If you click on it, you should see that the two queues and the two workers have been created as well:


Modify an existing resource
Creating a new Twilio resource can be done easily through APIs as well, but where an IaC approach really shines is when you need to modify a resource.
Let's explain that with an example. Let's assume you are working in a team, and each developer has their own Twilio project. Throughout the development cycle, you want to make sure that all the developers have the same resources in their project. The traditional (API) approach would be:
- At the beginning of the project, distribute a script that uses API / SDKs to create all the resources needed
- All the developers will run the script to provision their account
- Each time there is the need to change a resource, you need to distribute a new script that updates the Twilio resource(s)
- If a new developer joins the team (or an existing one wants to start a new project), they need to execute the first script for provisioning and all the subsequent script(s) to make the changes (in the specific order)
This approach doesn't scale, and you may end up with multiple scripts you need to manage.
With the IaC approach, the only thing you need to do is to change the original script to add / modify / delete resources, and commit the script to your shared code repository.
Let's see that in action: let's say you want to change the name of the worker from workerOne to Alice. To do that, you simply have to change the property of worker workerOne in the code:
If you now run the apply command again, you will see the following:
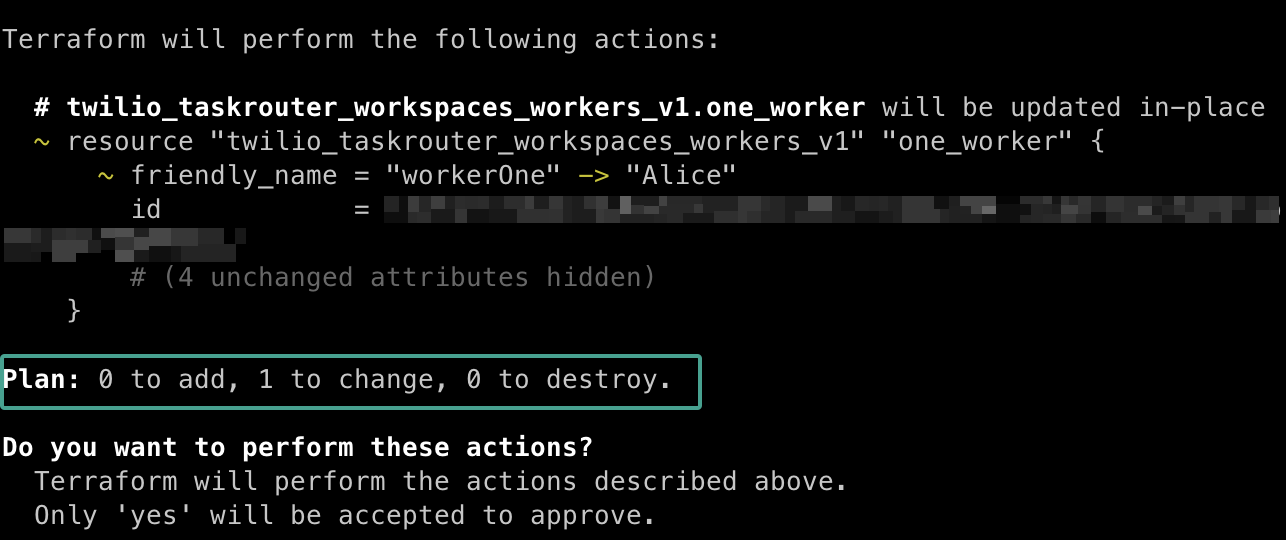
That means that one resource(‘workerOne’) will be updated because one of the items(attributes) has changed compared to the last deployment. Let’s go ahead and type “yes” and press enter. You will see the following:

As you can see from the output of the command, Terraform detected a change in workerOne and changed the deployed resource accordingly. If you navigate to the TaskRouter Workspaces page in the Twilio Console, you will see the name of the the worker has changed:

All you have to do now to make sure all the other developers update their workspace, is to distribute (e.g. commit the file in a shared repo) the new configuration file (main.tf in our case) and ask them to run the deploy command (e.g. add the deploy script as post-merge githook).
Also, if the IaC script is part of a CI/CD pipeline, the staging / production resources will be updated accordingly.
Destroy your resources
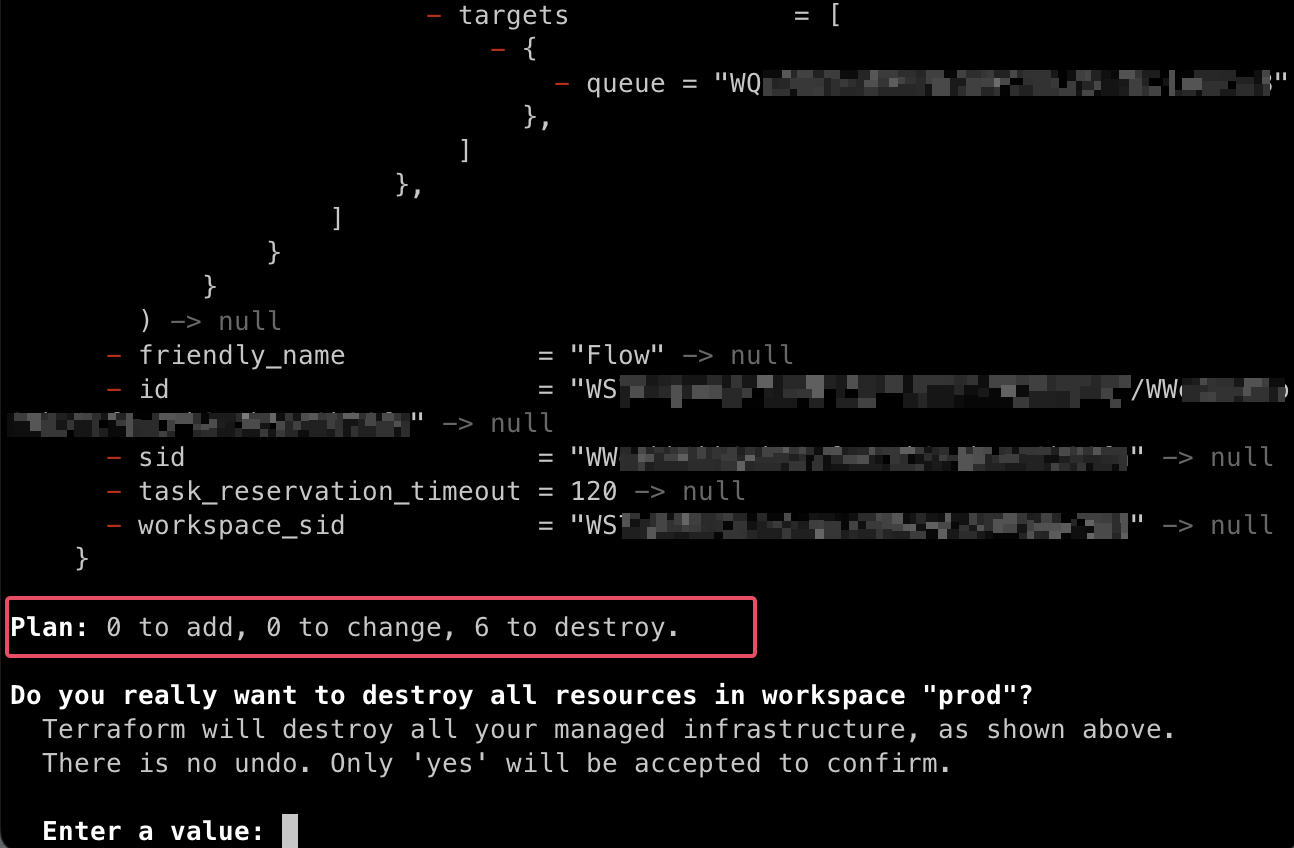
Now that we went through this example, you may want to delete the resources you just created. With IaC, this operation is very easy. Just run the following command:
After confirming you want to perform the operation, all the resources created will be removed from your project:

Conclusion
As you can see, IaC brings many advantages to the development lifecycle. It helps in streamlining the creation of resources in all the environments (dev, staging, production) as well as keeping track of all the changes to the resources. It can be easily integrated in your CI/CD pipeline, reducing human errors and speeding up the deployment time. Depending on the IaC tool used, developers don't have to learn a new language or new APIs to configure the upstream resources. And we only scratched the surface of how IaC can help scale your project. In the next parts in the series, we will see how to integrate IaC in your pipeline.
Vinit Dave is a Senior Solutions Architect at Twilio Professional Services, primarily functioning to innovate, design and build complete e2e solutions for a variety of customer problems and industry verticals. He can be reached at vdave [at] twilio [dot] com.
Related Posts
Related Resources
Twilio Docs
From APIs to SDKs to sample apps
API reference documentation, SDKs, helper libraries, quickstarts, and tutorials for your language and platform.
Resource Center
The latest ebooks, industry reports, and webinars
Learn from customer engagement experts to improve your own communication.
Ahoy
Twilio's developer community hub
Best practices, code samples, and inspiration to build communications and digital engagement experiences.


