How to send text messages from your static site using Netlify, Twilio and serverless functions
Time to read:
It’s exciting times to be a Frontend developer. With the rise of modern technologies such as serverless functions, Frontend engineers can do things that usually only backend engineers could do. This entails deploying scalable sites, sending emails, or creating HTTP endpoints. Due to the power of new service providers and countless APIs, building performant applications has become rather a game of connecting dots than building everything from the ground up.
In this article, I want to share how you can create and deploy a scalable static site on Netlify and how you can use serverless functions to send text messages using Twilio.
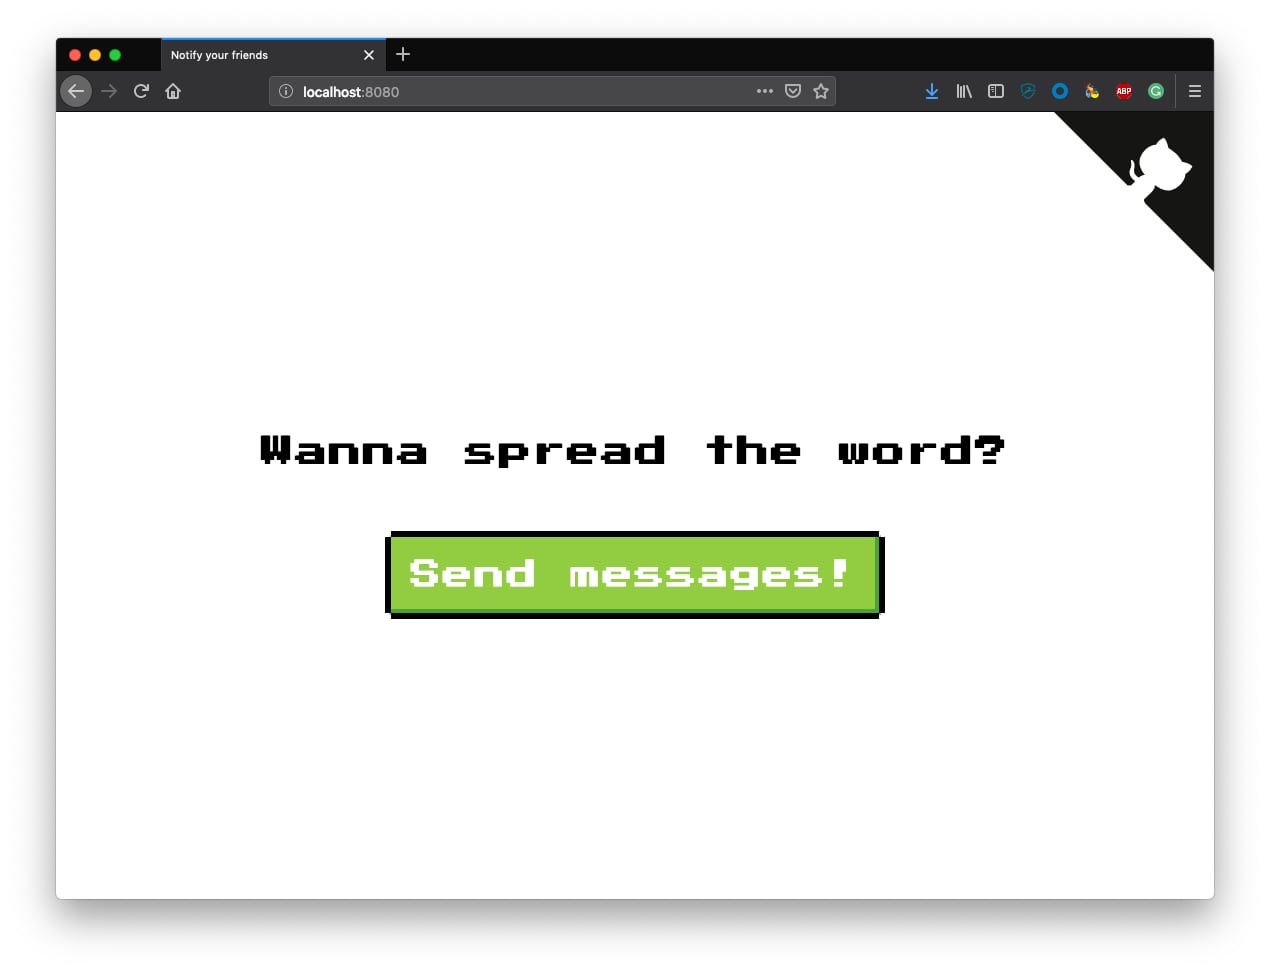
You can see the final result on 8-bit-revolution.netlify.com. You can go there and tell me how much you love the good old 8-bit style via SMS. If you want to set-up a site similar to “8-bit revolution” you can have a look at the project’s readme. It includes a one-click install button with which you can create an SMS sending website yourself. In the setup, you can configure the telephone numbers of the recipients and the text you want to send.
If you want to follow along instead and want to understand how it works, what you'll need to get started are:
Why static?
HTML powers the web and serving HTML statically has a few advantages. Static sites are more secure because there is less computation involved. The HTML is pre-generated and files can be served 1:1 one from the server which reduces the number of attack vectors. Additionally, static sites are cheap. GitHub pages and other service providers mainly offer static site hosting for free. And lastly, static sites are scalable. Serving static files doesn’t need much computation power on the server-side and in case you need it, you can quickly put a CDN in front of your site to be ready to serve your millions of visitors.
Writing hundreds of plain HTML pages by hand can be cumbersome, though. This is why build tools and static site generators have become a common practice. These tools combine templates with Markdown files or API data to generate the static HTML.
This results in the need for a more complex setup. A server needs to generate the HTML and then upload the HTML to your static site host. This is where continuous integration systems (CI) like TravisCI come into play. These services allow you to rebuild your site when you push code updates or when the content was updated.
Netlify is your CI, CDN and serverless platform
Netlify is a fairly new service that solves this problem of increased complexity. You define a directory and a build script and they take care of the creation of your site and put it on a global content delivery network (CDN). You can use additional features like serverless functions or forms to enrich your static site with additional functionality – all included in one platform.
Sounds good? Let’s do it!
Create your static website
Create a new directory and include a dist subdirectory. dist will hold all the files that should be deployed by Netlify. You can place a barebones index.html file like the one below in there and you’re good to go.
Additionally, you have to define a command that should be run when you deploy the site. Initialize a new npm project in the project directory.
The --yes flag allows you to skip the questionnaire that usually comes with npm when you create a new project. The command creates a new package.json which is the configuration file for Node.js projects. Let’s add a dummy build command that only echoes a log message to the scripts property of the included JSON object.
Your package.json should look similar to the following:
Note: the name, repository, author, bugs, and homepage properties will be different and tailored to your user and project.
You can run all defined script properties in your terminal using npm run followed by the property name. Executing npm run build will log “Building your new static site!” to the terminal. That’s not much yet and you will add more functionality to this script later in this tutorial.
Initialize git in your project root and push it to a new GitHub repository.
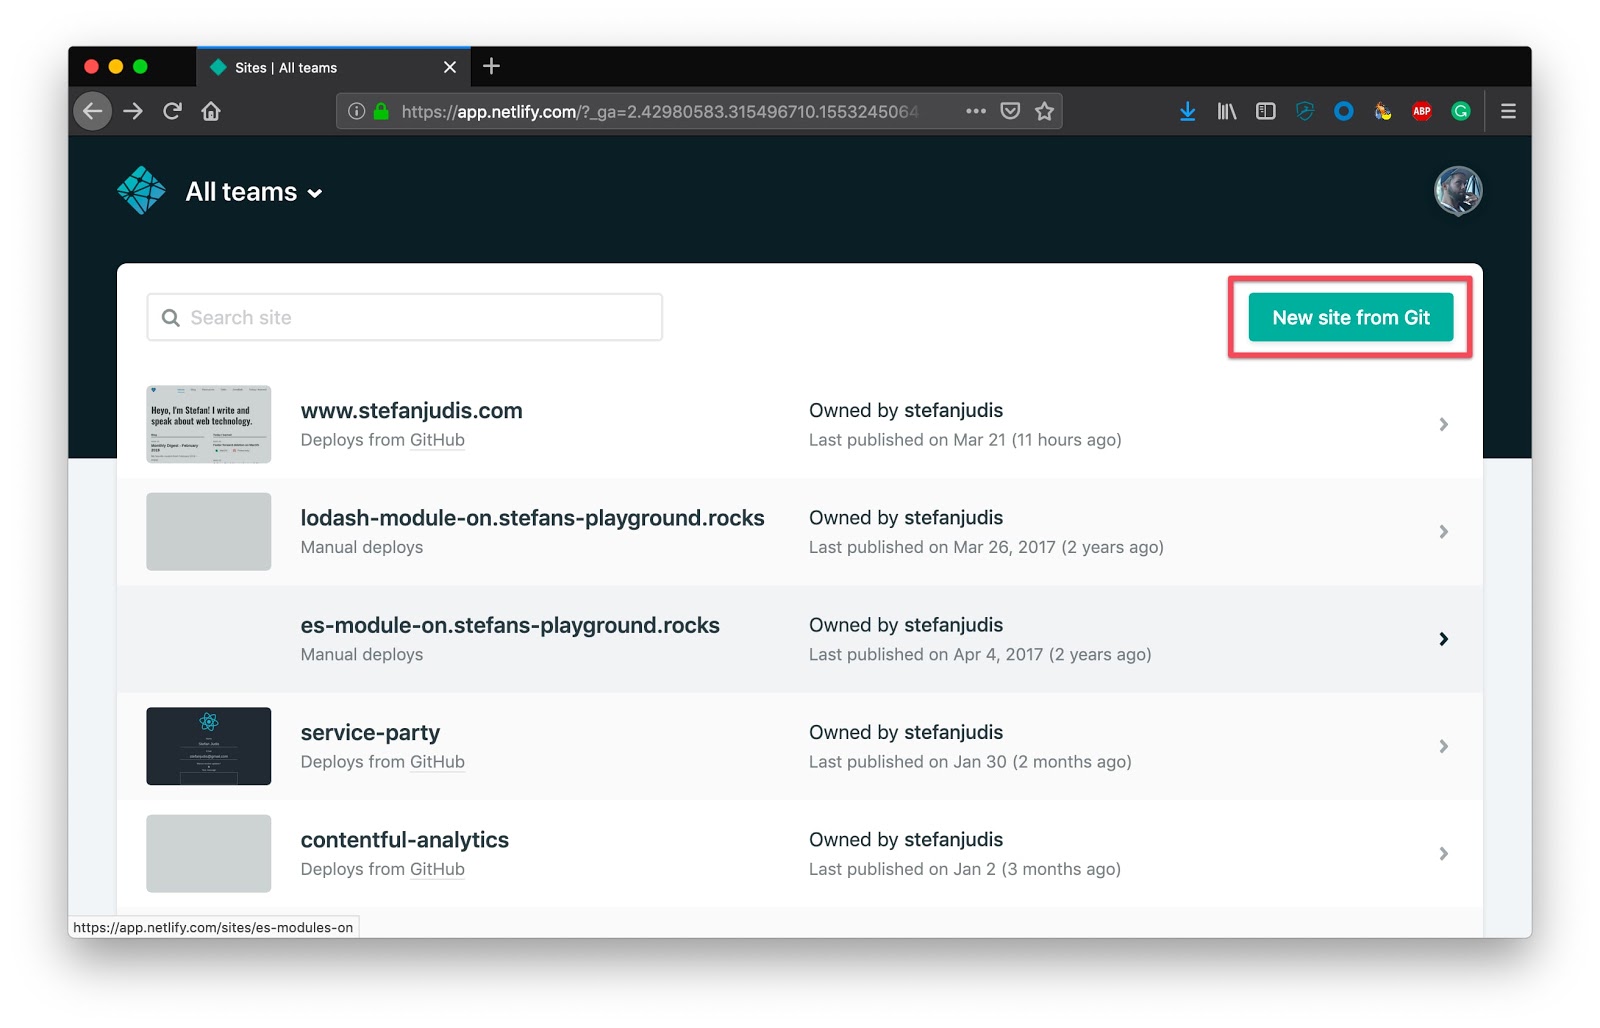
After committing and pushing these two files to GitHub you’re ready to deploy the site. Head over to Netlify, login, and click “New site from Git” to connect your repository with Netlify.
After connecting with GitHub you’ll be able to choose your newly-created repository. Netlify will ask you about the branch and directory which should be deployed and, additionally, which script you want to execute during the deployment process. In this case, it will be master, dist and npm run build.
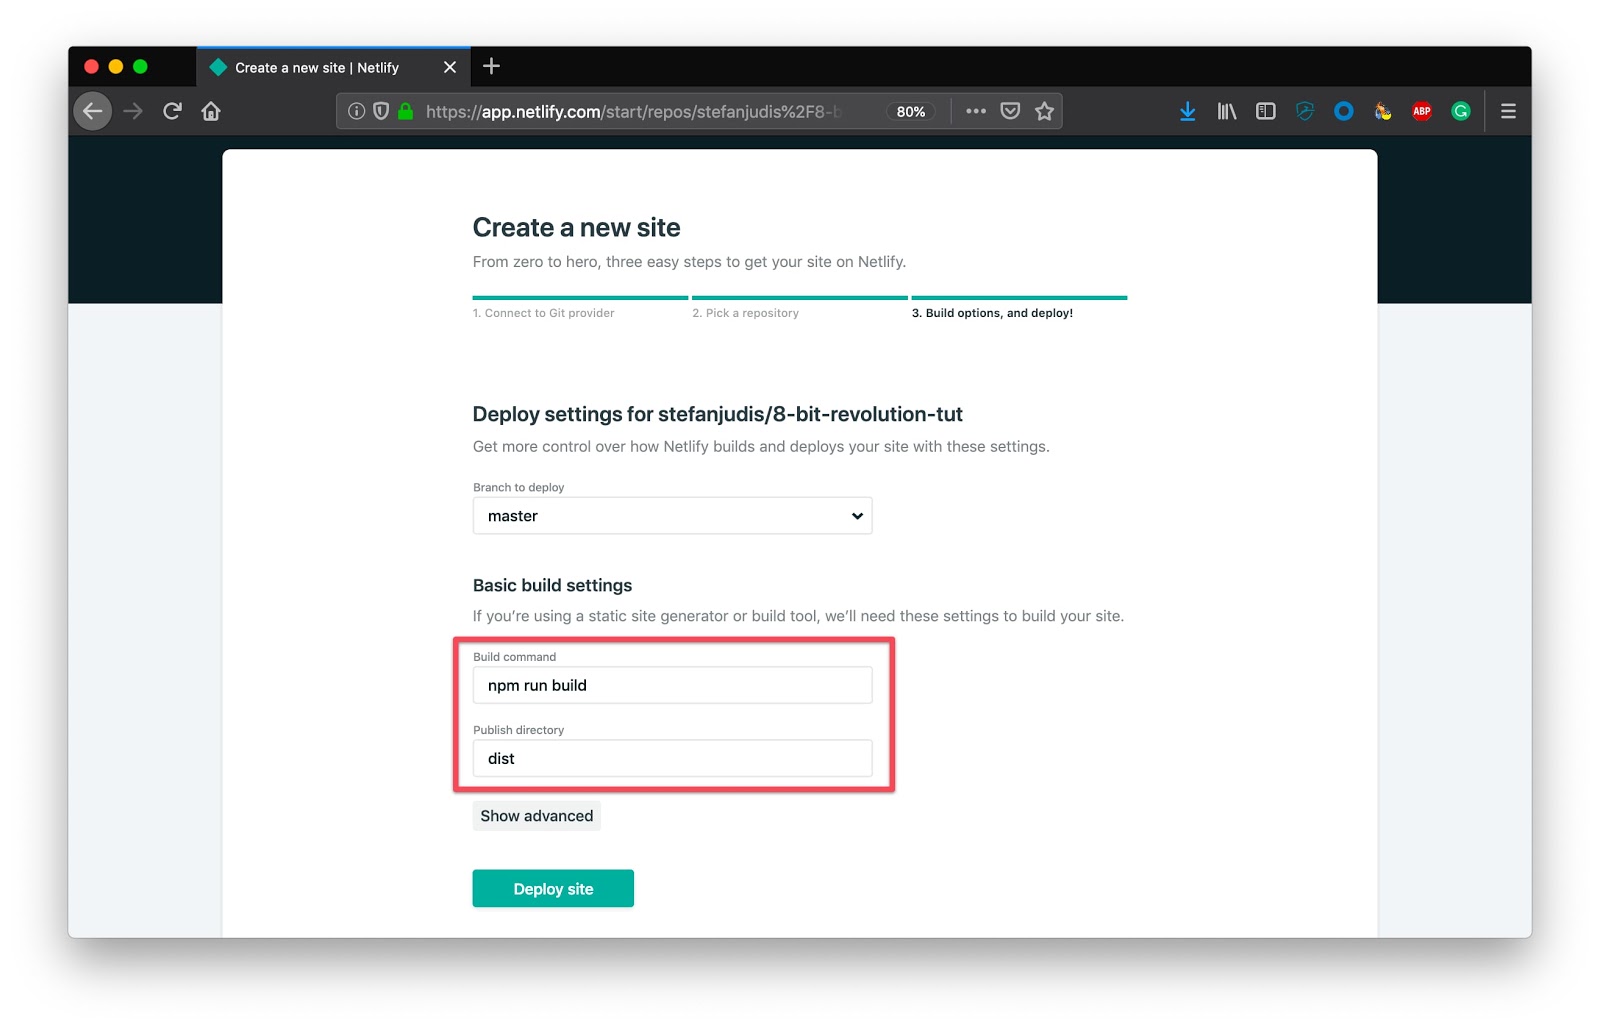
Press “Deploy site” and see your static site making its way into the internet. The deploy will only take a couple of seconds and will be available at a random subdomain like frosty-mclean-c6c41c at Netlify. You can change this subdomain or connect your own domain if you want to, too. 🎉
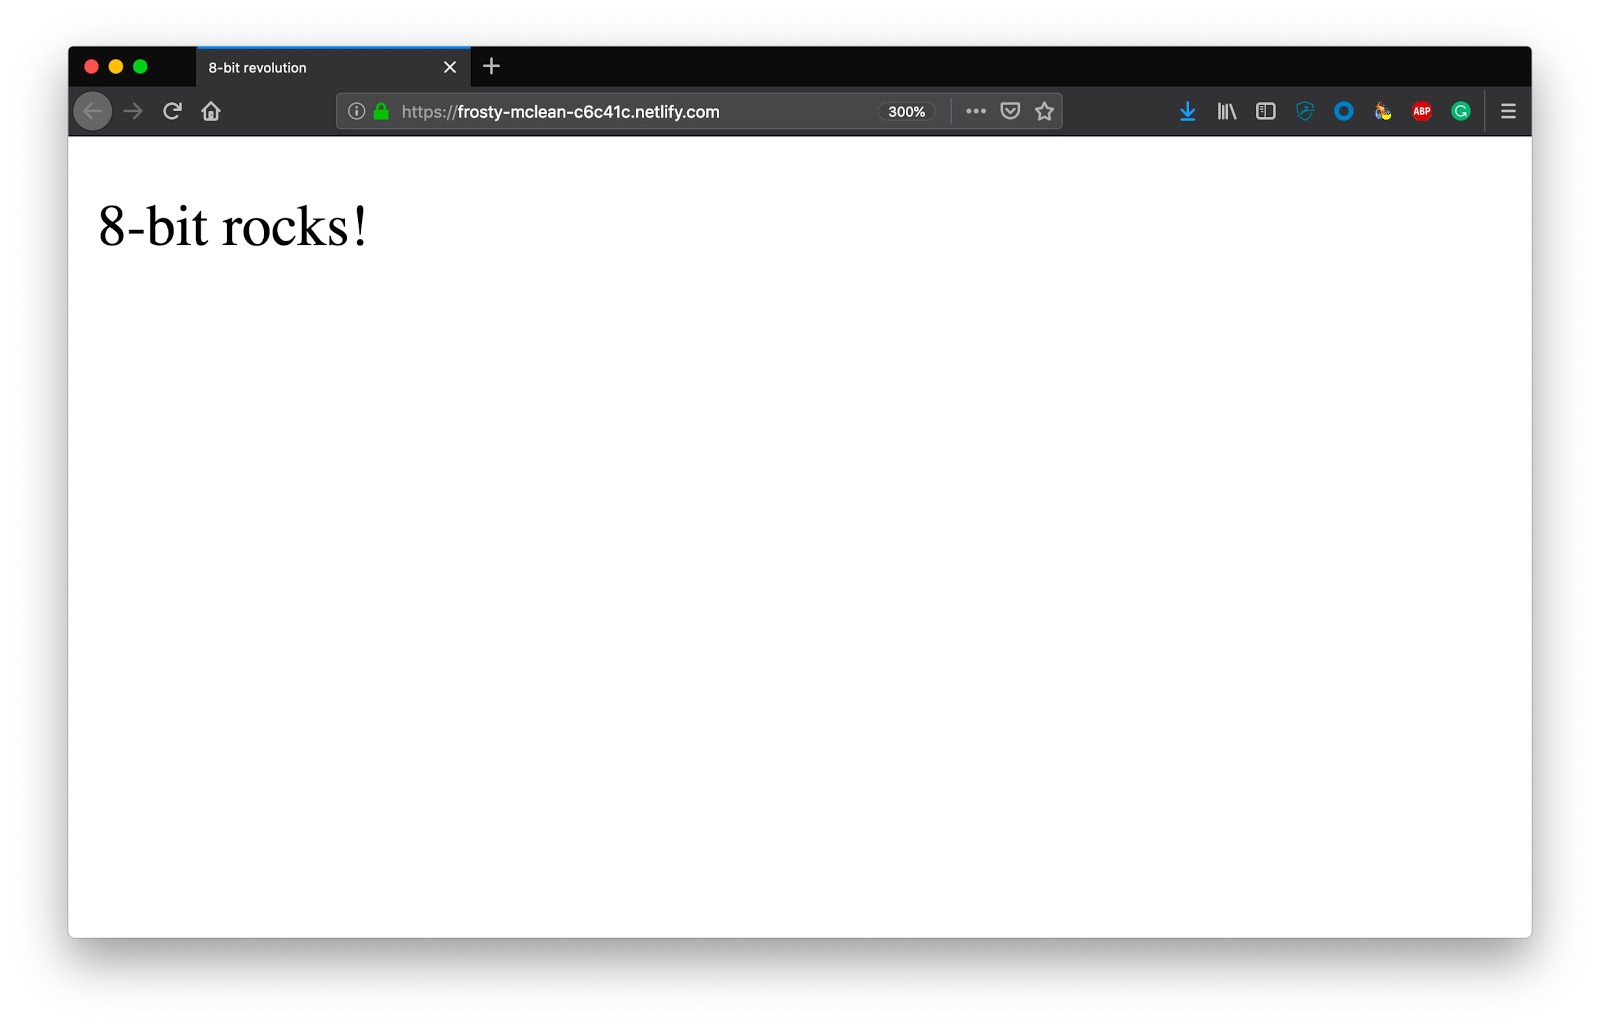
Congrats! With pressing “deploy site” you set up a new deployment pipeline.
The cool thing about the Netlify and GitHub connection is that whenever you push new code to GitHub, Netlify will get notified via webhooks and automatically deploy your site. It is also ready to accept requests from any system you use so that you can trigger rebuilds after different events such as updating content in a remote content management system.
Add a form to allow user inputs
For the case of sending messages, static HTML is not enough. You have to add a way to allow for user input like pressing a button or entering data. Luckily, Netlify provides built-in form handling. Replace the “8-bit rocks!” paragraph with the following form.
The form has to include a data-netlify=”true” attribute. This tells Netlify that you want this form submission handled by their servers. Commit and push the code. Wait for the deploy to finish and voila – you can now handle form submissions!
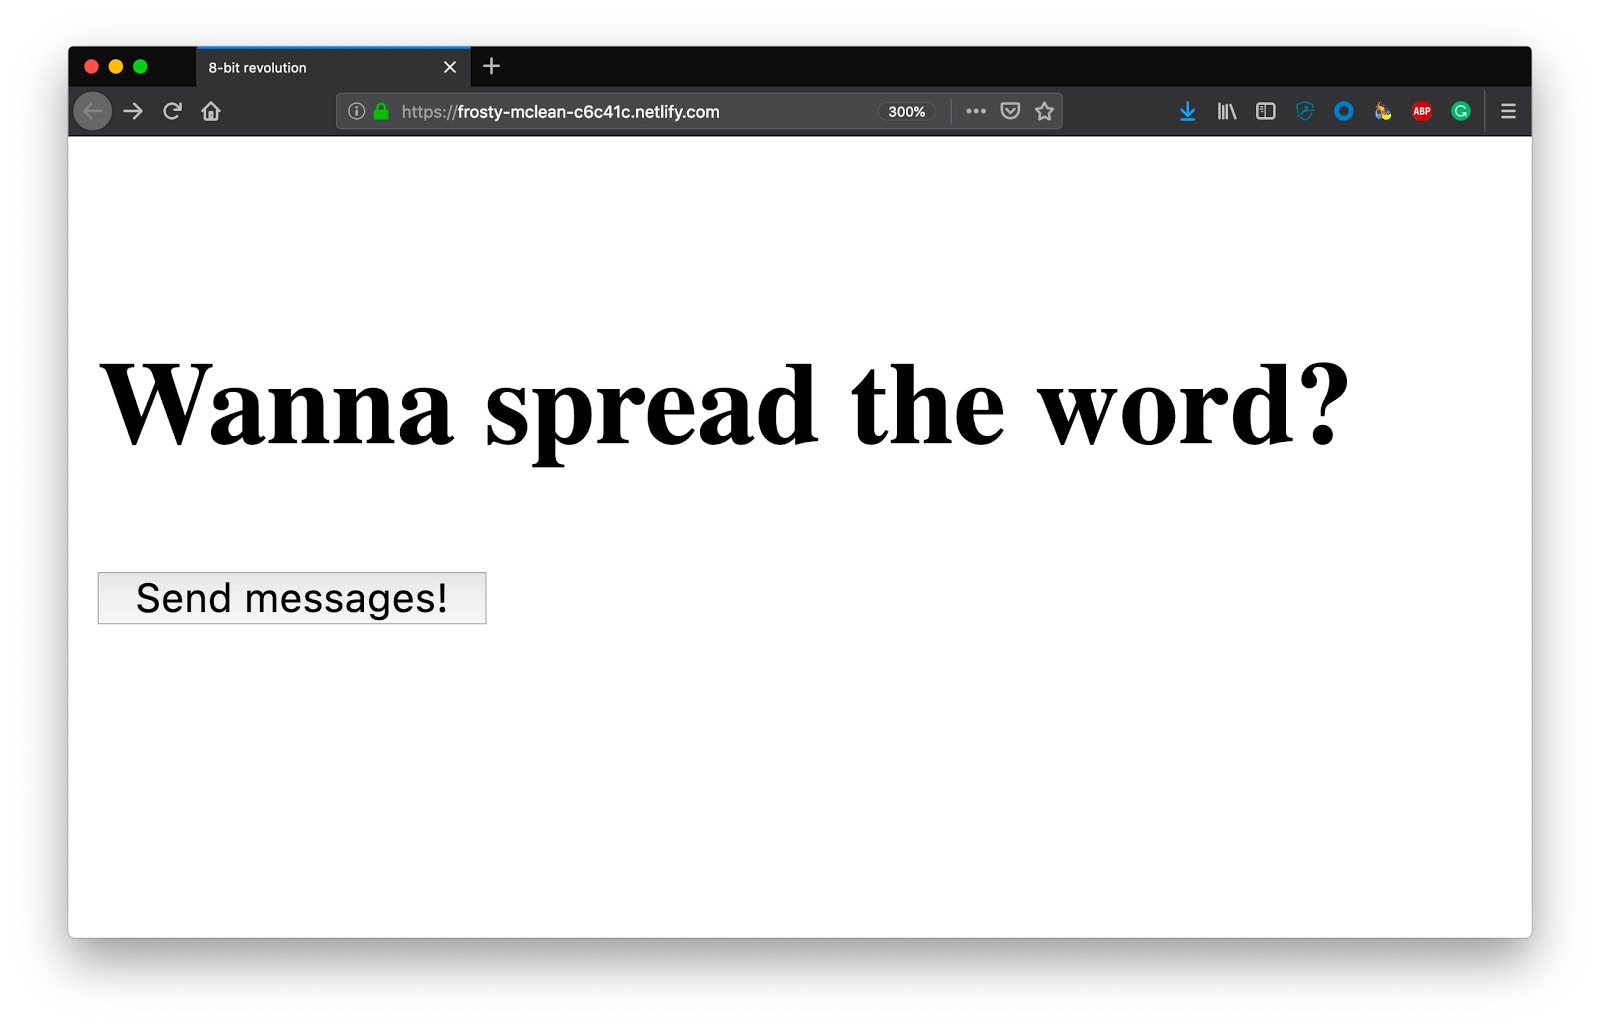
The data of all submitted forms will be available in the Netlify admin area under “Forms”. This makes it perfect for collecting data from contact forms and more.
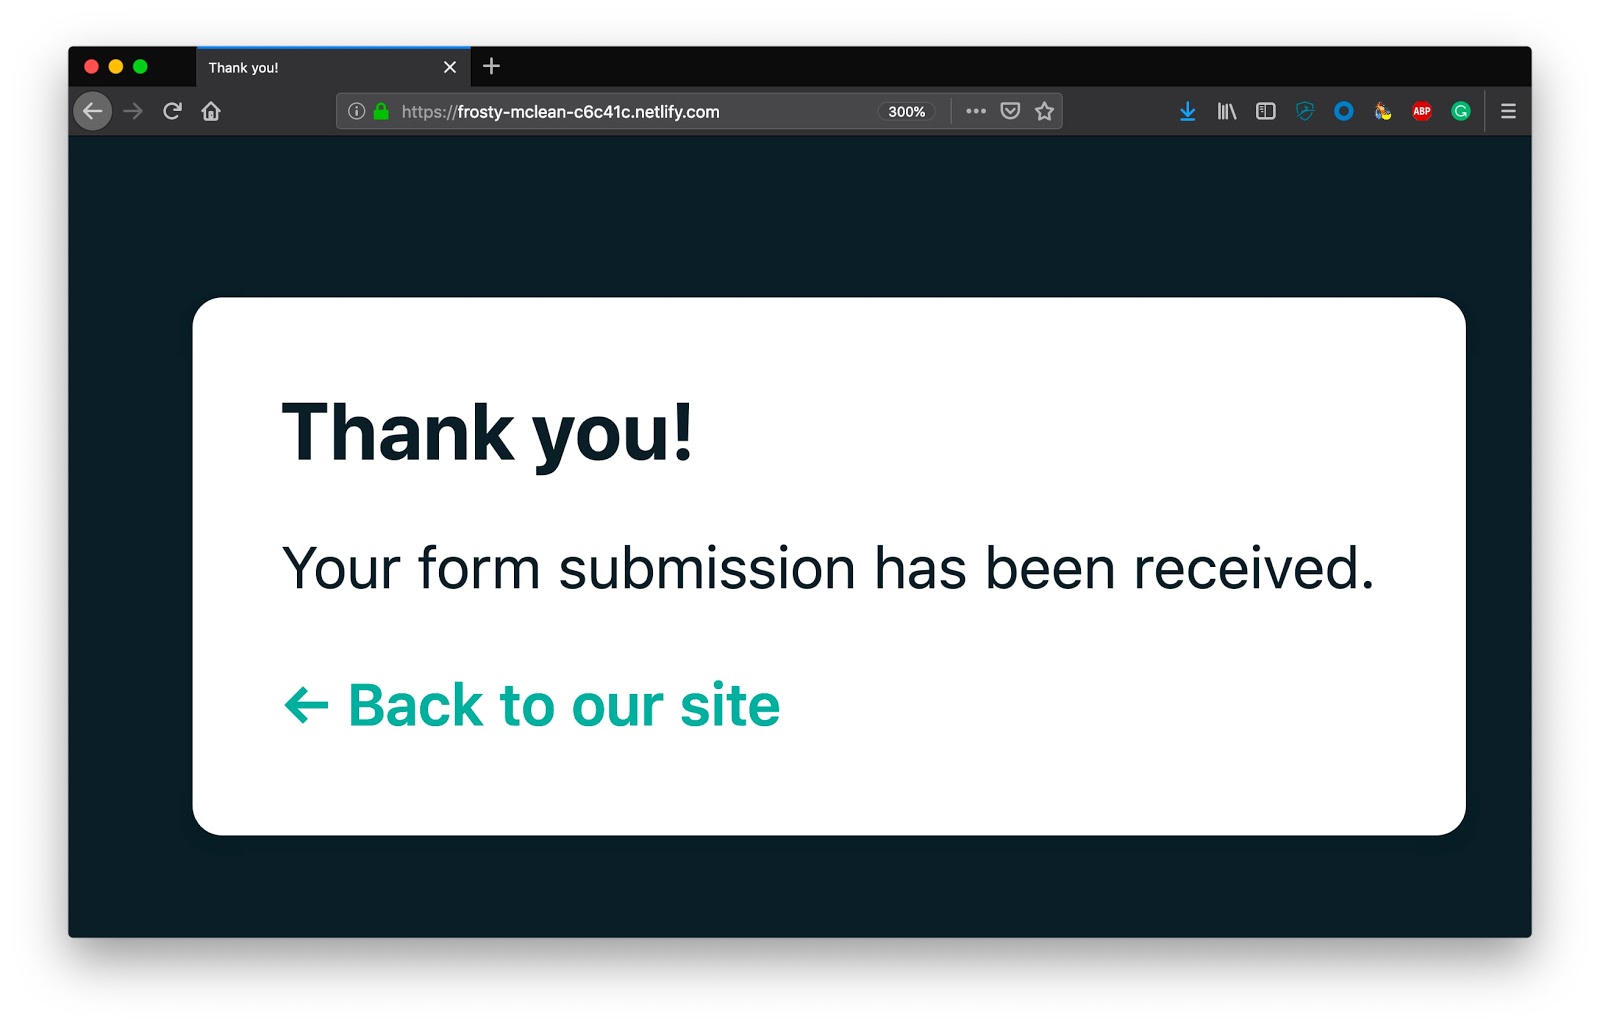
At this stage, when you submit the form, Netlify will show you a generic success message that tells you it received the form submission. You can change that by defining a page that should be redirected to with the action attribute on the form element.
I prefer to submit the form via JavaScript to avoid the redirect.
Use Ajax to submit forms
With the implementation of the globally-available fetch method, you can make requests directly from within the browser without needing to add any dependencies.
Before you start implementing the Ajax functionality, add two more HTML elements to the page. These elements will indicate success or error of the form submission request.
Add an inline script element to the bottom of the page. Using native DOM methods you can listen for the submit event of the form and apply custom functionalities like making an AJAX request.
The fetch method returns a promise. If your browser support allows it you can use an async function as a submit handler to avoid callbacks and then-chains combined with await and a try/catch.
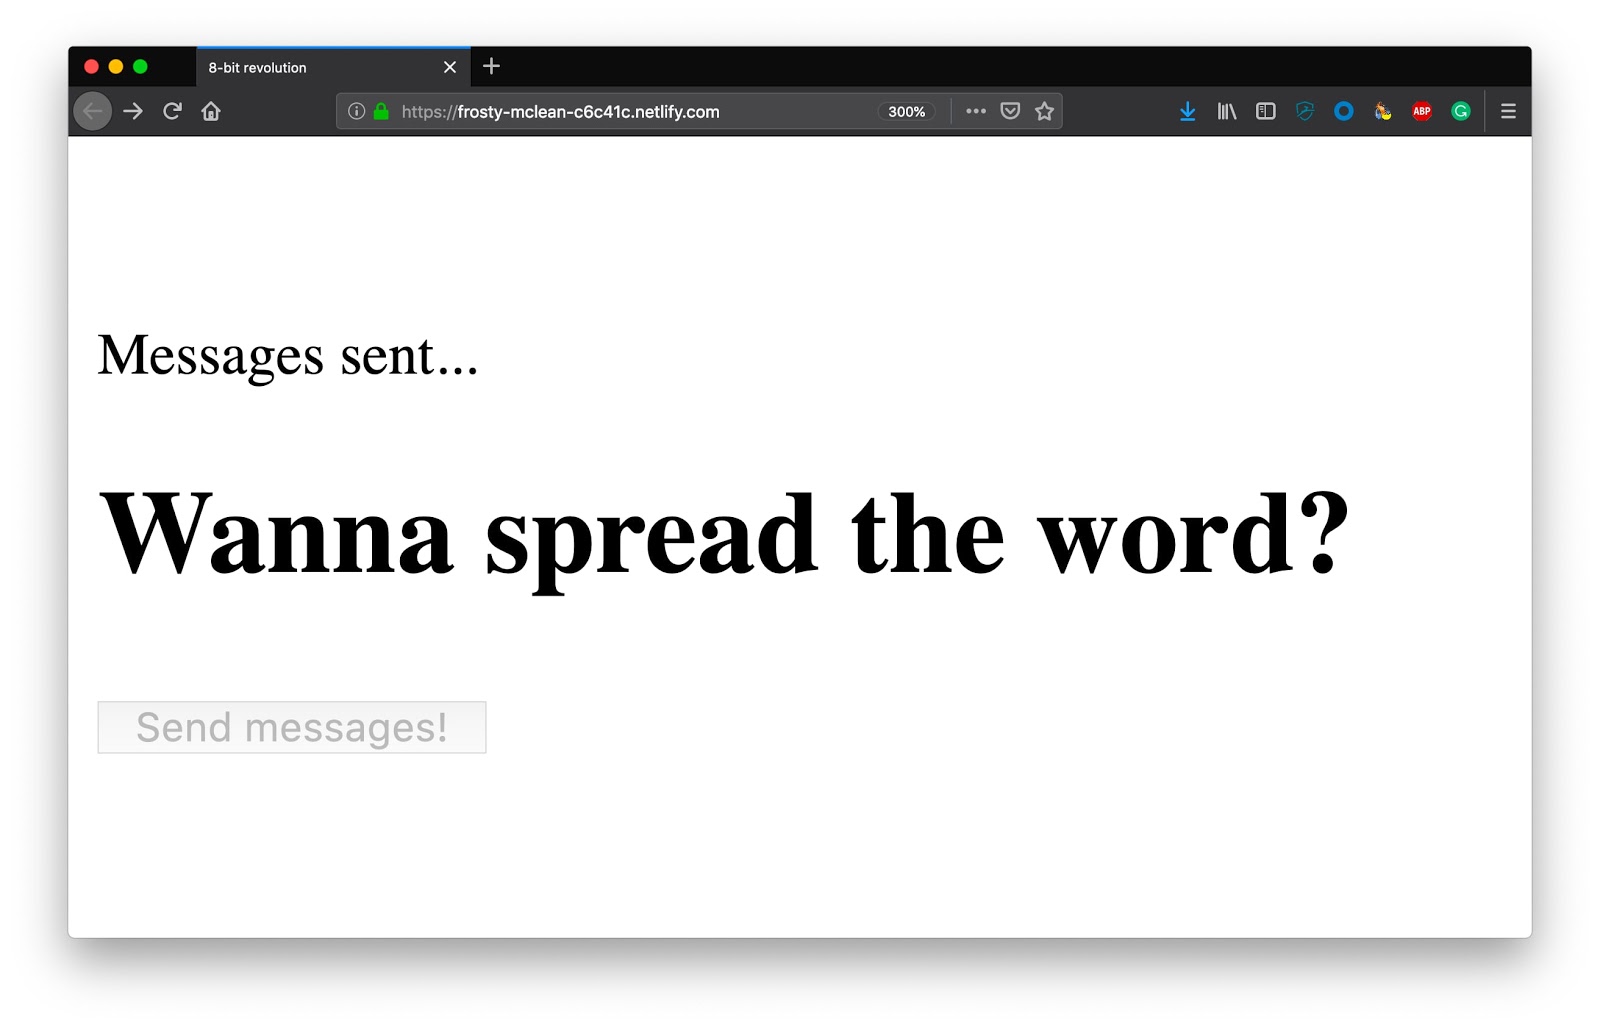
Push the code and wait for the deploy. When you test the form submission you’ll see that the form submission works and that the site shows you a success message but it is not sending any messages yet.
Before you implement the SMS sending part let’s bring the 8-bit style back into the site. Copy the styles from the example repository and paste them into a new file styles.css in your dist directory. Additionally, add a link to a Google font which is referenced in the just-pasted styles to the index.html.
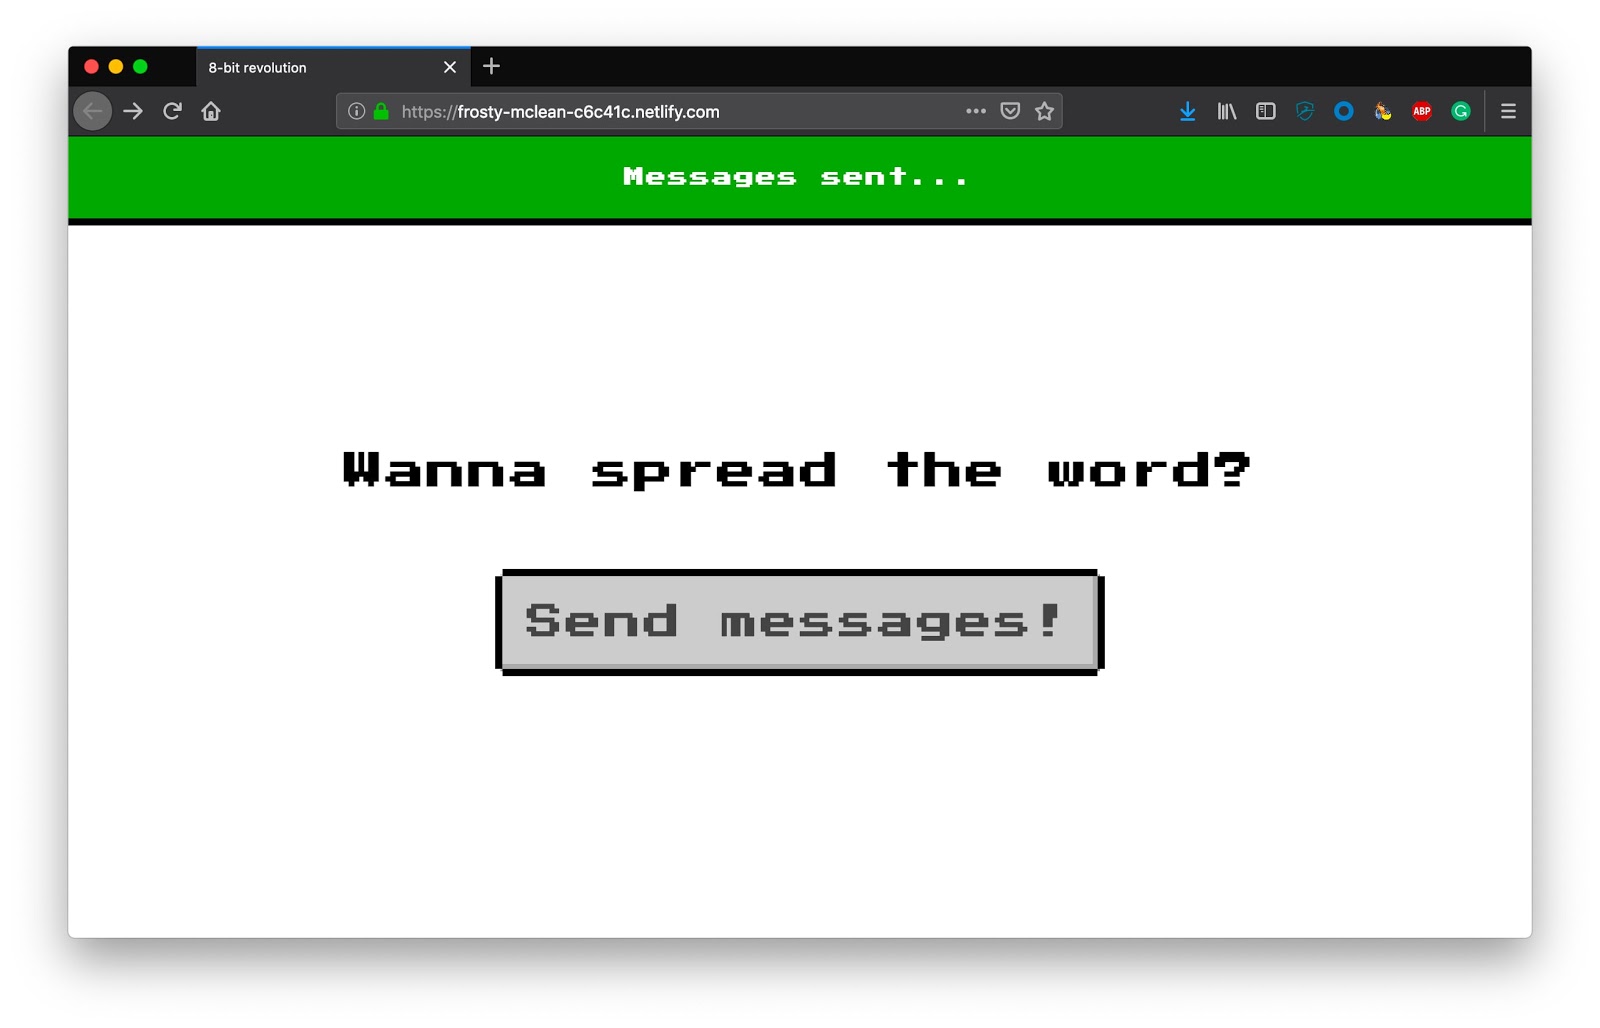
Not too bad! Now that your site looks nice and “8-bit’y” let’s implement the SMS functionality.
Reacting to submitted forms using serverless functions
When a user submits the form nothing happens except Netlify stores the form data. To implement the SMS-sending functionality you can use serverless functions provided by Netlify. It’s recommended to use the netlify-lambda npm package to create these functions. Install the package via the command line.
netlify-lambda inlines all the dependencies included in your functions so that they become executable in the Netlify environment. Create a directory called functions and add a JavaScript file submission-created.js. Netlify follows naming conventions to run functions after certain events. Additionally, you can give your function file a name that is not included in the list to spin up new HTTP endpoints, too.
Before you can generate the function you have to define the directory in which it should be stored. Create a netlify.toml file inside of your project root. Define the [build] property and include the configuration that your generated ready-to-run functions will be stored in the .functions directory.
Adjust your package.json to build your serverless functions during deploys.
When you run npm run build locally it generates a new .functions directory including the functions that are ready to run on Netlify. The new .functions directory includes generated code and might not be worth checking into git and pushing to GitHub. Make sure to create a .gitignore file that includes the generated directory.
With these adjustments, you can commit and push to GitHub. Netlify will automatically deploy the website including the function that runs when someone submits the form.
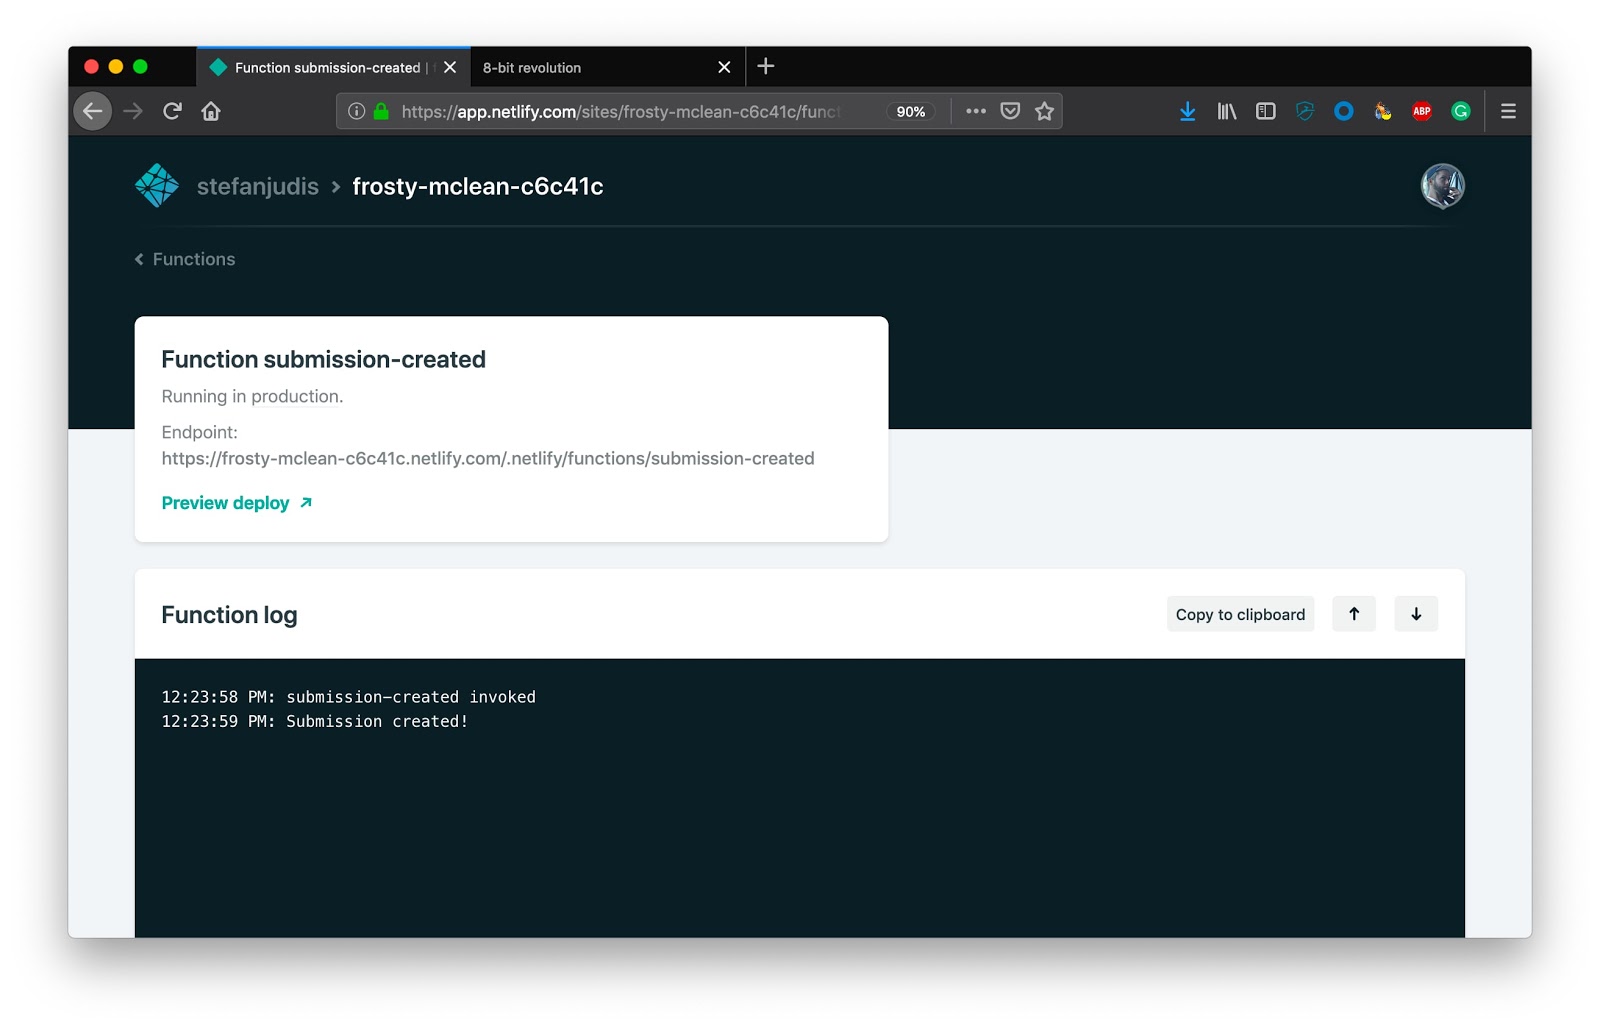
When you submit the form to tell the world about 8-bit and get to the function log in Netlify you will see the “Submission created!” message.
Sending SMS’s within a serverless function
Your function is ready to react to form submission at this point and you can start sending text messages. To send messages with Twilio you have to define sensitive information like your account SID, your account token, and the phone numbers of the people you want to send messages to. Make sure these don’t make it into a public git repository.
Install the dotenv package using npm install --save dotenv. It allows you to read configuration variables from a .env file in the root of the directory and makes them accessible in your serverless function via process.env. Create the .env file, include it in your .gitignore, and define the following values, replacing them with your own:
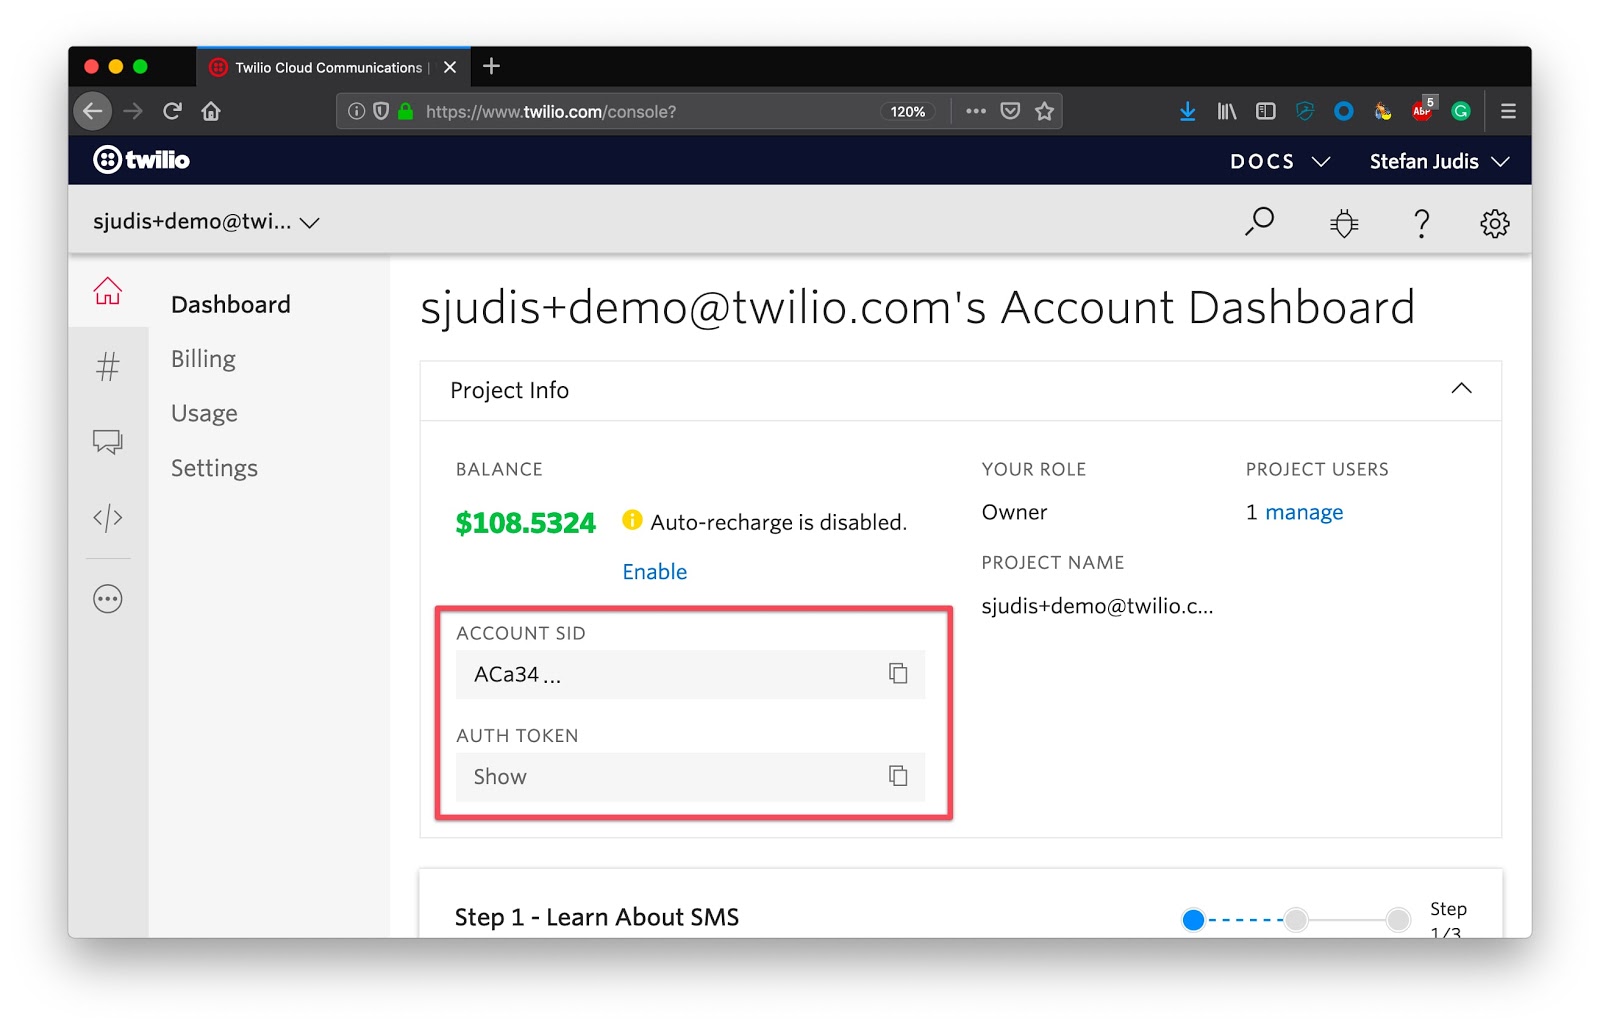
To get all these values, log into Twilio. You can find your account SID and auth token in the dashboard. The auth token is very sensitive information because it can grant the same access as the current user has. I recommend to catch up on some best practices to keep your auth token secure before proceeding.[a]
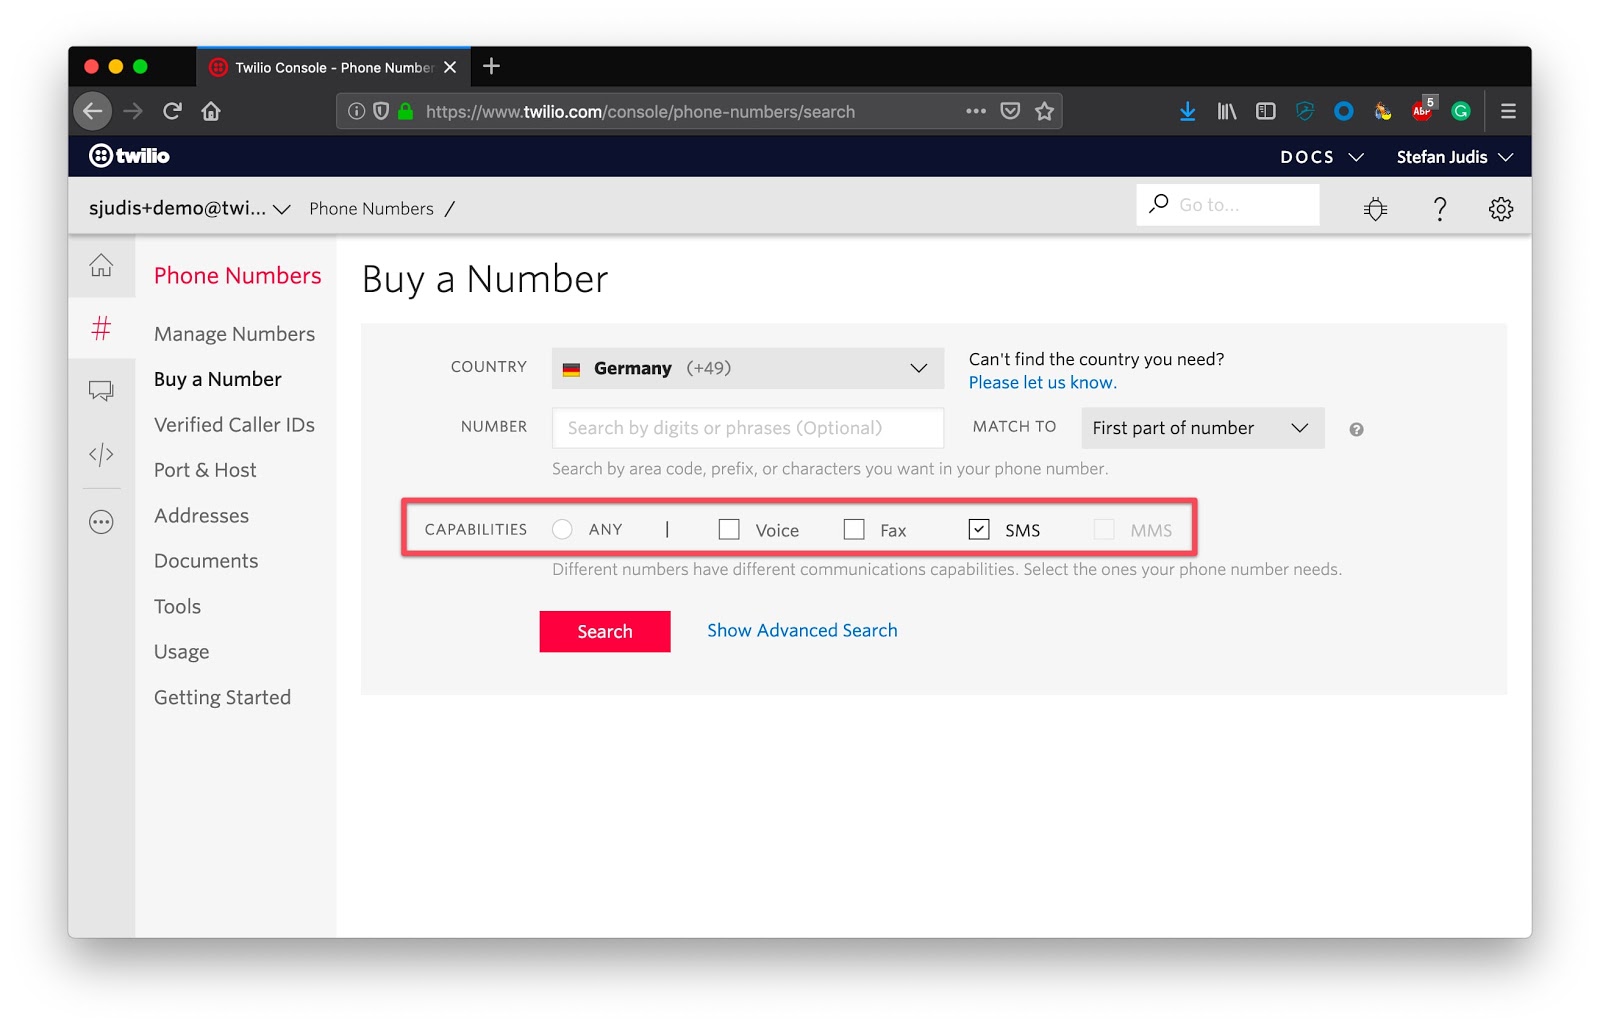
Next, you need to buy a Twilio phone number. Make sure you buy one with SMS capabilities.
After you purchased a number you can define the message that will be sent and the numbers of your recipients in the configuration file yourself.
Your .env file should look like this then:
Adjust your function to access the above-defined values.
Install the Twilio helper library on the command line.
With the Twilio helper library at hand, you can now send text messages. Replace the log message and add the following.
To run your function locally add a serve command to the package.json to spin up a local development server.
The above netlify-lambda command will build and generate your function and open an HTTP endpoint. If you run npm run serve and then open http://localhost:9000/submission-created it will run your function and send SMS messages. 🎉
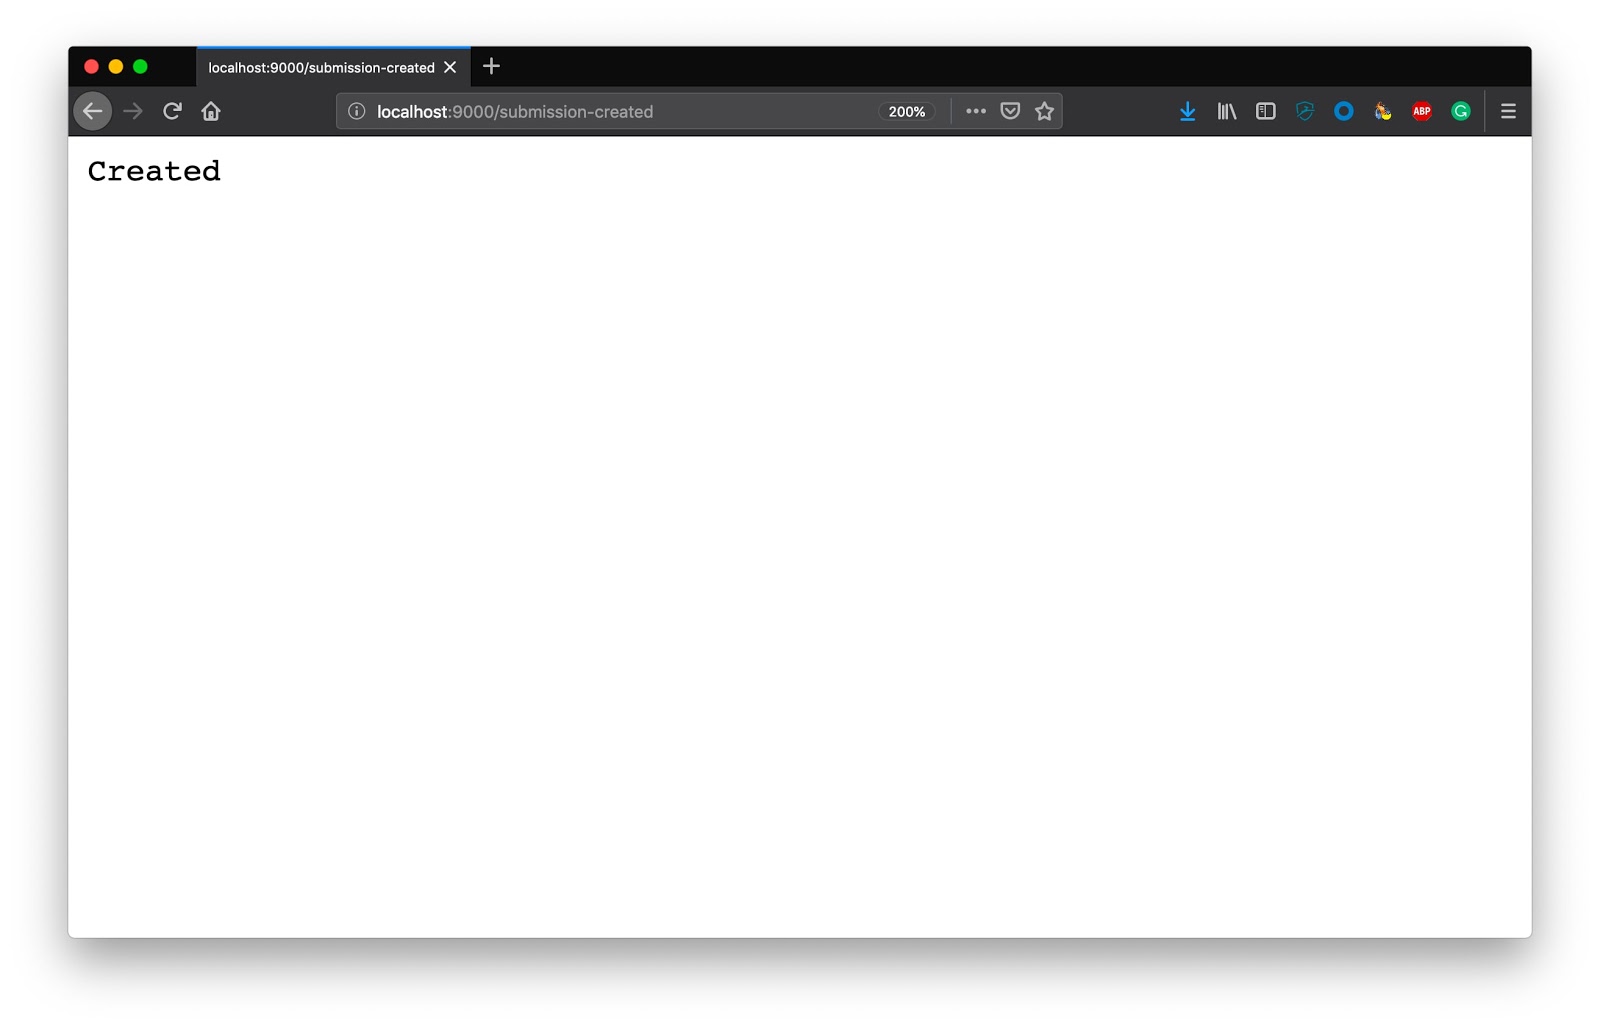
Commit and push the new function and wait for the deploy. But wait… when you try to send an SMS by pressing the button on the deployed Netlify site you’ll discover that it doesn’t work yet. Remember that you put your .env file into .gitignore?
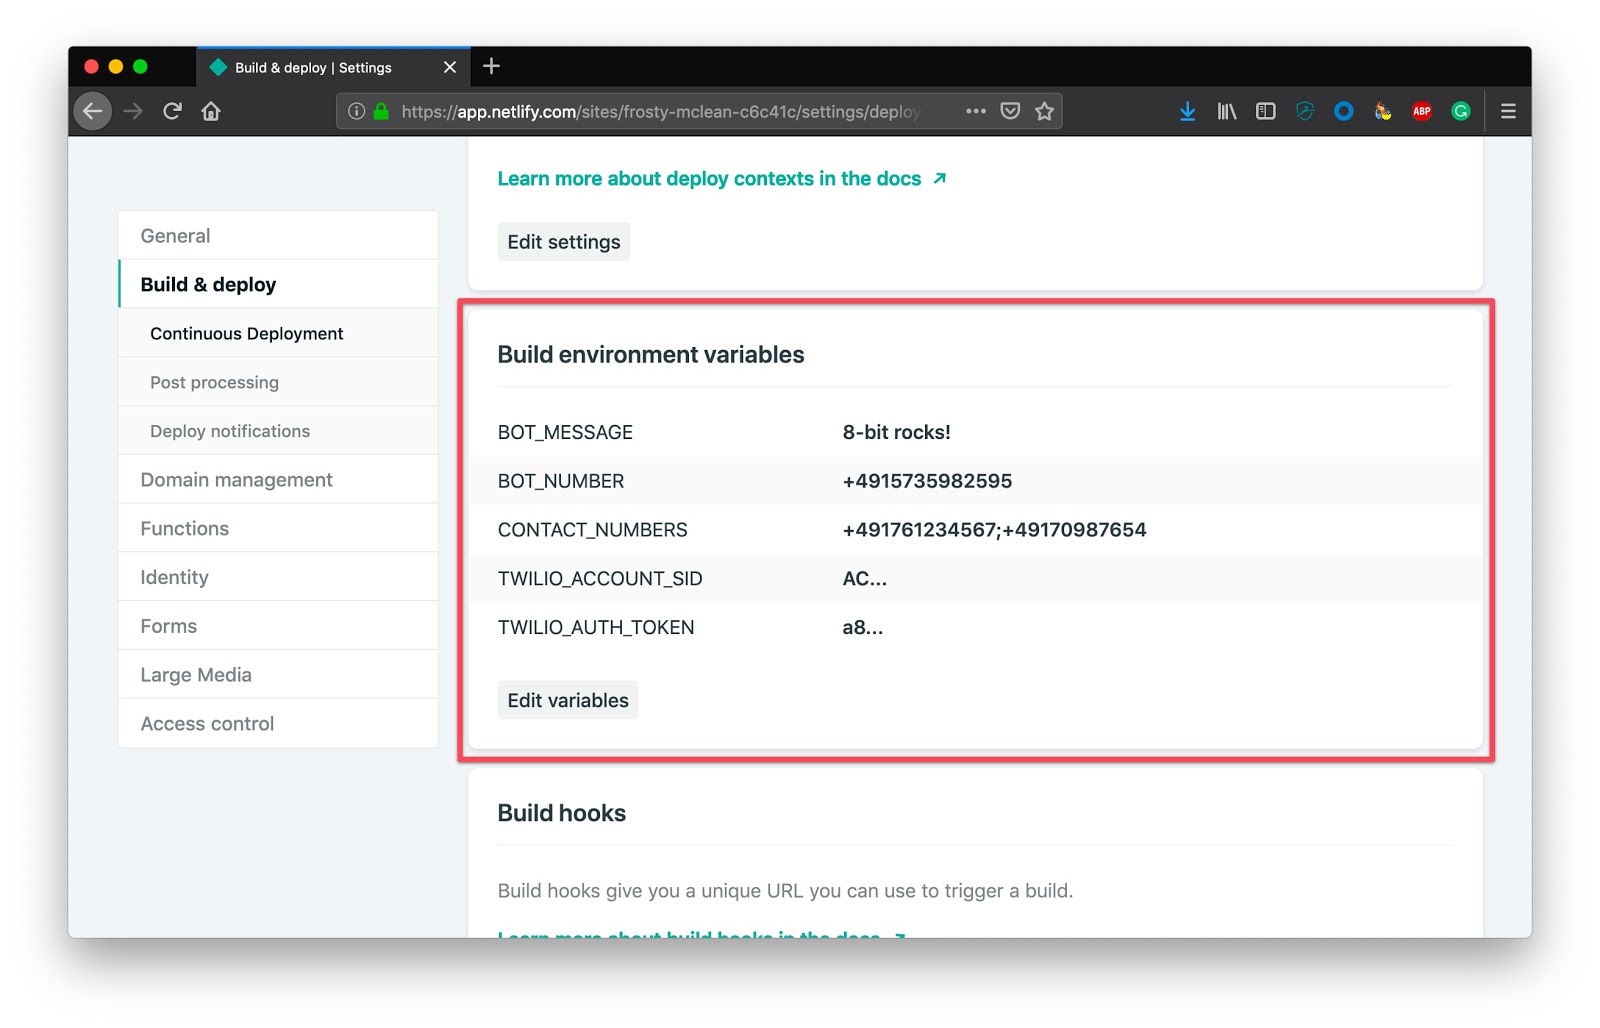
Working with .env files in combination with environment variables is a common practice to avoid leaking credentials. Using dotenv you can make sure your application works with both defined environment variables and .env configuration files. Locally dotenv reads the .env file and places values in process.env. In production – you have to define these environment variables in process.env yourself. This way you don’t have to place credentials in public places.
You can define environment variables in the Netlify admin area under “Build”, “Build settings” and “Build environment variables”.
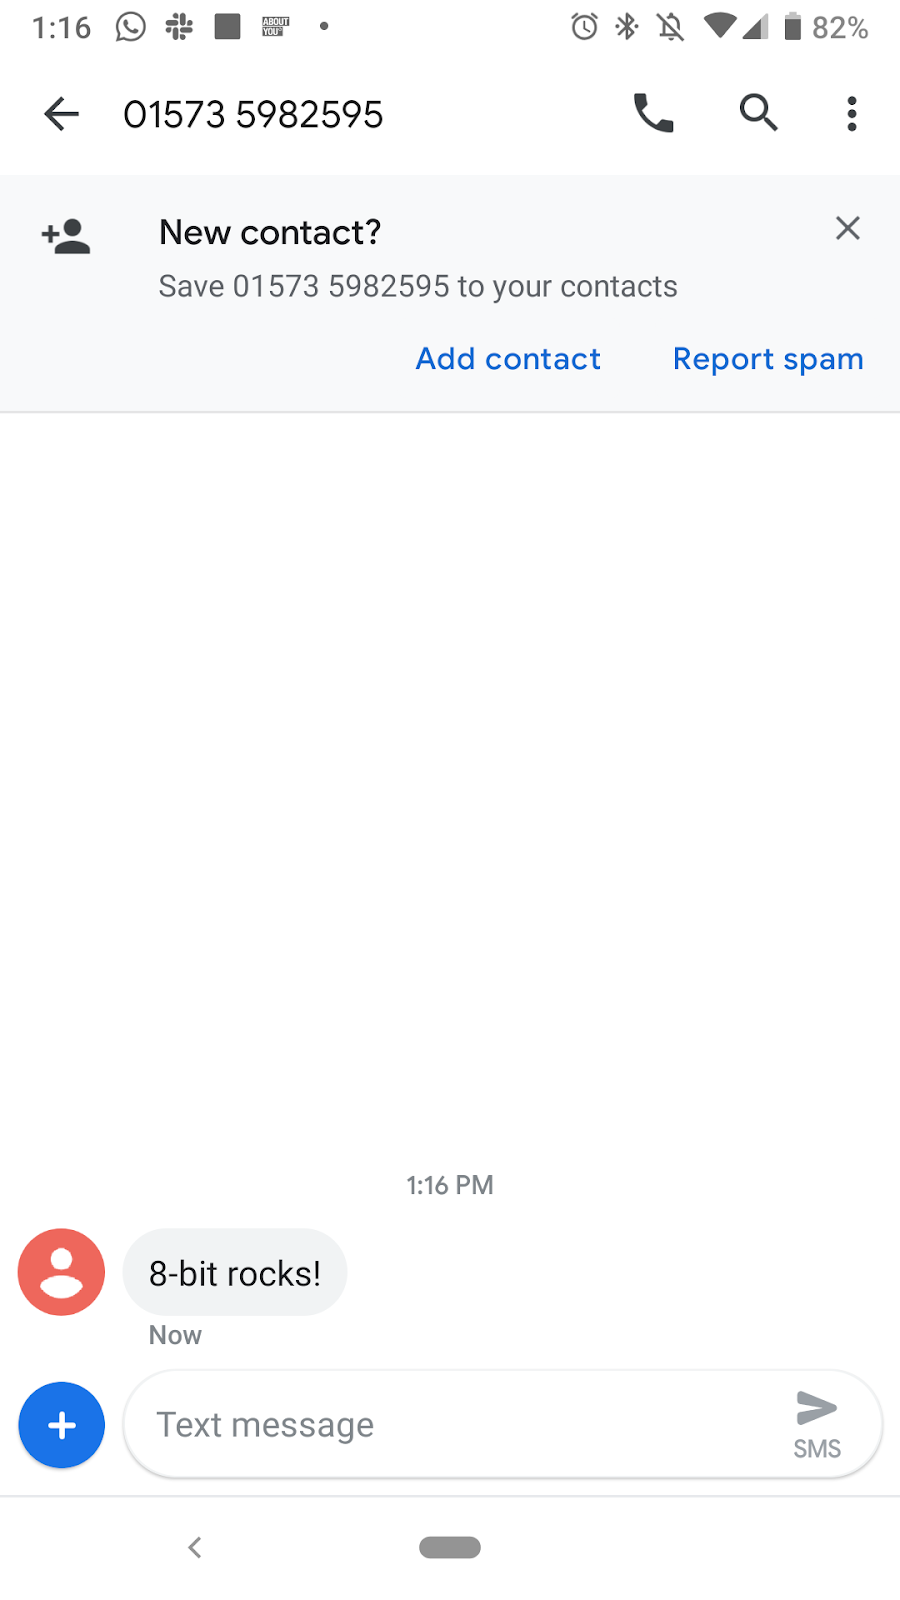
You can find the final function implementation on GitHub.
Conclusion
In this tutorial, you learned how to deploy static sites with Netlify, enrich your sites using serverless functions, and send an SMS using Twilio.
Serverless functions are perfect connectors in the API-driven world we live in. They can connect services, accept webhooks, or even respond to SMS messages.
Let me know what messages you send. You can find the complete code on GitHub. It includes a more sophisticated form submission flow which you might want to check out.
If you have any questions please don’t hesitate to reach out on the following channels:
- Email: sjudis@twilio.com
- Github: stefanjudis
- Twitter: @stefanjudis
Related Posts
Related Resources
Twilio Docs
From APIs to SDKs to sample apps
API reference documentation, SDKs, helper libraries, quickstarts, and tutorials for your language and platform.
Resource Center
The latest ebooks, industry reports, and webinars
Learn from customer engagement experts to improve your own communication.
Ahoy
Twilio's developer community hub
Best practices, code samples, and inspiration to build communications and digital engagement experiences.


