Building Chat Interfaces Using JavaScript and React
Time to read:
This post is part of Twilio’s archive and may contain outdated information. We’re always building something new, so be sure to check out our latest posts for the most up-to-date insights.

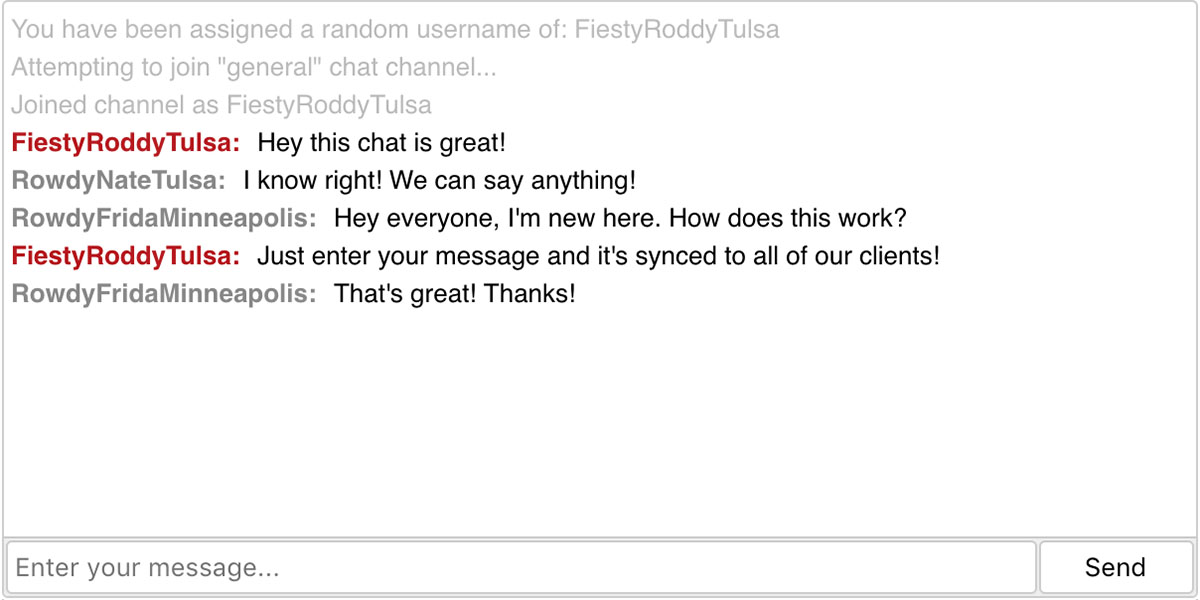
If you’re integrating a service like Twilio’s Programmable Chat into your website, you’re going to need an interface for users to interact with. Let’s use React and a suite of modern development tools to create an application for submitting and displaying chat messages.
Designing Our Interface
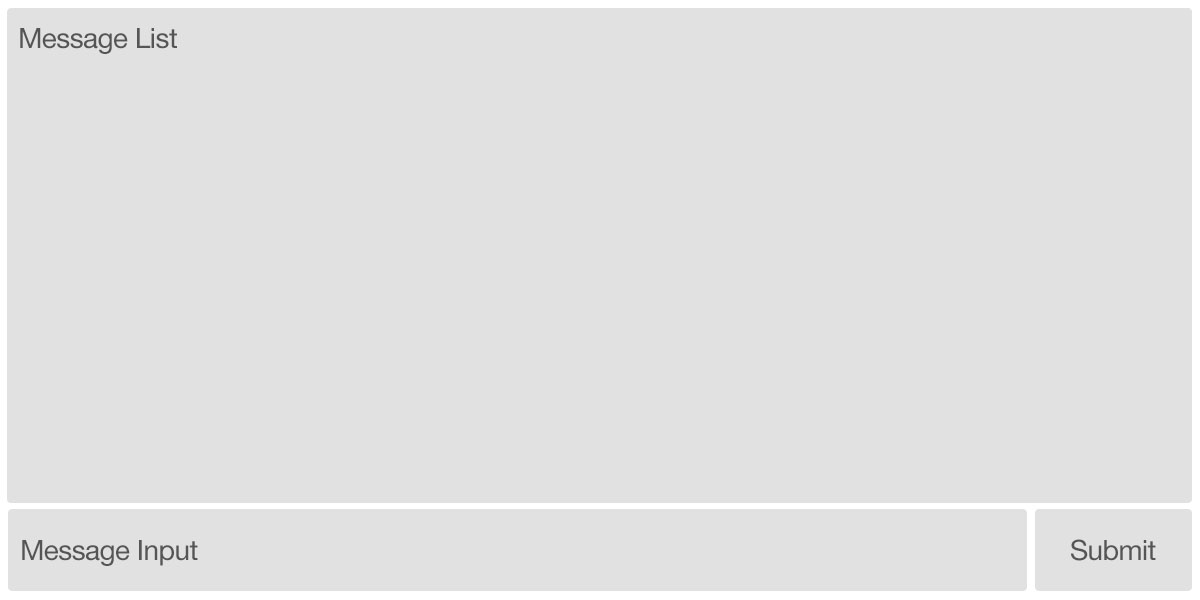
Before we begin building our chat interface, we should have an idea of what we want to create. Our chat application will have a container with a list of messages, and a form for writing and submitting messages. A simple design might look something like this:

As we build our our interface, we’ll identify any isolated piece of the UI that might contain its own state and behavior. Those will be our initial React components. In this simple design, the two most distinct areas are the message list and the message form.
Setting Up Our Development Environment
Developers working with React commonly use a modern build pipeline that includes Webpack and Babel. We’re going to use Create React App, a tool maintained by Facebook, to expedite our setup. While it’s possible to configure these tools individually, Create React App speeds things up by generating a complete React application with just one command.
With node 6 or later and npm installed, we can install create-react-app using the following command:
Let’s step into this new directory, start the application, and see what our default state looks like.
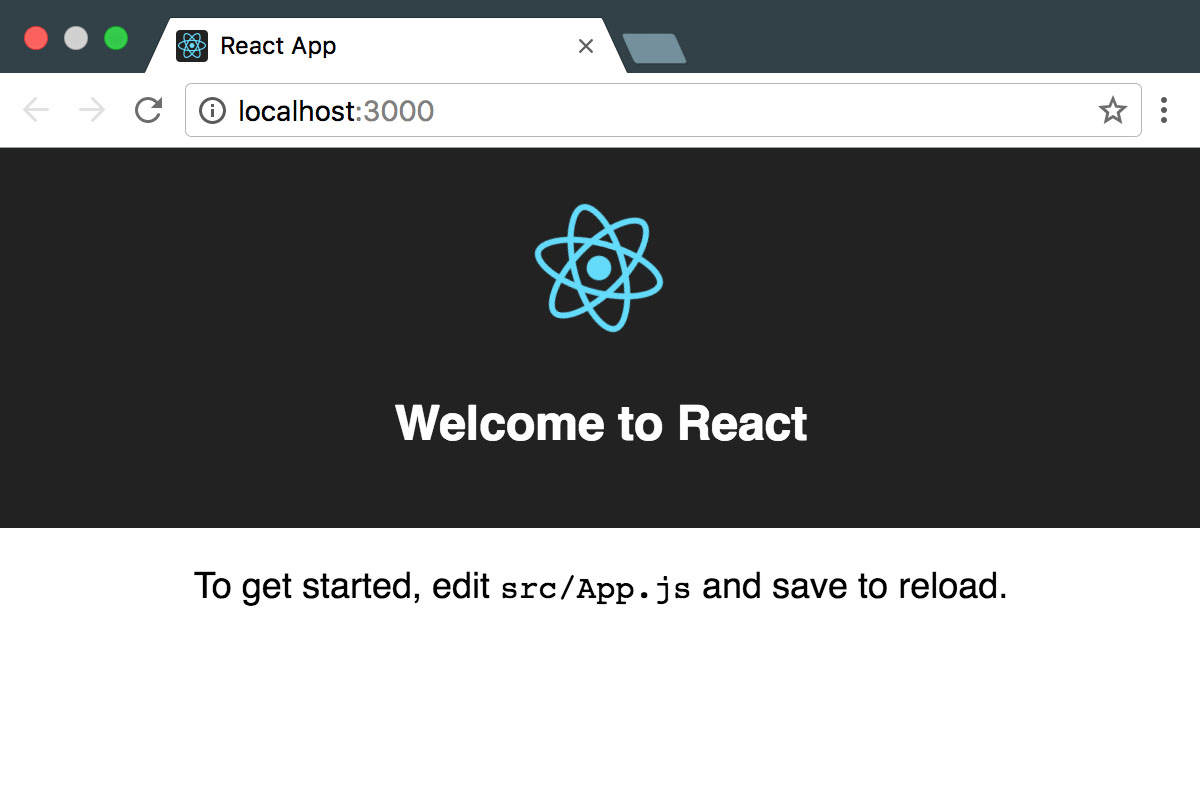
When we start the application, our build process will continue to run in our terminal and our browser will open a new tab. There, you’ll see a “Welcome to React” message with a spinning React logo and a little information on how to start changing this application.

From this point on, we’ll leave this build server running so that any changes we make are reflected in the browser.
Our First Component
In our application, App.js is our top level component. If we open up this file in our editor, we’ll see the contents of the component that was displayed in the browser.
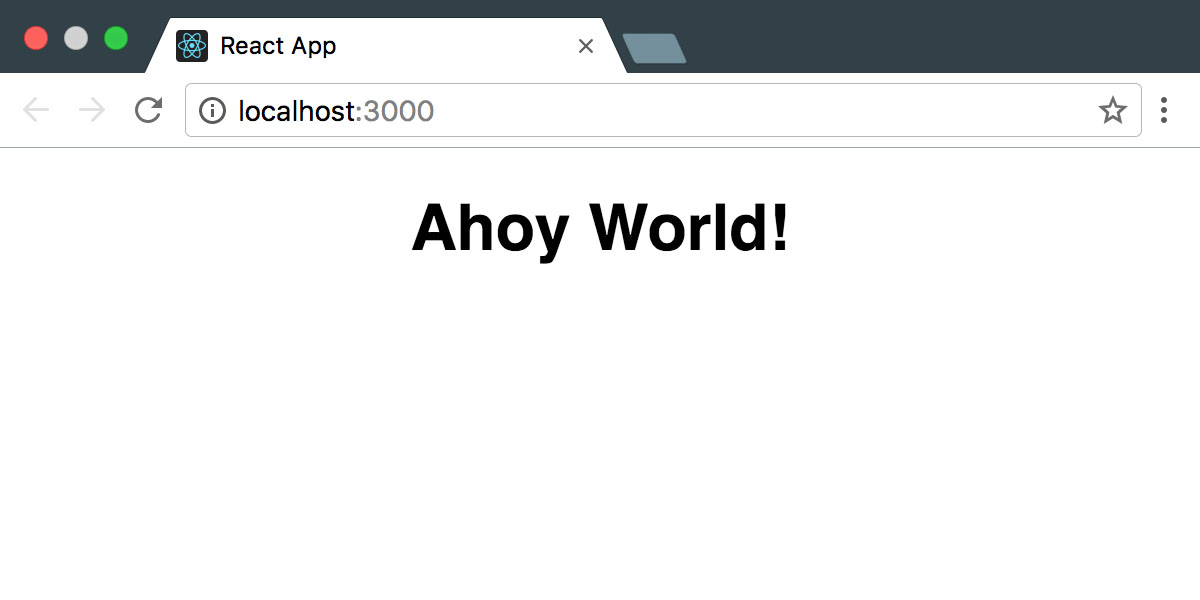
Any changes to this file should be reflected immediately in the browser. Let’s remove the logo import, replace the content in the render method with a simple “Ahoy World!” message, and save the file.

While we’re making changes to this component, let’s clean up the App.css file and setup some of the styles we’ll be using in our chat interface. First, replace all of the existing styles with the CSS below. Our new styles will immediately be reflected in the browser as soon as we save the file.
Displaying Messages
In our wireframe, we identified a list of messages as one of the distinct components of our interface. We’ll begin implementing the message list by importing a new MessageList component at the top of App.js, adding a reference to this component in the render method, and updating our application’s layout styles:
If we save these files now, we’ll see an error in our build process that looks something like this:
As we build our chat interface, this build process and the corresponding browser tab will continue to notify us of any issues with our application. To fix this error, we’ll need to create a new file at ./src/MessageList.js. We’ll also create a stylesheet for this component at ./src/MessageList.css:

When we save these files our error will go away, but now we’re just rendering a few static messages. Ideally we’ll want this component to accept a list of messages as a prop, then iterate over that list rendering each one. In order to define the types of data we expect for our props we’ll want to install the prop-types library.
Now, we’ll import the PropTypes object and define two static variables for our expected and default props. Well expect our messages prop to be an array of objects, and the default value of messages will be an empty array.
In the render method we’ll iterate over our new array of messages using map and return an html element containing the message content.
If we save the MessageList component now we shouldn’t have any errors. But, without any messages being passed into our component we’re only rendering an empty div. We want our top level App component to be responsible for our application’s state, so we’ll need to make a few changes there in order to display our messages again.
In the constructor of our App component, we’ll begin defining our initial state. Right now our state will include a single key messages, which will be an array of message objects. The three things we might ultimately need to know about our messages are the name of the author, the body of the message, and whether or not this is a message from ourselves so that we can style our own messages differently from other users.
Next, we’ll update our render method so that it passes these messages to our MessageList component.

Styling Messages
This is a great start, but we need to style these messages, and we want to display system messages and user messages differently from our own. Those differences in style require a little logic, so let’s create another component for an individual message. We’ll import a new Message component, then pass the properties of our message object as props.
We’ll probably see another error in our build process telling us that the Message component doesn’t exist. Let’s create the Message component, define it’s required PropTypes give it a render method that matches the markup we were previously using in the MessageList component.
To style the messages differently, we’ll want to apply different CSS classes. We could write a few conditionals that build up a class name string, but there’s actually a great library that can help us conditionally join classes together called classnames.
The classnames library lets us pass both string arguments, and an object with keys and boolean values to the function classNames, and it returns a concatenated string consisting of string values, and any object keys that had truthy values. In our Message component, we’ll want to conditionally add two classes to each message. If our message has no author, we’ll assume it’s a system message and give it the class log, and we’ll also give it the class me if the me prop passed to our component is truthy.
Finally, we’ll create a Message.css file with the corresponding styles for our classnames.

Our messages are looking a lot nicer. We’ve got distinct styles for system logs, our messages, and other users’ messages. Now, we need to add the ability to create messages.
Creating New Messages
First, we’ll import and render a new MessageForm component in App.js. We’ll pass this component a prop called onMessageSend, and define a method that should be called when a new message is created. This method, handleNewMessage, will set the state of the app’s messages to all of the previous messages, plus our new message with the author set to “Me”, the me attribute set to true, and whatever text is passed into the method as the body of the message.
We’ll also update our App.css file again with layout styles for the MessagesForm component.
Our MessageForm component will require one function prop, onMessageSend, which we’re passing when rendering this component from App.js. In our render method, we define a simple form with a text input and a submit button. When that form is submitted, it will call the method handleFormSubmit which will prevent the default form submit, pass the current value of the text input to the onMessageSend function, then reset the value of the text input to an empty string.
Again, we’ll also create the stylesheet for this component.

With the addition of the MessageForm component, we now have a working one-sided chat application! If we begin typing and submitting messages, they’ll appear in the message log.

One final issue you might have noticed is that if we send enough messages to fill up our message list window, they begin scrolling off of the screen. With a small addition to our MessageList component, we can resolve this.
Right after our defaultProps definition in ./src/MessageList.js, we’ll add a componentDidUpdate lifecycle hook to our application that will scroll to the bottom of the window whenever the component is updated. In the render method for that component, we’ll also add a callback ref that defines this.node in our component.
What Did We Build?
Using Create React App, we generated a new application, then developed components for submitting and displaying new messages which we stored in our App component’s state. If we now wanted to integrate a service like Twilio’s Programmable Chat into this interface, we would just need to change the behavior of our App component’s handleNewMessage method.
For an idea of how to implement Twilio’s Programmable Chat, I recommend taking a look at Twilio’s JavaScript Quickstart guide.
Code for this article is available on github. If you’re interested in learning more about the build tools we used, take a look at Create React App, Webpack, and Babel.
If you have any questions, comments, or suggestions for ways to improve this implementation, you can reach me at any of these:
- Email: email@kevinthompson.info
- Twitter: @kevinthompson
- Github: kevinthompson
Related Posts
Related Resources
Twilio Docs
From APIs to SDKs to sample apps
API reference documentation, SDKs, helper libraries, quickstarts, and tutorials for your language and platform.
Resource Center
The latest ebooks, industry reports, and webinars
Learn from customer engagement experts to improve your own communication.
Ahoy
Twilio's developer community hub
Best practices, code samples, and inspiration to build communications and digital engagement experiences.


