How to Build Chat into Ruby on Rails Applications
Time to read:
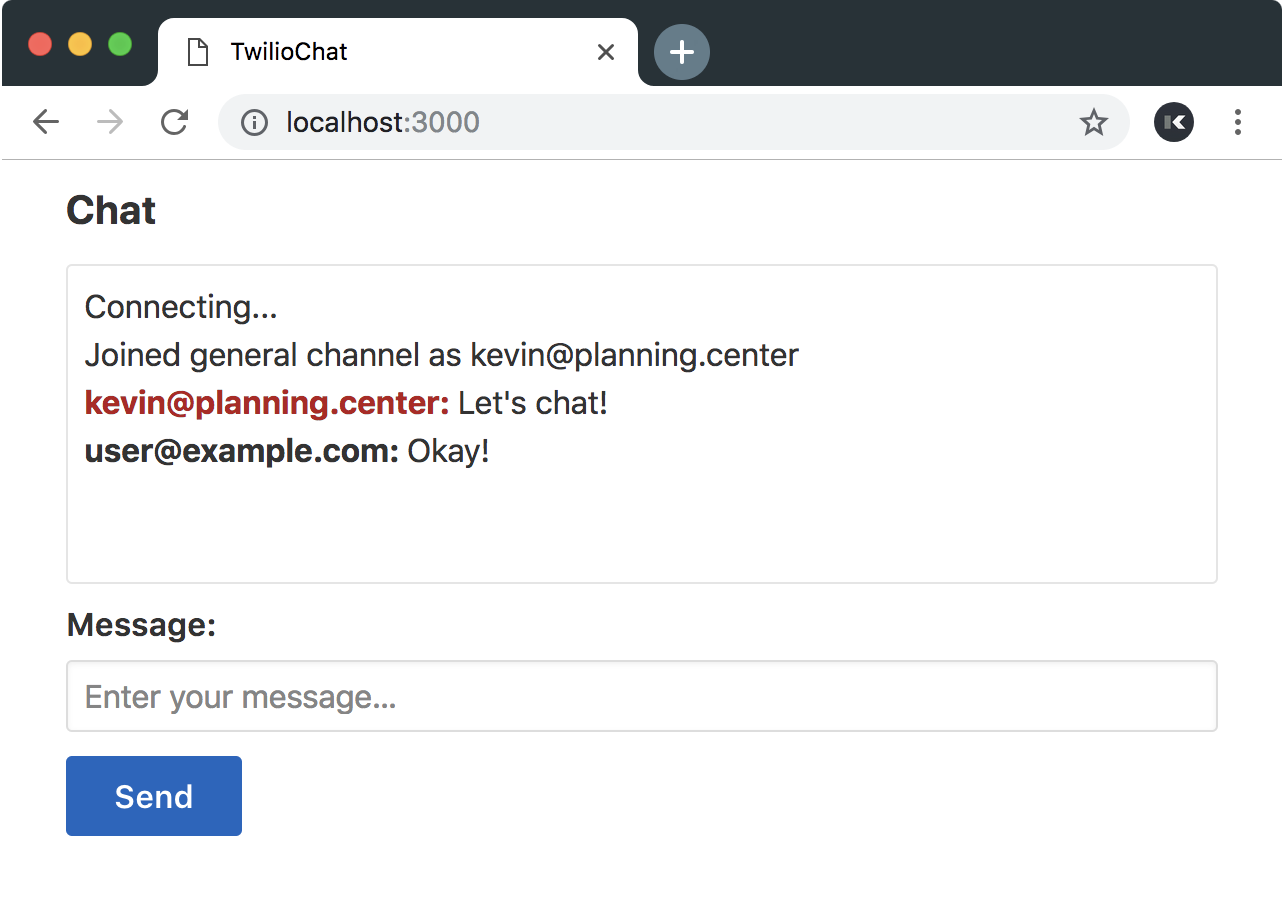
We build web applications for all kinds of projects. If you want to give support agents a way to communicate with customers, or provide your users with a place to share ideas, you might find yourself wanting to add messaging to your application. Let's use Twilio Programmable Chat and Ruby on Rails to build a full-featured chat application from scratch.
Creating a New Rails App
First we'll make sure we've got a recent version of Ruby installed, then we'll install Rails and create a new application.
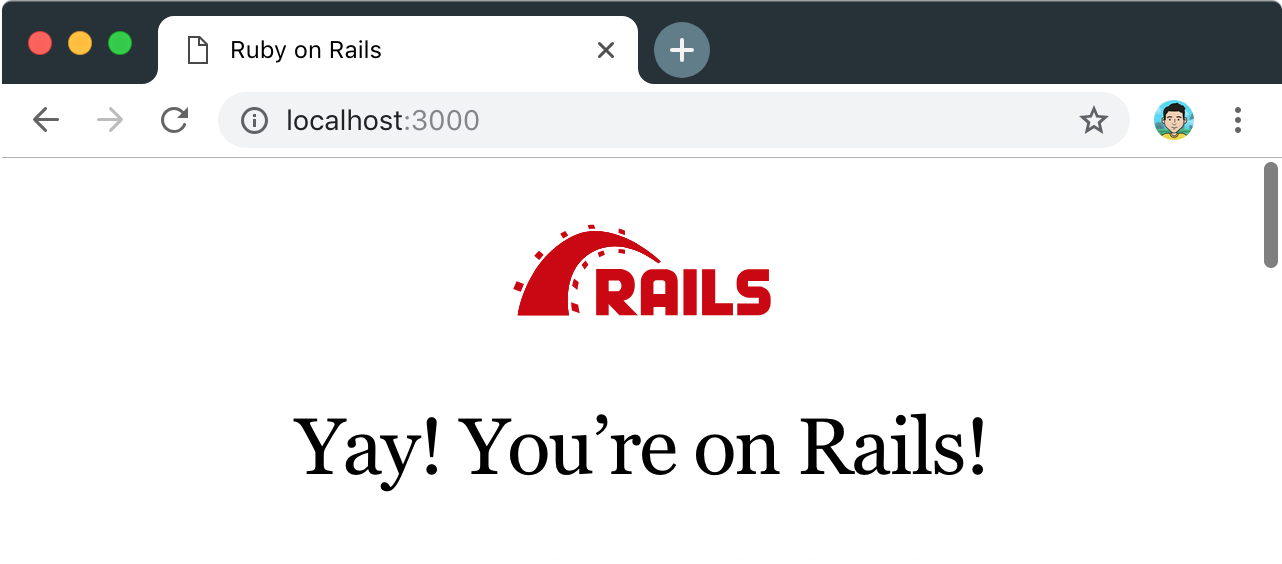
The last command will generate our Rails application in the twilio-chat directory. If we move into our newly created directory and start our server, then visit http://localhost:3000 in our browser, we should see the default Rails server page.
Adding a Default Action
Now let's return to our terminal and stop our Rails server by pressing Ctrl-C. Next, we'll create a simple controller and view that will serve our chat interface. I've written up the basic markup that we'll need for our chat interface below.
We'll define a new default route in config/routes.rb that points to our ChatsController show action so that it loads by default.
If we start our server again by typing rails s into our terminal, then open our application at http://localhost:3000, we'll see our new default page.
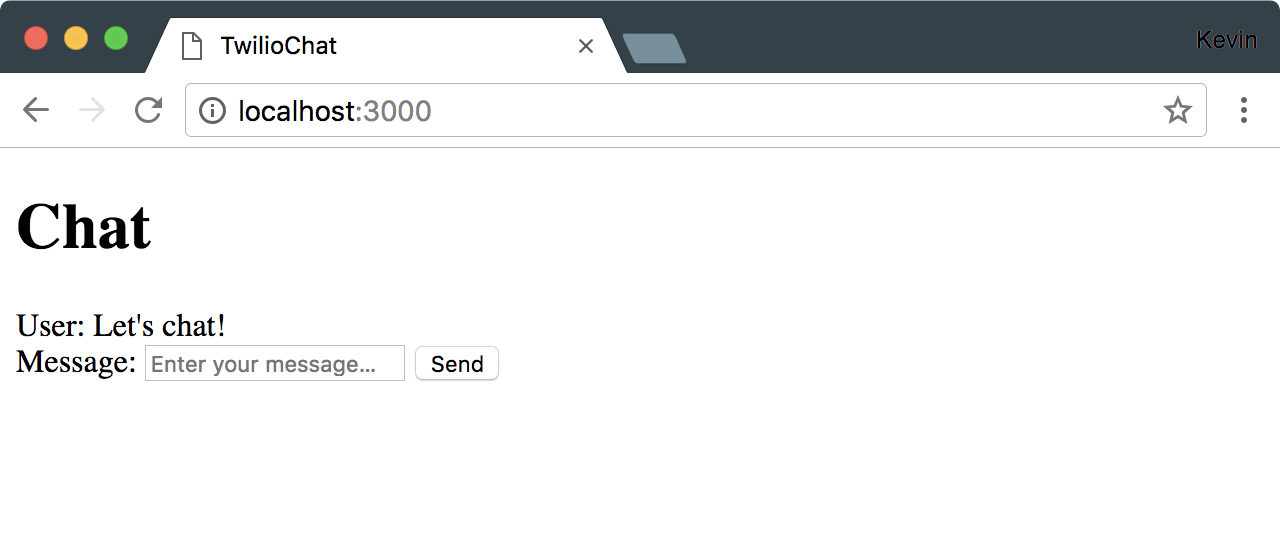
We're making progress, but our app doesn't look too great right now. Let's take a quick detour and give our application some style.
Adding Some Style with Bourbon and Bitters
Bourbon is a lightweight SASS toolset and Bitters is a set of predefined styles built on top of Bourbon that provides nice defaults for our forms. Together they'll help our application look a bit nicer without too much work.
We'll install Bourbon by adding it to our Gemfile and then running bundle install in our terminal.
Because Bourbon uses SASS, we need to move our application.css file over to application.scss.
We can go ahead and replace the entire contents of application.scss with the import for Bourbon.
The second library, Bitters, doesn't get added to our Gemfile because it's not a library our application will depend on, but a generator that creates stylesheets. To get the styles into our application, we need to install the Bitters gem, change to our stylesheets directory, then run the bitters install command.
We'll include the generated styles in our application.scss by importing base/base, which is the root stylesheet Bitters created for us.
While we're working with the styles, let's go ahead and define the rest of the styles that we'll need for our chat interface. Let’s add a container div to our layout, then update the styles in application.scss.
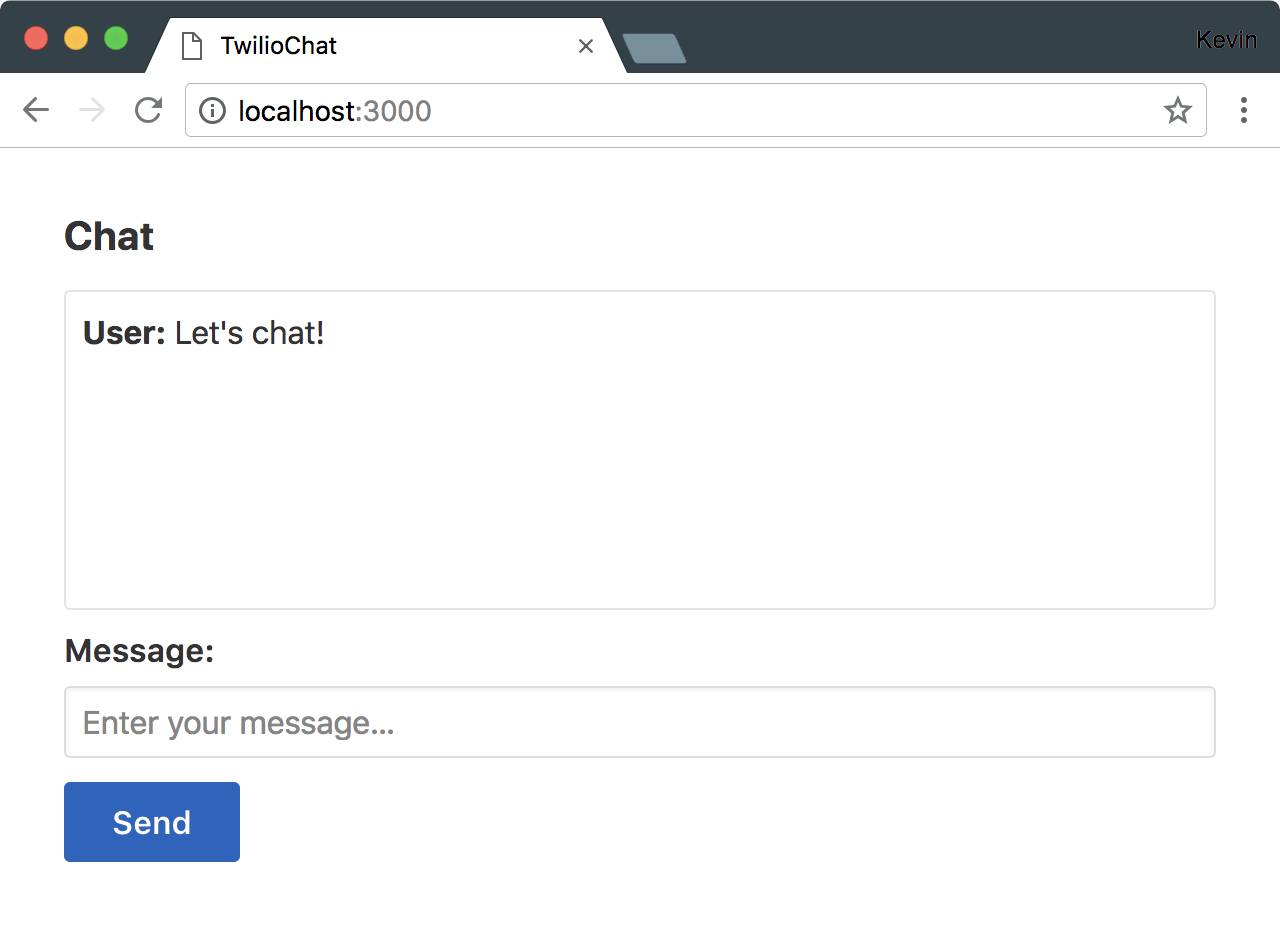
When we check out our application again, it will look a bit nicer.
Creating and Authenticating Users
Before we can actually implement chat, we need users, and those users will need a way to log in. We'll use the Clearance gem to streamline this process. Let's stop our server and add the gem to our Gemfile, bundle install, then run the Clearance installer command.
We'll update our development.rb file to include our mailer configuration so that when we send email from our development environment, the login links will work properly.
We also need a way to convey login messages to our users, and provide links for them to log into and out of our application. Clearance provides us with a bit of a boilerplate that we can add to our application.html.erb file to handle all of this for us. Let's replace the contents of the body tag with a new container div and the markup provided by Clearance.
We'll need to run the migration that Clearance generated for us which will create our users table.
When we start our application again, we'll have a "Sign In" link at the top of the page that will lead users through the sign in or sign up process.
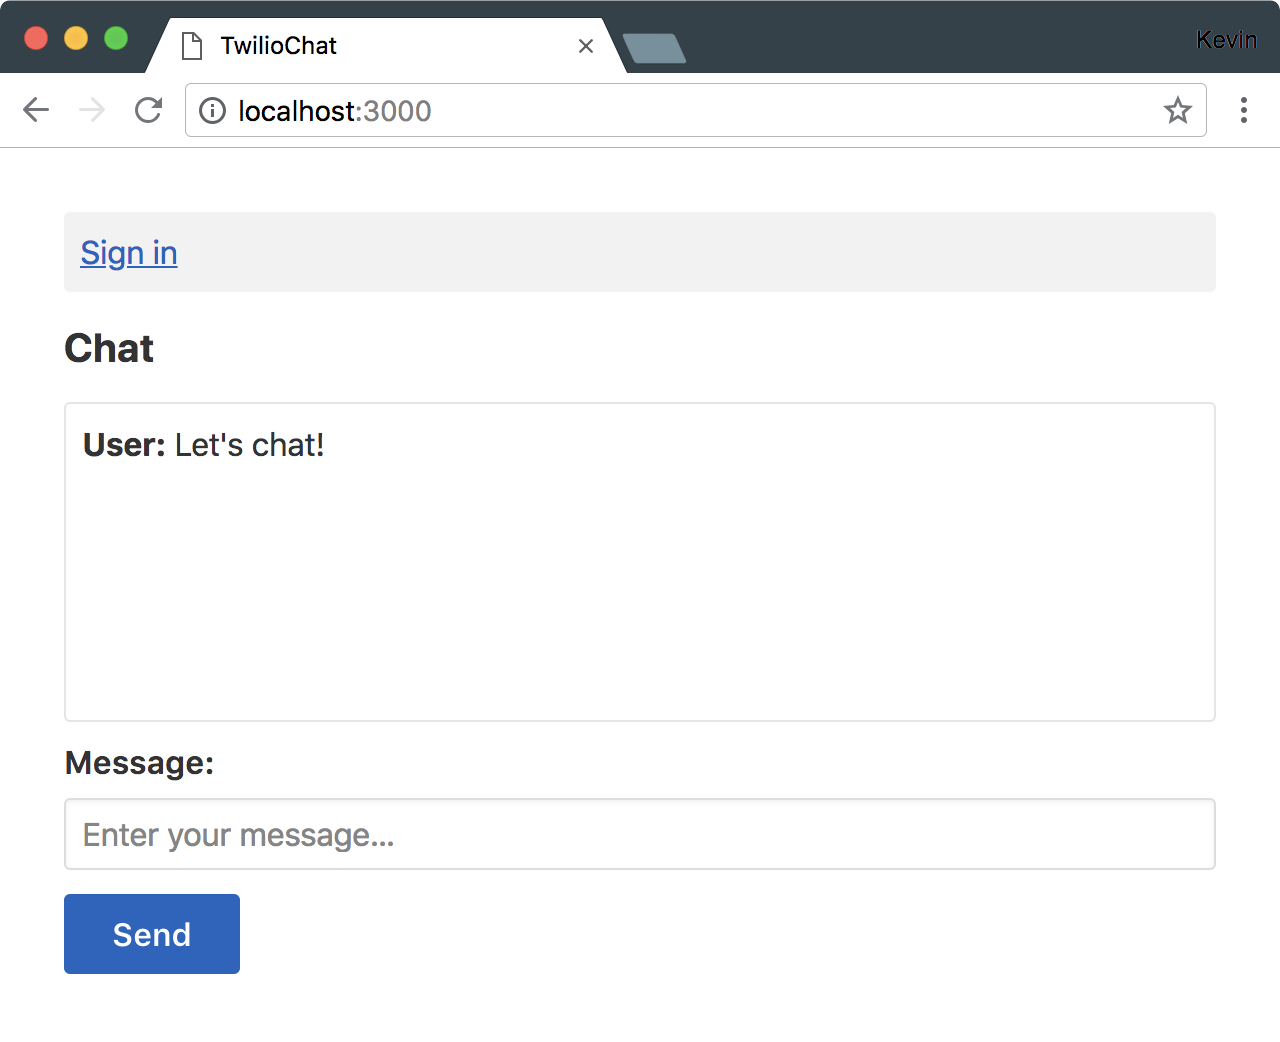
Because we're going to need a signed in user in order to chat, let's define that requirement in our ChatsController. Clearance provides us with a helper for this. All we need to do is add a single line at the top of our controller class.
When someone visits our chat page, they'll be redirected to our sign in page first.
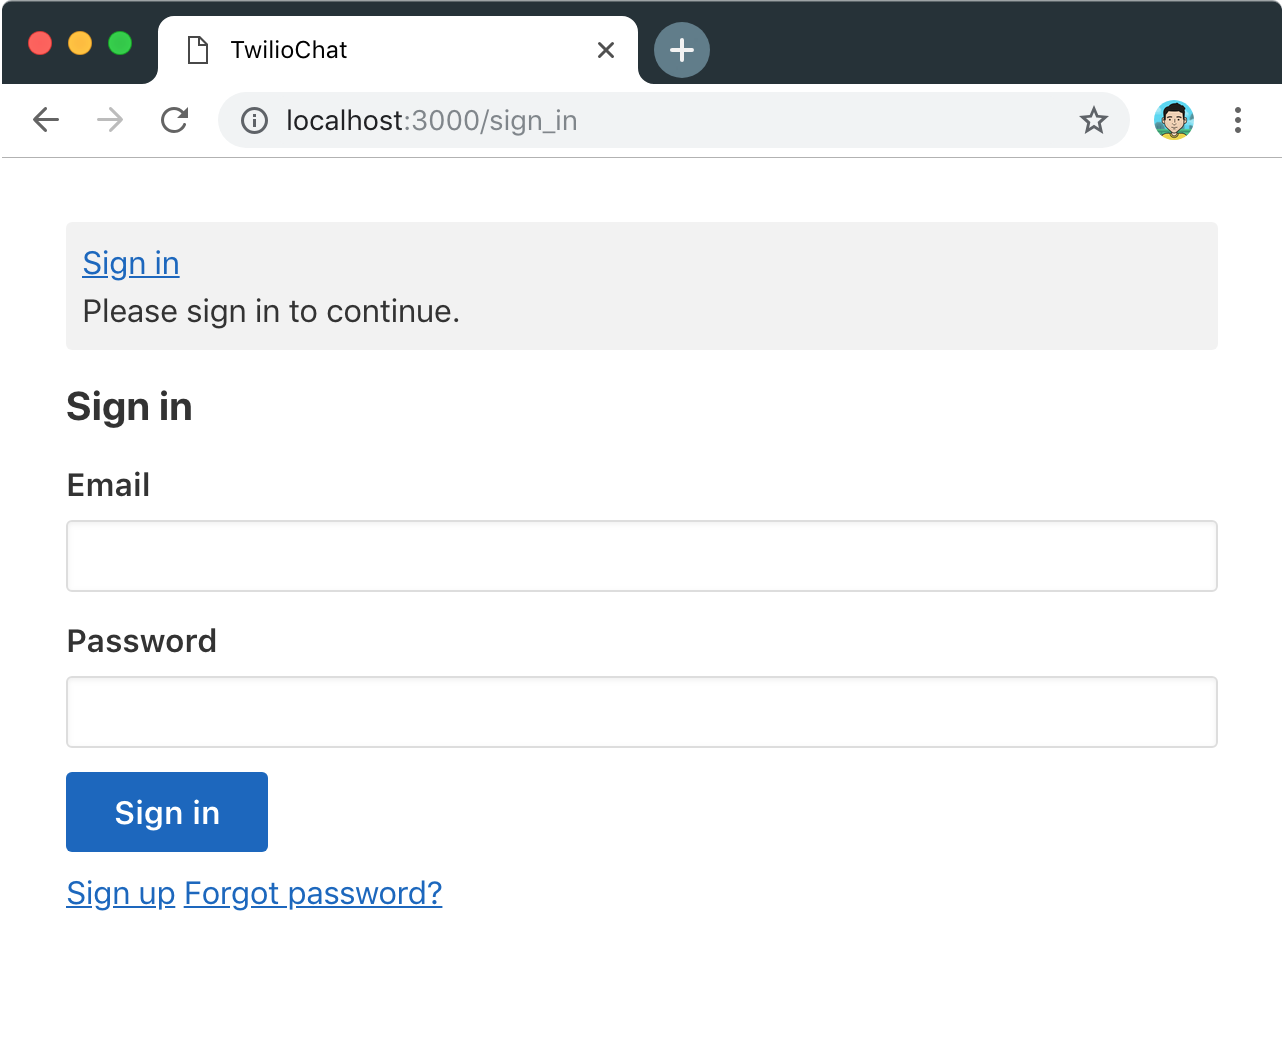
Now that we have an application that users can register for, we just need to create our own user, and then we're ready to start wiring up Programmable Chat.
Integrating Twilio Programmable Chat
If you don't yet have a Twilio account, you can create one for free. Once you're logged into your account, navigate to the Programmable Chat Dashboard and create a new chat service named "Twilio Chat". When we create this service, we'll be redirected to the configuration page. We don't need to make any changes on this page, but we will need access to the chat service ID and a few other credentials from our Rails application. So let’s create a new .env file to store them now.
The TWILIO_CHAT_SERVICE_SID should be available on the Programmable Chat overview page that we just ended up at. Our TWILIO_ACCOUNT_SID is available in the Twilio account console, and the API Key and Secret can be generated on the API Keys page. Finally, in order to access these environment variables in development, we'll add the dotenv gem to our Gemfile and bundle install again.
The next time we restart our server it will have access to these credentials through the ENV variable.
Generating a Token
Now that our credentials are available in our application, we can start communicating with our Programmable Chat instance. The first thing we'll need to be able to do is generate a secure token for our user. In Rails, this means adding a new controller and action, then creating a route to point to that action. Later we'll be calling this route from our JavaScript client.
First, we'll create a TokensController and give it a create action with a placeholder response. This is another controller that should only be used by a logged in user, so we'll be sure to include the before_action :require_login line from our ChatsController here as well.
In our routes file, we'll tell Rails we want to define a :tokens resource with only a create action.
To test this, we can add a little logic to our application.js file that will send a POST request to that route if we're on our chat page.
If our route works properly, when we visit our chat page with a logged in user, we should see { success: true } in our JavaScript console.;
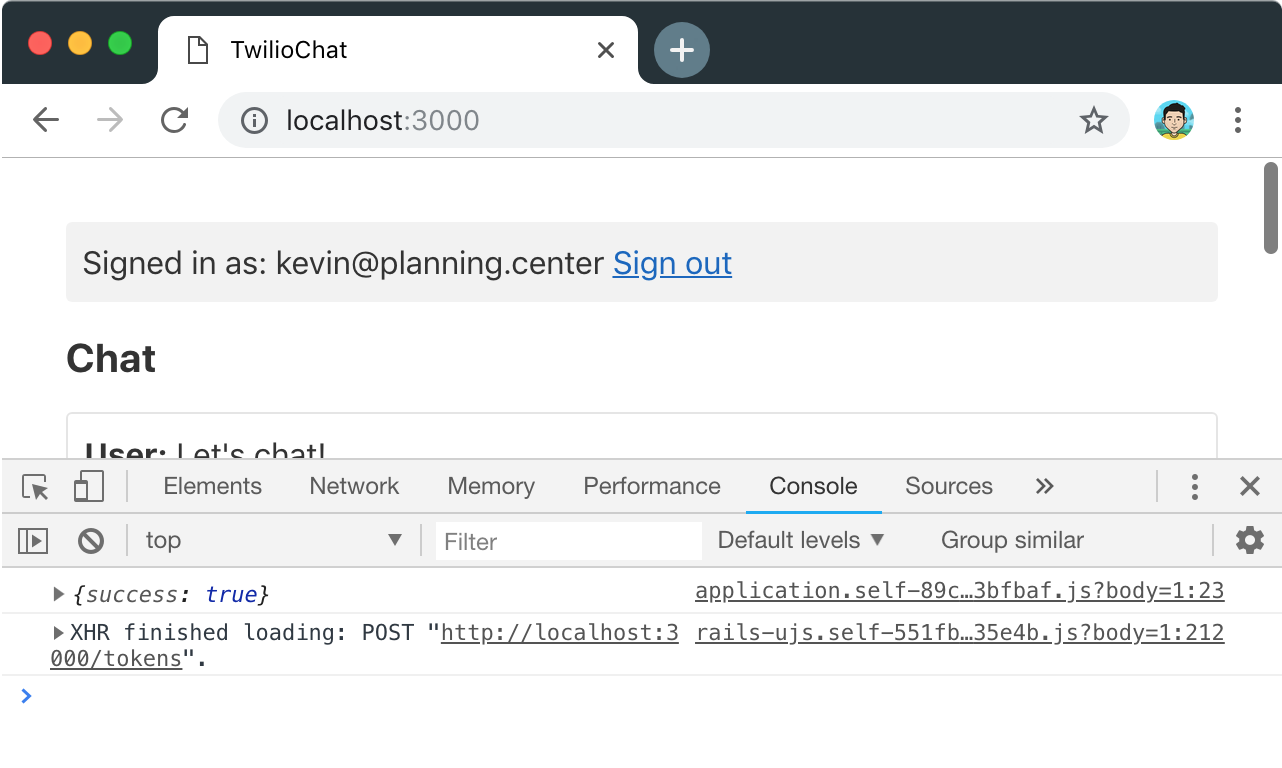
With that route working properly, let's replace the temporary logic in our TokensController with the code that will generate a token that can be verified by Twilio. We'll need to install another gem to get started. This time we'll add twilio-ruby and then bundle install.
In our TokensController, we'll swap out the placeholder response in our create action with the logic that will create a chat grant and access token, and then return the token along with the user’s identity.
When we refresh our chat page and take a look at our JavaScript console, we should see that it's returning a JavaScript object with a user identity and a token. Next, we'll start working with the Twilio JavaScript library to begin communicating with our Programmable Chat instance.
Creating a Channel
Before we can send and receive messages, we need to ensure that a channel exists. Let's write a little bit of logic that will check for the existence of a general channel, and create it if necessary. To do this, we're going to need to add two additional JavaScript tags to the <head> section of our application.html.erb in order to get access to the Twilio Chat JavaScript library.
We can omit the 'data-turbolinks-track': 'reload' attribute on these new JavaScript include tags because we do not want them to be reloaded when we deploy a new JavaScript bundle from our application.
In our application.js file, we can replace our console.log statement with the code to create a new chat client with the token we've generated, and then check if the "general" channel exists.
For now, let's handle the case where a channel does not yet exist. In the body of the function passed to catch, we'll create the channel and join it, then log that we've joined the channel to ensure that it's working.
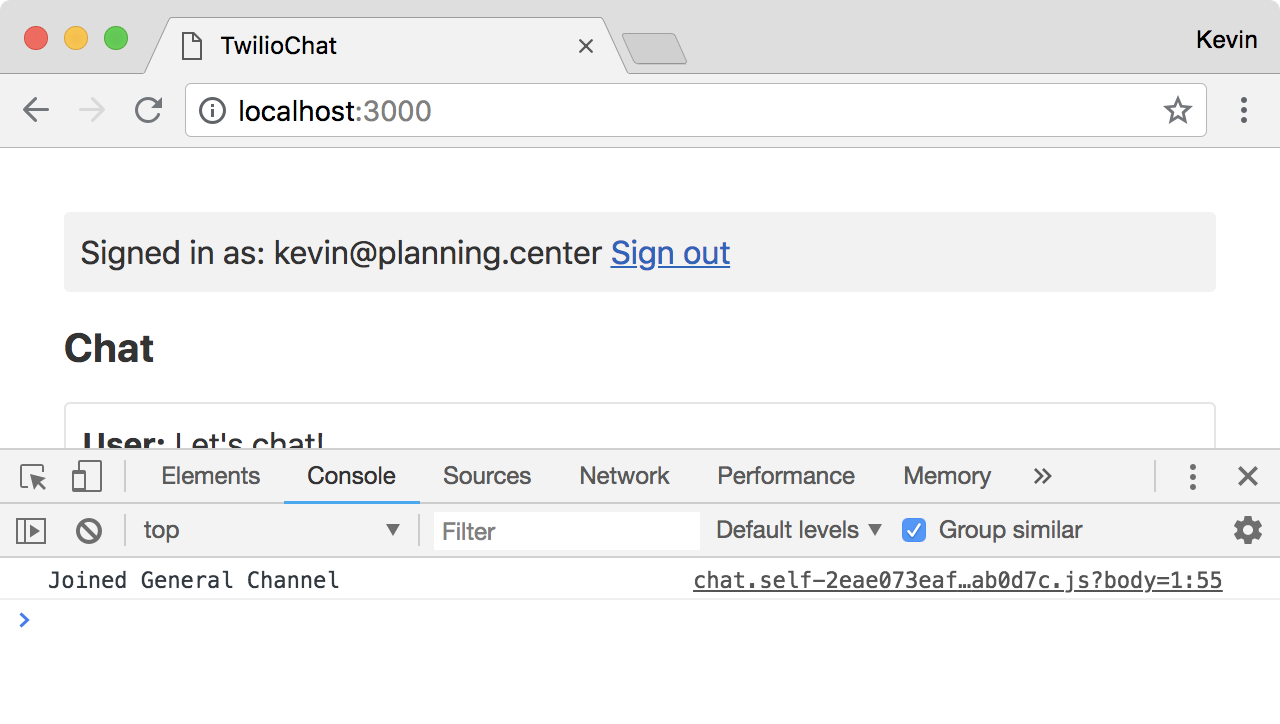
This works great for creating a new channel, but we also want to join the channel if it already exists as well. Because we need to reuse some of the same logic, let's pull the code out into a new JavaScript class and start organizing our logic.
Let’s create a file to contain our chat logic at ./app/assets/javascripts/chat.js. This file will automatically be required by our application.js file and included in our bundle. In this file, we'll define a Chat class and move the client and channel setup logic over.
Although this looks like a bit more code, it's essentially the same logic we built up before in our application.js file, but it's a little better organized. When we instantiate a Chat object, we initialize a few variables with a null value. As we begin connecting to and configuring our chat instance, we'll populate these variables with the appropriate values.
After the variables are defined, we call an initialize method, which has the logic for fetching our token. When the token is received, we create a client and then send the client to the setupClient method which attempts to find or create the "general" channel. Once the channel is available, it's passed to a setupChannel method that stores a reference to the channel and calls the joinChannel method.
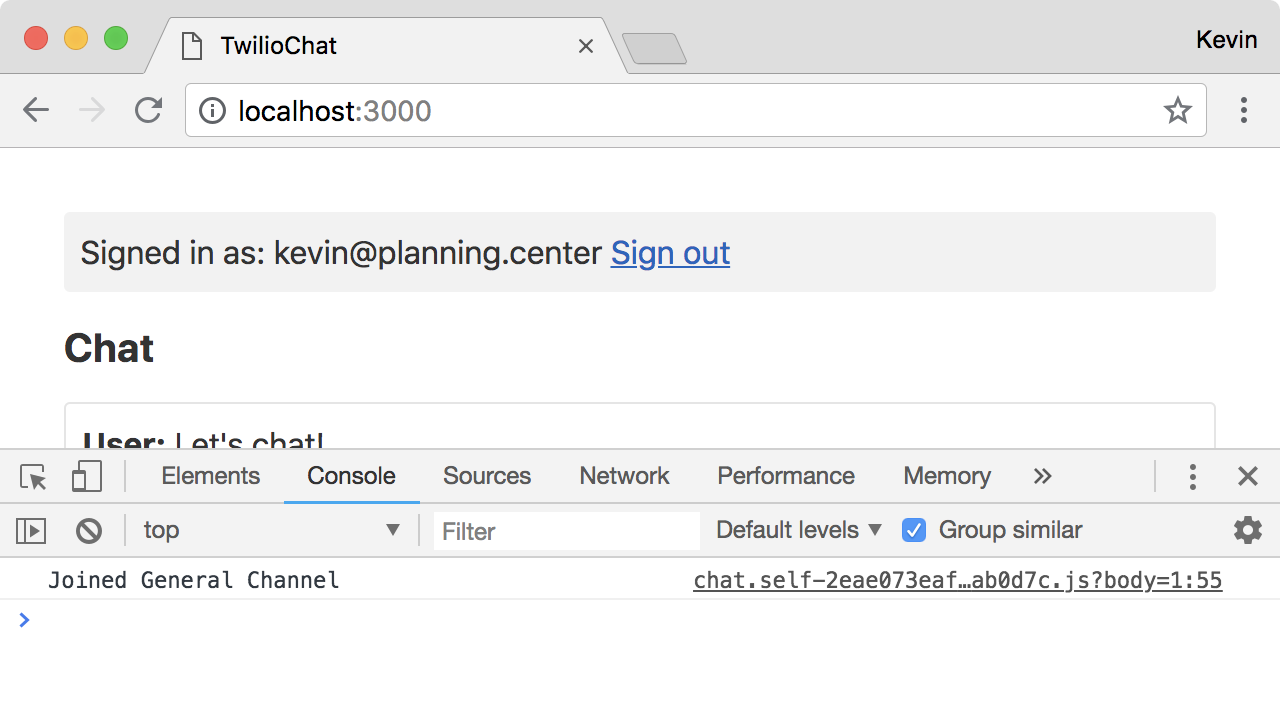
Finally, the join channel method checks that we haven't already joined the channel, then it joins the channel and logs the message that we created previously.
Now we have a class that, when initialized, will prepare our chat client and connect to the general chat channel. To implement this class, we just need to change our code in application.js. We'll check for the existence of the .chat CSS class on the page, and if it exists, we'll instantiate a new instance of our Chat class.
Rendering Messages
We're almost there! We've got logged-in users connecting to our Twilio Programmable Chat instance, but we aren't displaying any messages yet. Let's start by building a way to store and display these messages.
In the constructor of our Chat class, let's initialize a messages variable with a default "Connecting…" message.
Next, to display our array of messages, we'll create a renderMessages method on our Chat class that will build up the HTML for our messages and replace the body of the .messages div.
We need to call this new method somewhere so that the messages are actually displayed—so let’s add a call to the top of our initialize method.
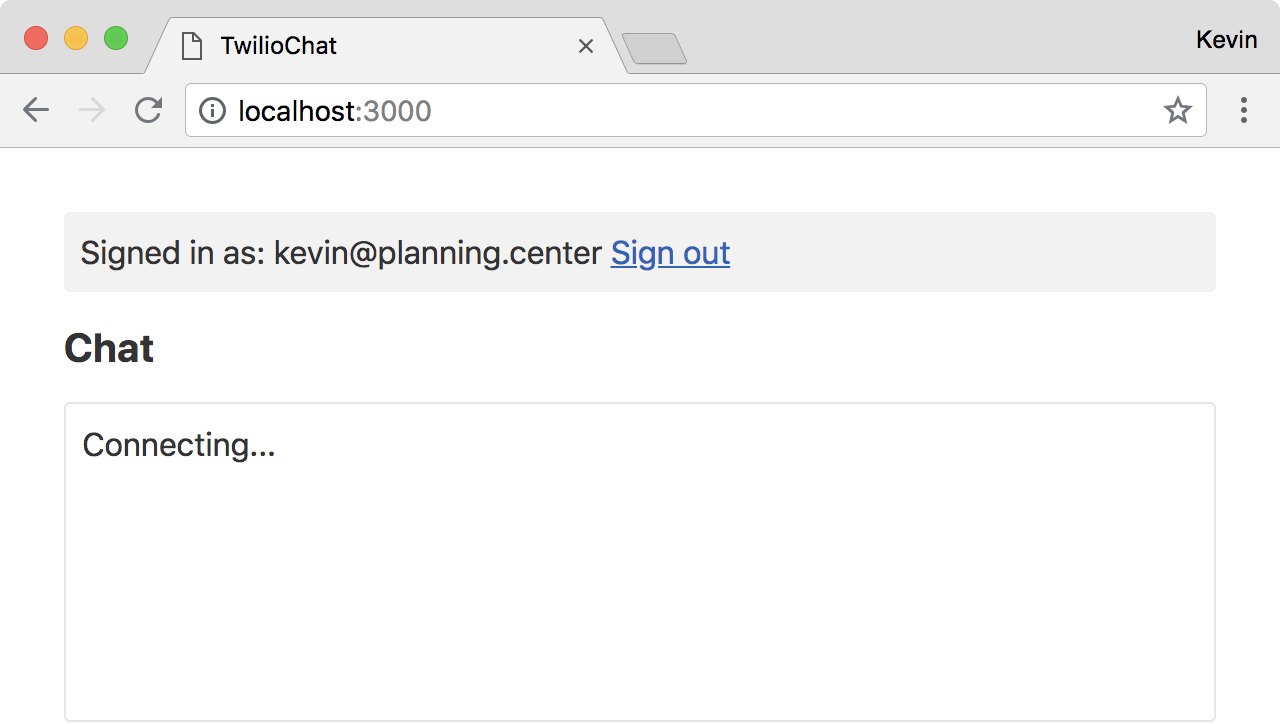
If we refresh our chat page, we should see that our messages container displays "Connecting…" as our Chat instance is initialized.
We have our messages stored in an array on our Chat instance, but we don't yet have an easy way to add messages to this array. Let's add an addMessage method to our class that will format the message HTML and then render the messages again.
In this method, we're accepting a message object that has an author key and a body key. If the object does not include an author, then we just add the body of the message to the messages array. When an author is provided, we determine the appropriate CSS class for the author span tag by checking if the author matches the identity that we stored in our initialize method. If they are a match, we add a me class in addition to the user class on the message. When we added our styles above, we defined the me class as having a red text color to help differentiate our messages from everyone else’s.
After the HTML of the message is defined, the message is pushed onto the messages array, then we call renderMessages again to display the full list of messages. To add messages to our interface, we just need to call addMessage with an object that looks like { body: "message" }. Let's do something like this in our setupChannel method.
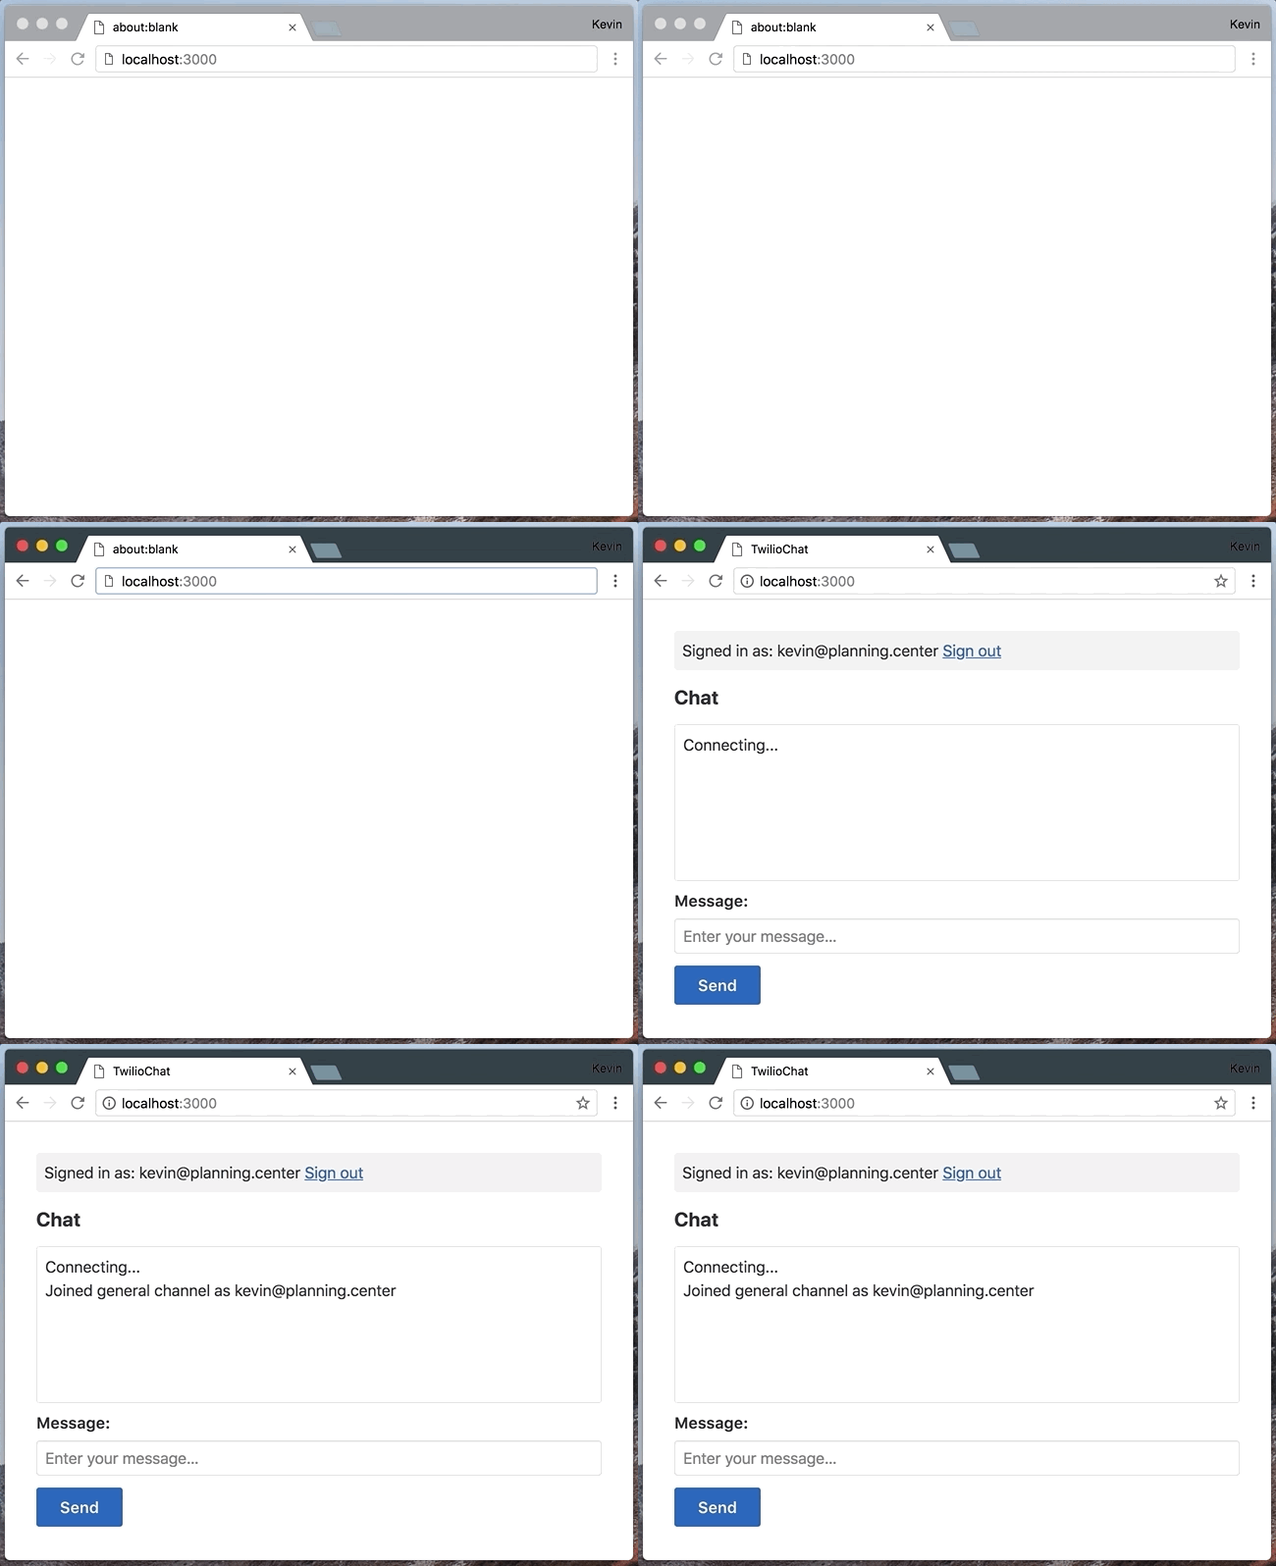
When our Chat instance is initialized, we should see the original "Connecting…" message. Then, when our chat instance is connected, we'll see something like, "Joined general channel as kevin@planning.center".
Sending and Receiving Messages
The final step is adding the ability to send and receive messages from our Twilio Programmable Chat instance. We've got most of the pieces in place, but we need to make a few final changes.
When a new message is posted to our channel, we receive a messageAdded event from Twilio. In order to act on that event, we need to bind the event to a function. Because we've already created the addMessage function that accepts a message object, we can bind the event to it in our setupChannel method.
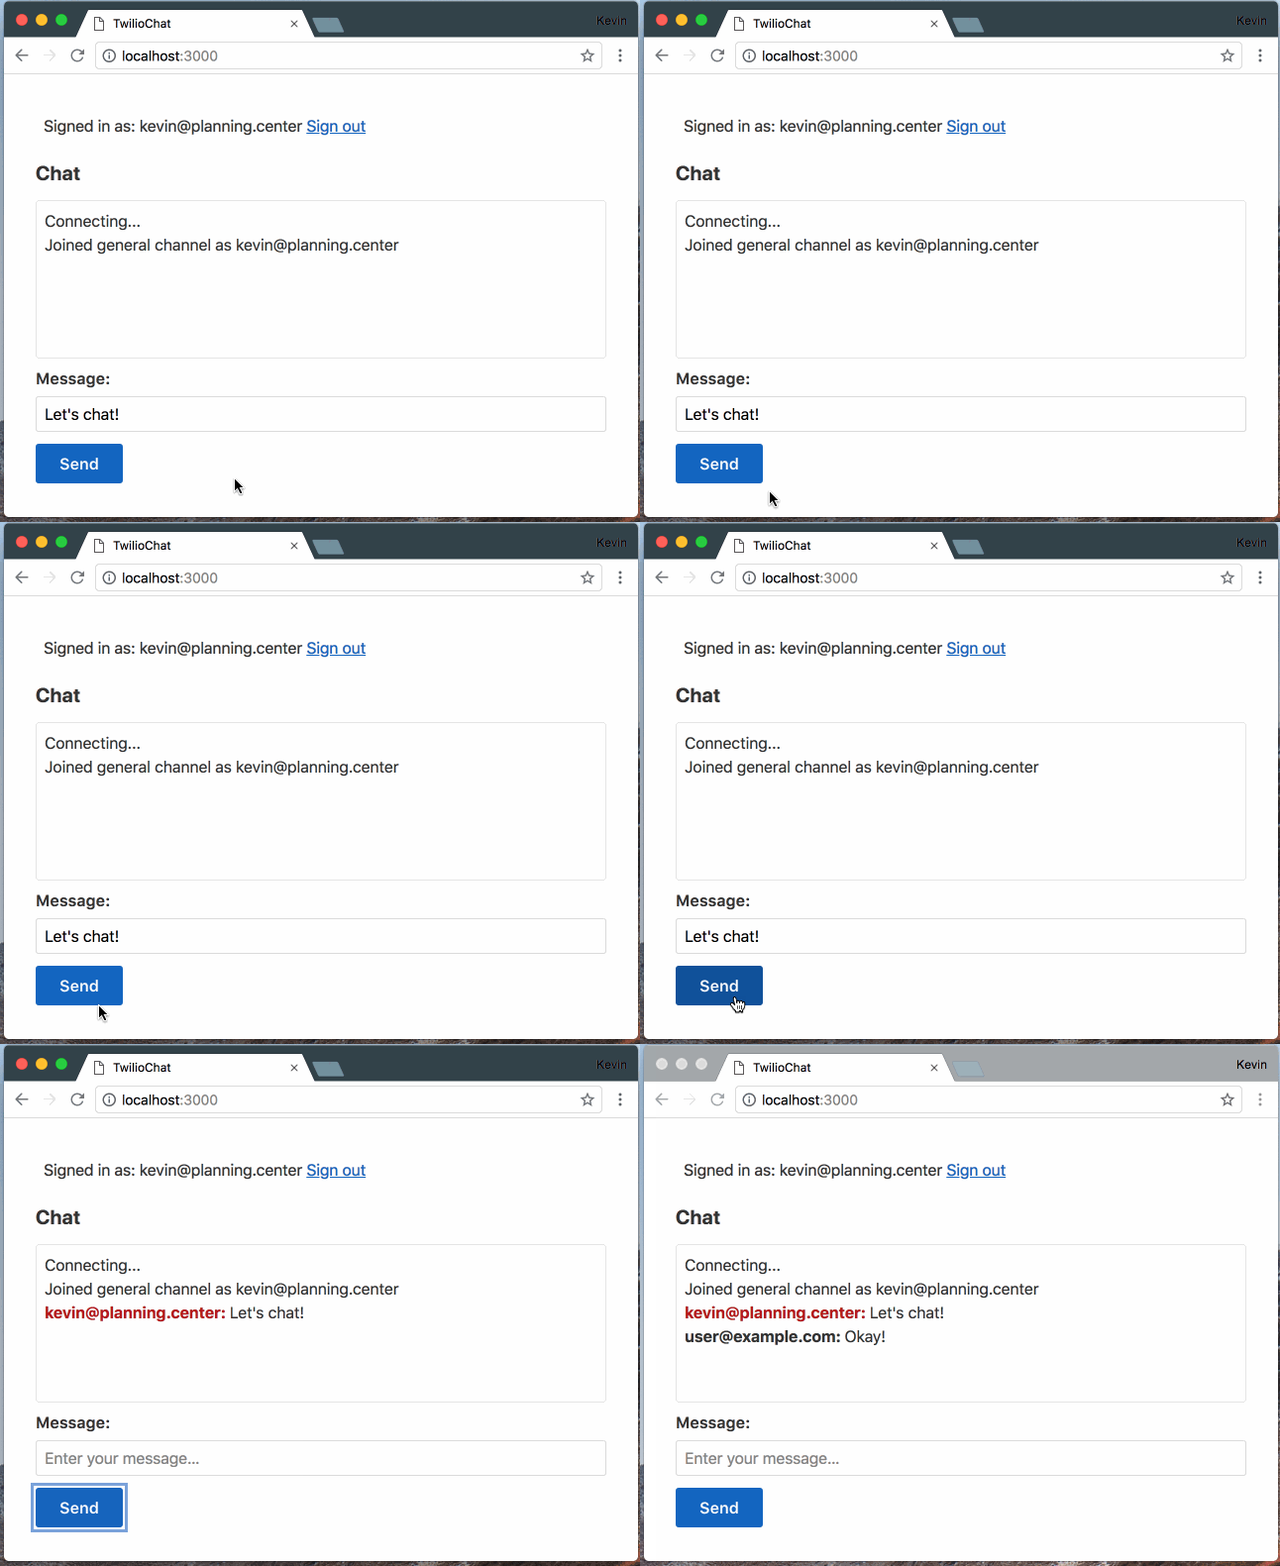
For the moment, we'll have to trust that this works, but to actually see it in action, let's wire up our message form so that it sends messages to our Twilio Programmable Chat instance. Let's create a new method called setupForm and call it from our setupChannel method. In this new method, we'll find the form and the input element. When the form is submitted, we'll send the value of the input as our message and reset the input value back to an empty string.
We can finally type messages into our chat form and submit them. When our Programmable Chat instance receives the message, the messageAdded event will be triggered and we'll receive our message, or any other user's message, and add it to our messages array.
What's Next?
Congratulations! In this tutorial, we've setup a very basic version of Twilio Programmable Chat using our user's email addresses as their identity. To take it further, you might want to try adding a username for your User class, or allowing your users to create private channels. There's a lot more to explore!
Related Posts
Related Resources
Twilio Docs
From APIs to SDKs to sample apps
API reference documentation, SDKs, helper libraries, quickstarts, and tutorials for your language and platform.
Resource Center
The latest ebooks, industry reports, and webinars
Learn from customer engagement experts to improve your own communication.
Ahoy
Twilio's developer community hub
Best practices, code samples, and inspiration to build communications and digital engagement experiences.


