6 awesome reasons to use ngrok when testing webhooks
Time to read:

Webhooks are great! They are a perfect way for API services like Twilio to notify your application of events such as incoming calls or text messages. The one difficulty is that when you are developing an application that consumes webhooks you need a publicly accessible URL to configure the webhook service with. Typically you would develop on localhost and the rest of the world would have no access to your application, so how do you test your webhooks?
Well, that’s where ngrok comes in. ngrok is a free tool that allows us to tunnel from a public URL to our application running locally. Here’s my 6 favourite things about ngrok:
1. It’s really easy to install and use
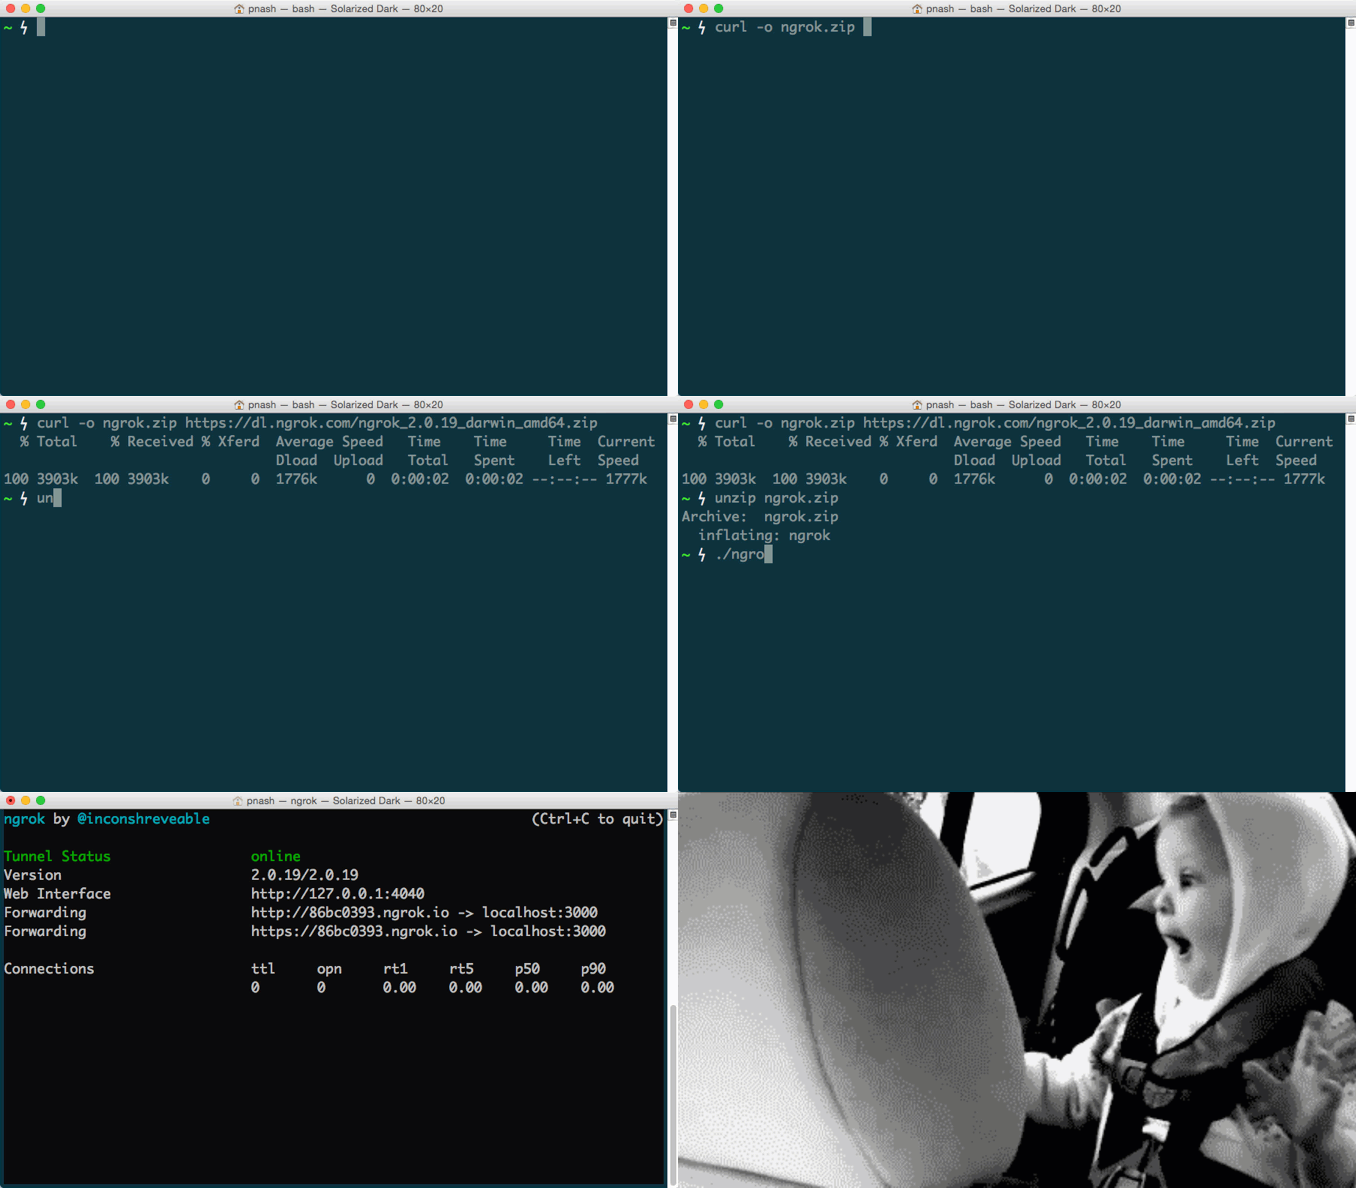
ngrok is built in Go so it is packaged as binaries for each major platform. To install ngrok do the following:
- Download the package for your system
- Unzip the package
- There is no step 3!
Well, there is no step 3 if you have a Mac or Linux, if you’re on Windows you might have a bit more work to do. Thankfully Devin’s got you covered with his post on how to configure ngrok on Windows.
Once you have ngrok installed, using it to tunnel to an application running on, say, port 3000 is as easy as:
Bonus install tip!
Once you’ve unzipped the ngrok executable move it to a folder that’s in your $PATH then you can run ngrok from anywhere you want on the command line by just typing:
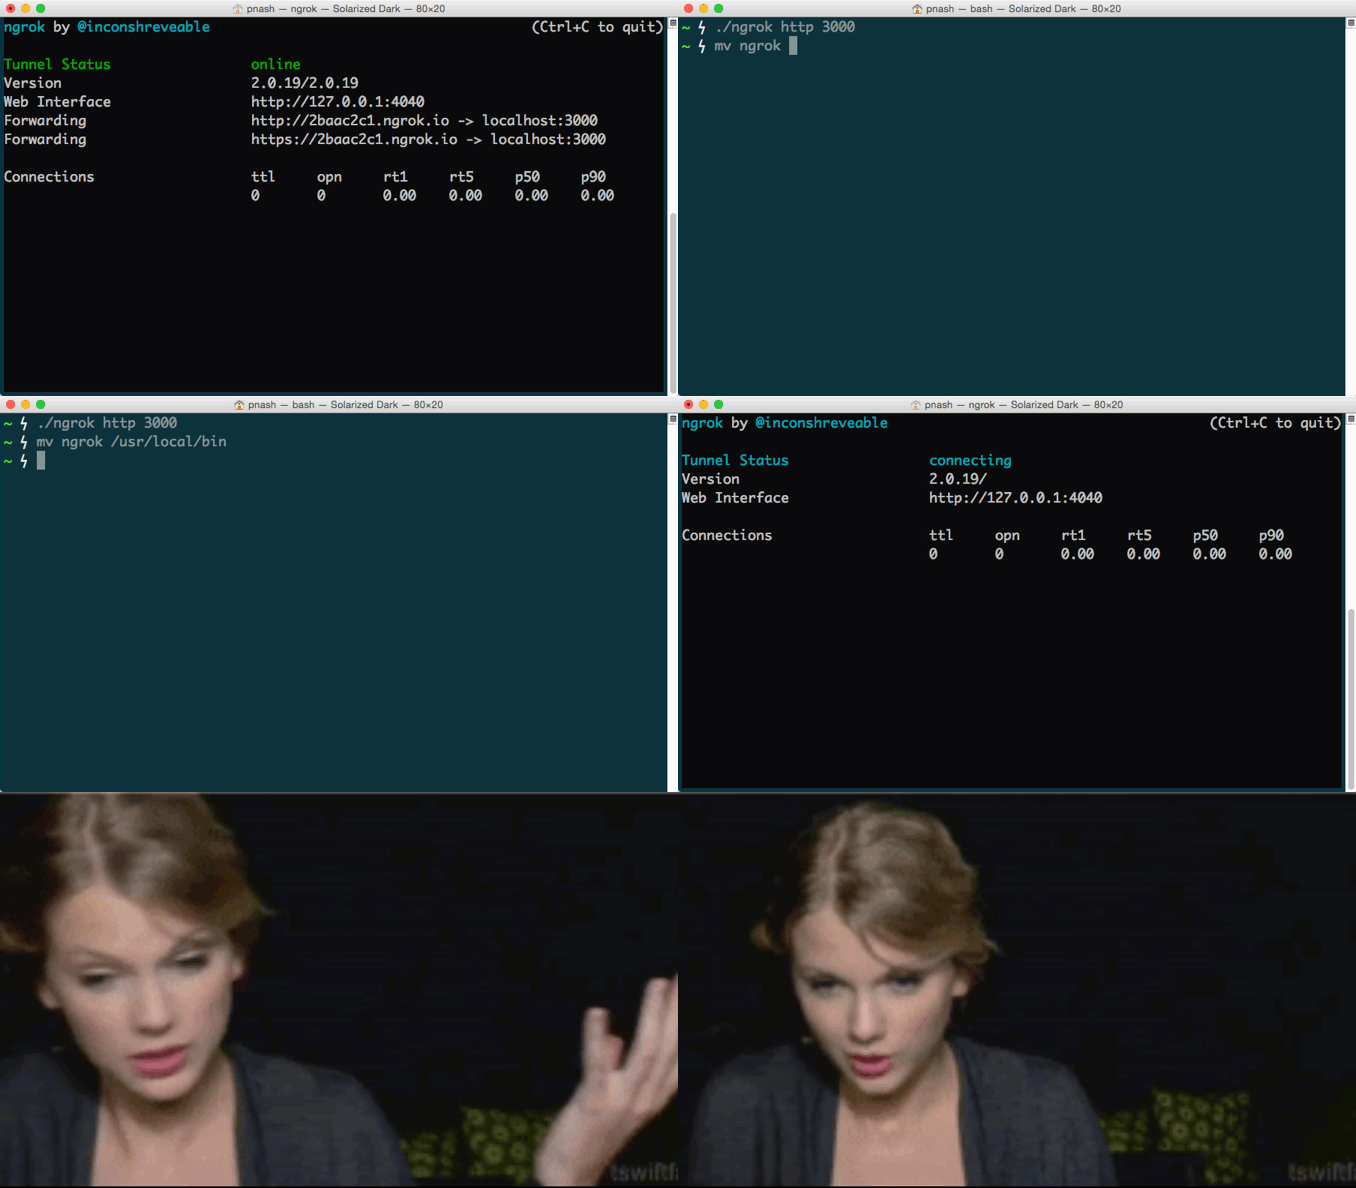
If you want a more in depth article on how to hook up ngrok with your Twilio apps, check out Kevin’s post on getting started with ngrok. Watch out though, as the commands have changed with the release of ngrok 2. You can follow the post, but substitute the syntax above to make sure it works.
2. It has a dashboard
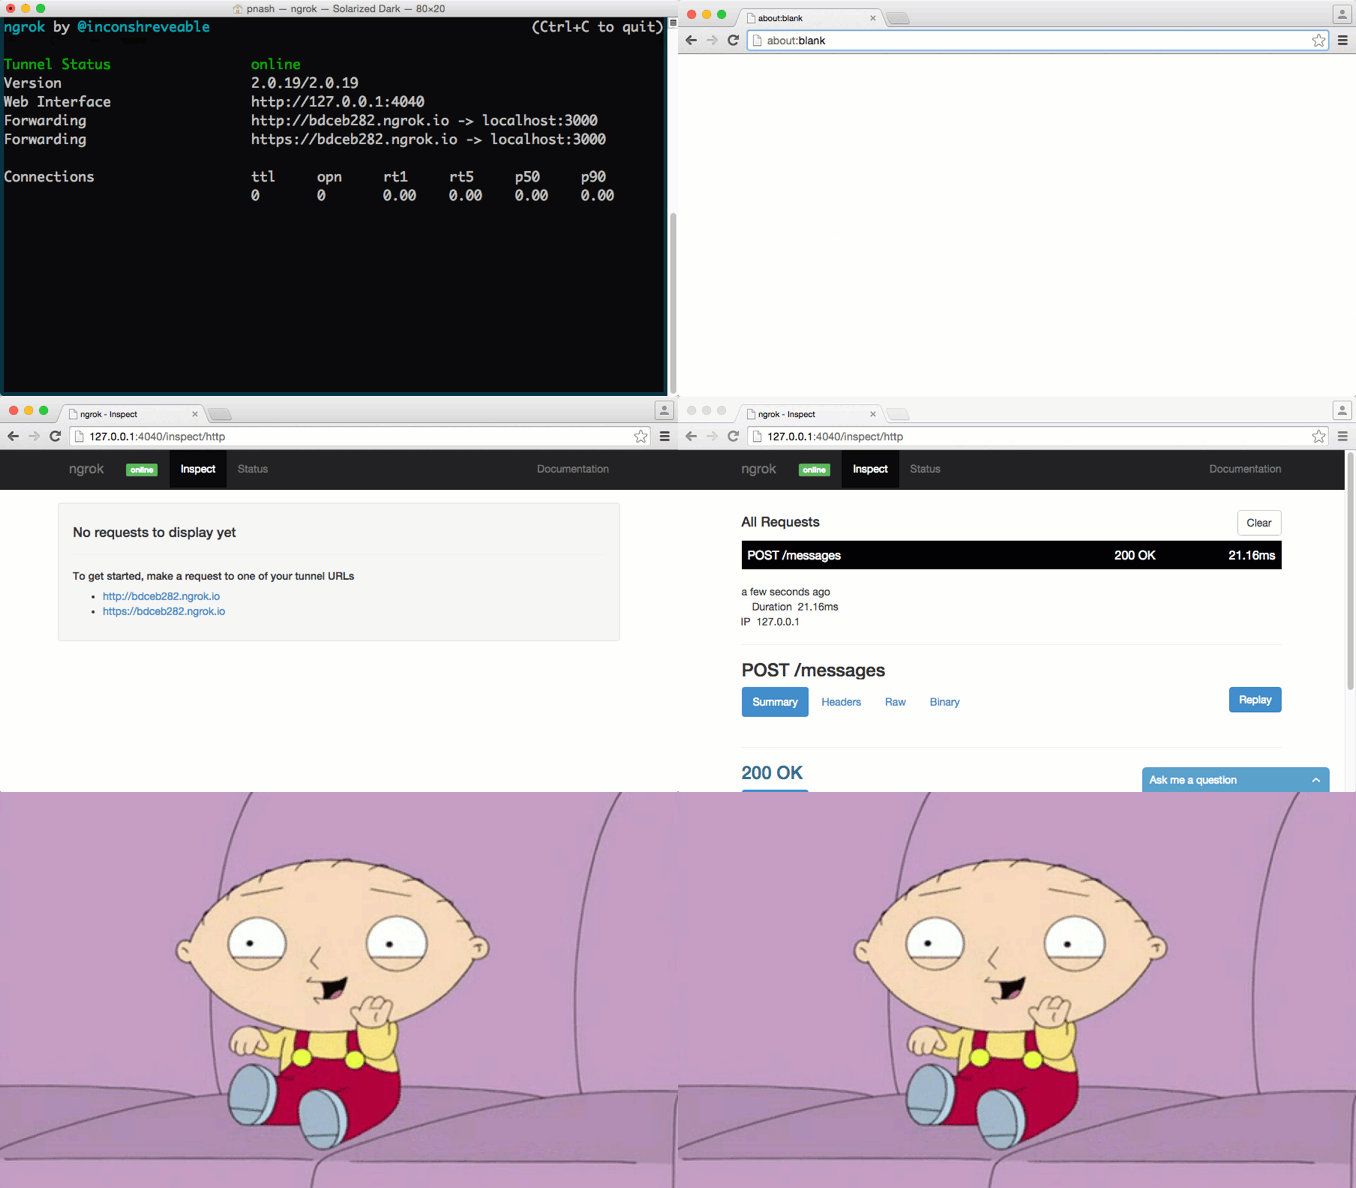
When you start up ngrok it shows you the URL you are tunnelling through and another local URL, http://127.0.0.1:4040. Open that up and gaze in wonder at the dashboard in front of you.
The dashboard allows you to see the status of your tunnel, the requests you have made through it and the responses that came back from your application. Great for debugging misfiring webhook endpoints.
3. You can replay requests
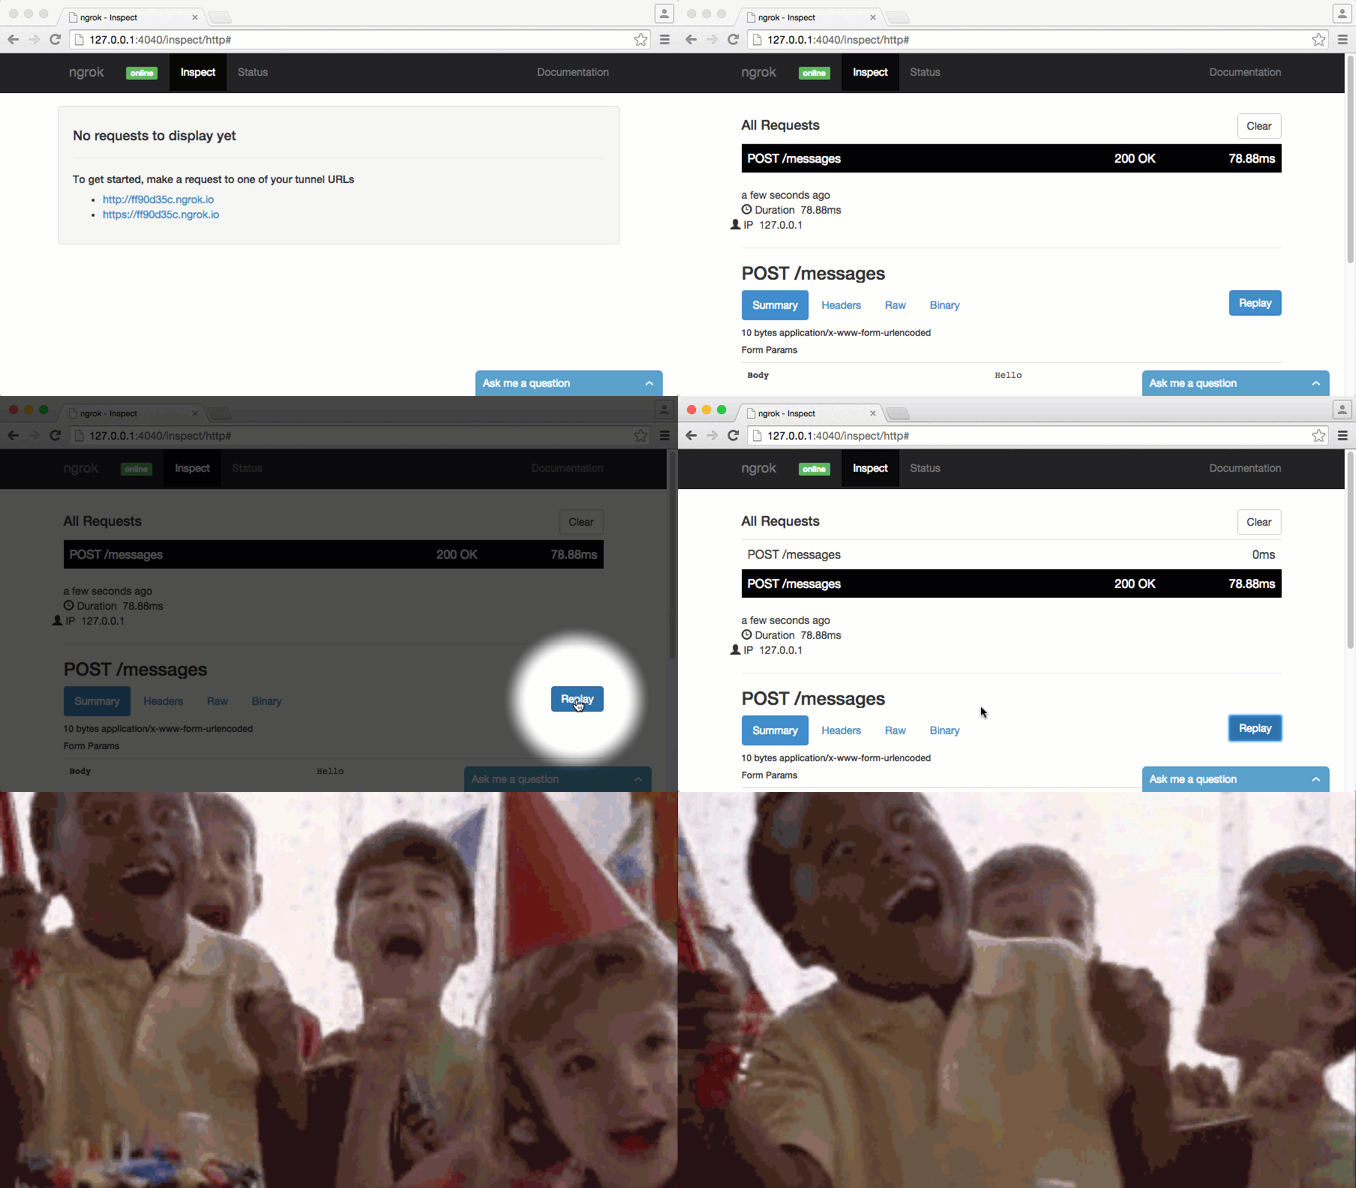
Take a look again at that dashboard. Not only can you inspect requests that came through the ngrok tunnel, you can replay them.
Now when your SMS endpoint is misbehaving, rather than sending another message and then another message until you get it right, you can just replay the incoming request from the dashboard.
4. You can secure your tunnels
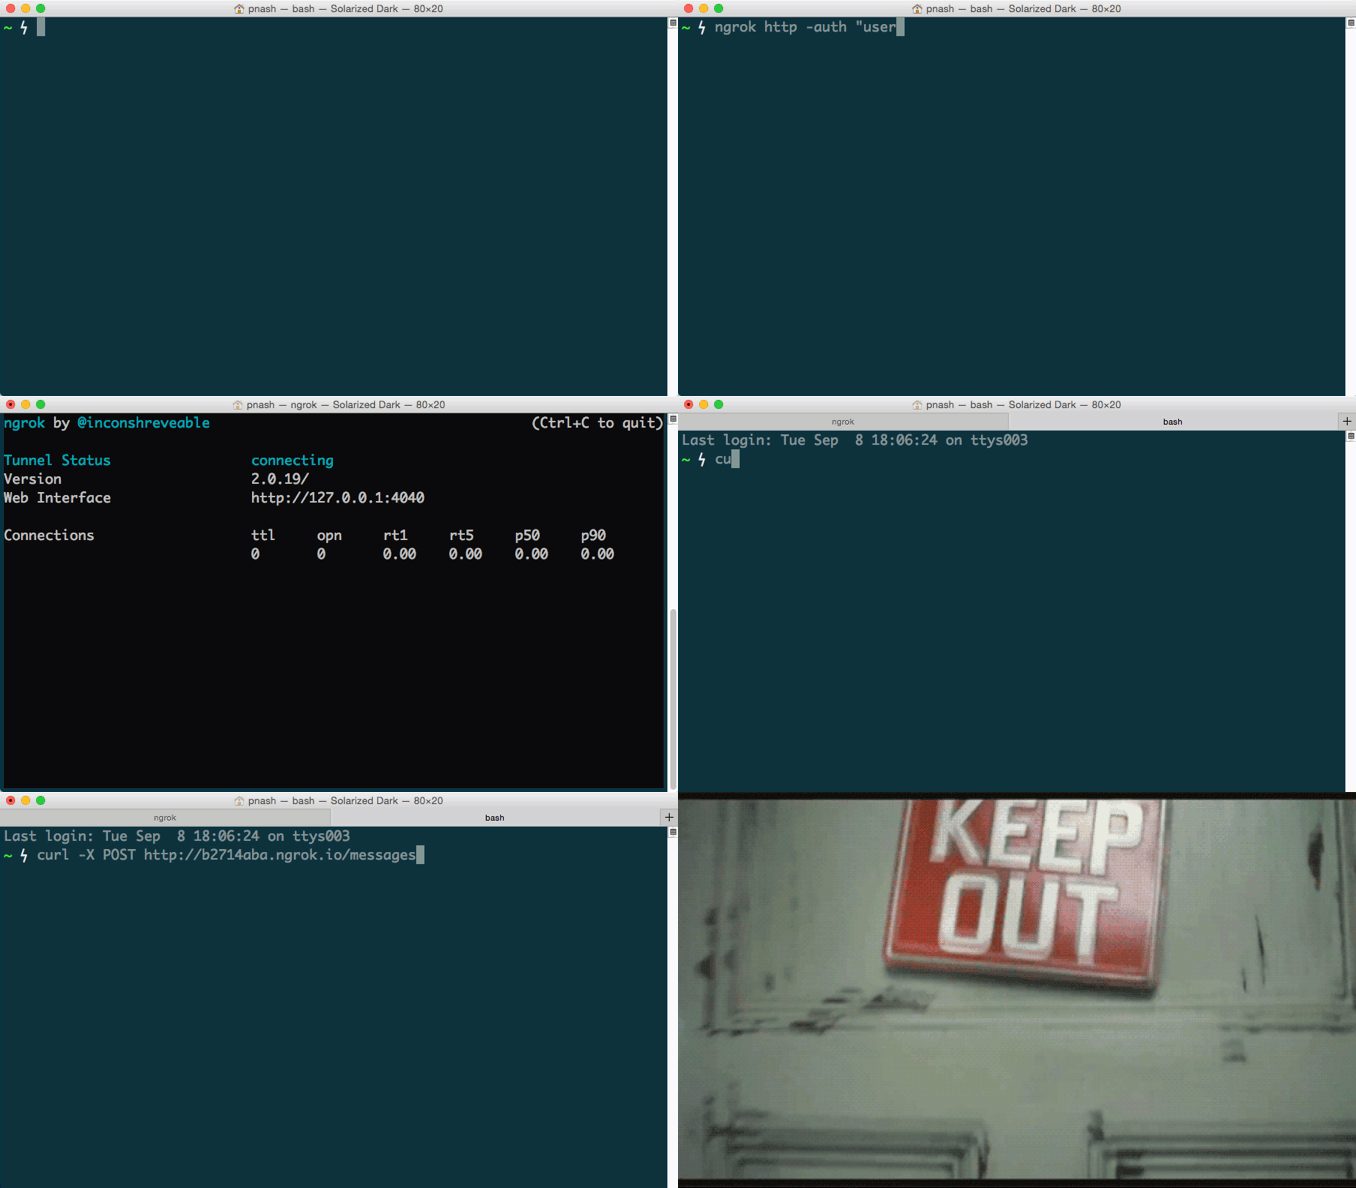
Worried about someone snooping on the super secret app you’re developing but still need to open a tunnel to check something? Stop worrying right now and check this out!
Boom! Your tunnel is now protected using HTTP auth. Noone’s spying on your business!
Pro tips!
We’ve got into the pro tips section. Why are these “pro” tips? Because you need an ngrok pro account to use them! ngrok is always free to use, but to make sure it’s sustainable, some sweet features have been held back for paying customers.
Check out the available plans and then check out my favourite feature below.
5. [Pro tip] You can use custom subdomains
Getting a new random subdomain every time you power up ngrok can be frustrating. Reconfiguring a webhook service every time you want to test is a total pain.
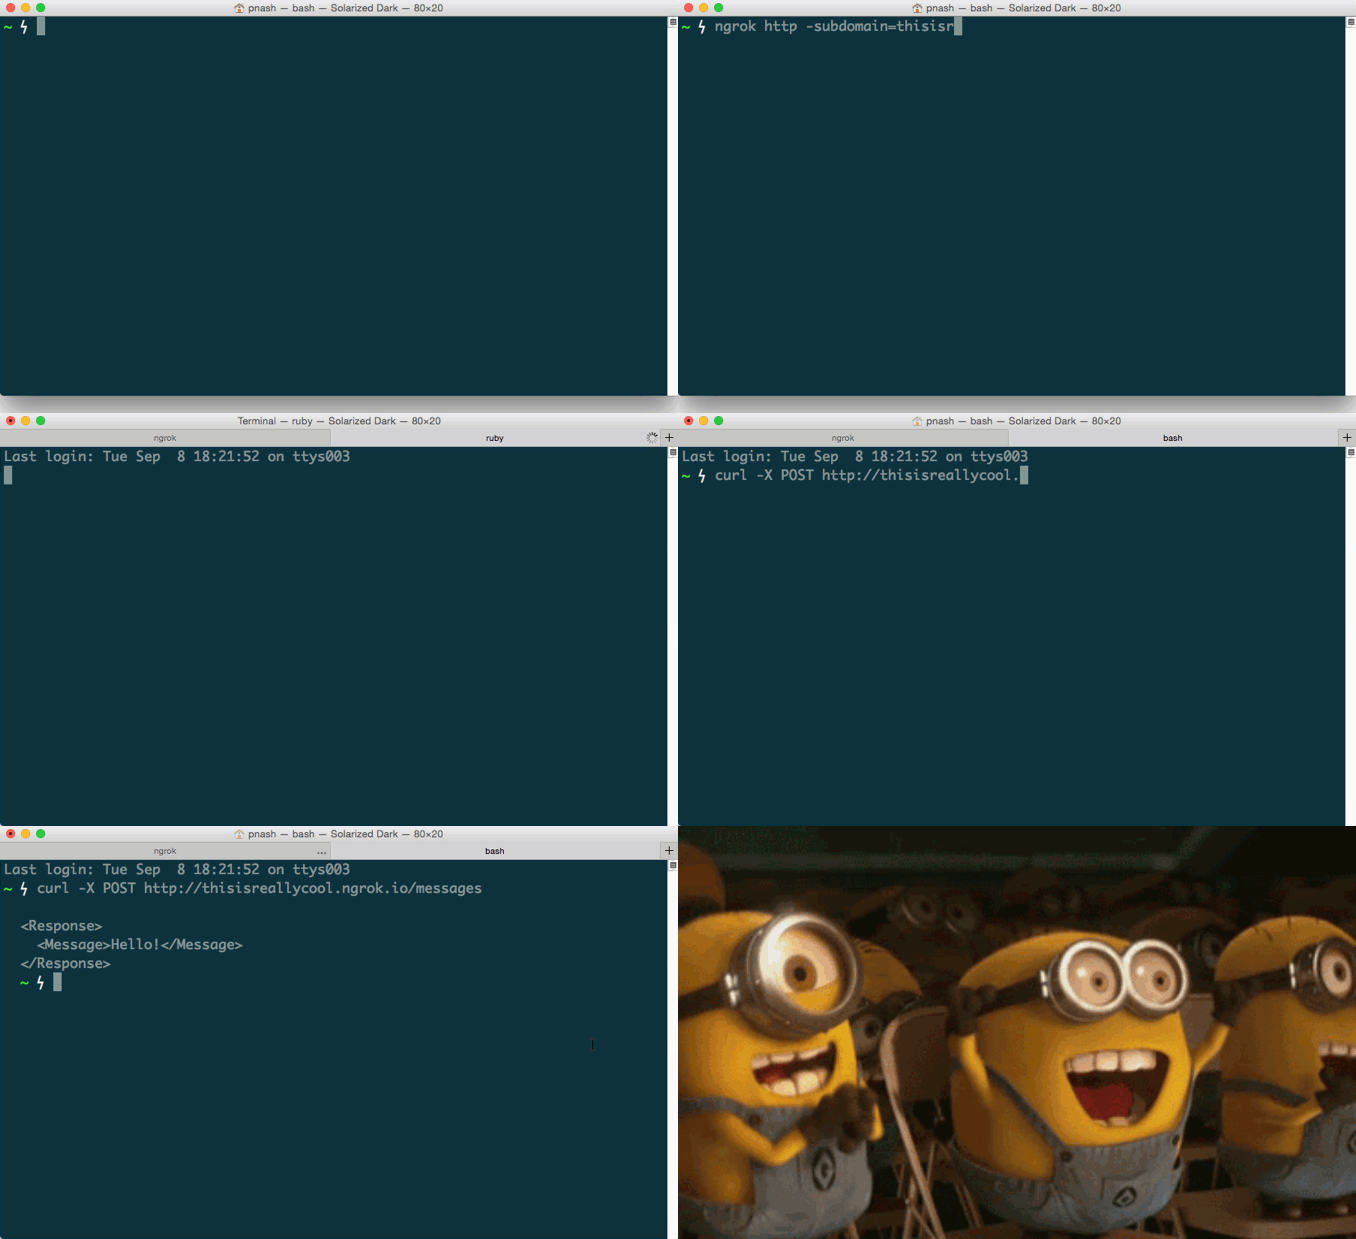
As a paying customer, ngrok allows you to use a custom subdomain, simply by providing it in the command. If you have a paid ngrok account try this out:
Take a look at the ngrok dashboard and hold on to your hat, you’re now tunneling through the domain http://thisisreallycool.ngrok.io.
6. [Pro tip] You can configure all this to happen automatically
Now you know and love ngrok subdomain but you’re looking at that command thinking, “That’s a lot of typing every time and I’ve got to remember the arguments!”
Do not worry, this next feature is for you.
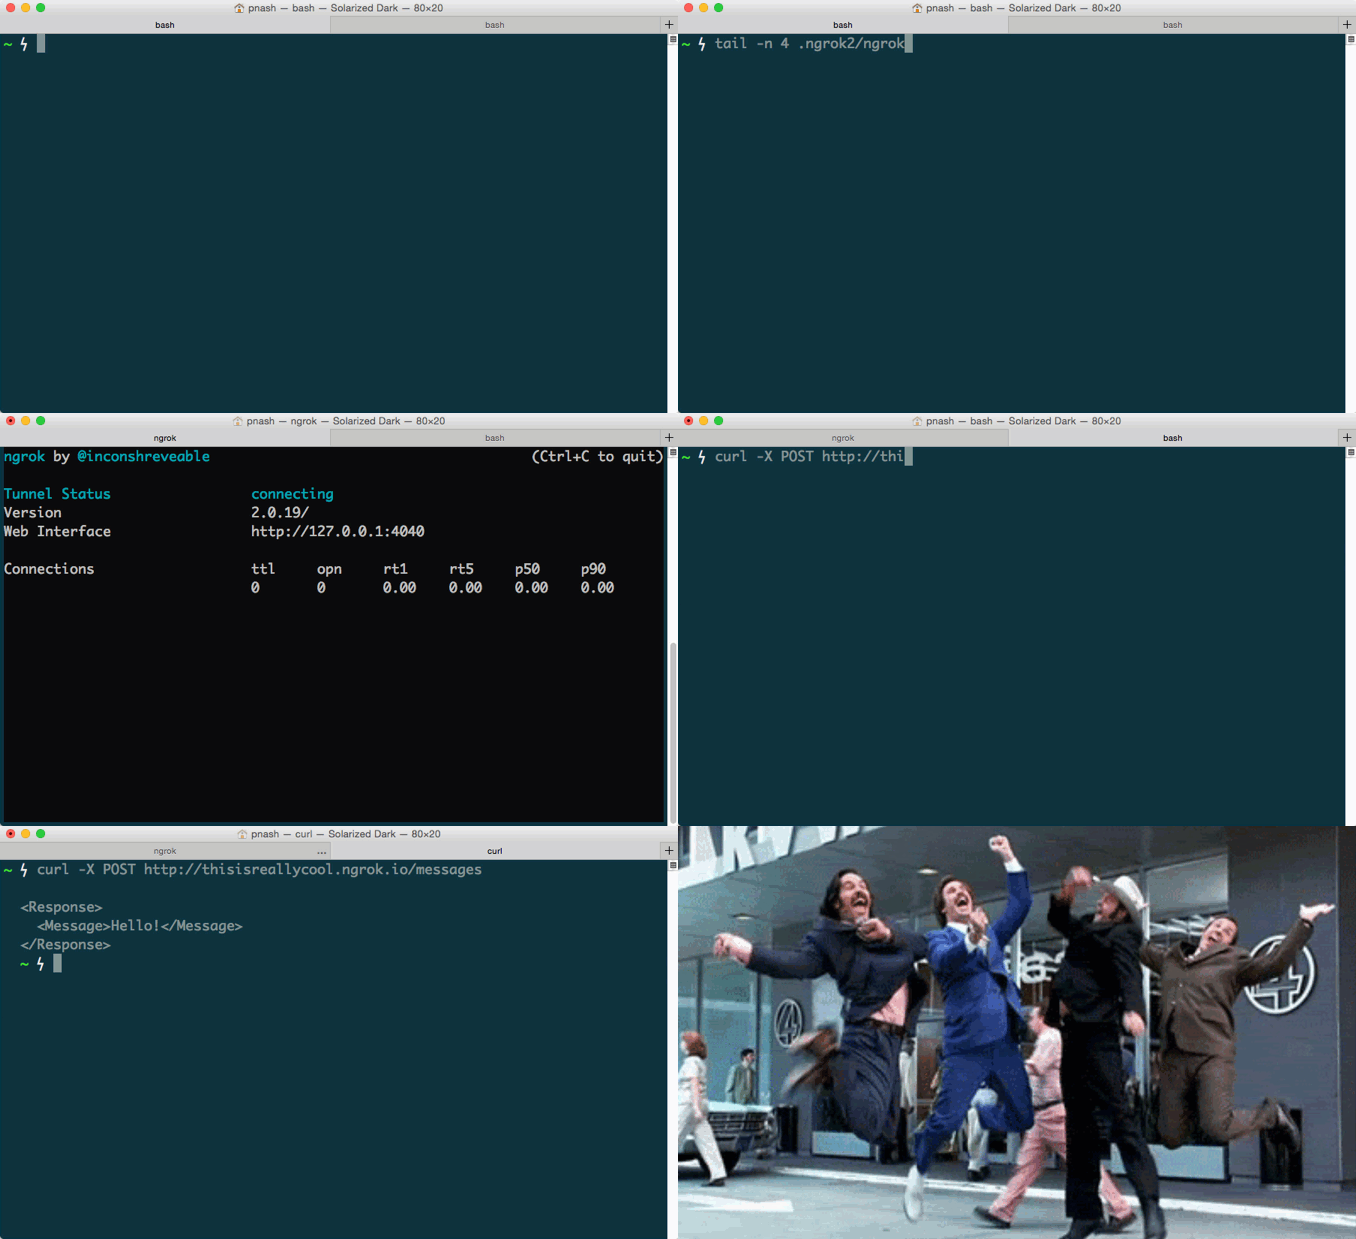
ngrok can actually read a bunch of useful stuff from a configuration file. If you have created a paid account and added your authtoken then you will have the config file .ngrok2/ngrok.yml in your $HOME directory.
Now, we can recreate the subdomain config under a named tunnel, open up ~/.ngrok2/ngrok.yml and paste in the following under the authtoken:
Now you can run:
and your tunnel will start up with the options you supplied in the yml file.
ngrok is the best!
Now you know the power of ngrok testing your webhooks will never be the same again. If you want to learn more about ngrok you can find more features in the ngrok documentation. And why not check out this video of Alan Shreve, creator of ngrok, speaking about the making of ngrok at Twilio’s Signal Conference earlier this year.
If you have any other ngrok tips I’d love it if you would share them with me at @philnash. Bye for now!

Related Posts
Related Resources
Twilio Docs
From APIs to SDKs to sample apps
API reference documentation, SDKs, helper libraries, quickstarts, and tutorials for your language and platform.
Resource Center
The latest ebooks, industry reports, and webinars
Learn from customer engagement experts to improve your own communication.
Ahoy
Twilio's developer community hub
Best practices, code samples, and inspiration to build communications and digital engagement experiences.


