How to receive/download picture messages in Node.js with Twilio MMS
Time to read:
This post is part of Twilio’s archive and may contain outdated information. We’re always building something new, so be sure to check out our latest posts for the most up-to-date insights.

Have you ever needed to programmatically download an image from an MMS message sent to your Twilio number? Well here’s all the code you need to do this using Node.js and Express:
To run the above code, you’ll need to have the Twilio Node helper library installed, as well as the Express framework.
Can you walk me through this step by step?
Absolutely! When someone texts your Twilio number, Twilio makes an HTTP request to your web app. The number of images and a URL to those images are passed via the NumMedia and MediaUrl0 request parameters respectively. If you have more than one image in the message then you get MediaUrl1, MediaUrl2 and so on.
Twilio expects an HTTP response from your web app in the form of TwiML, which is a set of XML tags to tell Twilio what to do next.
Before moving on, you’ll need to create a Twilio account and buy a phone number as well as having Node.js and npm installed.
In your terminal, navigate to the directory where you want your code to live. Install Express and body parser, which we’ll use to receive and decode Twilio’s request, as well as the request module for downloading the image that is sent to our Twilio phone number:
Install the Twilio Node library to generate the response TwiML:
Now that you have the dependencies taken care of, let’s walk through the code from the beginning of the post.
Create a file called index.js and add the following:
Here we are requiring all of the modules we are going to use in the rest of our code, creating an Express app object and adding the Body Parser middleware to it.
Next we need to create a route in this Express app. It will handle the POST request sent by Twilio when a text message is sent to your number:
In this code, whenever a POST request is sent to the /sms route of the app, we’re creating a MessagingResponse object that generates a TwiML to respond to a text message. From the body of the request, we can grab the URL to any images contained in the message. In this example we are using MediaUrl0 and assuming there is only one image. But if multiple messages were sent, you can access those as well in MediaUrl1, MediaUrl2 and so on.
In the highlighted lines, we’re sending a GET request to the media url to download the image. The response data from the media url is then being piped into a filestream and saved onto the local machine in the same directory as this code. This operation happens asynchronously.
All that’s left to do now is to add a line at the end of the file to make the Express app listen for requests on port 3000:
You can start your app by running the following command in the terminal from the same directory:
But how does Twilio see my app to send it this request?
Excellent question. Our app needs a publicly accessible URL so Twilio can send it the webhook request when a message is received. To avoid having to deploy code just to test our app, we’ll use a nifty tool called ngrok to open a tunnel to our local machine.
Ngrok generates a custom forwarding URL that we will use to tell Twilio where to find our application. Download ngrok and run it in your terminal on port 3000:
Now we just need to point our Twilio phone number at our app. Open the phone number configuration screen in your Twilio console. Scroll down to the “a message comes in” field. You should see something like this:

Enter the URL that was generated by ngrok. It should look something like
http://your-ngrok-url.ngrok.io/sms, and don’t forget the /sms at the end!
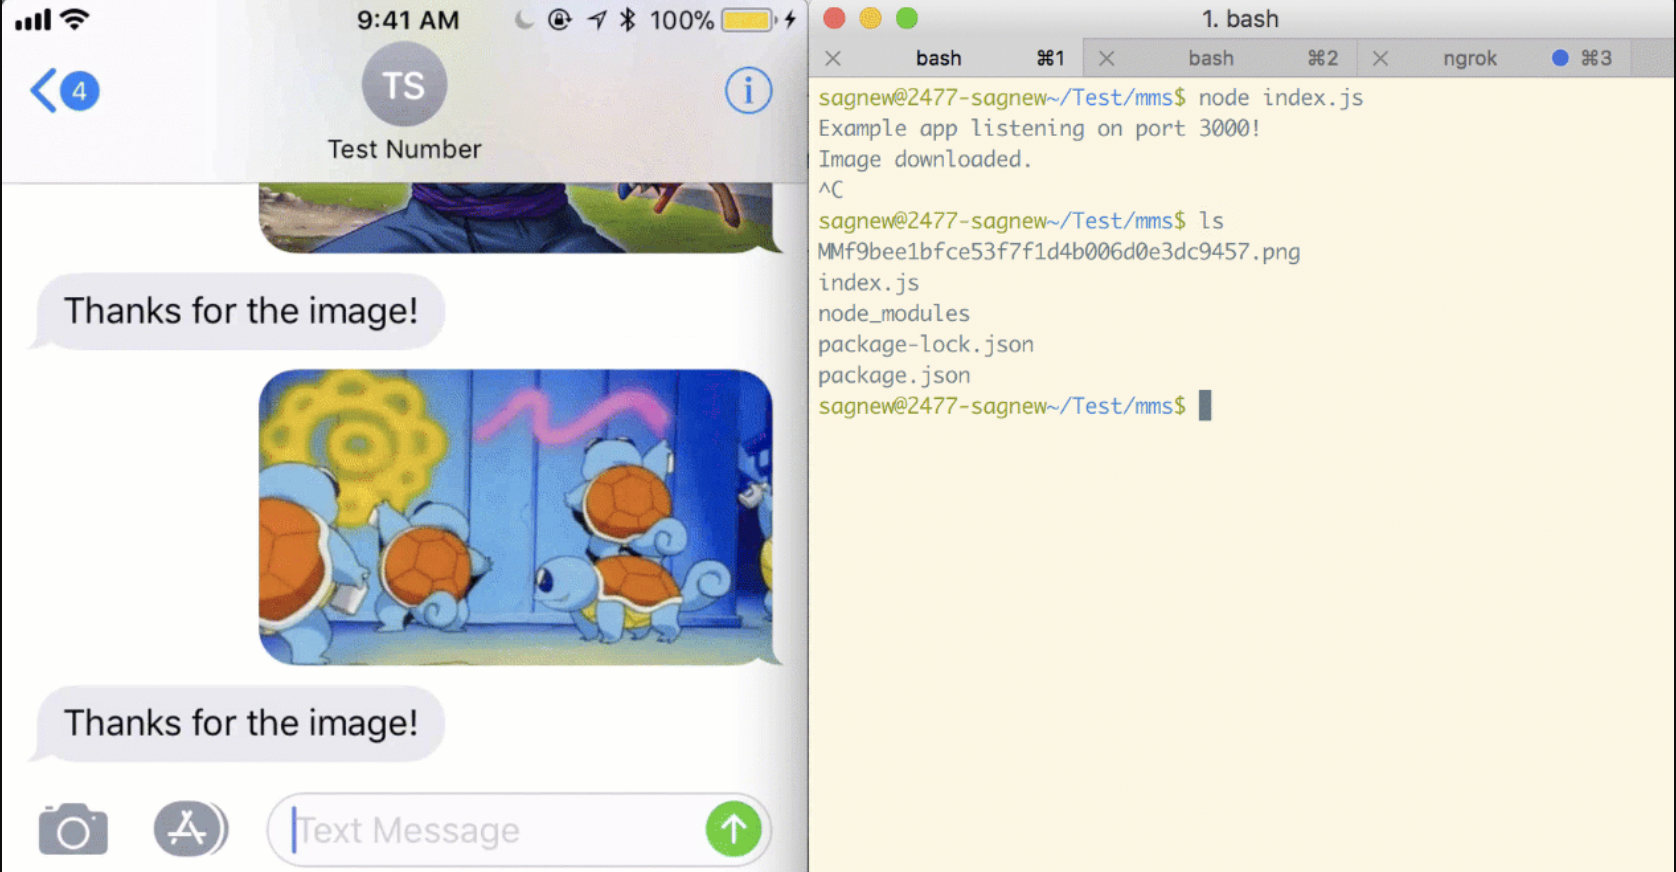
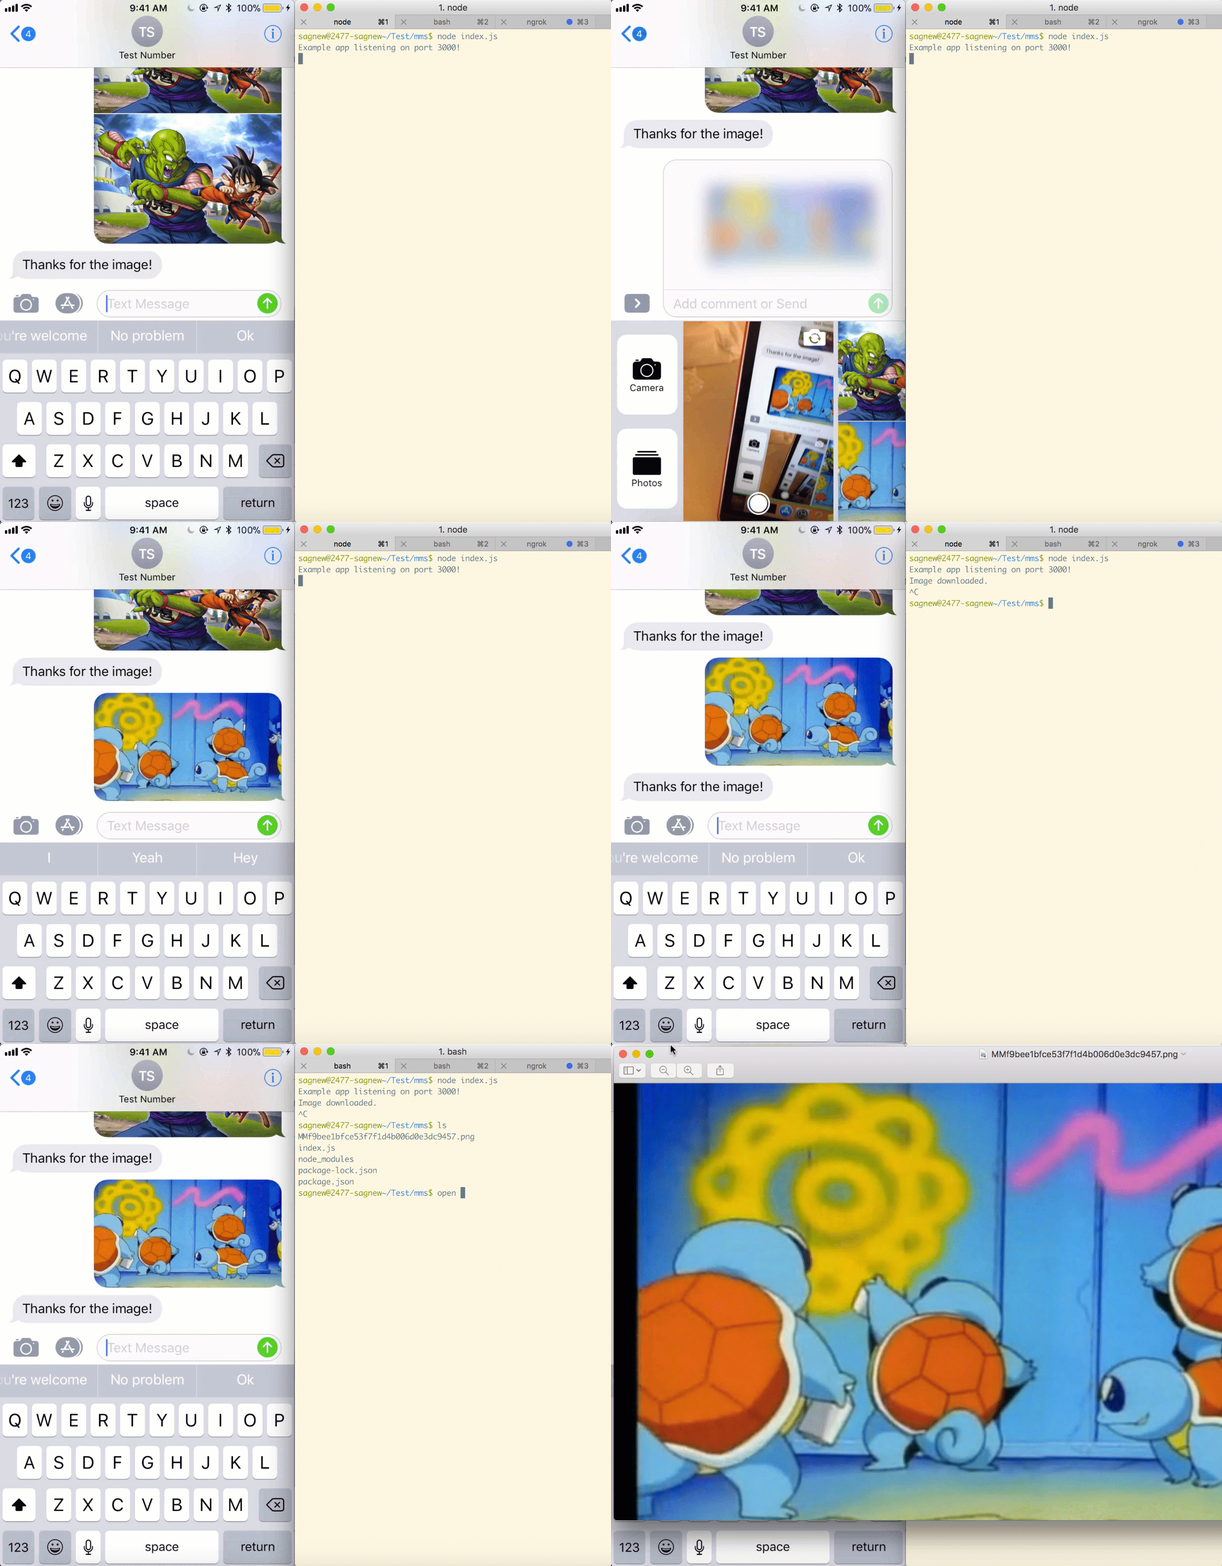
Click save, then text a picture to your Twilio number to see it download onto your machine!

Why would I even want to do this?
I know what you’re thinking, “Surely there are better ways to get an image from my phone to my machine” and you’re right; however, this is a necessary first step for any project that wants to be able to receive images via text messages from users to building larger projects. For example, you can do some image manipulation on the images using a library like Jimp once they are downloaded.
If you want to do this in Python, you can also check this post out.
Feel free to drop me a line if you have any question or just want to show off what you build:
- Email: sagnew@twilio.com
- Twitter: @Sagnewshreds
- Github: Sagnew
- Twitch (streaming live code): Sagnewshreds
Related Posts
Related Resources
Twilio Docs
From APIs to SDKs to sample apps
API reference documentation, SDKs, helper libraries, quickstarts, and tutorials for your language and platform.
Resource Center
The latest ebooks, industry reports, and webinars
Learn from customer engagement experts to improve your own communication.
Ahoy
Twilio's developer community hub
Best practices, code samples, and inspiration to build communications and digital engagement experiences.


