How to receive and respond to text messages in Ruby with Hanami and Twilio
Time to read:

If you’re building web applications with Ruby then you’re probably using Rails. Hanami is a young competitor focused on providing a full featured, modern web framework for Ruby developers that is fast, secure and flexible.
Hanami is a new web application framework for the Ruby community. It has been under development since 2014, initially under the name Lotus. Version 1 was released in April 2017 and version 1.1 was just recently released in October.
As the introduction to the Hanami guide says, “If you’ve ever felt you’re stretching against the ‘Rails way’, you’ll appreciate Hanami.” While this article isn’t a comparison of Hanami and Rails, as we build with Hanami you will see the ways in which they differ and be able to decide which approach you prefer.
Let’s investigate building a web application with Hanami with a tried and tested Twilio feature, receiving and responding to text messages.
What you’ll need
To build this application you will need a few things:
- A Twilio account (you can sign up for a free account if you don’t have one)
- A Twilio phone number that can send and receive SMS messages
- Ruby (I’m using the latest version for this post, 2.4.2, Hanami requires at least 2.3.0)
- Bundler
- ngrok, so we can expose our development server to Twilio’s webhooks
Once you have those bits we can install Hanami and get started with our application.
Creating a Hanami application
To create a Hanami app we first need to install the gem. Open up a terminal and enter:
Now generate a new Hanami project and install the dependencies:
We have a Hanami app which we can run. Enter:
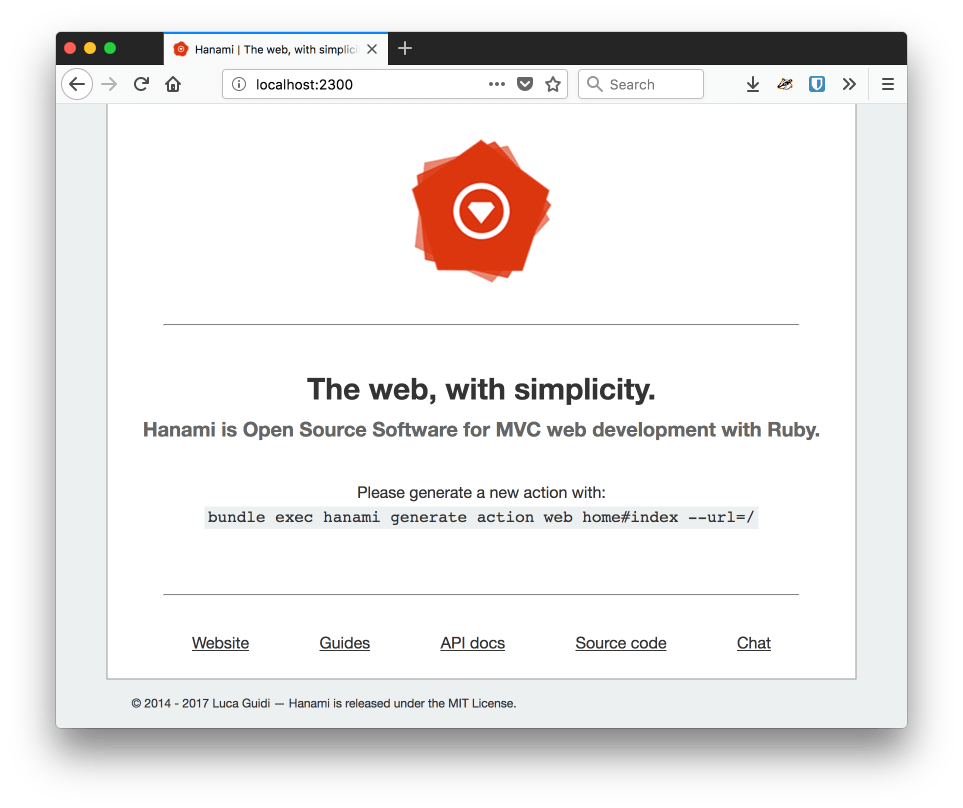
Visit http://localhost:2300 and you will see that you are now running your Hanami application.
Monolith first
Hanami projects are described as “monolith first”. Microservices might not be necessary when you first start out building a web application, but that may be something you want to take advantage of later. Hanami is built to accommodate that in its architecture.
Hanami projects consist of two parts:
- The core, which includes your models, storage, mailers and other objects that implement the business logic. You can find the core in the
libfolder of your Hanami project - A collection of apps that are responsible for exposing the functionality to the outside world. You can find the default “web” app in the
appsfolder
Apps are Hanami’s solution for sharing core business logic across different ways of presenting and accessing the data. The default app is for the public website for your project, you might create a new app for presenting the same data only to your site’s admins.
We’ll use a new app for the endpoints we want to expose to Twilio’s webhooks as they are a fundamentally different representation to our default web UI. Generate a new app with the following command:
You will now find a new directory in the apps directory called “webhooks”.
Configuring the app
Now we have a separate app for responding to webhooks and we can configure it differently from the web interface. Twilio webhooks expect TwiML in response, so we should always be responding with XML. We can configure our webhooks app to do just that.
Open apps/webhooks/application.rb and find the default_response_format. Uncomment it and change it from :html to :xml and save.
That simple change shows the power of having multiple apps that provide different delivery mechanisms for the core project. The web app still responds with HTML by default and now our webhooks app will default to XML.
Generating an Action
To receive and respond to an incoming SMS message we will need an action. Hanami provides generators to write the boilerplate code for us, so run the following:
This creates a number of things:
-
A route in
apps/webhooks/config/routes.rb. Like in Rails, Hanami tries to map between HTTP verbs and REST when generating routes, so since we generated a “create” action we now have aPOSTroute - An SMS controller, which is a namespace in which the action classes reside
- A create action, which is a class within the SMS controller that has a
callmethod that will be called when a POST request is made to the route - A view for the create action, which handles rendering the response to the action
- A template for the create action
It’s about time to write some code, not just run generators. Let’s get started with a test!
Testing in Hanami
Hanami is very focused on testing, even the getting started guide drives the features you build through tests. In that spirit, let’s put a test together for our TwiML endpoint.
Let’s build a integration test for now, you’ll see why as we continue with our feature.
Hanami includes Capybara for integration tests on interactive pages, but the documentation recommends using Rack::Test to test machine readable endpoints like API responses. Create a folder in spec/webhooks called requests, then within requests create a file called sms_spec.rb. Add the following test:
Before we run this test, you will notice we need the twilio-ruby gem to generate our test XML. Install the gem by adding it to your Gemfile:
and running bundle install.
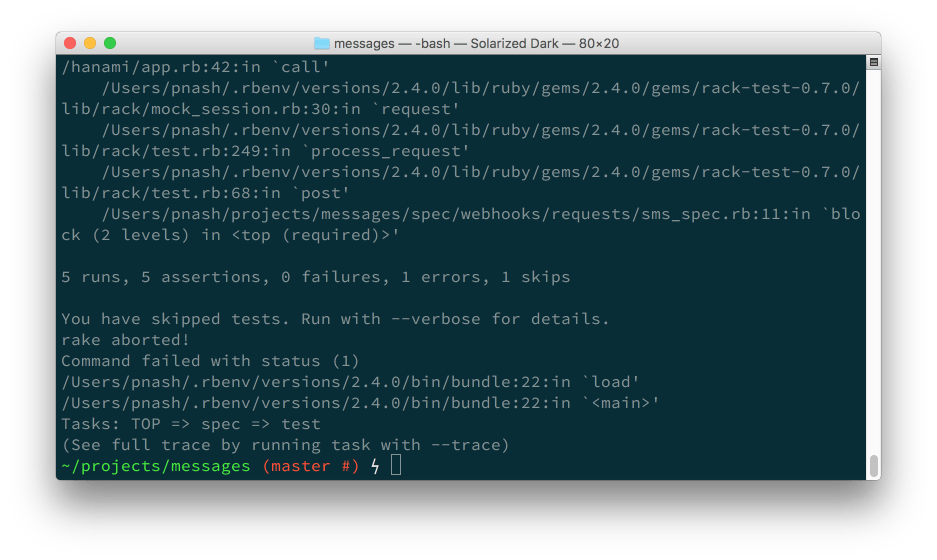
Now, running the test should give us an error.
Let’s fix that.
Template driven views
The action generator created apps/webhooks/templates/sms/create.html.erb. We already updated our application to return XML, so first rename this file to create.xml.erb. We can fill this with the TwiML we need to respond to an incoming SMS message:
Run the test again.
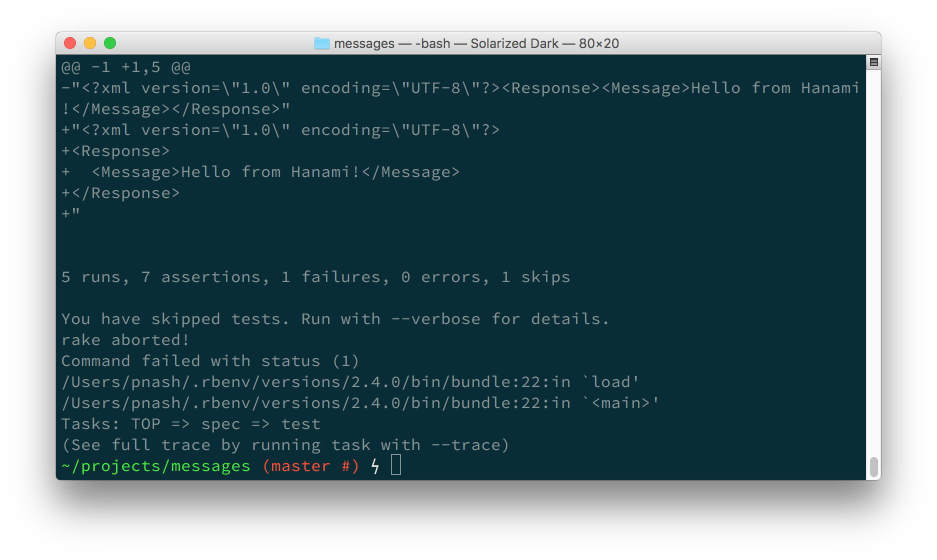
Hmmm… it should pass, but it is failing due to the line breaks and indentation in our response. We could fix it by removing this unnecessary whitespace from our template, but let’s investigate other ways to produce this output instead.
Bypassing templates from the view
Unlike Rails, Hanami views are objects. This helps separate concerns as the view objects are solely responsible for returning a string that will be rendered as the body of the response. Because of this we can bypass templates entirely, rendering the body straight from the view.
Open apps/webhooks/views/sms/create.rb and add the following:
By overriding the render method we short circuit the template and render TwiML from the view. We use the raw method to ensure the XML isn’t escaped.
This does feel wrong though. The view’s job is to render, not create the objects that we are going to render. That is the job of the action.
Open up apps/webhooks/controllers/sms/create.rb, you should find an empty call method. This method will be called when the action is invoked. We can generate the TwiML here instead, leaving the view to just render the output.
In the action add the following:
This code means that when the action is invoked it will generate the TwiML object and then expose it to the view using the expose class method. Now the view only has to worry about rendering that content. In apps/webhooks/views/sms/create.rb replace the render method with:
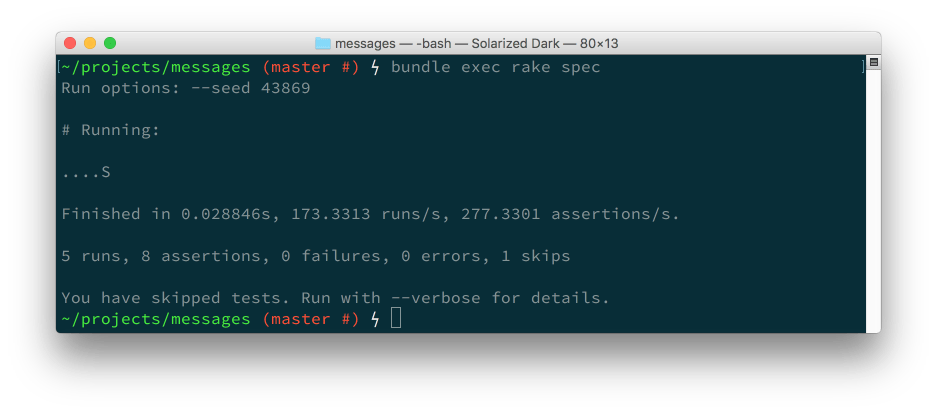
Run the tests this time and they pass.
Bypassing the view from the action
At this stage the view isn’t really doing very much, so why not just bypass it too? This can lead to a small performance improvement in the application as we avoid creating unnecessary objects.
To bypass the view you can assign to the action’s body. Replace the code in apps/webhooks/controllers/sms/create.rbwith:
You can now delete the view, along with its test (spec/webhooks/views/sms/create_spec.rb), and the template since we no longer use them. Run the tests again and you’ll see them passing. This means we are ready to connect the app to a phone number.
Connecting to Twilio
We need to expose our application to the internet to respond to an incoming text message with the action we just created. First, make sure you’re running the application. If you’re not, run:
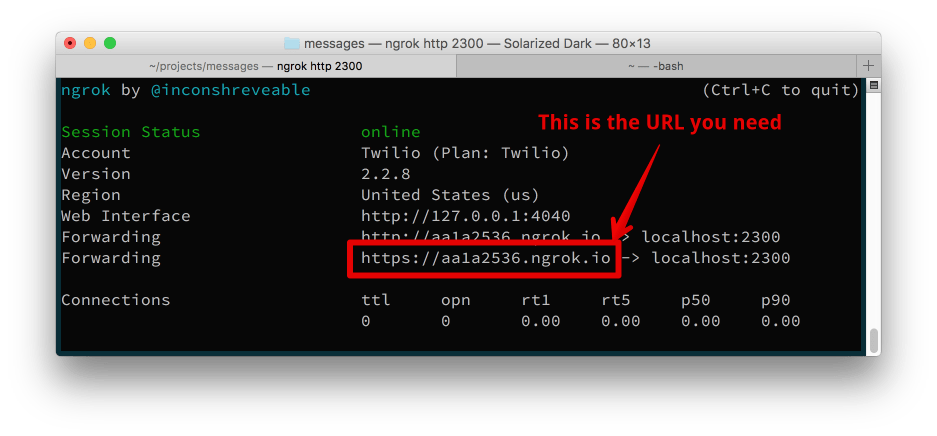
I like to use a tool called ngrok to expose the application. Follow the instructions to download and install ngrok. Then run ngrok passing the port number we want to forward traffic to. Hanami runs on port 2300 by default, so run:
You will see ngrok running and see the URL that is now forwarding to your Hanami application. Grab the URL, you’re going to need that in your Twilio console.
Open the Twilio console and head to the numbers dashboard. If you already have a number you want to use for this, then click on it to edit, otherwise, buy yourself a new SMS capable phone number.
Once you have your number it’s time to set the webhook URL for incoming messages. Take the ngrok URL you got earlier and add the path to our action, /webhooks/sms, to it. Enter this in the field for when a message comes in.
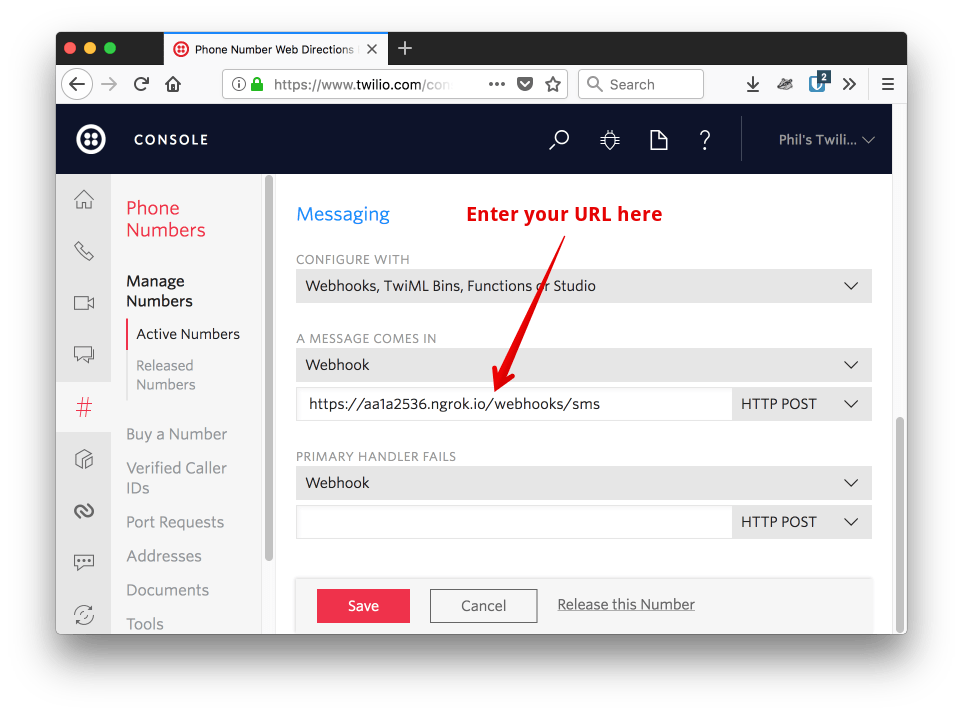
Save that and grab your phone. Send a text message to your Twilio number and wait for your message back from your Hanami application.

Welcome to Hanami
We’ve seen how to set up Hanami to receive and respond to incoming SMS messages. If you want to see the final code check out the application on GitHub. If you want to learn more about Hanami I recommend the Hanami Guides.
Not only have we built a Hanami app that can respond to SMS messages, we’ve also seen how flexible Hanami is as a framework.
- You can create different apps within one project with different configurations
- There are specific objects for each stage of responding to an incoming request making it easy to separate the concerns of the application
- You can bypass templates and views if you don’t need them
This power and flexibility combined makes Hanami a valid competitor to Rails for me. Let me know what you think about Hanami and if you would consider it for your next application. Hit me up on Twitter as @philnash, drop me an email at philnash@twilio.com or leave a comment below.
Related Posts
Related Resources
Twilio Docs
From APIs to SDKs to sample apps
API reference documentation, SDKs, helper libraries, quickstarts, and tutorials for your language and platform.
Resource Center
The latest ebooks, industry reports, and webinars
Learn from customer engagement experts to improve your own communication.
Ahoy
Twilio's developer community hub
Best practices, code samples, and inspiration to build communications and digital engagement experiences.
