Implementing WhatsApp Notifications with Templates in Django
Time to read:
The Twilio WhatsApp API helps your application connect with your users through WhatsApp. Django is a Python framework used for the rapid development of web applications. It is free and open-source, with lots of features so you don't have to reinvent the wheel. It powers web services like Instagram and Spotify.
In this tutorial, we will implement a Django application that sends WhatsApp notifications to users. Below you can see an example.

Tutorial requirements
- A Twilio account. If you are new to Twilio click here to create a free account now and receive $10 credit when you upgrade to a paid account. You can review the features and limitations of a free Twilio account.
- A smartphone or mobile device
- A WhatsApp account associated with your mobile number
- Python 3 installed on your machine. You may download and install Python 3 from the official Python website
- Basic knowledge of Python and Django
Setup the Django project
We need to set up the Django application, which will contain the logic for sending WhatsApp messages. Let us first install virtualenv and create a virtual environment for our project.
Install virtualenv with pip, the Python package manager:
Create a folder for our project and navigate into it:
Then, create a virtual environment for our project with virtualenv as follows:
If you are using a Unix or MacOS computer, you can activate the virtual environment with the following command:
If you are using a Windows computer, the virtual environment activation is:
With the virtual environment activated, install the packages needed for this project with:
Now start a new Django project called notifications with the django-admin utility:
Then create a new application in the Django project, which will host the WhatsApp messaging feature. We will use the manage.py script provided by Django for administrative functions to create an application called core.
Navigate to the settings.py in the notifications subdirectory and add core to the list of INSTALLED_APPS.
Django has a built-in local development server with which we can test our application with. Start the development server with the following command:
The console output should look like this:
Setup the Twilio sandbox for WhatsApp
To send messages with WhatsApp in production, WhatsApp has to formally approve your account. To simplify the development of WhatsApp applications, Twilio provides us with the Twilio Sandbox for WhatsApp. You can activate the sandbox in the WhatsApp section of the Twilio Console. You will need to agree to the terms and conditions before you can activate your sandbox environment.
Once you enter the sandbox activation page, you will be provided with a specific two-word join code that you need to send to the given sandbox number. The screen should be like this:
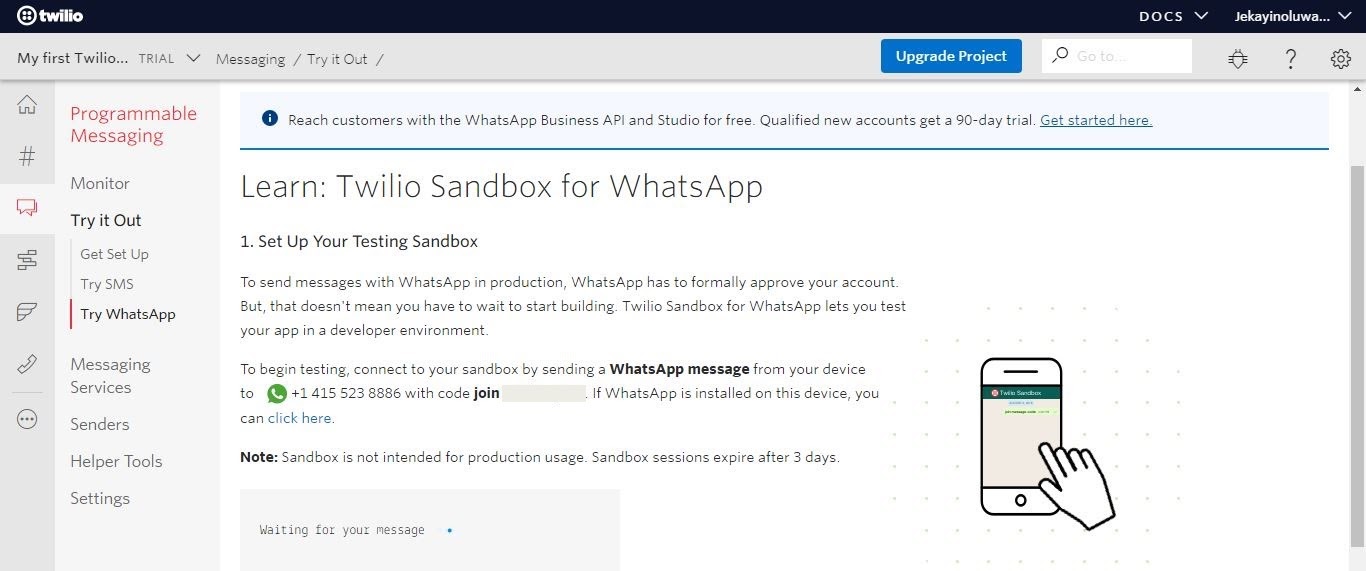
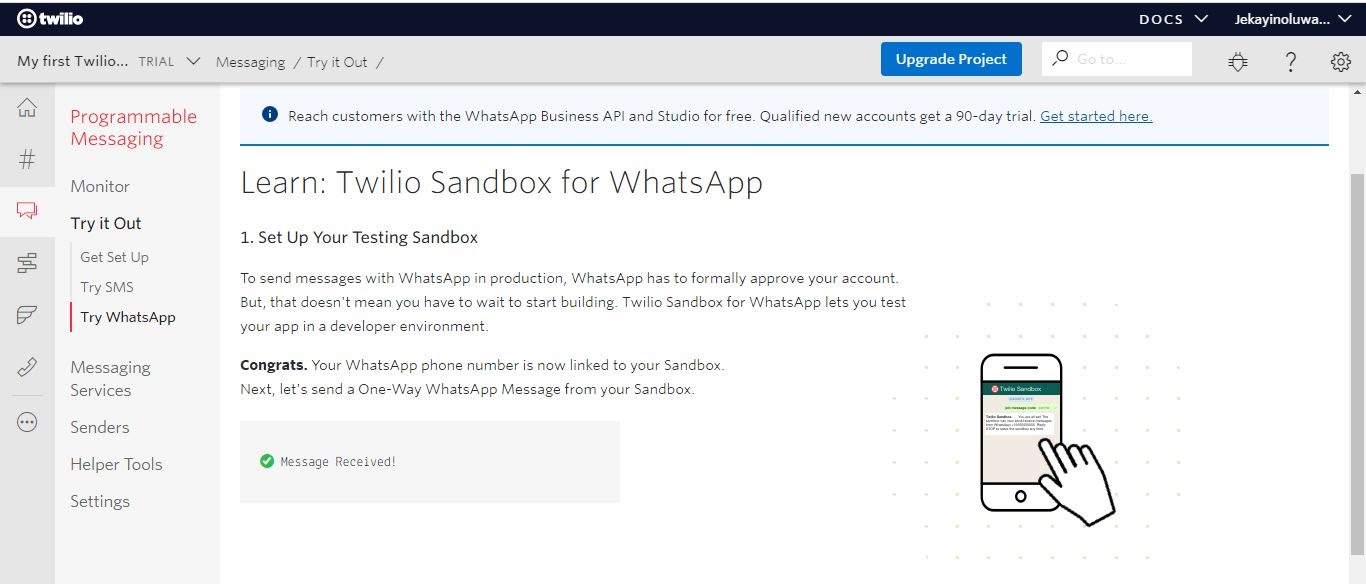
Send the code to the WhatsApp sandbox number using WhatsApp on your smartphone to establish a connection with your WhatsApp account. If you have done that, you should get a Message Received feedback on the screen as shown below:
Prepare the Django Settings for the Project
Create a .env file in the project root directory to keep the Twilio credentials that the application will use to authenticate. Add them like this:
You can find the values for the Twilio Account SID and Auth Token that apply to your Twilio account in the Console. Save the file after adding the two variables.
Next, open the settings.py file from the notifications subdirectory in your editor. At the top of the file, add an import for the config module of python-decouple:
Then at the bottom of the file, add two variables that match the Twilio credentials stored in the .env file:
Choosing a WhatsApp message template
As a measure in preventing spam, WhatsApp requires that all notifications sent to users are based on a pre-approved template. The approved categories are listed here, WhatsApp notification categories. To submit a Message Template for Approval, you need to get your WhatsApp account approved for production. Then, head to the WhatsApp message section of the Twilio console and submit your template for review.
Fortunately, the Twilio WhatsApp sandbox includes 3 approved message templates that are available for testing purposes. You can see them below:
- Your appointment is coming up on {{1}} at {{2}}
- Your {{1}} order of {{2}} has shipped and should be delivered on {{3}}. Details: {{4}}
- Your {{1}} code is {{2}}
The templates have placeholders such as {{1}}, {{2}}, etc. where dynamic data can be inserted. In this tutorial we are going to use the order notification template.
If you are interested in learning more about WhatsApp notification templates and the approval process, see Creating message templates and submitting them for approval in the documentation.
Create a Django view to send WhatsApp messages
We need a Django view to hold the logic of our application. The view will accept the user’s WhatsApp number in a web form, and also control the sending of the WhatsApp notifications with the pre-approved message template when the form is submitted by the user.
Open the views.py file from the core application directory on your editor. Replace the content of this file with the following imports:
In the above code, we imported the Twilio Client class to be able to send messages through the Twilio API for WhatsApp. We also imported the TWILIO_ACCOUNT_SID and TWILIO_AUTH_TOKEN variables created earlier from the settings.py file. The HttpResponse class from Django will be used to return HTTP responses to clients, and the render function will render the Django HTML template.
Next, create a dictionary to hold example order details that will be sent out in the notification. In a real application this data will be retrieved from a database instead of being hardcoded.
Add a view function called send_notification at the bottom of views.py:
The view function above handles GET and POST requests. When a GET request is received, it renders a web form for the user to supply their WhatsApp number. The form is rendered via a Django template ‘phone.html’ that we will create in the next section.
When the user submits the web form, a POST request will be received by the server. In this case the WhatsApp phone number of the user is retrieved from the form data in request.POST, and then a WhatsApp message is sent from the Twilio WhatsApp sandbox number to the user’s WhatsApp number.
Note how the body of the message conforms to the pre-approved order notification template, with the example order details inserted in the placeholder positions. The message will not be sent unless it matches one of the approved templates.
The from_ argument must be given with the format whatsapp:+xxxxxxxxxxx' and the number must match the sandbox number that was assigned to your sandbox.
Adding a Django HTML template
Now, we will create a Django template that will render the web form to the user. Create a templates subdirectory inside the core application. The directory structure should be as follows:
The base.html will contain the HTML structure of the website. The phone.html template will render the user input form and will inherit the general page layout from base.html.
Add the following code to the base.html file:
Now, open the phone.html file and add the following code:
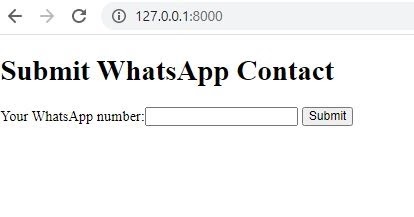
This template file defines the form form with an action that sends POST requests to the / URL. It contains a labeled input element to accept the WhatsApp number from the user and a submit button for the user to submit the form. It extends the base.html file which structures the web page.
Save the two template files before continuing on to the next step.
Adding a URL pattern for the Django view
Now, let’s configure a URL for the view that we created to send WhatsApp messages. Navigate to the urls.py file in the notifications directory and open it. Then add a path to the list of urlpatterns:
In the above code, we added an import statement linked to the send_notification view in the core application. Then, we attached the root URL of the application to this view.
Save the modified file and run the Django development server on the console:
Then, navigate to http://127.0.0.1:8000/ in your browser. The webpage rendered should look like the following:
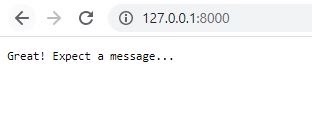
Input your WhatsApp number and click the submit button. You should get a response as this:
The code would run and you will get a WhatsApp message that says, "Your 5kg order of Tomatoes has shipped and should be delivered on 03/04/2021. Details: No 1, Ciroma Chukwuma Adekunle Street, Ikeja, Lagos". Then, the SID of the message sent will be shown in the terminal. The screenshot below shows how the message would look like on WhatsApp.

Next Steps
In this tutorial, we have learned how to create WhatsApp message templates, submit them for approval and implement them in Django projects. You may try advancing your knowledge of the WhatsApp API by learning how to store data in your Twilio WhatsApp API projects with this tutorial, How to Connect a Twilio WhatsApp Python Project to SQLite3.
Let me know if this tutorial has been helpful by tweeting at me. I would appreciate your ideas and suggestions too.
Jekayinoluwa Olabemiwo is a software craftsman who enjoys applying multidisciplinary approaches to solving problems. He can be reached on Twitter or LinkedIn.
Related Posts
Related Resources
Twilio Docs
From APIs to SDKs to sample apps
API reference documentation, SDKs, helper libraries, quickstarts, and tutorials for your language and platform.
Resource Center
The latest ebooks, industry reports, and webinars
Learn from customer engagement experts to improve your own communication.
Ahoy
Twilio's developer community hub
Best practices, code samples, and inspiration to build communications and digital engagement experiences.


