Supercharge your Programmable Chat with Hubot
Time to read: 5 minutes

Hubot is your company’s robot. That’s what it says on Hubot’s home page anyway. But what if Hubot could be more than that? What if Hubot could be your users’ robot, your customers’ robot or, why not, everybody’s robot?
If this hasn’t made any sense, then you haven’t come across GitHub’s home grown, chat room dwelling, automation bot yet. Hubot is an open source chat bot that you can program to sit in your company chat room and respond to messages, from doing simple things like posting images to anything you can dream of in code.
With the recent launch of Twilio Programmable Chat I added a little launch of my own: a Hubot adapter for Programmable Chat. This means that you can add Hubot into your Programmable Chat based chat and use any of the hundreds of scripts that developers have developed for the bot over the years. And if there isn’t a script that does what you need, they’re easy to create too. In this post we’re going to learn how to setup a Hubot for Programmable Chat and then supercharge it with community and custom scripts.
Getting started
To create our own Hubot we’re going to need a few things. Make sure you have the following:
- A Twilio account (sign up for a free one here)
- Node.js installed
- We’ll need Hubot to respond to HTTP requests from the Programmable Chat service, so having ngrok will be invaluable (plus, I really like ngrok!)
We also need a working Programmable Chat application with which to test our bot. If you don’t have one already, I recommend getting the Programmable Chat Quickstart for Node.js up and running. Make sure you hold on to the Programmable Chat Service SID and your API key pair that you use to create the application, you’ll need those later.
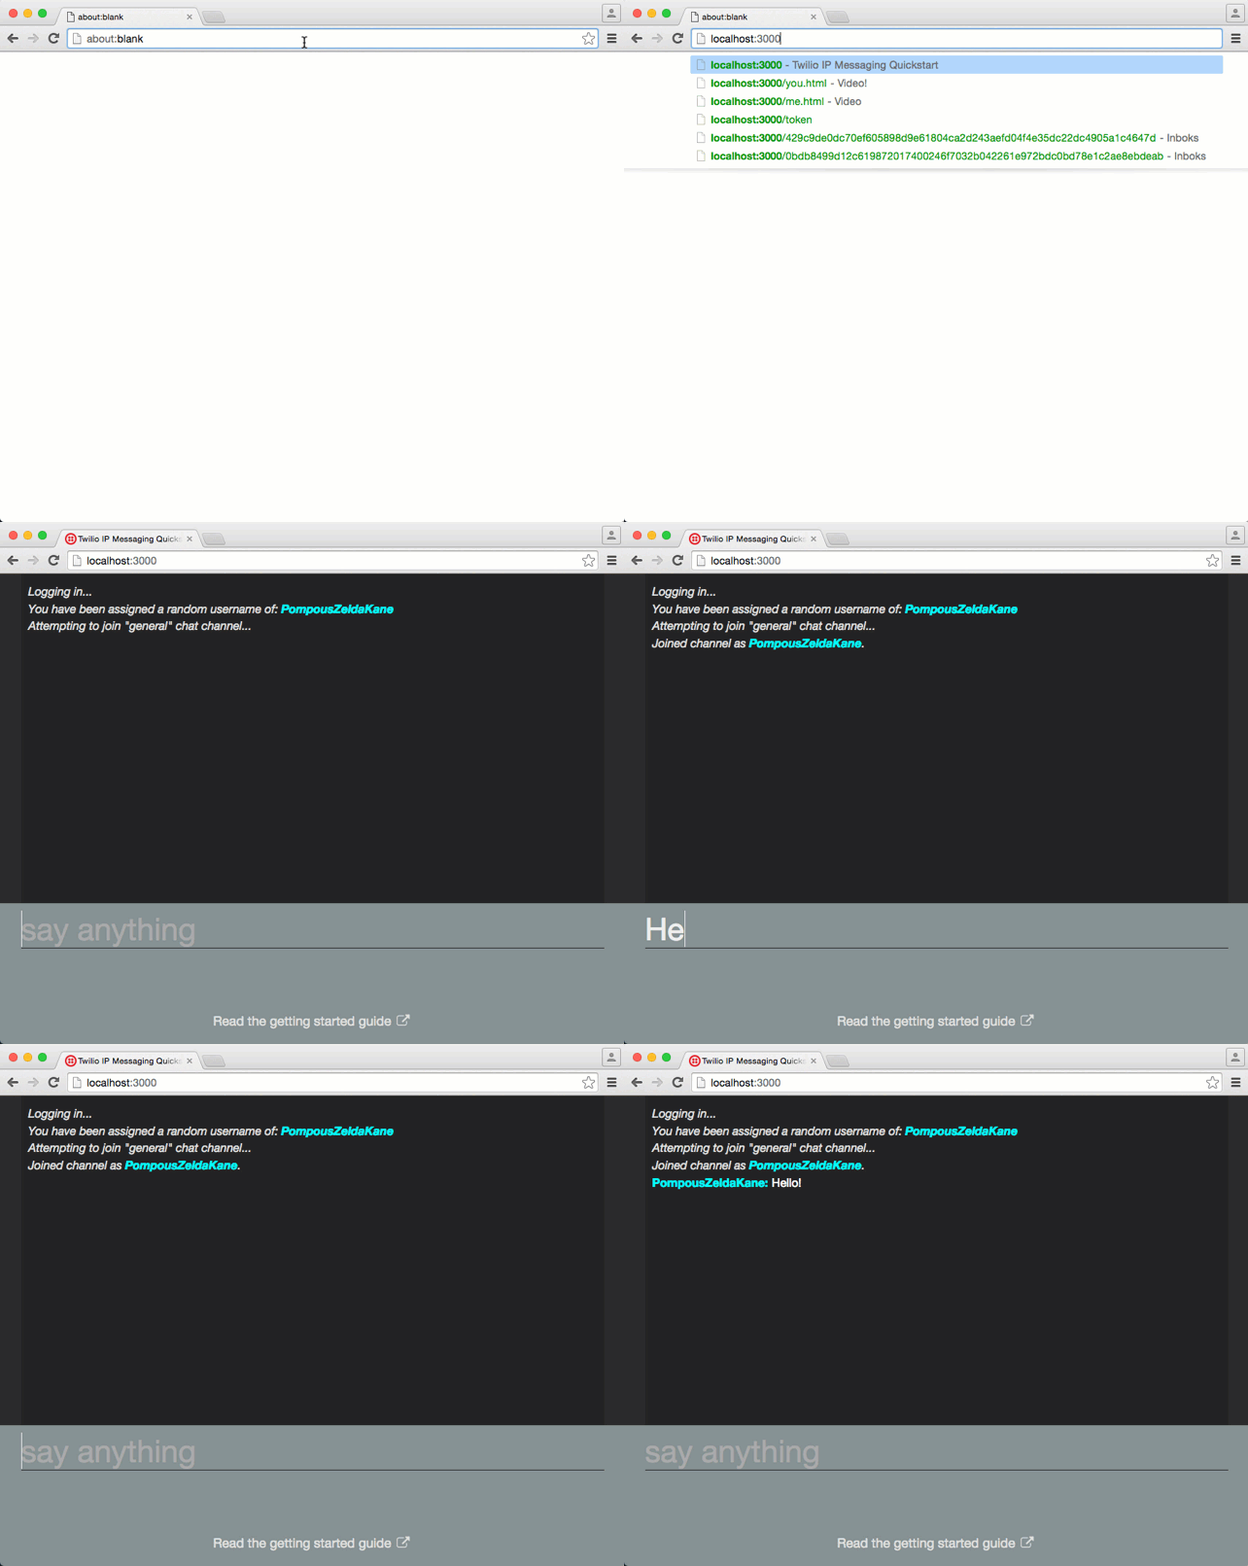
Got all that going? Get a great name like PompousZeldaKane? Good, let’s make ourselves a Hubot!
Bringing the bot to life
We need a bit of preparation to create our bot. First, we need to install Yeoman (a scaffolding tool for generating projects) and the Hubot generator for Yeoman. On your command line, install both projects like this:
Now create a directory for your Hubot to live in and change into that directory. This seems like a good idea to name our bot. As Hubot is the name of the overall project it will be easier to refer to our bot by its own name. I’m going to call mine philbot (see what I did there?).
We’re ready to generate our bot. At this point we set the adapter that the bot will use to connect to the chat service. Hubot by default comes with a shell adapter for testing and an adapter that allows it to connect to Campfire. There are many third party adapters available, and new in this selection is the Twilio Programmable Chat Hubot adapter. Generate the bot with the following command, setting the adapter and the name:
Pretty straightforward so far, right? Let’s get Hubot connected to our chat.
Hubot logs on
Hubot uses the environment to store the credentials it needs to sign into the chat service. To connect to the quickstart we got running earlier we’ll need the Service SID, API key and API secret.
Hubot opens a web server on port 8080 which we need to make available to the Programmable Chat webhooks. Our aim is for our Hubot to receive a webhook request when new channels are opened (so it can join them), when new messages are sent and when users enter and leave a channel. To perform this tunnelling we’ll use ngrok, so open a new terminal window and start it up:
Then, copy the URL you get from ngrok. We need to tell our IP Messaging Service the webhooks we want to receive and the URLs we want to receive them on. Perform the two commands below:
With all that in place, we can now start up philbot (or whatever you called your bot) and it will join your quickstart channel:
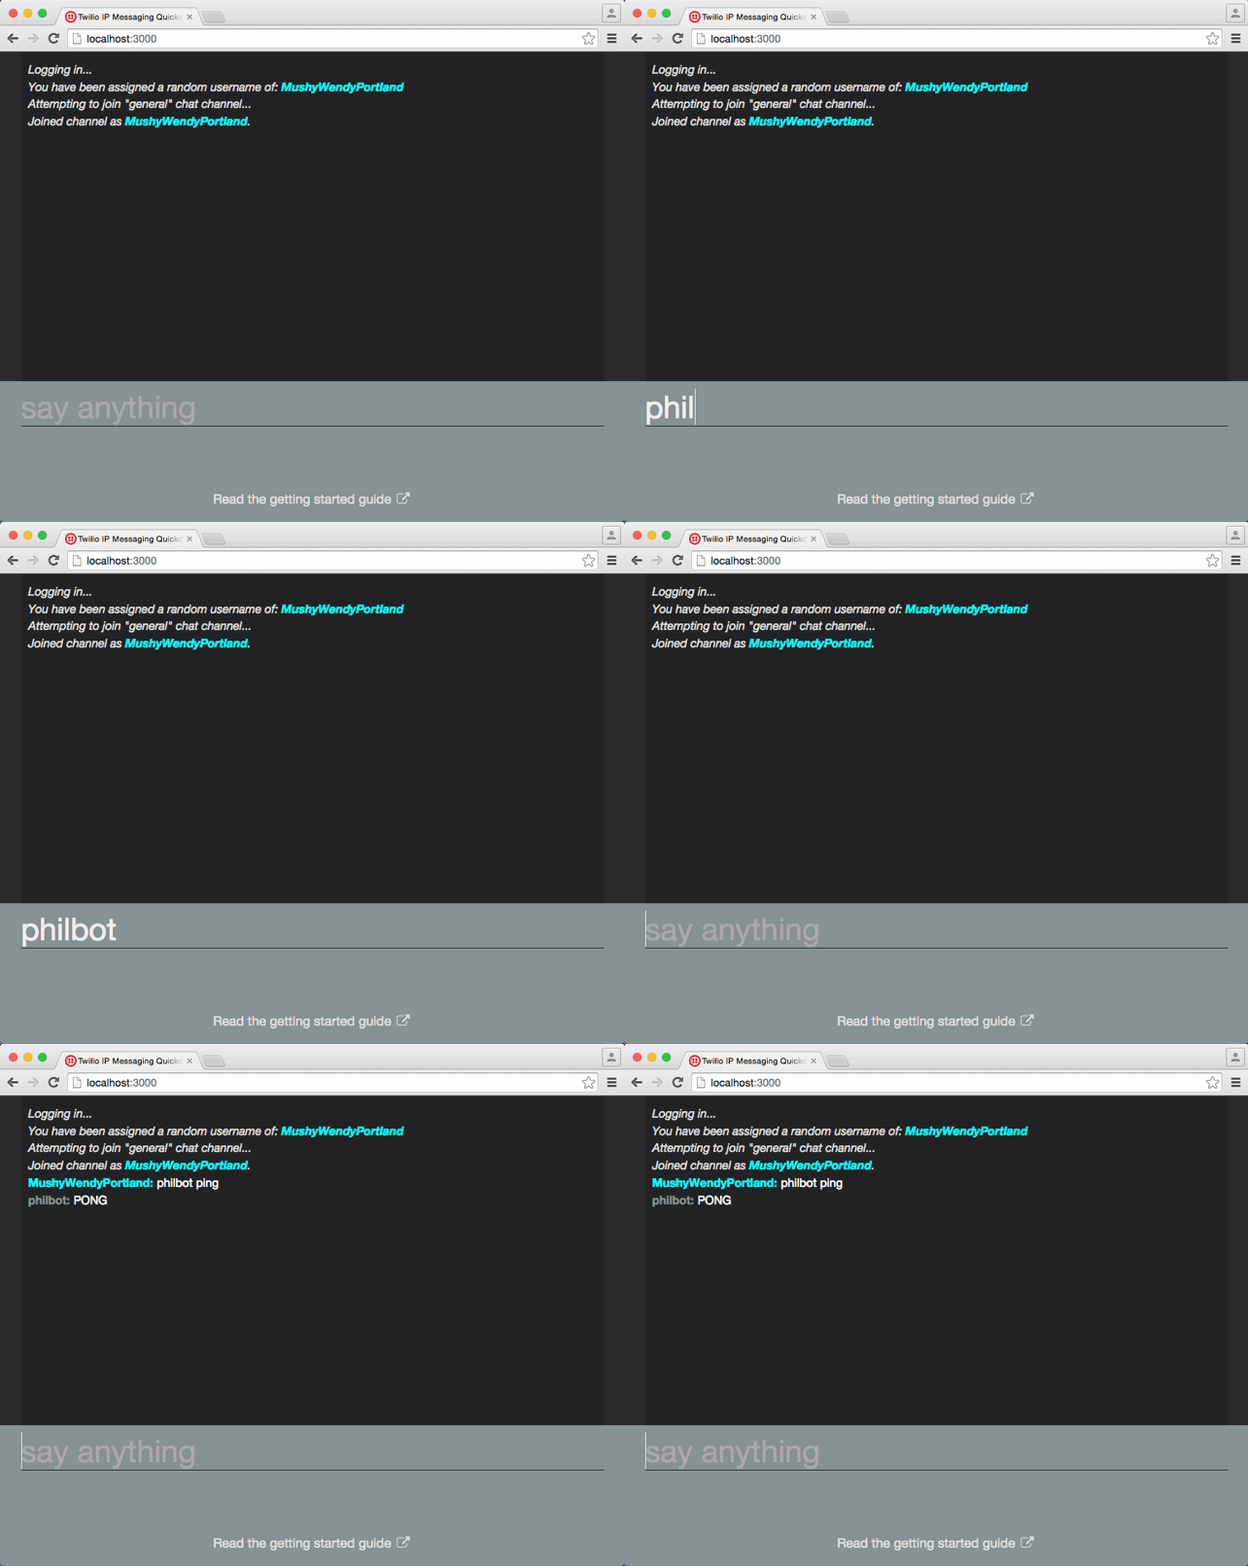
You can test he’s in the room by chatting to him. Send the message philbot ping and if you receive a “PONG” in return then your bot is up and running.
The world is Hubot’s oyster
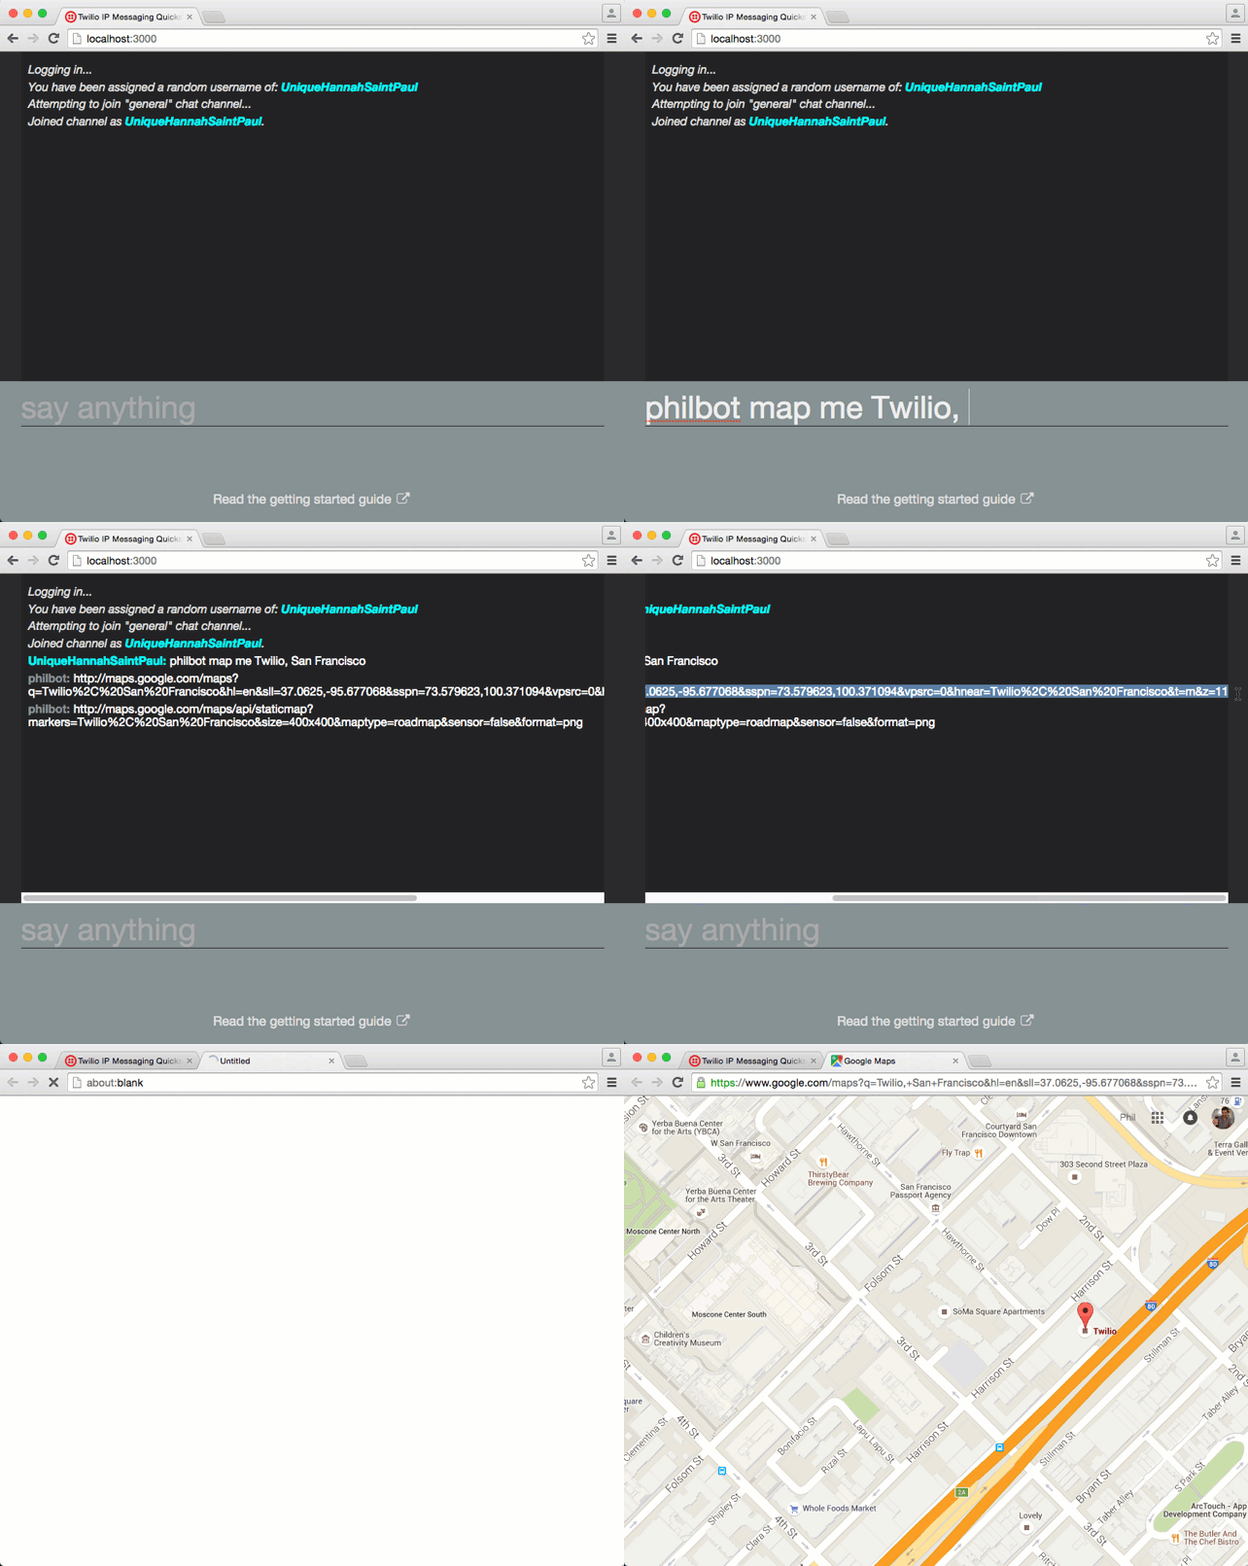
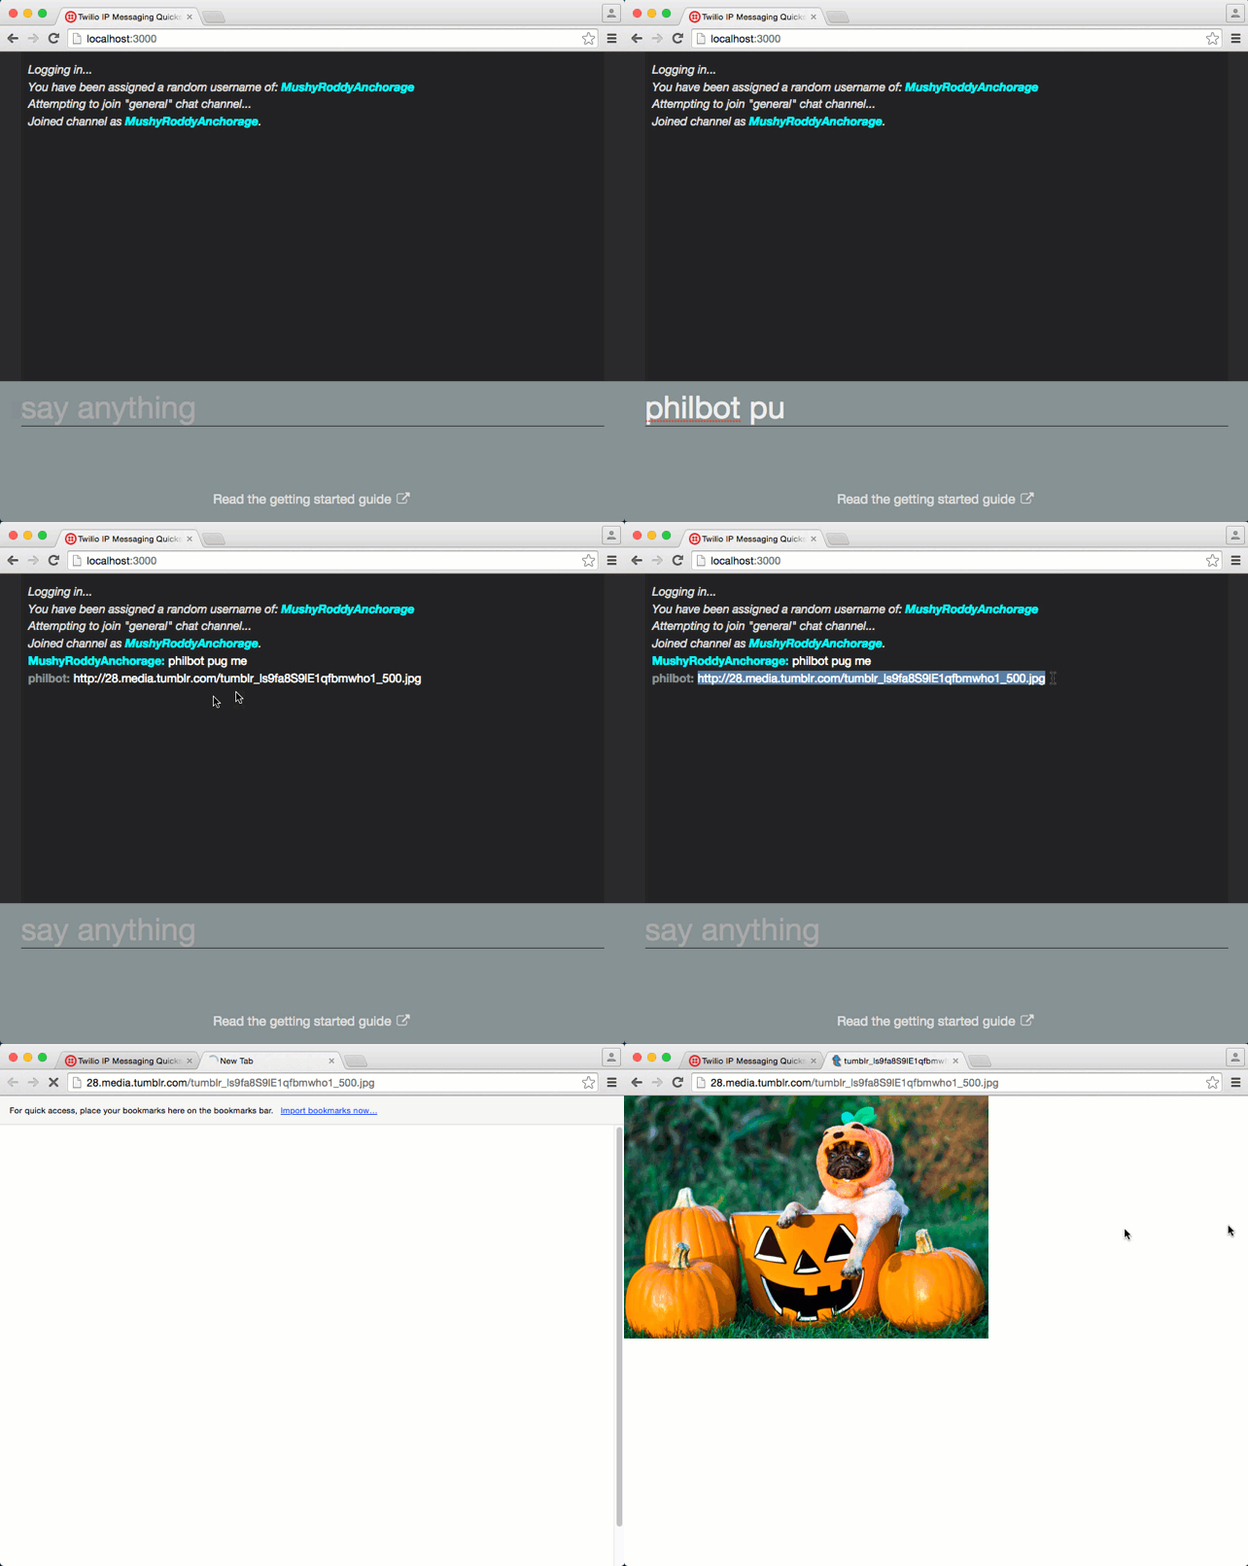
Now we have our own personal Hubot up and running within our Programmable Chat we can start to see what it can do. Hubot comes with a few preloaded scripts, that ping/pong example was one of them, and you can install any of the other existing scripts. That’s a whole lot of chat bot power at your fingertips already!
The built in scripts range from the sublime:
To the ridiculous:
But at least, as a bot, philbot knows it’s place in the world:
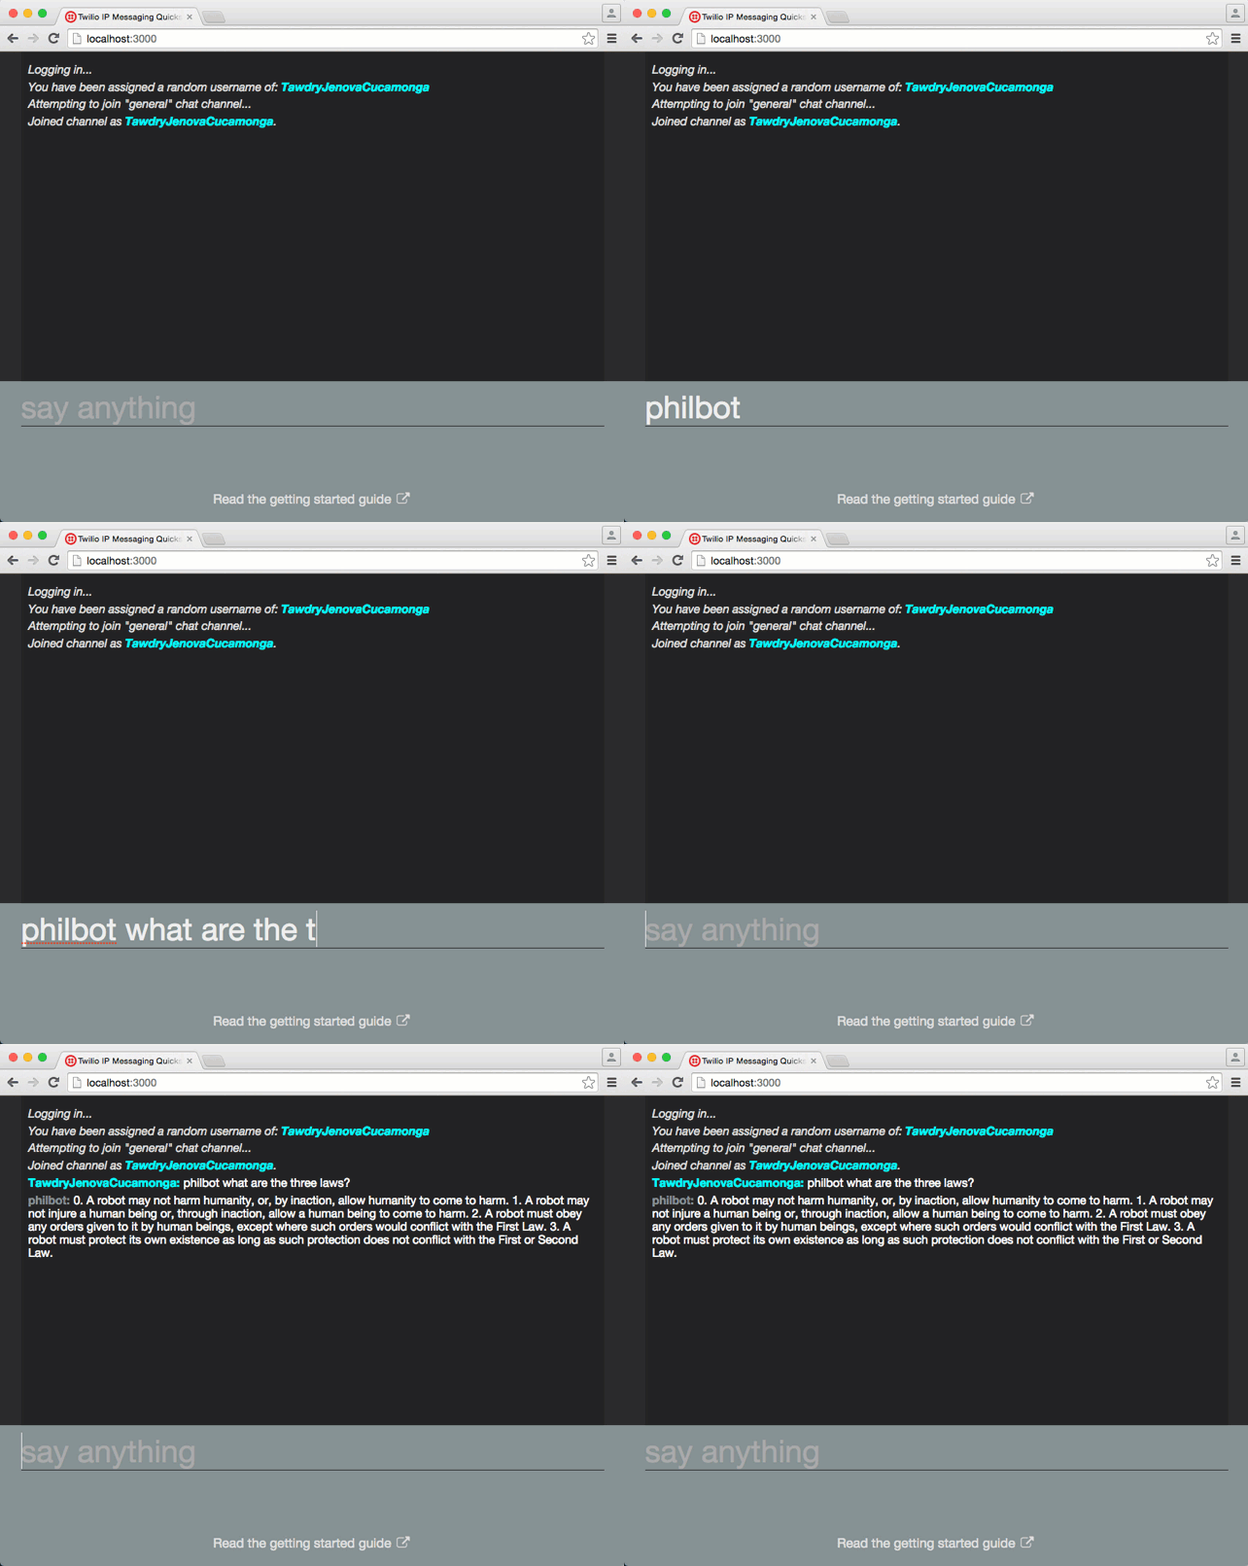
Installing more (useful) scripts for our Hubot is simple too. Let’s get the Youtube search script. Stop your bot running by hitting Ctrl + C in the terminal window then install the script:
Then open up external-scripts.json and add hubot-youtube to the list:
Finally you need to get a Youtube API Key. This can be done through the Google Developer Console, but I’m not going to go into instructions for that right now. Once you have the API Key, export it as an environment variable like so:
Start your bot up again and then ask it to search Youtube:
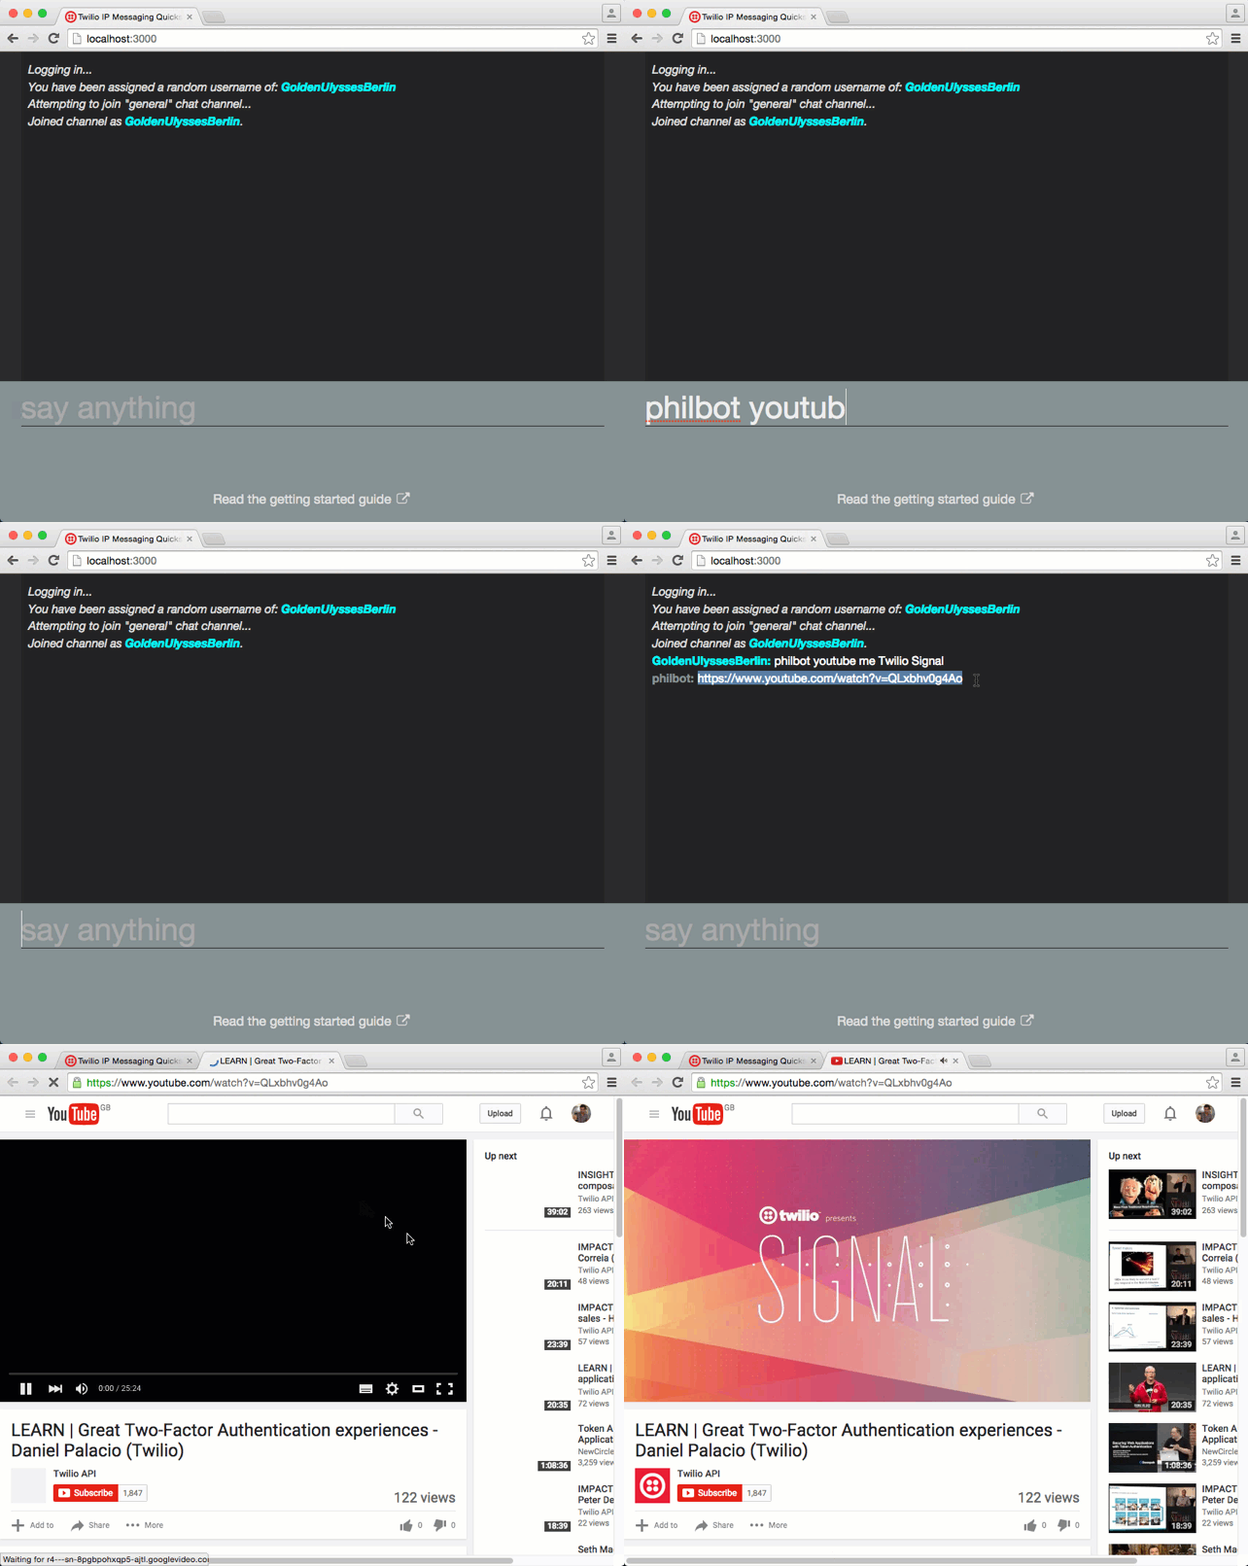
There are hundreds of available Hubot scripts for you to install, so you can explore by checking the list of Hubot scripts or just searching for Hubot on npm.
If you can’t find a script that suits you things are about to get even better. Creating Hubot scripts is almost as easy as installing them!
Make up your own Hubot superpowers
If you look in your Hubot project, you will find a folder called scripts and within that an example.coffee file. Open that up and you will find a bunch of commented out example scripts that show how to get started creating your own Hubot script.
You can see the basic building blocks of a script. You export a function that takes a robot as an argument then attach behaviour to that robot with the methods hear, respond, enter, leave and topic. The most important are hear and respond, the former allows your robot to listen in for anything that happens in the room and the latter to anything said directly to the robot, like most of the examples we’ve seen so far.
Uncomment the first example, restart your Hubot and type anything about “badgers” into your Programmable Chat and watch Hubot respond.
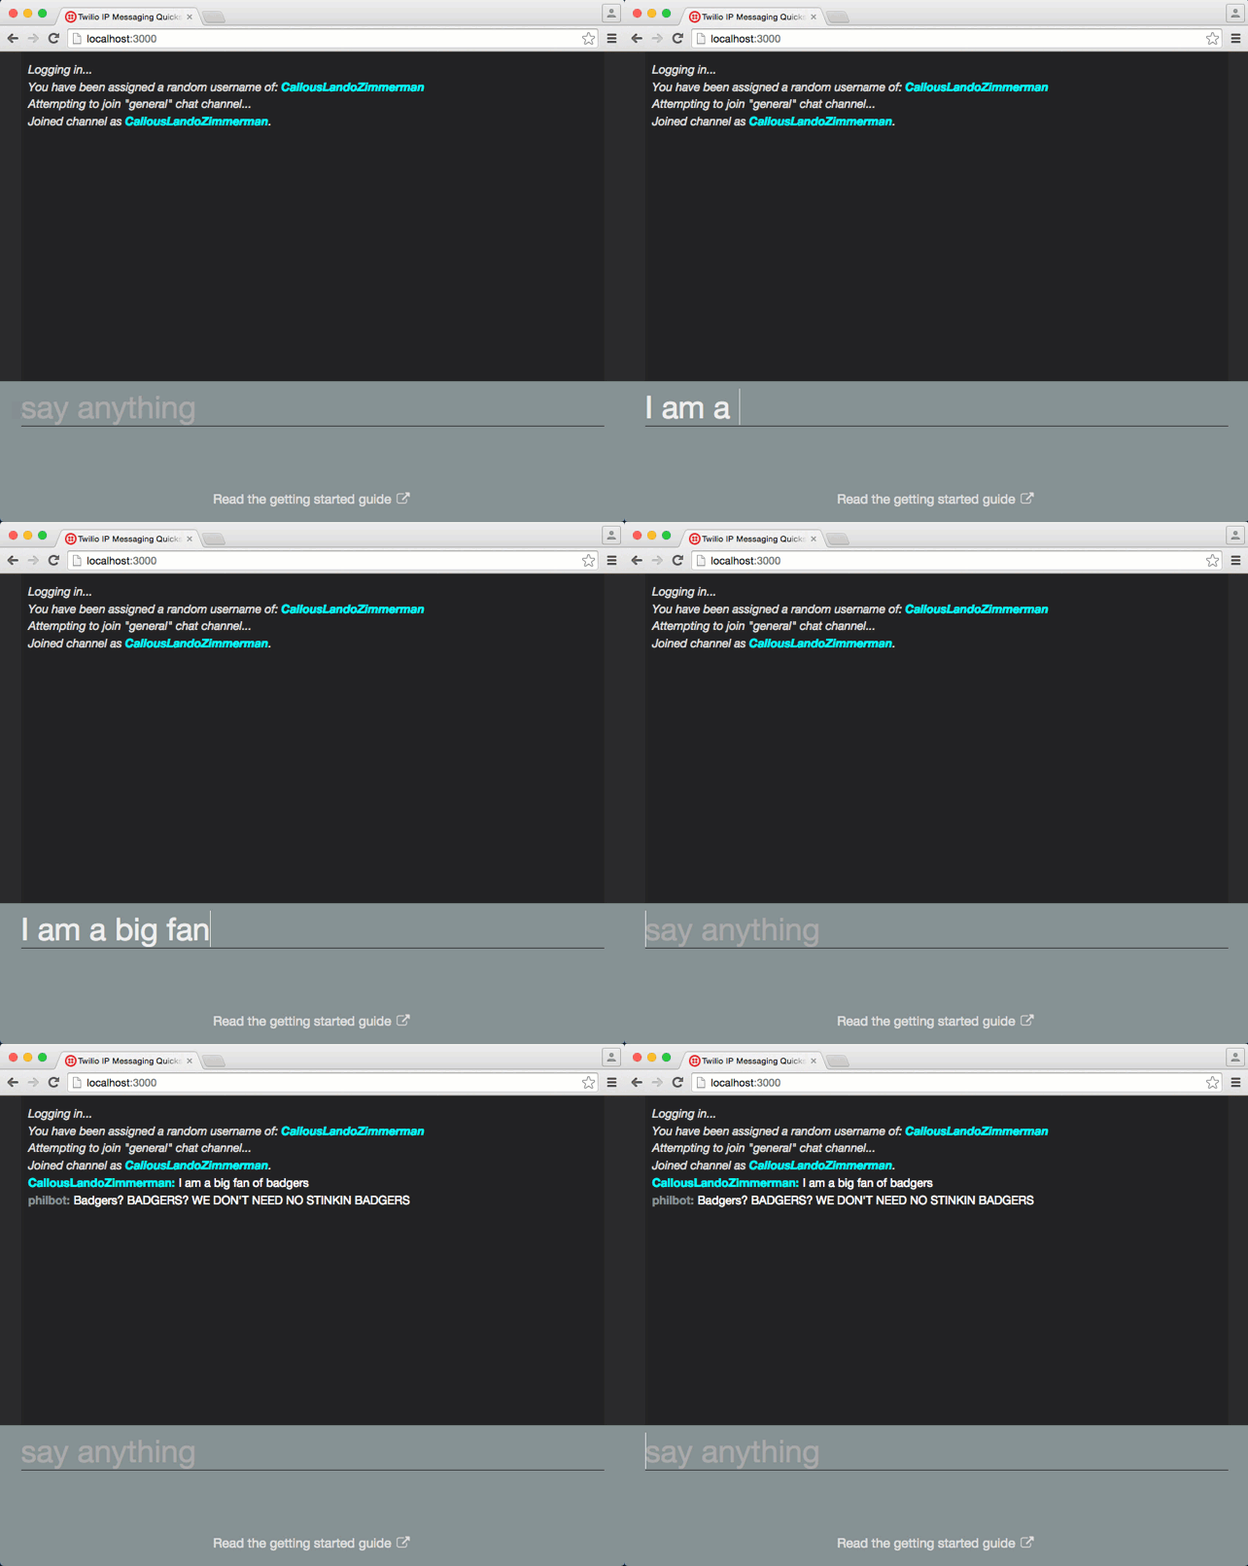
If you’re interested in writing something slightly more useful then check out the Hubot scripting documentation for more details on how to write scripts. It covers how to generate your own custom scripts using the Yeoman generator as well as error handling, documentation, persistence and middleware; all the features you can use to create your own very sophisticated Hubot scripts.
Robots away
Today we’ve seen how we can start our own Hubot and connect it to Twilio Programmable Chat. We’ve even started to add our own scripts to our bot. So what’s next?
Have you built Hubot scripts in the past? If so, do share them in the comments below. Let me know if you come up with a useful script for Programmable Chat too, I’d love to share it here.
If you’re happy with your bot it might be time to deploy. There’s great documentation on deploying your bot on the Hubot site.
Finally, please check out the source code to the Hubot adapter for Twilio Programmable Chat. Issues or pull requests are very welcome.
I hope you have fun creating your own robot for your IP Messaging applications. Please do share what you get up to with it, just drop me an email at @philnash.
Related Posts
Related Resources
Twilio Docs
From APIs to SDKs to sample apps
API reference documentation, SDKs, helper libraries, quickstarts, and tutorials for your language and platform.
Resource Center
The latest ebooks, industry reports, and webinars
Learn from customer engagement experts to improve your own communication.
Ahoy
Twilio's developer community hub
Best practices, code samples, and inspiration to build communications and digital engagement experiences.


