How to View Email Analytics with SMS and Python
Time to read:
September 27, 2024
Written by
Reviewed by
By the end of the tutorial, you’ll be able to:
- Set up and send emails using Twilio SendGrid.
- Handle SendGrid's Event Webhooks.
- Implement an SMS notification system to monitor email campaign performance.
Prerequisites
To follow this tutorial, you need the following items:
- Python 3.11 or later - if your operating system doesn’t have a Python interpreter, you can go to python.org to download an installer.
- SendGrid Account - if you’re new to SendGrid, create a free account, or, if you already have an account, log in.
- Twilio Account - if you’re new to Twilio, create a free Twilio account and obtain your Account SID and Auth Token from the Twilio Console.
- A Twilio phone number.
Before writing code, you'll need to install some dependencies:
- SendGrid's Python Library - Necessary for sending emails.
- Twilio's Python Library - Required for sending SMS notifications.
- Flask - A lightweight WSGI web application framework.
- Flask SQLAlchemy - An ORM for handling database operations.
- APScheduler - A Python library for scheduling jobs.
Before installing the dependencies, it's recommended to create a virtual environment to keep your project's packages isolated and prevent conflicts with other projects. Here's how you can do it:
Create a new directory for your project. Navigate to the directory and run:
This command creates a new directory named `venv` that contains your virtual environment. After that, you must activate your virtual environment.
On macOS/Linux:
On Windows:
After activation, you should see (venv) prefixed in your terminal prompt, indicating that the virtual environment is active. With the virtual environment activated, install your dependencies using pip:

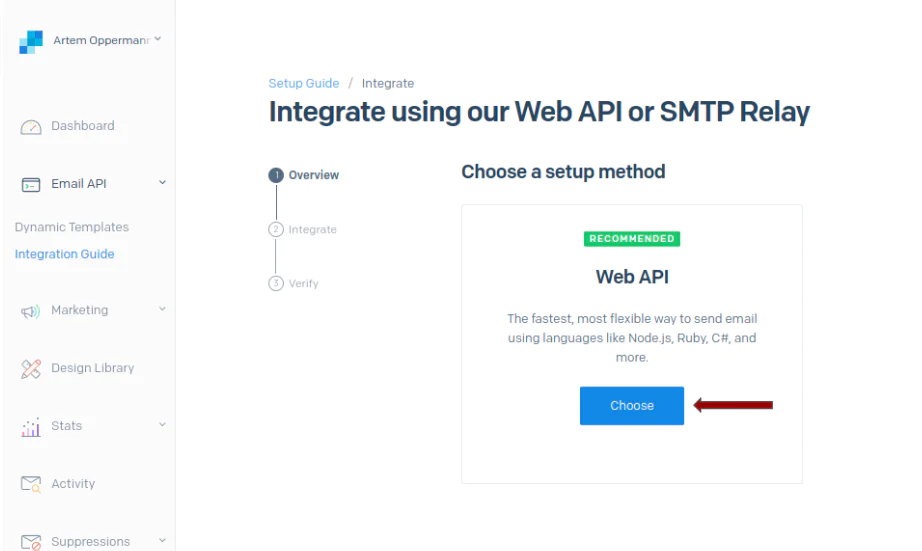
In the next step, choose Web API:
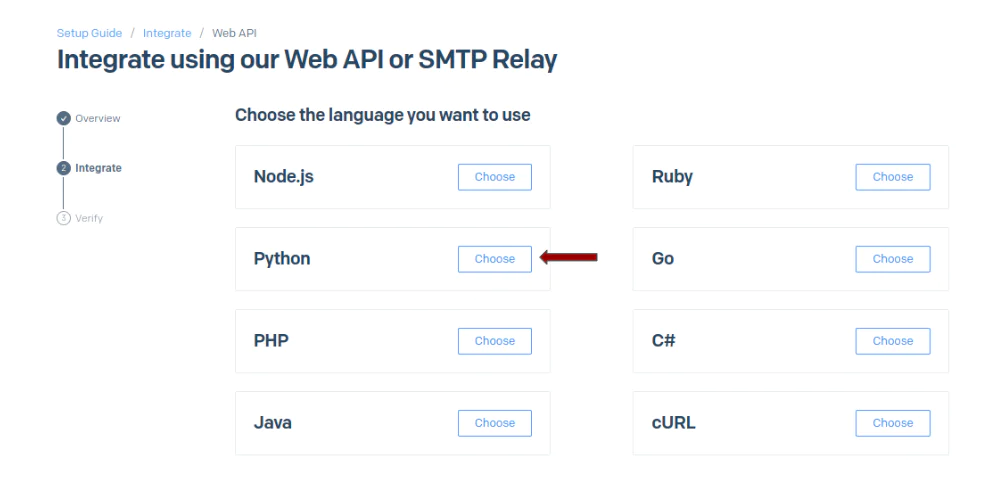
Select Python as the language you will use:
Click the blue Create Key button on the next screen:
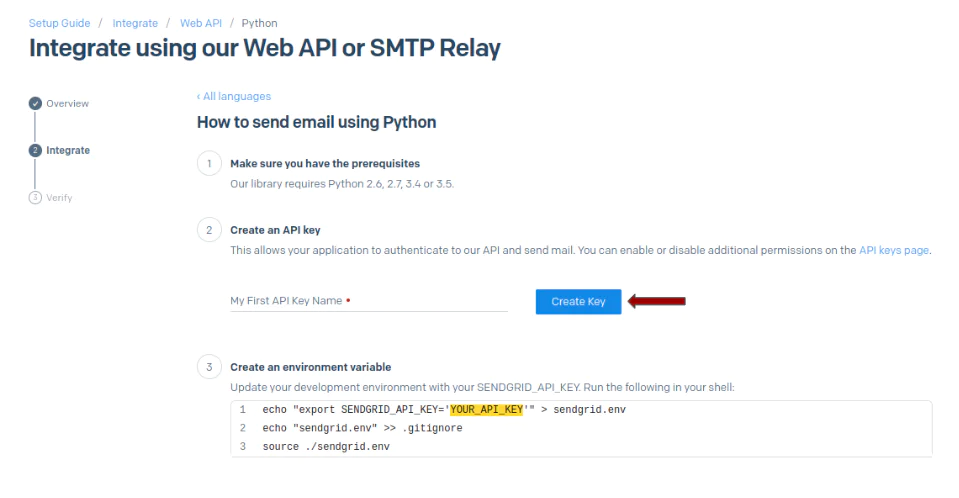
Once you have generated the API key, make sure to store it in your environment as SENDGRID_API_KEY as detailed in step 3 on the page.
Configure the event webhook
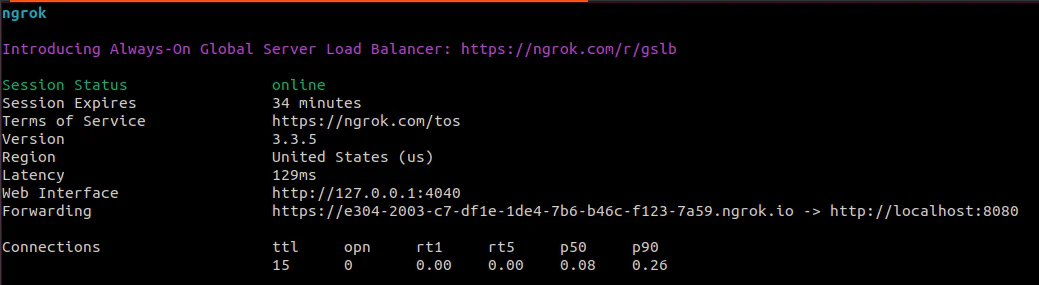
In this section, you will configure the event webhook. For this, you’ll utilize ngrok, a tool that generates a public URL for SendGrid to forward requests to your local application. If you haven't already, install ngrok on your system. For this, open a separate terminal window and initiate ngrok using the following command:
This command instructs ngrok to establish a "tunnel" that connects the public internet to port 8080 on our local machine, where the Flask app is actively waiting for incoming requests. The resulting output should resemble the following:
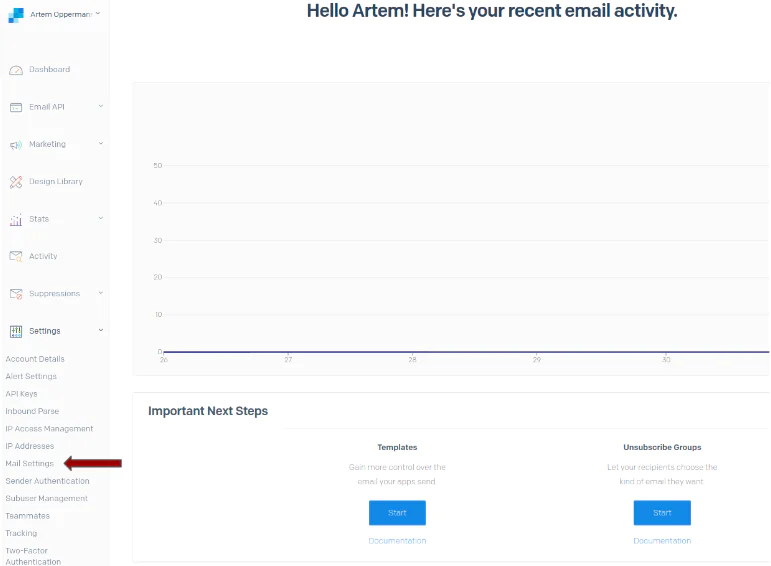
With this URL ready, proceed to the Mail Settings section under Settings within your SendGrid dashboard, as illustrated in the screenshot below.
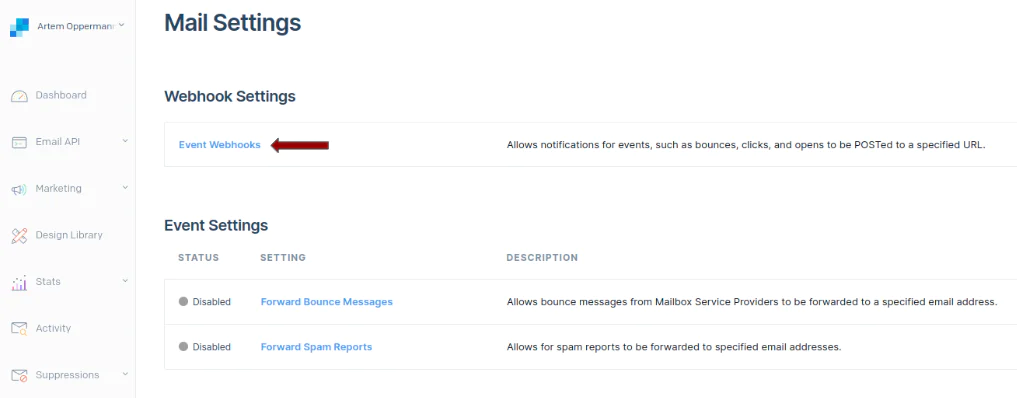
In the Mail Settings,click on Event Webhooks and then click on the blue Create new webhook button.
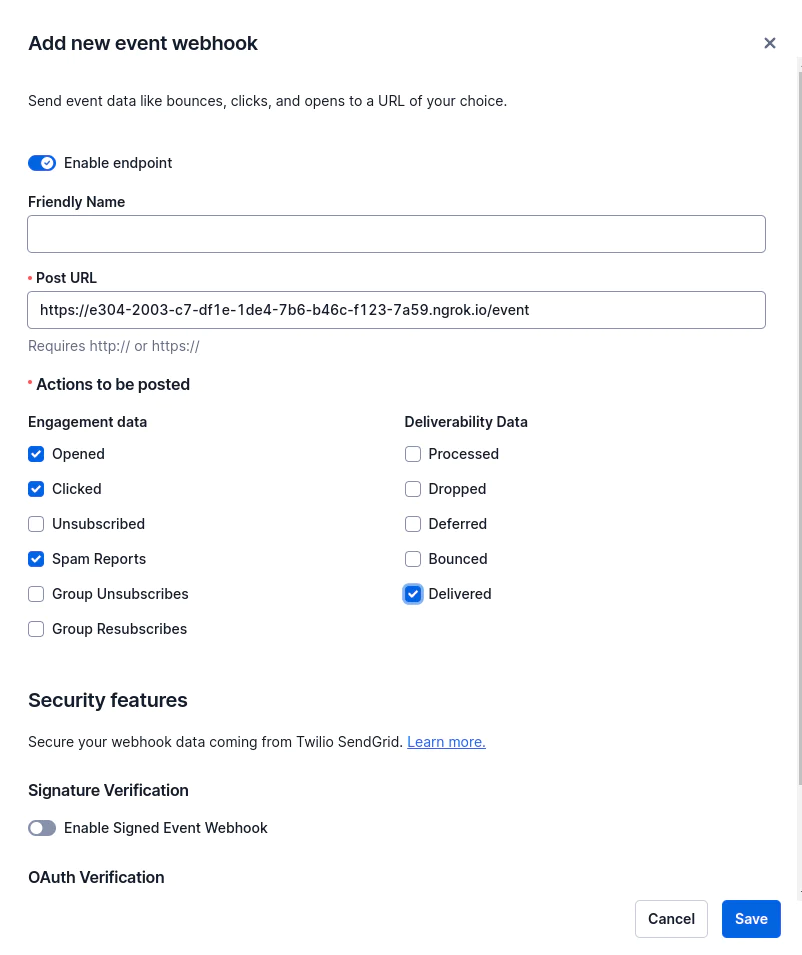
Configure the Event Webhook by simply copying your ngrok URL and appending "/event" to it. This URL will be the route on your Flask app where HTTP requests should be directed. In the given example below, I've selected Delivered, Opened, Clicked, and Spam Reports events for monitoring, but you can choose the events that suit you.
Build the application
In the following sections, you will be guided through the process of building an application centered around email marketing. Initially, you'll learn how to utilize the SendGrid service to send out marketing emails using its Python library.
Following that, the Flask application will monitor email interactions using SendGrid's Event Webhook feature, allowing you to track and store email events such as opens, clicks, and spam reports.
The final project will allow you to send SMS notifications using Twilio's SMS API to retrieve real-time updates on the email campaign metrics within regular intervals using a scheduling library.
Send emails with Sendgrid
In this section, you will be using the SendGrid service to send out emails. You’ll craft a sample email using SendGrid's Python library and send it to a list of recipients from a CSV file. Paste the code below into a file called send_emails .py.
This script primarily sends out marketing emails to a list of recipients sourced from a CSV file. Initially, the script imports necessary libraries and initializes the SendGrid client with a specified API key. This client will later be used to send emails.
In the send_email function, it creates an email message using the Mail class. The message has a specified sender, recipient, subject, and HTML content. This HTML content includes a brief marketing message and a clickable link to SendGrid's registration page.
The script then attempts to send the email using the sendgrid_client.send method, checking the response to see if the email was sent successfully.
In the send_all_emails function, it opens a CSV file named email_list.csv, reads through each row of the CSV file, extracts the email address (assuming it's in the first column of each row), and calls the send_email function to send an individual email to each extracted email address.
Be sure to create an email_list.csv file with a a few email addresses for testing purposes.
If the script is run as the main program, it calls the send_all_emails function to send emails to all the addresses listed in the CSV file.
Create a Flask application for the event webhook
To monitor email interactions like opens, clicks, and spam reports, you’ll utilize SendGrid's Event Webhook feature. In particular, you’ll create a Flask application to handle the incoming events from SendGrid. Below is the code to set up the Flask application and a route to handle the event webhook. For this, create a file app.py and paste the code below into it:
The code sets up a basic web application using Flask and SQLAlchemy to record and store email event data in a local SQLite database.
Initially, the script imports necessary libraries and initializes a Flask application and a SQLAlchemy database connection. The database file is named email_events.db and is located in the same directory as the script.
A new database model class named EmailEvent is defined to represent email events. This class has three fields: an id, an event type, and an email address. The id field is the primary key, the event field stores the type of email event (like "opened" or "clicked"), and the email field stores the email address associated with the event.
The script then defines a new route /event that listens for POST requests. When a POST request is received, it retrieves the JSON data from the request, iterates through the data, and for each event data item, creates a new EmailEvent object. It then adds this object to the database session.
Once all the email event data items have been processed and added to the database session, it commits the session to the database, saving the new email event records to the email_events.db file.
Configure SMS notifications
In this section, you will extend the app.py file with the feature that sends SMS notifications using Twilio's SMS API. The goal is to enable real-time updates on key email campaign metrics via SMS. For this, you must paste the code below to the previously created file app.py:
This additional code extends the functionality of the previous script by introducing a feature to send SMS updates on email campaign metrics using Twilio's SMS API.
First, the script imports additional necessary libraries and initializes the Twilio client with the Twilio credentials consisting of an account SID and auth token. This client will be used to send SMS messages.
The send_sms_update() function is intended to calculate email campaign metrics, create a text message with these metrics, and send this message as an SMS. It retrieves the current date and time, which will be included in the SMS message for context. The function then queries the database to count the total number of email events and the number of each specific type of event (delivered, opened, clicked, and spam reports).
If there are any emails, it calculates the percentage of emails for each event type based on the total number of emails. Using the Twilio client, the function creates and sends an SMS message with this body to a specified phone number from a specified Twilio phone number.
Schedule SMS notifications
Now, you’ll extend the app.py with a scheduling mechanism to send SMS notifications at regular intervals. By using this scheduling mechanism, you'll receive SMS updates regularly, which ensures that you stay informed about important email campaign metrics such as delivery rates, opens, clicks, and spam reports. To add this functionally, paste the code below to the file app.py.
In this code snippet, the BackgroundScheduler from the apscheduler library is utilized to schedule the send_sms_update function to run at regular intervals of 1 hour. A function named schedule_jobs is defined, where a new scheduler instance is created. The send_sms_update function is added to this scheduler with the add_job method, specifying an interval scheduling type with a 1-hour interval. The scheduler.start() is called to initiate the scheduler, which in turn starts executing the send_sms_update function every hour, sending out SMS updates on the email campaign metrics regularly.
Test out the SendGrid SMS notification application
You can access the code for this tutorial in this GitHub repository. Now that you've completed the setup and configuration of the email marketing and SMS notification system, it's time to put the application to the test in a real-world scenario. In this chapter, you'll run through the steps required to execute the application and ensure that everything is functioning as expected.
To initiate the email marketing and SMS notification system, you must first send out some marketing emails to the recipients in your email_list.csv list. To do so, execute the send_emails.py script in your IDE or in the terminal by using the command below:
Now that the emails have been sent, and the marketing campaign has officially started, it's time to run the application to keep track of the email marketing metrics and send out notifications via SMS. For this, you must paste the code below to the end of the script defined in the app.py file:
This code block serves as the entry point for the application. The code does the following:
schedule_jobs(): Here, the scheduling mechanism is configured.app.run(port=8080, debug=False): This line launches the Flask application on port 8080. It makes the application accessible through a web server.
With these components in place, the application is ready to function in practice. Again, you can either execute the file app.py in your IDE or in the terminal by using the command below:
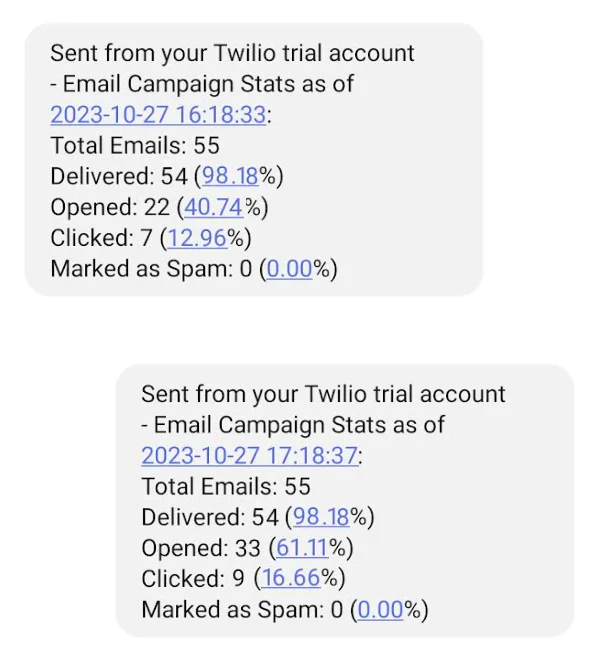
The application has begun tracking the number of emails delivered, opens, and clicks in real time. The defined email marketing metrics are calculated once an hour and the result is sent to you via SMS. The image below shows what it might look like:
What's next for building SMS notification systems for SendGrid?
In this tutorial, you built a real-time SMS notification system using Twilio SendGrid, Python, and Flask to monitor email campaign metrics. You started by setting up Twilio SendGrid to send marketing emails, then utilized SendGrid's Event Webhooks to track email interactions like deliveries, opens, clicks, and spam reports, which a Flask application handled and stored in an SQLite database. You enhanced the system with Twilio's SMS API to send real-time SMS updates on key campaign metrics and employed the APScheduler library to schedule these notifications at regular intervals.
You can further check out the Twilio blog to see how you can add SMS notifications to your application, how to build a language flashcard app with email reminders or how to analyze text documents using langchain and SendGrid.
Artem Oppermann is a Lead Research Engineer and technical content writer focusing on AI, software, and APIs. For years, Artem has been sharing his expertise with the public by writing technical, detailed articles on the subject.


Related Resources
Twilio Docs
From APIs to SDKs to sample apps
API reference documentation, SDKs, helper libraries, quickstarts, and tutorials for your language and platform.
Resource Center
The latest ebooks, industry reports, and webinars
Learn from customer engagement experts to improve your own communication.
Ahoy
Twilio's developer community hub
Best practices, code samples, and inspiration to build communications and digital engagement experiences.