Secure Sensitive Laravel Routes With Two-factor Authentication Using Authy
Time to read: 7 minutes

Sometimes, you want your application to confirm user identities even when they are logged in. This is especially useful for sensitive routes and actions like deleting a user-owned resource, updating a delivery address, or completing a financial transaction where you want to be sure that the user’s session hasn’t been hijacked. This process is called re-authentication and is supported by the Laravel framework out of the box with the password.confirm middleware.
In this tutorial, we will implement a new Laravel middleware that asks users to verify themselves before allowing them to access select routes. Our sample application is a notes application where we need to confirm a user’s identity before they can delete an existing note. The verification is done using a code sent to their Authy application, though you can replace that with a regular SMS if you so chose.
Jump directly to the Implement the Verification Middleware section below, to see how the middleware is implemented if you’re keen.
To follow along with this tutorial, you will need the following:
- MySQL installed and ready for use with PHP
- Composer and NPM to install our application dependencies.
- The Laravel CLI (This article uses Laravel version 8.26.1)
- A Twilio account and an Authy API Key. You can follow this guide to set up your first Authy application.
Get Started
To get started with our sample application, create a new Laravel application in your preferred location, and enter the project folder with the commands below:
NOTE: The commands above (and subsequent terminal commands assume a Linux or macOS system. Feel free to use your operating system’s equivalent if you are using Microsoft Windows).
Next, create a new MySQL database named reauth and update the project’s .env file to use by updating the DB_DATABASE as in below.
You may need to create the env file manually by copying .env.example if it wasn’t automatically generated.
We will modify the auto-generated migrations file for the users table to include the fields needed by Authy to verify our users. These columns include country_code for the user’s country code, phone_number for the user’s phone number, authy_id to help Authy identify individual users, and is_verified to tell us if a user has Authy set up with their account.
To do that, open the user table migration file (database/migrations/2014_10_12_000000_create_users_table.php) and replace the up method with the code block below:
Next, make the new fields mass assignable by adding them to the $fillable array in the User model. Open the model file at app/Models/User.php and replace the $fillable variable with the following:
When the array’s been updated, apply the updated migrations by running php artisan migrate from the project folder.
Scaffold the Application UI
Next, we will bring in the laravel/ui package and use it as the base for our application interface. It also provides us with the logic and views needed to register and log a user in, which we will then modify for our use case. Set up the package by running the commands below:
Register Users on Authy after Signup
To use Authy in our project, we need to install the authy php package. However, before we can do that, we need to update composer.json. This is because, at the time of writing, the latest stable version of the authy php package requires GuzzleHTTP 6, whereas the latest stable version of GuzzleHTTP is 7.2.0.
So in composer.json set minimum-stabilityto rcand prefer-stableto true, as in the example below:
Then, install authy/php with the command below:
Next, retrieve your Authy key from your Twilio console and add it to your .env file as shown below:
We will also update the user registration logic to validate user’s phone numbers and register new users with our Authy account. Open the RegisterController (app/Http/Controllers/Auth/RegisterController.php) and replace the validator method with the code below so that it also checks for country code and a phone number.
Similarly, update the create method of the same RegisterController to register each new user with Authy and save the generated authy_id.
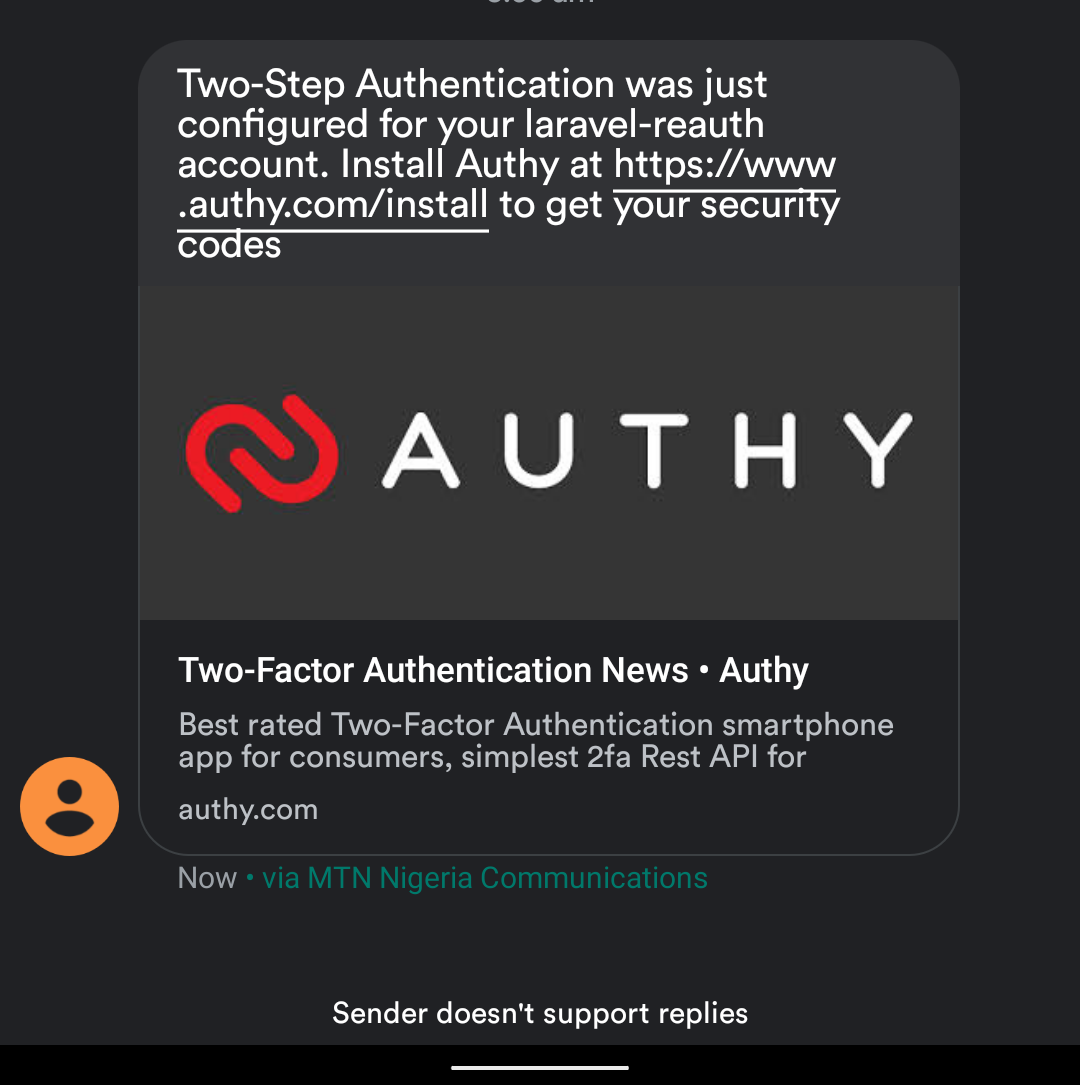
Start the server with php artisan serve and navigate to http://localhost:8000/register and register a new user. You will get a notification from the Authy app. If you don’t have the app installed, you will get an SMS notifying you of your registration, and a link to install the app.

Setting up the Notes Table
With user authentication in place now, we will set up the Note model next. For brevity, we won’t be implementing a form for taking new notes and editing an existing one, instead, we will add a couple of notes to the database using seeders.
Migrations, Factories, and Seeds
Create the new Note model as well as the migration file for the notes table by running:
The command above creates Note.php in the app\Models directory and a migration file (with a name similar to 2020_09_09_191257_create_notes_table) in the database/migrations folder. Open the migrations file and add the needed fields by replacing its up method with the code below:
Apply the new migration by running php artisan migrate. Next up, we will generate notes with dummy data using factories. Create a new note factory with php artisan make:factory NoteFactory. Open the factory file (at database/factories/NoteFactory.php) generated by the command and replace the contents of the definition function with the code below:
The code uses the faker library to create a new note. The note title is ten words or less and the body is around 250 words. We also randomized the user_id value so that all the generated notes don’t belong to a single user. To use the new NoteFactory, create a new seeder file by running php artisan make:seeder NoteSeeder. Open the file created by the command ( database/seeds/NoteSeeder) and replace the run method with the code below:
Then, open database/seeders/DatabaseSeeder.php and replace the run method with the code below:
With those changes made, run the database seeders with php artisan db:seed and you will have 25 new notes added to your notes table.
Set up Routes and Controllers
We will modify the existing HomeController and make it able to render one or all the notes owned by the logged-in user, as well as delete an existing note with the given note ID. Open the file (app/Http/Controllers/HomeController.php) and replace its content with the code below:
The index method fetches all the notes whose user_id is the same as the authenticated user’s ID. It re-uses the home template (resources/views/home.blade.php) created earlier by Laravel. Open the home template and replace its content with the code below, so that it shows a list of user-owned notes.
viewNote renders a single note and returns a 404 page if the note doesn’t exist or it is not owned by the authenticated user. It renders a note template that doesn’t exist yet. So create a note.blade.php file in resources/views and add the code below to it.
deleteNote deletes an existing note and doesn’t need a separate template file since we already added the delete button for each note in the index method.
We now need to make the controller methods accessible from the browser by adding them to the web routes file (at routes/web.php) as shown.
You will notice that the delete route uses an additional authy.verify middleware and we will implement that next.
Implement the Verification Middleware
If you are not familiar with middleware, they are classes that filter requests and perform operations like checking for authentication/authorization, logging, and rate-limiting, on those requests. Here, we will be creating a verification middleware that proceeds with the request if the user has been verified within the past 10 minutes. Otherwise, it redirects them to the verification page. Create the verification middleware using the artisan command below:
Open the created file, app/Http/Middleware/AuthyVerify.php, and replace its content with the code block below.
The code checks if the user has re-authenticated within the last set 10 minutes (set by the VERIFICATION_TIMEOUT constant) and only redirects them to the verification page at /auth/verify if that returns false. Next, list AuthyVerify as a route middleware by adding it to the $routeMiddlewares array in app/Http/Kernel.php, as in the code example below:
Re-authenticate Users via Authy
Though our middleware is now ready, we still need to implement the controllers and views needed for it to be functional. Create a new AuthyController.php file in app/Http/Controllers/Auth and fill it with the code below:
The controller implements two methods - showVerifyForm to render the verification form where users can enter their token, and verify which confirms the token against the Authy API. When verification is successful, the verify method adds a verified_at key to the session which is then used by the AuthyVerify middleware to determine if a user should be asked to re-authenticate the next time. Next, create a 2fa.blade.php file in resources/views/auth and add the code below to it.
To register the verification routes, replace the Auth::routes(); line in routes/web.php with the code below. That way, all authentication-related routes have the /auth prefix.
Your final web routes file should look similar to the one below:
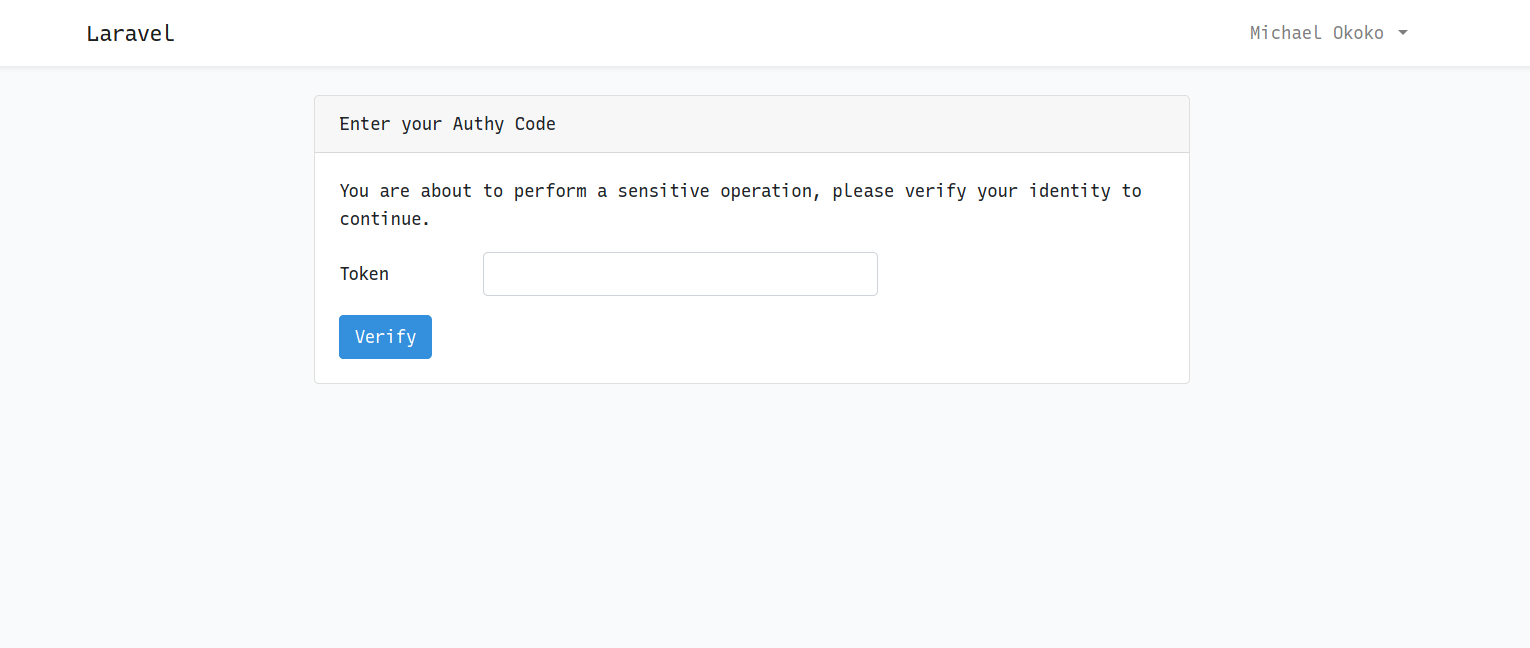
You can now try to delete any note from the notes list and should be met with the verification form below. The code will appear in the Authy app on your phone and you can proceed to delete a note after successful verification.

Conclusion
Re-authentication helps us ensure that users are really who they say they are before letting them perform sensitive operations. It also provides an additional check for users so they are sure they really want to go ahead and carry out the operation. In this tutorial, we have seen how to implement a Laravel re-authentication flow by leveraging Authy.
Here are some other resources that could help you when working with Authy and authentication in Laravel:
- The Laravel documentation on authentication and authorization.
- The PHP Quickstart guide on using Authy for Two-Factor Authentication.
- The OWASP Foundation Cheat Sheet on authentication and session management
The sample project is available on GitLab. Feel free to raise a new issue or reach out to me on Twitter if you have questions or encounter an issue.
Michael Okoko is a software engineer and computer science student at Obafemi Awolowo University, Nigeria. He loves open source and is mostly interested in Linux, Golang, PHP, and fantasy novels! You can reach him via:
- Github: https://github.com/idoqo
- Twitter: https://twitter.com/rxrog/
Related Posts
Related Resources
Twilio Docs
From APIs to SDKs to sample apps
API reference documentation, SDKs, helper libraries, quickstarts, and tutorials for your language and platform.
Resource Center
The latest ebooks, industry reports, and webinars
Learn from customer engagement experts to improve your own communication.
Ahoy
Twilio's developer community hub
Best practices, code samples, and inspiration to build communications and digital engagement experiences.


