Creating Mars-themed Apps with Python, Flask, Contentful and Twilio
Time to read: 8 minutes

It’s a great day at the International Spaceship Launch Station in Kampala, Uganda. The East African sky is clear blue, and the conditions for sending a crew of three to Mars are perfect.
It has taken years of planning to get everything just right: the three astronauts Carolyn, Habibi and Laura have trained hard, and the best route to Mars has been calculated. But something is still missing — the Python code that you’re about to write.
This post will teach you how to create the perfect Flask app to support the space travelers as they make their way to the red planet. In case you’re unfamiliar with Flask, it’s a micro web framework for Python.
We’ll be using Contentful and its API-centric content infrastructure platform to fill the app with content, Twilio Programmable SMS
to send text messages — and a little Flask to wash it all down.
Installing modules for Twilio Contentful, Flask and Flask-Markdown
Once airborne, the crew will use a web app to receive instructions and friendly reminders from ground control.
To accomplish this we’ll first need to install the necessary modules with pip
Creating the Flask app
We’ll then create a small but efficient Flask app with four routes in a file called space.py. The file space.py is our entry point, so when running the app locally during development you will need to configure Flask by first running the command:
And in case you need to turn on Flask’s development server debugging feature, run:
And to fire up the Flask server:
The Flask app will have four routes:
@app.route('/')@app.route('/exosphere/')@app.route('/spacemap')@app.route('/fanmessage')
Let’s walk through the routes one by one.
@app.route(‘/’)
This root route is used to give the astronauts some basic information as they are about to be rocketed to Mars.
@app.route(‘/exosphere/’)
It will only take a matter of minutes before the spaceship reaches the exosphere, many hundred kilometers above earth.
This route is designed the give each crew member instructions in their native language.
@app.route(‘/spacemap’)
The third route is used to display a map of space in case the spaceship gets sucked into a black hole and needs to get back on track.
Since bandwidth is always an issue when traveling to Mars, this route and its corresponding function show_spacemap will make sure to keep the payload as small as possible. We’ll be digging into the Contentful Image API later to learn how to work with image quality reduction and get the image size just right.
@app.route(‘/fanmessage’)
Shortly after takeoff, the space crew will send an SMS to all their fans using Twilio Programmable SMS. This is done in two steps: first the get_fan_message_content function will grab the message body from Contentful, and then the send_fan_message will connect to Twilio’s SMS API to deliver the message.
The Flask code looks like this in its entirety:
But before we can run any of the four functions mentioned above, we need to create the app’s content, and later the HTML / CSS files.
Creating content using Contentful
To get data into the Flask app, and to subsequently display it to the space crew, we’ll create a solution based on Contentful’s API-infrastructure. This way the content that we want the space crew to see is always just an API-call away.
The concept is rather simple: we’ll send a GET request to Contentful and get our content back as JSON — quick and platform independent all rolled into one.
Compared to pre-populating our app with static content, the Contentful API’s allows us to update the app’s content from Earth whenever we want, without having to re-deploy the app itself. You can think of this a separation between presentation layer and the content layer.
But before we dive into the Python code that makes all of this possible we need to create something in Contentful called a content model.
Content models
Much like you design classes to create a certain kind of object, a content model acts a mold for your content. And you can use a single content model to create many content entries.
To create a content model, and to later fill it with content, you will need to create a free Contentful account.
First, we need to create a space. In Contentful, a space is container that holds both content models and content.
To create a new space: log into to Contentful and click “Add space”. Give it a name (like “SpaceTravel”), and ensure “Create an empty space” is selected.
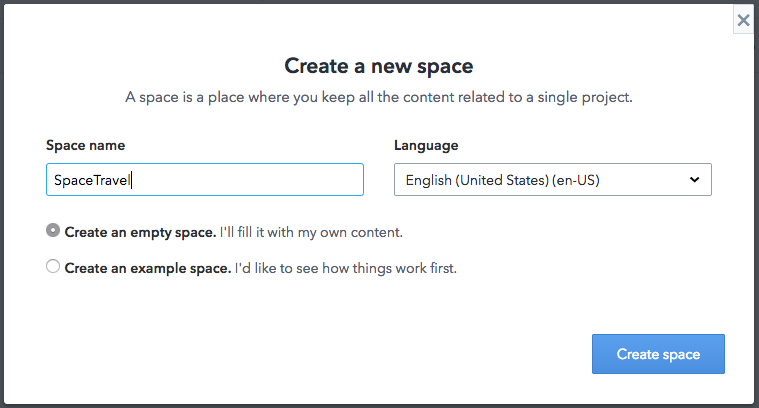
Now that we’ve created a space called SpaceTravel, we’ll go ahead and construct a content model.
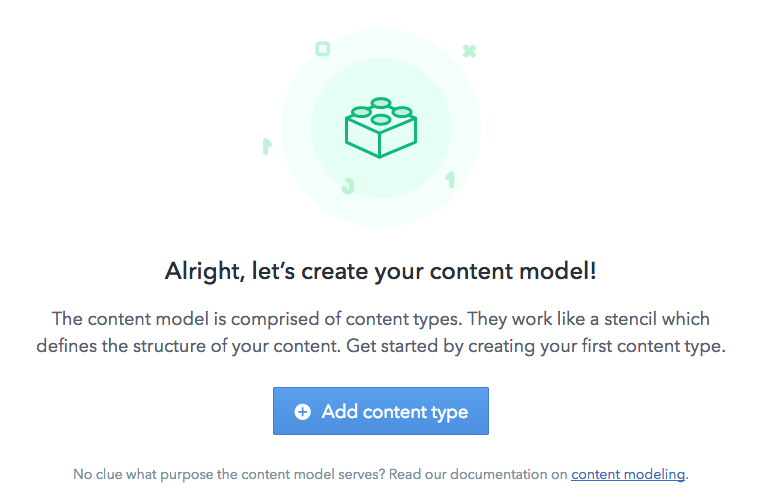
Click “Add content type”. We’ll name it “AstronautGreeting”.
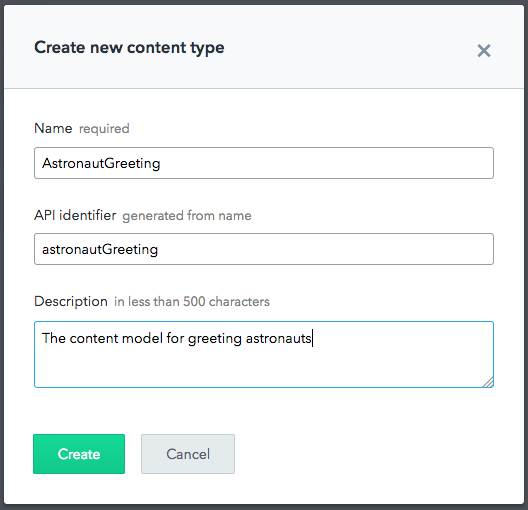
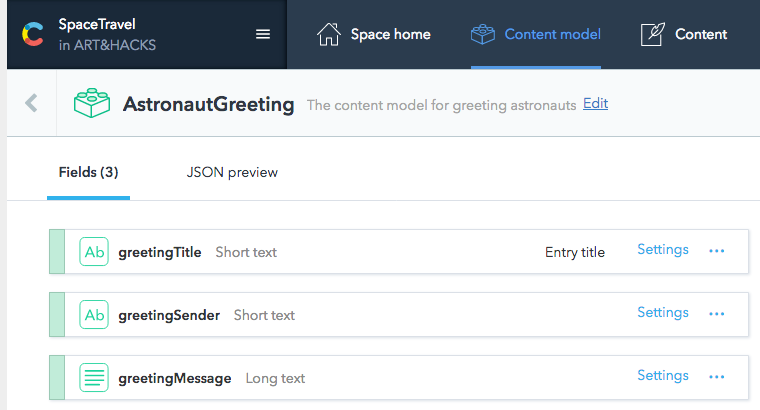
We’ll then add three fields: greetingTitle, greetingSender and greetingMessage. Set the first two fields, greetingTitle and greetingSender, to “Short text”, and greetingMessage to “Long text” so that we can include GitHub-flavored Markdown when creating a piece of content based on this content model.
The finished content model should look like:
Create content
Let’s add content to our model. Select “Content” in the navigation menu and click “Add AstronautGreeting”
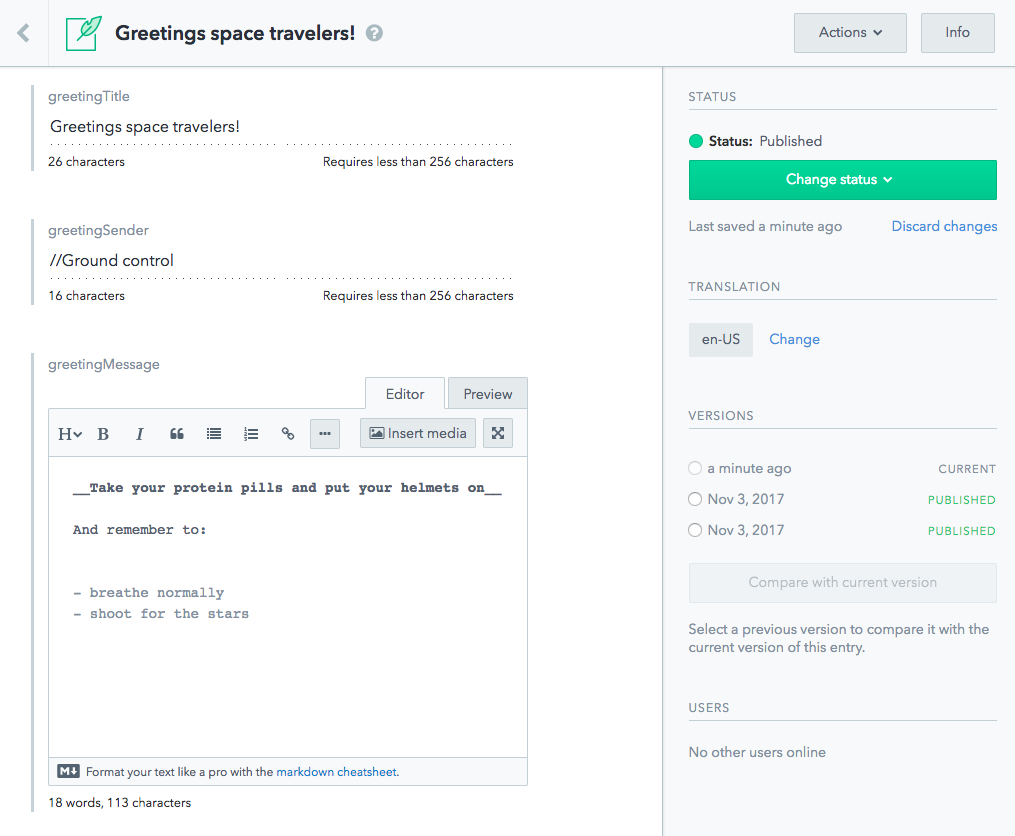
Fill in the fields, and don’t forget that the greetingMessage field can be formatted using GitHub-flavored Markdown.
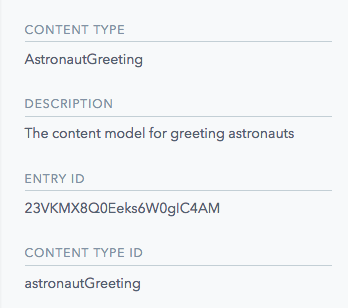
Hit publish and then the “Info” button in the upper right corner. This will reveal the entry ID that we will now use to pull this specific piece of content into our Flask app. Mine is 23VKMX8Q0Eeks6W0gIC4AM, but entry IDs are always unique. When you create your own entry based on the AstronautGreeting content model, your entry will get a different entry ID than the one shown above.
Call the Contentful Content Delivery API
The Contentful Content Delivery API, or CDA, is a read-only API backed by a global content delivery network.
One way to authenticate against the API is to generate and use a personal content delivery token. Generate your token by selecting APIs and “Add API key” from top navigation bar. This will display your access token along with your space ID like so:
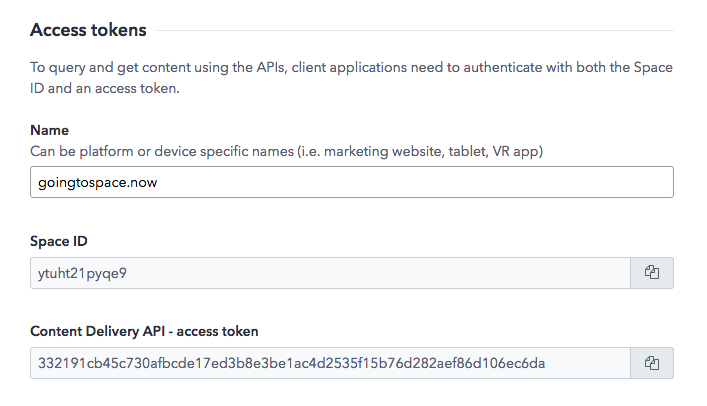
We’ll use both of these values together with the Contentful Delivery API SDK for Python to authenticate against Contentful and get the data we need.
As you saw earlier, the root route in the Flask app connects to a function that in turn calls a method in get_general_information.py:
The get_general_information() function will primarily do three things
- Set up the connection to Contentful using the
SPACE_IDand theACCESS_TOKENas parameters. - Grab the piece of content we want (the astronaut greeting) by its
ENTRY_ID - Extract the entries we want using
entry.fields().get(). For example:greeting_title = entry.greeting_title
The dictionary data structure that the get_general_information() function returns will then be rendered by Flask using the index.html template.
In short, index.html is used to display the information we got from the get_general_information()function. We’ll also use index.html to build the interface that the space travelers will use to receive instructions as well as interacting with their fans.
And the CSS file to go with that, style.css:
Notice that {{ space_crew_info.get('greeting_message') | markdown }} will be rendered to markdown. This is because markdown-formatted greeting_message we got from Contentful in the JSON response contains markdown.
And the result is like so:
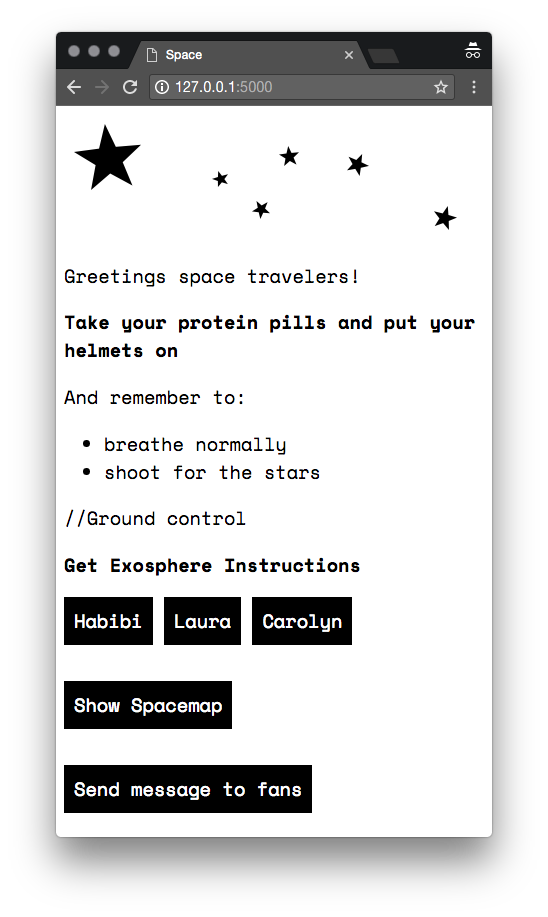
Localization support
Tests have shown that astronauts tend to prefer instructions in their native language once they reach the exosphere. That’s why we’ll design the get_exosphere_instruction() method to do just that.
When a member of the crew clicks their name in the GUI shown above, they will be sent via @app.route('/exosphere/'), which then runs get_exosphere_instruction.py:
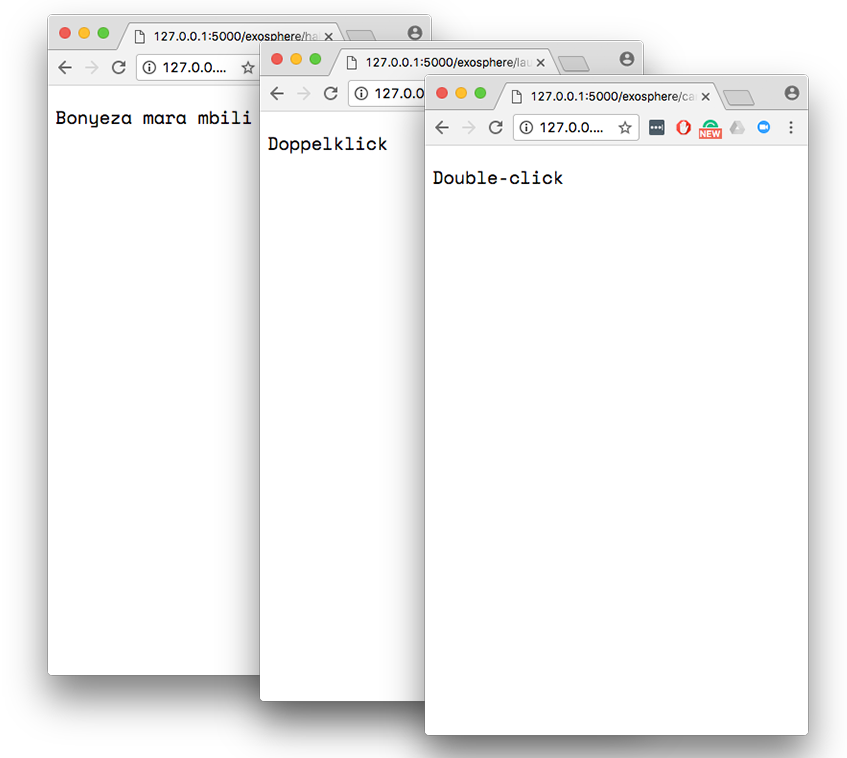
So when crew member Habibi, born and raised in Tanzania, clicks the instruction button with her name on it she will see the instructions in Swahili. Laura on the other hand will see the same instructions in German since the locale is set to {'locale': 'de'}.
To configure localization support we must create a new content model and populate it with content.
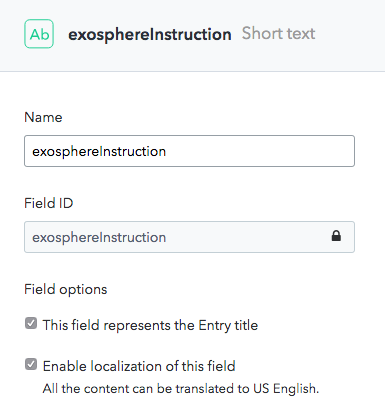
This time we’ll create a content model called ExosphereInstruction with only one field, exosphereInstruction, and set it to “Short text”. And finally we’ll check “Enable localization of this field” under settings.
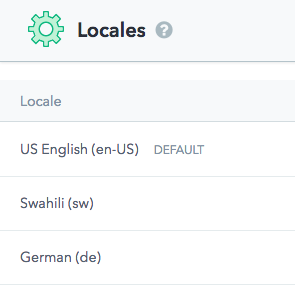
Then head over to Space settings and Locales to configure the locales we need:
And then create the translated instructions. You can use the following translations:
- English: “Double-click”
- Swahili: “Bonyeza mara mbili”
- German: “Doppelklick”
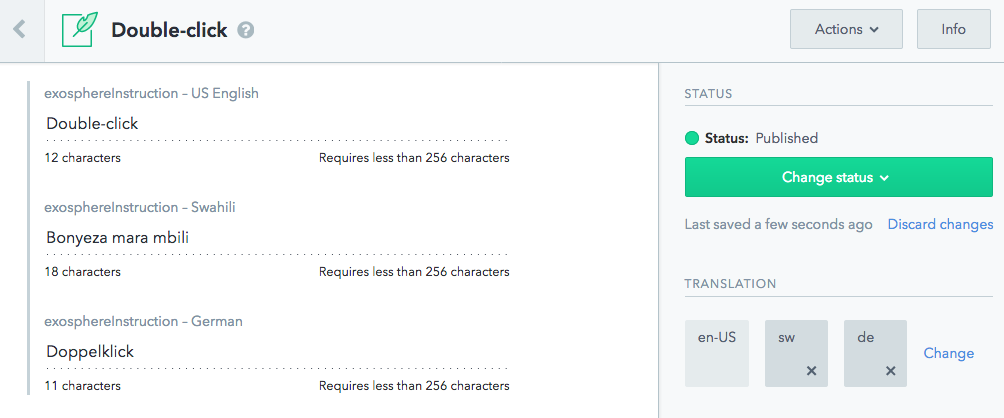
So now the crew will receive a translated “Double-click” when the click the instruction button. The JSON returned from Contentful looks like so:
And the rendered result for each supported language looks like so:
Saving bandwidth with the Image API
Bandwidth is always an issue, especially when going to Mars. And while the mission is well-planned, it can’t hurt to give the astronauts access to a map in case they get lost.
Save this image to your computer so that you can upload it to Contentful:

But the map is stored as one big clumsy JPEG — so how can we control the payload size from our Flask app going to the spaceship? The answer is the Contentful Image API.
We’ll add the map JPEG by selecting Media, followed by “Add asset(s)”:

Once we’ve added the image we’ll have to click the “Publish” button to make sure that our images asset is reachable from our app.
The code that will grab the JPEG from the Image API, called get_spacemap.py and later display it to our space explorers looks like so:
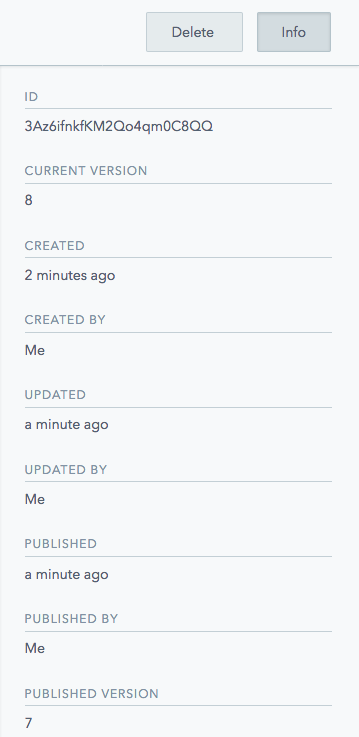
The are two things worth highlighting in the code above. The first thing is the ASSET_ID variable. This variable allows us to point out the specific asset that we want to grab — in this case our JPEG spacemap.
The ASSET_ID is unique for every asset you add to Contentful. You can view the ASSET_ID of every asset you add to Contentful by clicking the info button:
The other interesting thing is the method
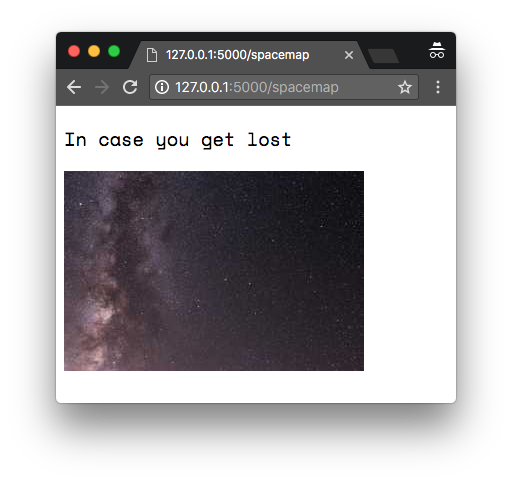
asset.url(q=50, w=300). The two parameters allows us to set the quality and the width of the image that the API call will return.
This allows us to reduce the image size from its original 571 KB down to 8.2 KB, for a reduction of 562.8 KB:
Using Twilio to message space travel fans
Sending people into outer space is spectacular, and the project has created a large fan base. As a token of appreciation, the space crew will send out an SMS to all the project’s supporters right after take-off.
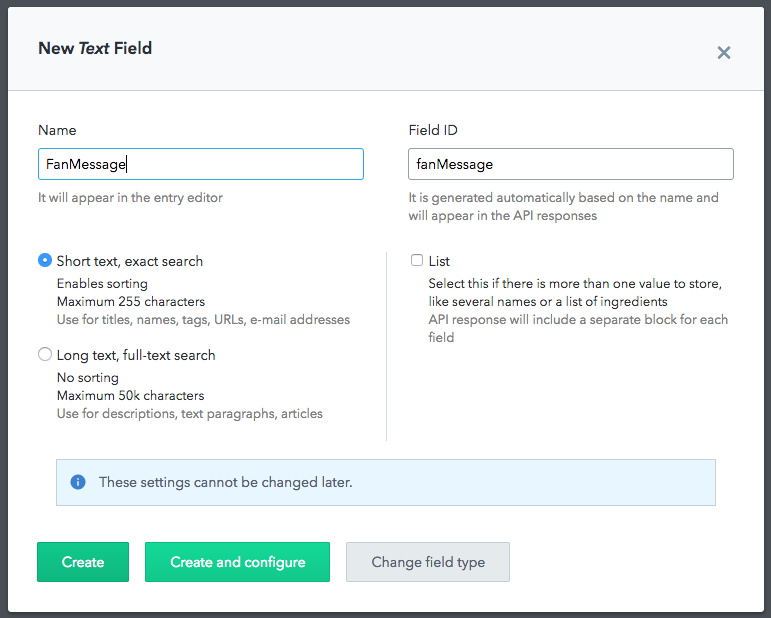
We first need to create the content type that will contain the fan message:
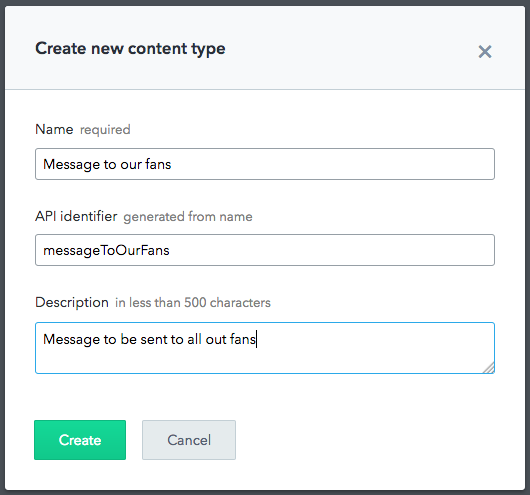
We’ll create a content type with a single text field that will hold the SMS message. Name it “FanMessage” and specify “Short text, exact search”.
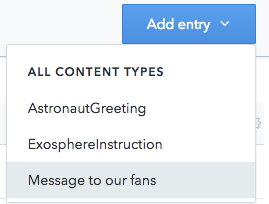
Next step is to create a “Message to our fans” entry.
We’ll then add the SMS message body.

After clicking publish, look up the entry ID by selecting the info button.
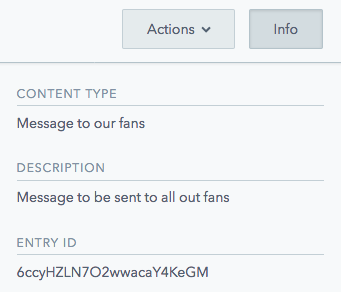
For me, the entry ID for the fanMessage was 6ccyHZLN7O2wwacaY4KeGM. As before, yours will be unique.
To grab the message body from Contentful, we’ll create get_fan_message_content.py like so:
We then need to create a function that delivers the SMS text body we grabbed from Contentful and sends it out to fans. Let’s create send_fan_message.py with the following content:
To call the send_fan_message() function and send out the SMS via Twilio, the space crew will click the “Send message to fans” at the bottom of the GUI:
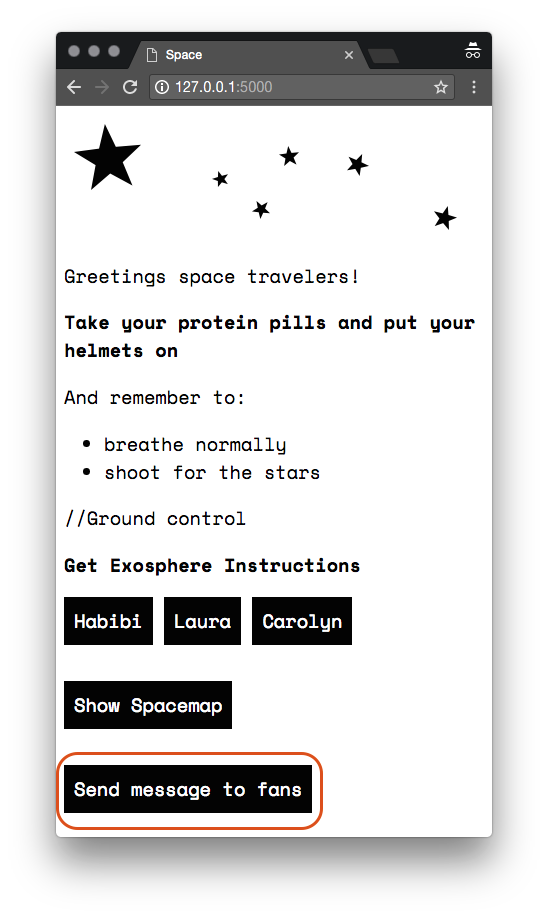
This will trigger a JQuery .click function that sends of a GET request to be received by the
/fanmessage flask route.
To Infinity…and Beyond!
We’ve had a quick look at how to build a Flask app that utilizes the Contentful content delivery API and the Contentful Image API. We also saw how to integrate localization to your project together with utilizing Twilio’s Programmable SMS API to send text messages.
If you want to tinker on your own, the repo for this code can be found at github.com/robertsvensson/spaceTravel. Safe travels!
Related Posts
Related Resources
Twilio Docs
From APIs to SDKs to sample apps
API reference documentation, SDKs, helper libraries, quickstarts, and tutorials for your language and platform.
Resource Center
The latest ebooks, industry reports, and webinars
Learn from customer engagement experts to improve your own communication.
Ahoy
Twilio's developer community hub
Best practices, code samples, and inspiration to build communications and digital engagement experiences.

