Manage the Recordings of Your Video Calls with the Twilio Compositions API, Python and Flask
Time to read: 10 minutes
Do you use Twilio Programmable Video for your video meetings? One of the many optional features is to enable recording of your video rooms. When recording is enabled, each participant's audio and video are recorded in separate tracks. You can then use the Compositions API to combine these tracks into a single playable video that will be compatible with most common media players.
In this tutorial, you will learn how to build a quick application for creating, viewing, and downloading your video compositions using the Compositions API, Python, and the Flask web framework. Let's get started!
Prerequisites
- Python 3.6 or newer. If your operating system does not provide a Python interpreter, you can go to python.org to download an installer.
- A Twilio account. If you are new to Twilio click here to create a free account now and receive $10 credit when you upgrade to a paid account. You can review the features and limitations of a free Twilio account.
- Node.js v12+ to use the example Twilio video application to generate some test recordings, or your own video recording application if you have one.
Set up your environment
To get started, open up a terminal window and navigate to the place where you would like to set up your project. Then, create a new directory called python-compositions where your project will live, and change into that directory using the following commands:
Create a virtual environment
Following Python best practices, you are now going to create a virtual environment, where you are going to install the Python dependencies needed for this project.
If you are using a Unix or Mac OS system, open a terminal and enter the following commands to create and activate your virtual environment:
If you are following the tutorial on Windows, enter the following commands in a command prompt window:
Now you are ready to install the Python dependencies used by this project:
The six Python packages that are needed by this project are:
- The Twilio Python Helper library, to work with SMS messages.
- The Flask framework, to create the web application.
- Flask-SocketIO, to send push notifications to clients.
- Simple-websocket, a WebSocket server used by the Flask-SocketIO package.
- Pyngrok, to make the Flask application temporarily accessible on the Internet for testing via the ngrok utility.
- python-dotenv, to import the application configuration from a .env file.
Configure Twilio credentials
Next, create a new file named .env at the root of your project and open it in your code editor. The .env file is where you will keep your Twilio account credentials. Add the following variables to this file:
You’ll need to replace the placeholder text above with your actual Twilio credentials, which can be found in the Twilio Console:

Copy and paste the value for “Account SID” to replace the placeholder text for TWILIO_ACCOUNT_SID.
Then, navigate to the API Keys section of the console and generate a new API Key. Copy the API Key's values for SID and Secret to replace the placeholder text for TWILIO_API_KEY_SID and TWILIO_API_KEY_SECRET.
It’s important to keep these credentials safe, so in case you later decide to commit this project to a git repository, create a .gitignore file at the root of your project and add the .env file to it. While you're in here, add the venv virtual environment directory as well:
Create a Flask server
In this step you are going to create a brand new Flask web application. Open a file named app.py in your text editor or IDE, and enter the following code in it:
This first version of the application just sets up the Flask and Socket.IO servers and the Twilio client, which is initialized with the Twilio credentials imported from the .env file. For now this server is just a placeholder without any endpoints.
The server is now functional and can be started with the following command:
One of the features of Flask’s debug mode is that whenever code is changed, the server automatically restarts to incorporate the changes. Leave the server running in this terminal window as you continue working through the tutorial to take advantage of this functionality.
Starting an ngrok tunnel
The Flask web server is only available locally inside your computer, which means that it cannot be accessed over the Internet. But to implement the rendering of video rooms, we need Twilio to be able to send web notifications to this server. Thus during development, a trick is necessary to make the local server available on the Internet.
Open a second terminal window, activate the virtual environment and then run the following command:
The ngrok screen should look as follows:

Note the https:// forwarding URL. This URL is temporarily mapped to your Flask web server, and can be accessed from anywhere in the world. Any requests that arrive on it will be transparently forwarded to your server by the ngrok service. The URL is active for as long as you keep ngrok running, or until the ngrok session expires. Each time ngrok is launched, a new randomly generated URL will be mapped to the local server.
Leave the Flask and ngrok terminals running as you continue with this tutorial. If your ngrok session expires, stop ngrok by pressing Ctrl-C, and start it again to begin a new session. Keep in mind that each time you restart ngrok the randomly generated subdomain portion of the URL will change.
Create a Jinja template
Open a third terminal window and navigate to the root of your project. Create a directory called templates by running the following command:
This is where the HTML content of the application will be stored. Open a new file called templates/index.html in your code editor and add the following code to it:
Here, you're setting up the HTML and adding Socket.IO to your client side from a CDN.
Next, complete the body section of your template, which will include two tables—one for displaying rooms that already have compositions, and one for displaying rooms with recordings available for you to compose. Add the following template code inside the <body> element of index.html:
Now that you have the beginnings of your template ready, it's time to add some more code to your server so that you can start viewing the data in your template.
Fetch video room data and update CSS styles
Return to app.py in your code editor. Add the following function right below the place where the twilio_client variable is defined. This function will allow you to get a list of recent video rooms and filter them by whether they have associated recordings and/or compositions:
The get_rooms_and_compositions() function above provides you a way to get the video room data you need from the Twilio APIs. Now add the first application route just below this function:
This route will allow you to display data about video rooms and their compositions in your index.html template.
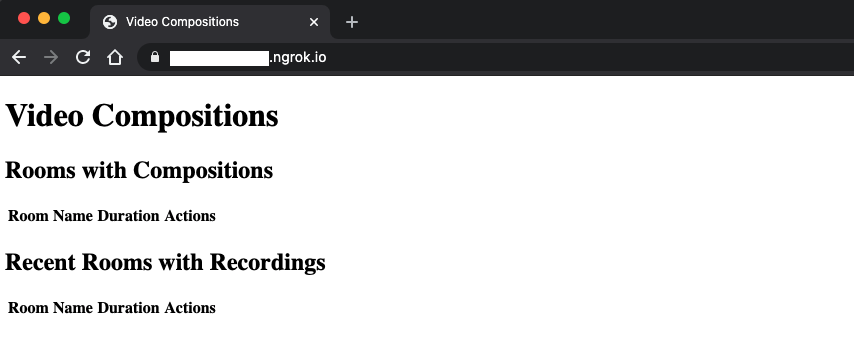
Do you remember the ngrok forwarding URLs from earlier? If you would like to see what your user interface looks like so far, try navigating to the https:// forwarding URL reported in the terminal running ngrok, (which should have the format https://<random-code>.ngrok.io/) in your browser. Depending on whether you have recorded any Twilio Video conversations lately, you may or may not already have data in your UI. If you have not created any recordings, you will see something like the image below in your browser window:
Styling the application
The application looks pretty basic so far, so in this section you are going to add a few CSS styles to make your template look more interesting.
Start by creating a static directory, from which Flask will load static files:
Next open a new file named static/styles.css in your text editor and paste in the following CSS code:
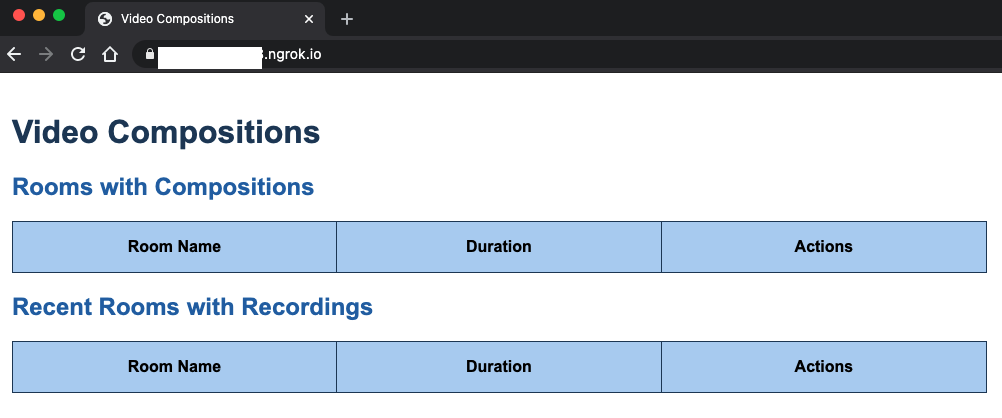
Now, if you refresh the page in your browser, it should look more like this:
Record a video
To continue with this tutorial, you will need some video recordings stored in your account. If you already have some, then great, you can continue on to the next section.
If you don’t have any video recordings, you can record some videos of yourself using the open-source Twilio Video application (or alternatively, if you already have a different Twilio Video application built that has recording capabilities enabled, you can use that as well).
To set up the video application, head to the twilio-video-app-react GitHub repository. Navigate to where you would like this code to live on your machine, then clone the repository by running the following command in your terminal:
Once you have the repository cloned, change into this application's root directory and run npm install to install dependencies:
Copy the .env. file from your Python application to the twilio-video-app-react directory, so that both projects use the same set of credentials. Then open the React application’s .env file and add the following variable at the bottom to disable the chat functionality, which is not needed for this project:
Start the React application locally by running this command:
Navigate to http://localhost:3000/ in your browser and you will see that the Twilio React app has started up. Enter your name and a name for your video room:
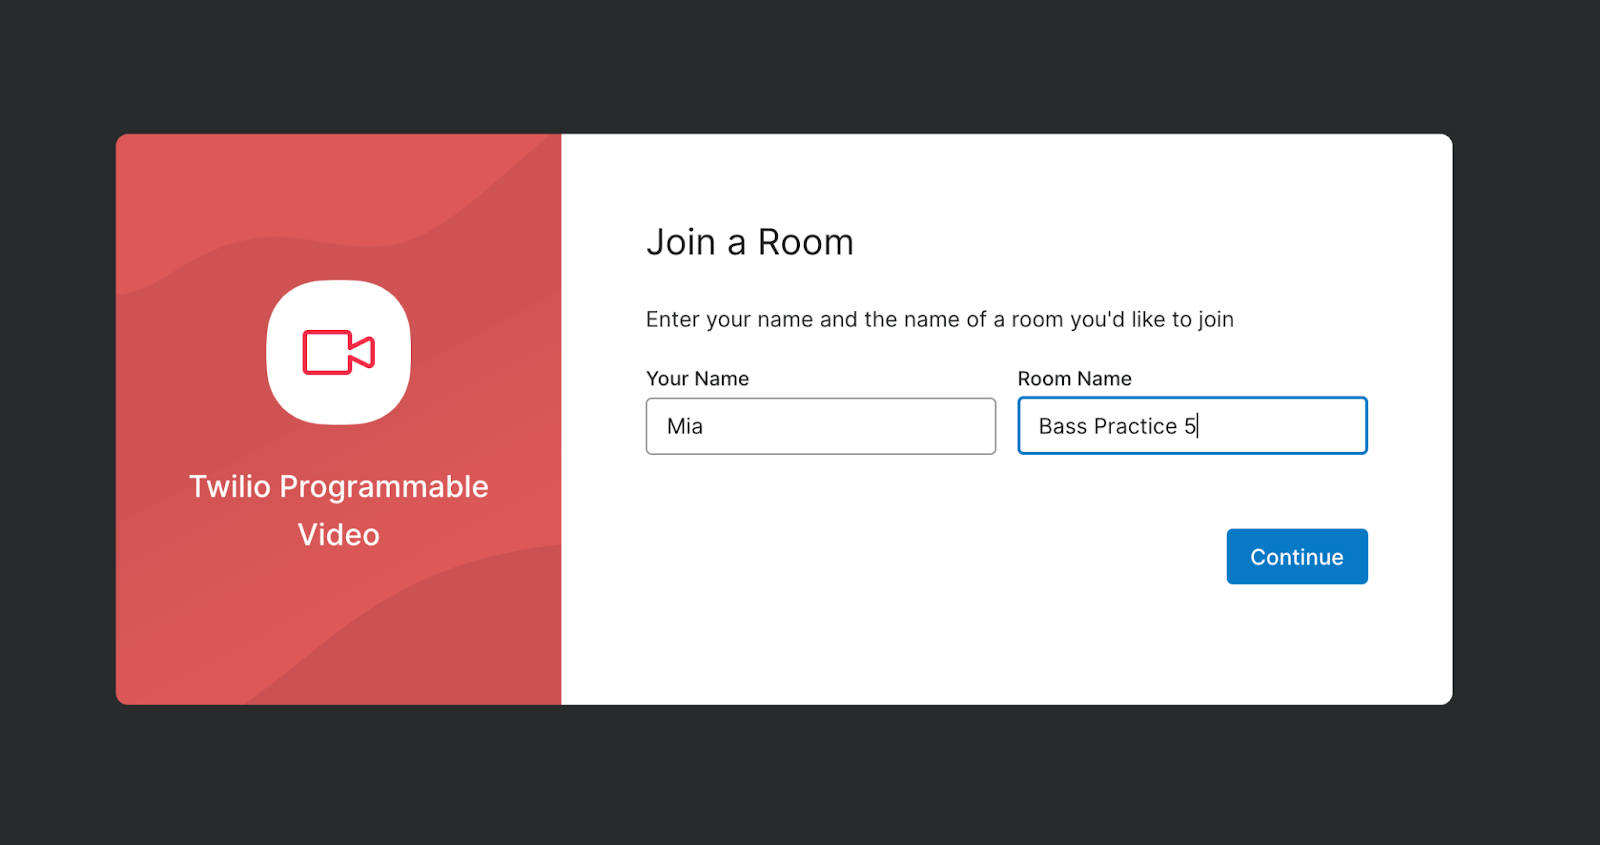
Click “Continue” to enter the lobby, and then click the “Join Now” button to start the video chat. If you would like, you can open http://localhost:3000/ in a second browser tab and create another version of yourself there.
Once you're in the video chat, create a new recording by clicking the “More” button and selecting “Start Recording”. This will begin recording your video. Once you have a short video of yourself, click “Disconnect” to end the call.
Now you have a video recording you can use to try out composition! You can see a list of all of your recordings in the Twilio Console Recordings log.
Create a video composition
If you return to the browser tab that is pointing to the ngrok URL associated with your Python application and refresh the page, you should see at least one room listed under “Recent Rooms with Recordings”. Cool, right?
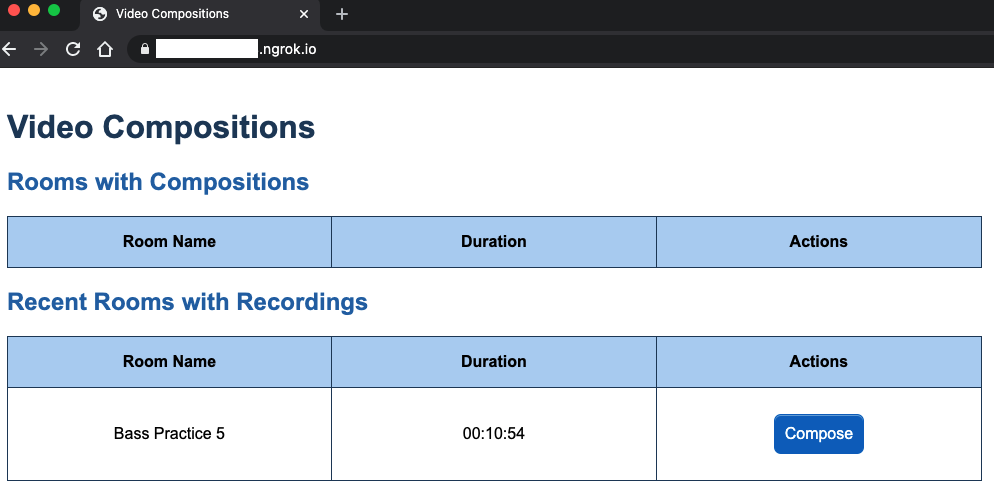
In the table row containing your video room's name is the “Compose” button you created earlier. If you click this button, it will not work just yet. You need to add a route to your server to make this “Compose” button functional.
When the user clicks the “Compose” button, the video room's sid will be passed into the request to the Twilio Client to get the recordings associated with that room. Then, these recordings will be composed into a playable video file using the Compositions API.
When you send a request to compose a room, you also have the option to pass in a URL to receive StatusCallback events, which will provide you with updates as to how your composition is coming along.
There are also many different ways you can arrange the layout of your composition. For this project, you'll be displaying all of the participants' video tracks in a grid. To learn more about how to create other kinds of layouts, visit the Specifying Video Layouts section of the Composition API documentation.
To set up the compose route, add the following code to app.py, right after the index() function:
If you take a look at the code above, you'll also notice that once the request to create the composition is made, you use Socket.IO to emit an event to let the client side know that this event has taken place.
Just below the code you added for the compose route, add the following code to create the callback route which will receive the Status Callbacks related to your video composition:
Every time there is a new status update from the Twilio Client, your application will receive Status Callbacks to this callback endpoint. When you receive a status update, this status will be emitted to the client side as well so you can update the UI.
Now that you are emitting events about your video composition's status, it's time to add some JavaScript to your Jinja template to handle changing the UI when these events are received.
Display status updates in the UI
Open templates/index.html in your text editor. Just above the closing </body> tag, add the following script:
With this code, when a user clicks on the “Compose” button or one of the other composition actions, it will begin that composition action by making an API call to your server. Then, as status updates come in via Socket.IO, your statusUpdate div will change its text to show a user-friendly message about the update. Most of these updates are based on the Composition Status Callbacks documentation, however we have added composition-request and composition-deleted to the code in this project because they are useful events to display updates about.
It's time to try out making a composition. Once you have the above code in your project, click the “Compose” button in the table row containing your video room's name. As the composition status updates come through, you can watch the UI change to display these updates.

Once the composition is ready, the page will reload and display the new composition in the “Rooms with Compositions” table:
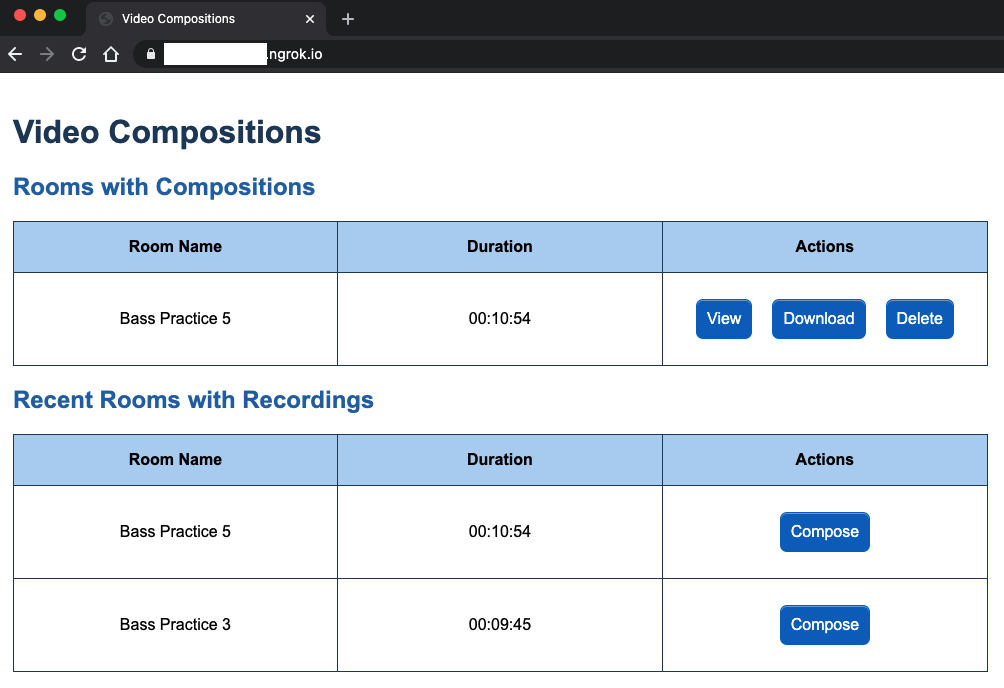
View, download, and delete a video composition
Now that you've created a composition, you probably want to check out the playback of your video call. It's time to add the functions that will allow you to view and download your video composition.
Head back to app.py and add the following two functions to your file, just below your code for the callback route:
With these two routes, you will be able to get the composition you created by its sid and either view it in the browser window or download it to your machine.
While you're in this file, add the following delete route just below the two you just added above. This will allow you to delete the composition at the click of a button:
Once the composition has been deleted on the Twilio side, this function will emit an event to your client-side template via Socket.IO. Then, your JavaScript code there will update the UI to remove the row in the table that corresponds with the deleted composition.
Try viewing and downloading a video composition
Now it's time to try out viewing and downloading your video composition. Click on a “View” button, and you will see the video playback in your browser window:
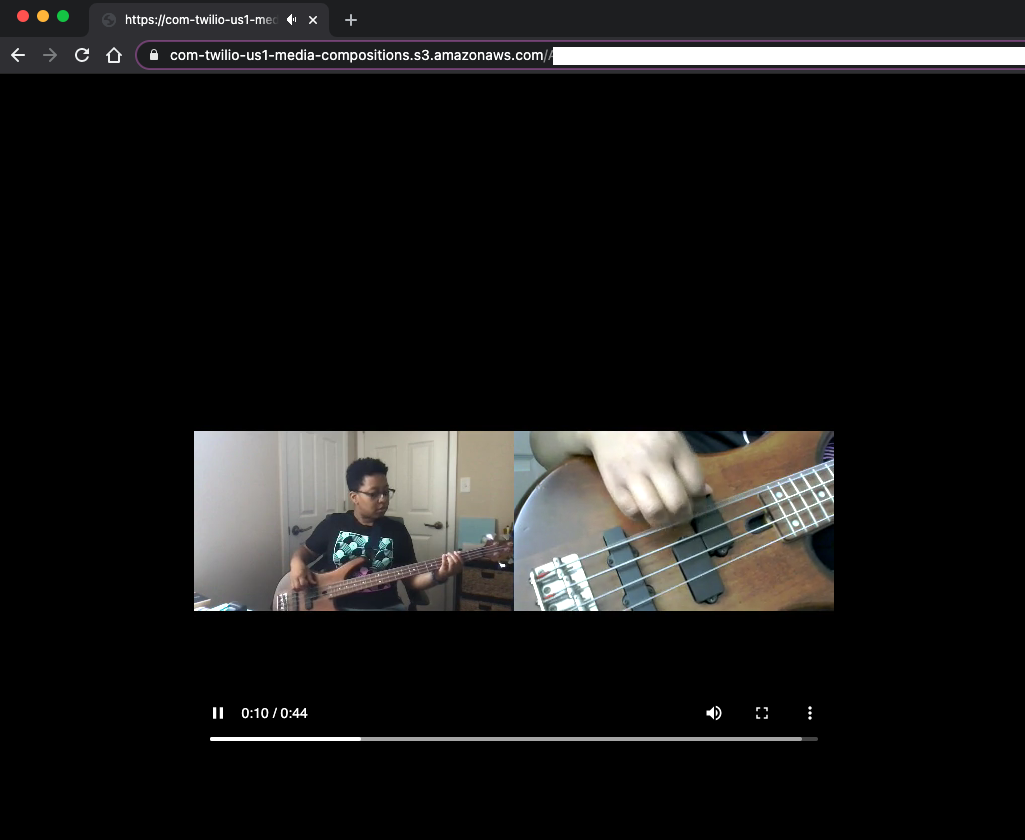
Pictured above is my colleague Mia Adjei playing their bass guitar. 😄
If you click the back button in your browser and return to your ngrok URL, you can try out the “Download” option as well. When you click download, your browser will prompt you to download the file and save it to your computer.
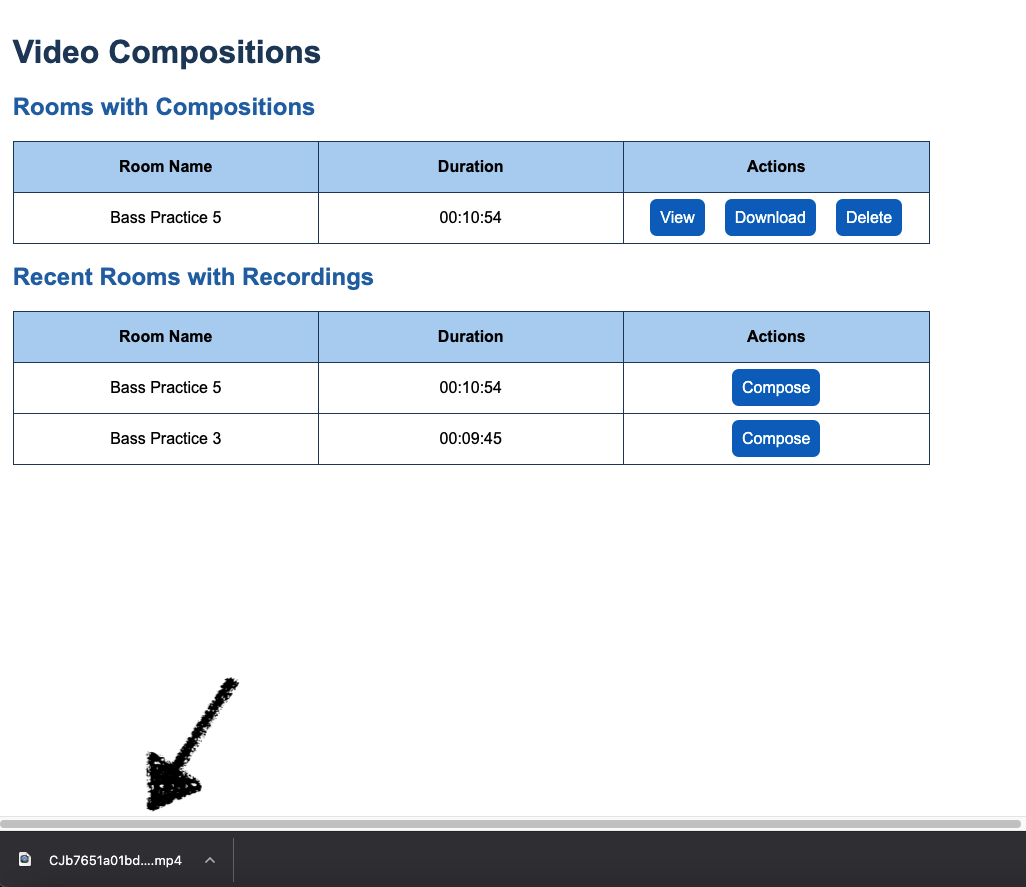
Finally, if you do not want the composition anymore, you can click the “Delete” button, and once it is deleted, the composition will disappear from your Twilio account.
What's next for video compositions?
You've just built a quick application that allows you to create, view, download, and delete video compositions. Very cool!
Want to learn even more about Twilio Video Recordings and Compositions? Check out the articles below for more information:
- Record a Video Room with Twilio Programmable Video
- Creating Compositions with Twilio Programmable Video
I can’t wait to see what you build with Twilio Programmable Video!
Miguel Grinberg is a Principal Software Engineer for Technical Content at Twilio. Reach out to him at mgrinberg [at] twilio [dot] com if you have a cool project you’d like to share on this blog!
Related Posts
Related Resources
Twilio Docs
From APIs to SDKs to sample apps
API reference documentation, SDKs, helper libraries, quickstarts, and tutorials for your language and platform.
Resource Center
The latest ebooks, industry reports, and webinars
Learn from customer engagement experts to improve your own communication.
Ahoy
Twilio's developer community hub
Best practices, code samples, and inspiration to build communications and digital engagement experiences.

