How to Play a MP3 File with Programmable Wireless, Go and the Arduino MKR GSM 1400
Time to read:
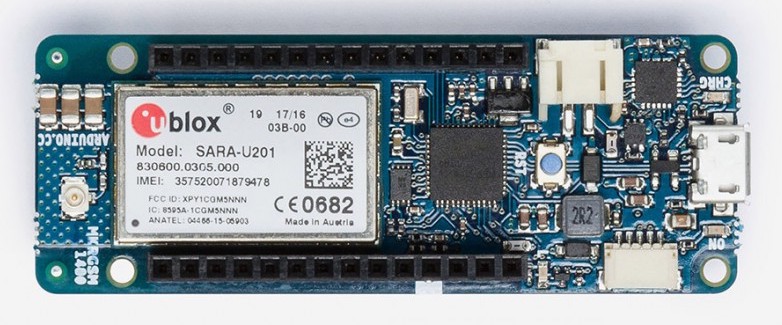
The new MKR family of Arduino boards are going to change the landscape of rapid prototyping IoT solutions. The Arduino MKR GSM 1400 is a great solution for anyone looking to expand the scope of their IoT projects using cellular connectivity. By integrating a modem with a microcontroller a new all-in-one communication solution has started to emerge. This paired with the Twilio Programmable Wireless SIM makes it possible to communicate around the globe using Machine-to-Machine commands. “Things” can now be connected in ways previously impossible with WiFi or Bluetooth.
This tutorial demonstrates how to send a Machine-to-Machine Command from the Arduino MKR GSM 1400 to a server written in Go. When the Machine-to-Machine Command is received server-side an audio file will play a .mp3 saying “hello”. If you want to jump ahead the completed project can be found on the TwilioIoT GitHub.
What is the Arduino MKR GSM 1400?
The Arduino MKR GSM 1400 is a development board that combines the functionality of the Arduino Zero with global GSM connectivity using the u-blox SARAU201 modem. Traditionally communicating with a modem is done using AT commands using a separate module. This model board ships with a library that makes AT commands more accessible via function calls.
Hardware Requirements
- Twilio Programmable Wireless SIM
- Arduino MKR GSM 1400
- GSM Antenna
- Micro USB cable
Software Requirements
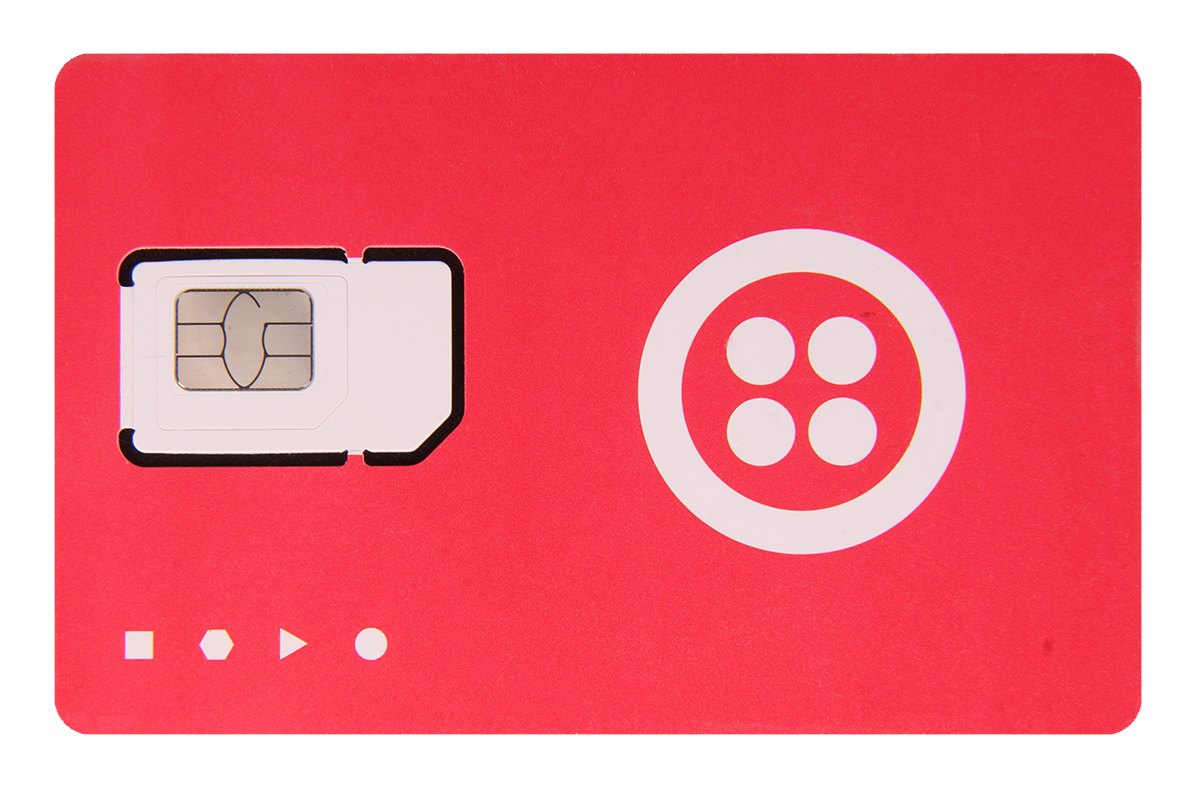
Remove the Twilio SIM from it’s packaging. Next register and activate your SIM in the Twilio Console.
Software side of things
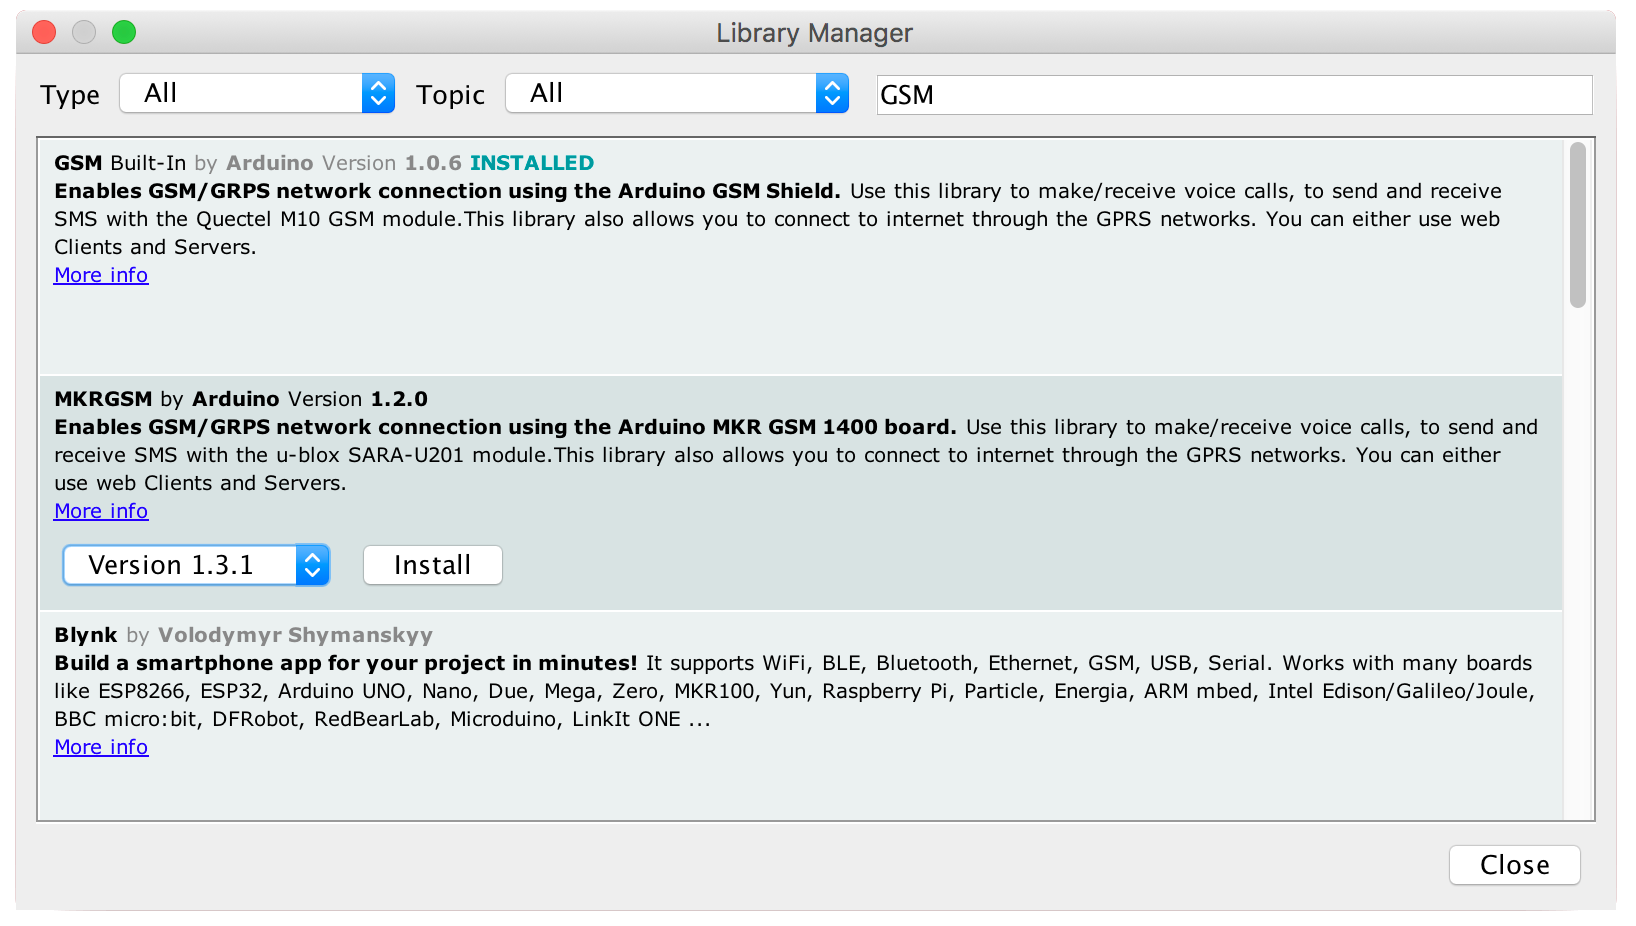
Before programming the hardware we need to install a few pieces of software to make it work. To be able to send M2M Commands using the on-board modem we will need the MKRGSM library.
Open the Arduino IDE and go to Sketch > Manage Libraries. This is where Arduino and 3rd party libraries can be installed into the Arduino IDE.

When the Library Manager window pops up search for the MKRGSM library and press install. The MKRGSM library wraps AT commands into functions, making it easier to communicate with the modem. It’s phonetabulous trust me.
After the library is installed we need to install the Arduino MKR GSM 1400 board cores. The Arduino MKR GSM 1400 uses a different chipset than traditional Arduinos that use AVR ATmega chipsets. This board uses the SAMD21 Cortex-M0+ and it requires a different set of cores. The cores do not come with the Arduino IDE and they are needed for the computer to recognize the board when connected.
Locate the Board Manager under Tools > Board > Board Manager.

When the Board Manager window appears search for the Arduino SAMD Boards and install the cores.
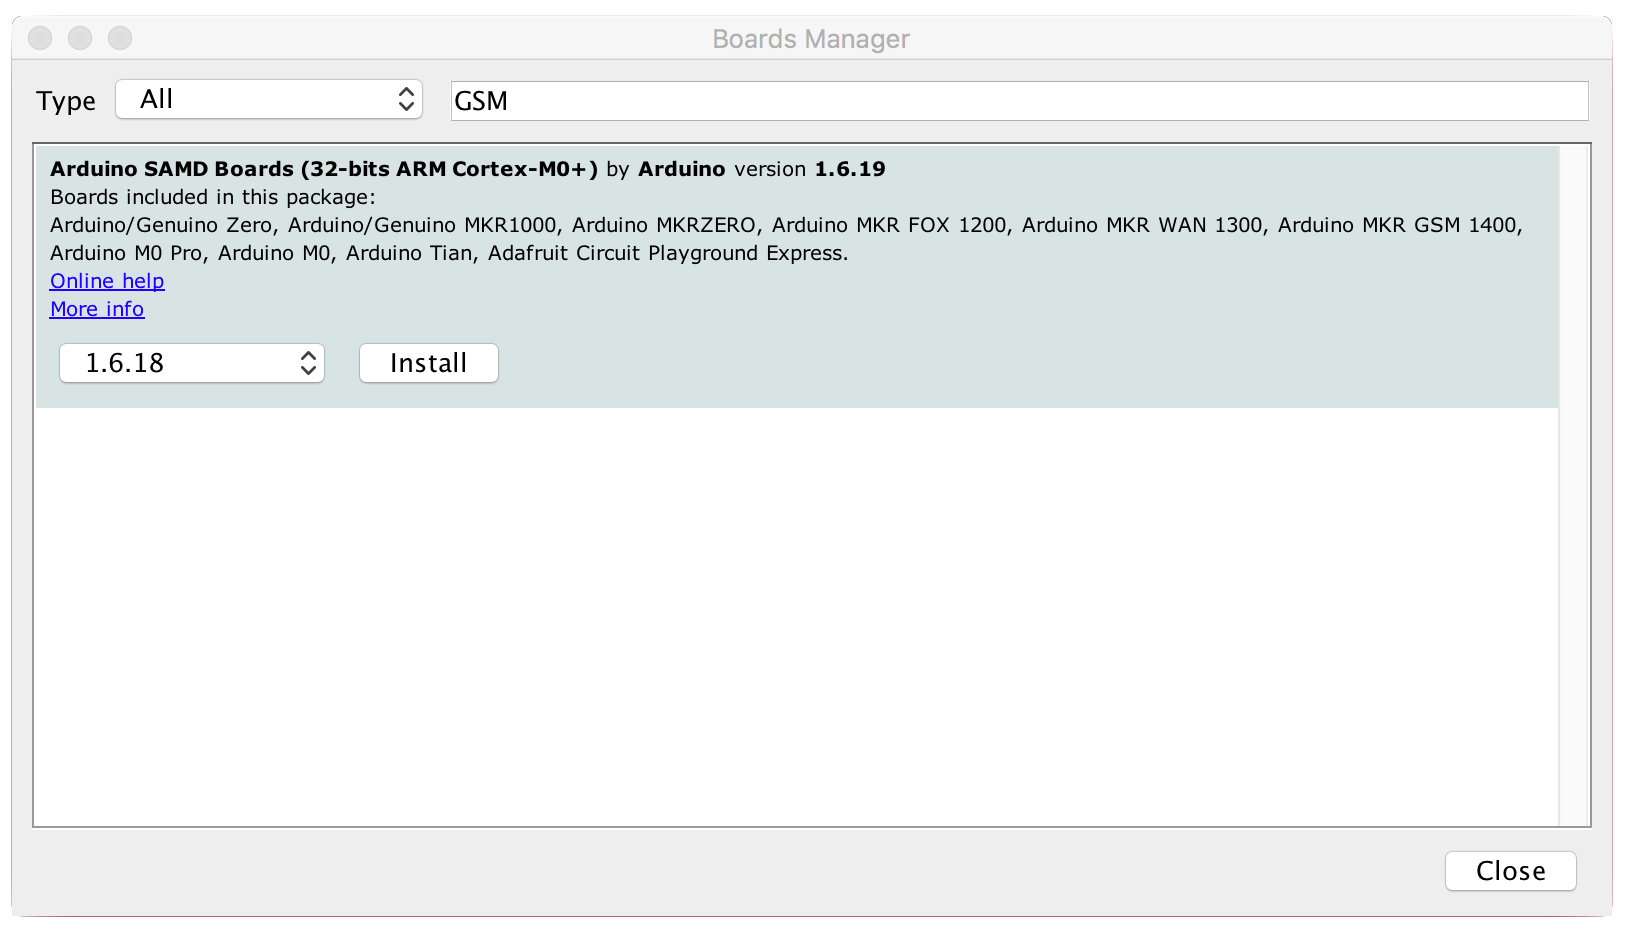
Restart the Arduino IDE to complete the installation.
Great! Time to move on to the hardware setup.
Hardware side of things
To send M2M Commands over the network we need to install the Twilio SIM. Break out the Micro SIM from the Twilio SIM card
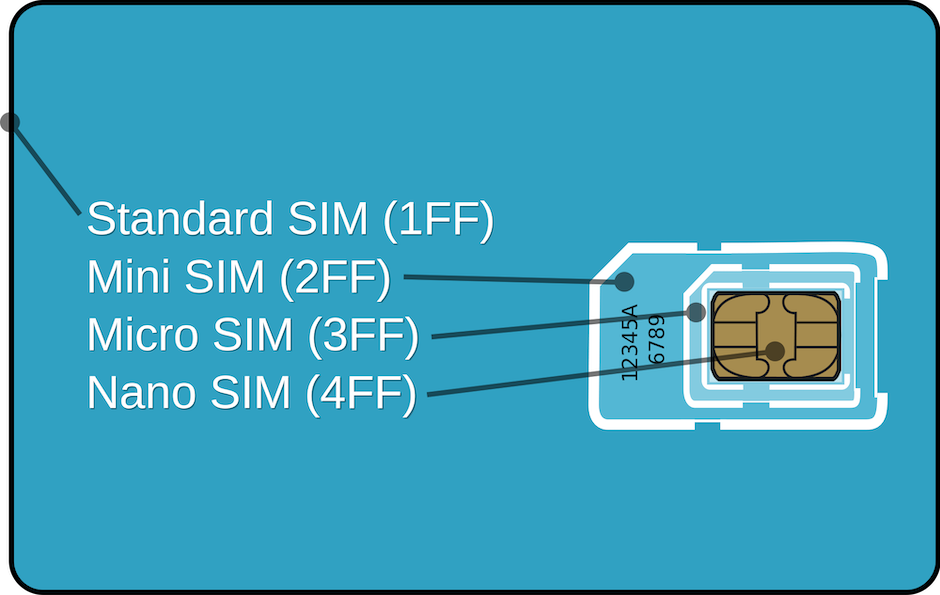
Insert the Twilio SIM into the SIM slot underneath the board.
Next, attach the GSM antenna to the board.
Connect the board to the computer using a Micro-USB cable and you are geared up to connect to the network.

In the Arduino IDE create a new Arduino sketch (File > New). A template is provided that look something like this.
In the setup() function create a serial connection with a baud rate of 115200. The baud rate determines the speed of data over a specific communication channel.
Use the gsmAccess.begin() function to connect to the cellular network that is identified on the Twilio SIM.
In the loop() function define the phone number where the M2M Command will be sent using the beginSMS function. The number we will use is “2936”. This is a special Twilio shortcode that is reserved for exchanging M2M Commands between Twilio SIMs. It uses the SMS transport to send M2M Commands over a cellular network. When a Twilio SIM creates a M2M Command a Webhook is generated, we will discuss this shortly.
Pass a char array to the function sms.print() to create a new message to be queued.
After a message is created and queued use the endSMS() function to tell the modem the process is complete. Once this happens the “hello world” message will then be sent.
The last bit of code is a while loop that will capture the program and place it in an infinite loop. The purpose of this is to ensure the M2M Command is only sent once.
Complete Arduino sketch:
Double check that the board has been selected under Tools > Board. If it is not selected the compiler will throw an error when you try to upload the code.
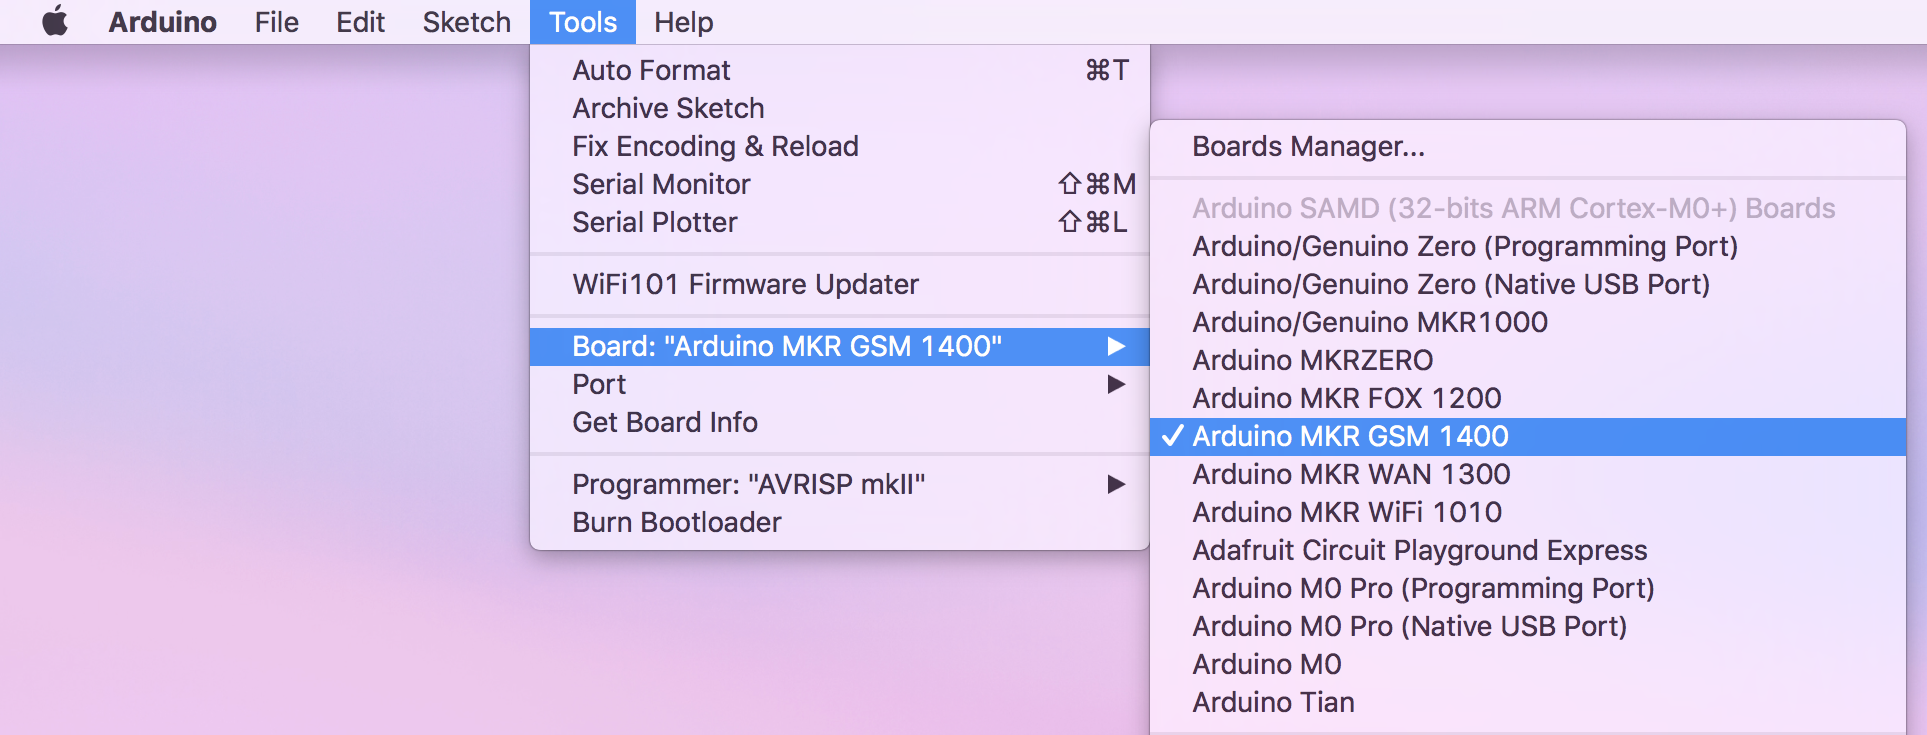
Save the new sketch as "SayHelloArduinoGSM.ino". Before uploading the new sketch to the board let’s create a server to receive the M2M Command using Go.
Spinning up an audio response server with Go and Beep

Create a new Go program named “SayHelloArduinoGSM.go” using the template below.
Inside the main function create a new server route using HandleFunc() from the net/http library. This will generate a new server-side route (“/helloworld”) for receiving M2M Commands from the “2936” shortcode. When an M2M Command is received it will then be funneled to the helloworld function. Open up a port and listen for incoming connections using the ListenAndServe() function on port 9999.
Fantastic. Now we have to create the helloworld function. The HTTP request received by this function will be represented by the http.Request type.
When the request is received the M2M Command needs to be parsed. Use the ParseForm() function to parse the request body as a form.
The data from the body can be extracted using the PostFormValue() function by passing it a key. The key will give you the value associated with the named component in the JSON response. In this case we are looking for the value of the “Command” key.
And to add a little spice let’s at some Beep code to play an audio file through your system’s audio when the Command successfully reaches the server.
Complete Go program:
Start the server.
Constructing the bridge with ngrok
Currently the hardware and software pieces exist individually. ngrok will be used to bridge the gap.

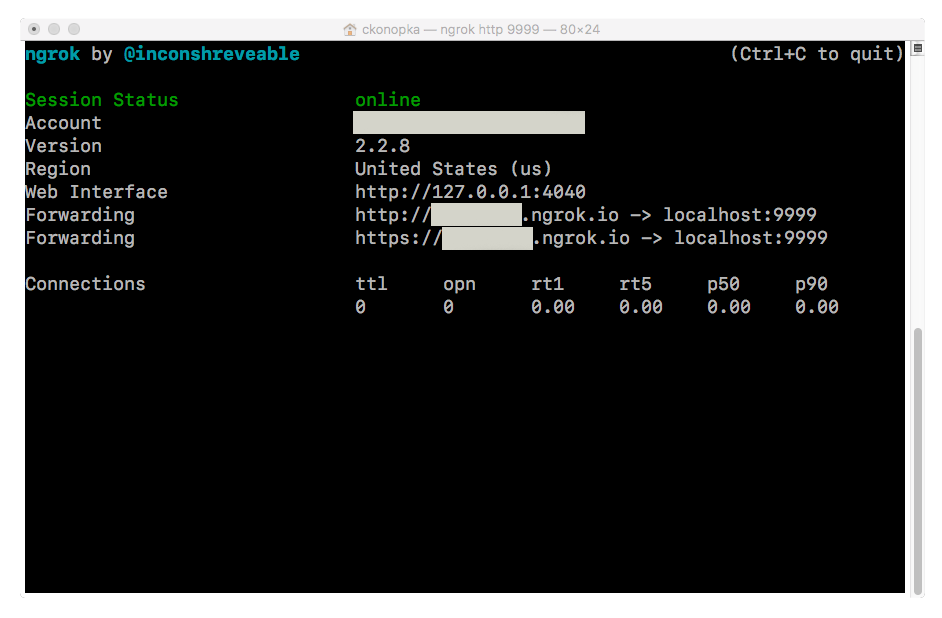
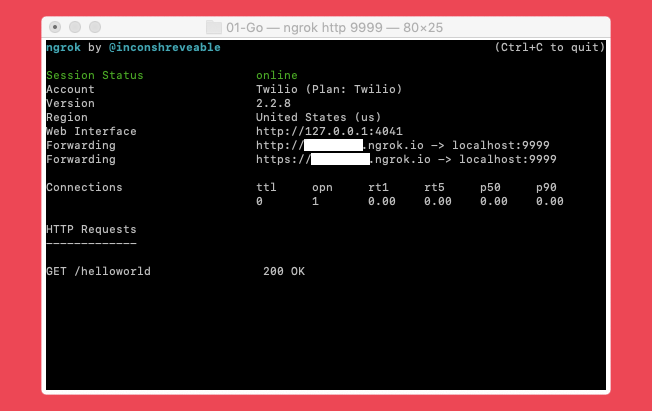
When the SIM sends a M2M Command to Twilio a Webhook is sent to a user-defined url called the Commands Callback Url. We will use ngrok to receive this Webhook and then route it to the server running on our own machine. To make the connection, start a new ngrok instance on the same port where the server is running.
Copy the Forwarding url that was created with ngrok (http://xxxxxxxx.ngrok.io)
Navigate to Programmable Wireless in the Twilio console. Locate the SIM that you previously registered under SIMs. Under the Configure tab you will find the Commands Callback Url. Paste the ngrok Forwarding address into text box and add the previously created server route to the end of the url.


Once uploaded, double check to see if the Command was sent properly using the Serial Monitor.
- Navigate to Tools > Serial Monitor
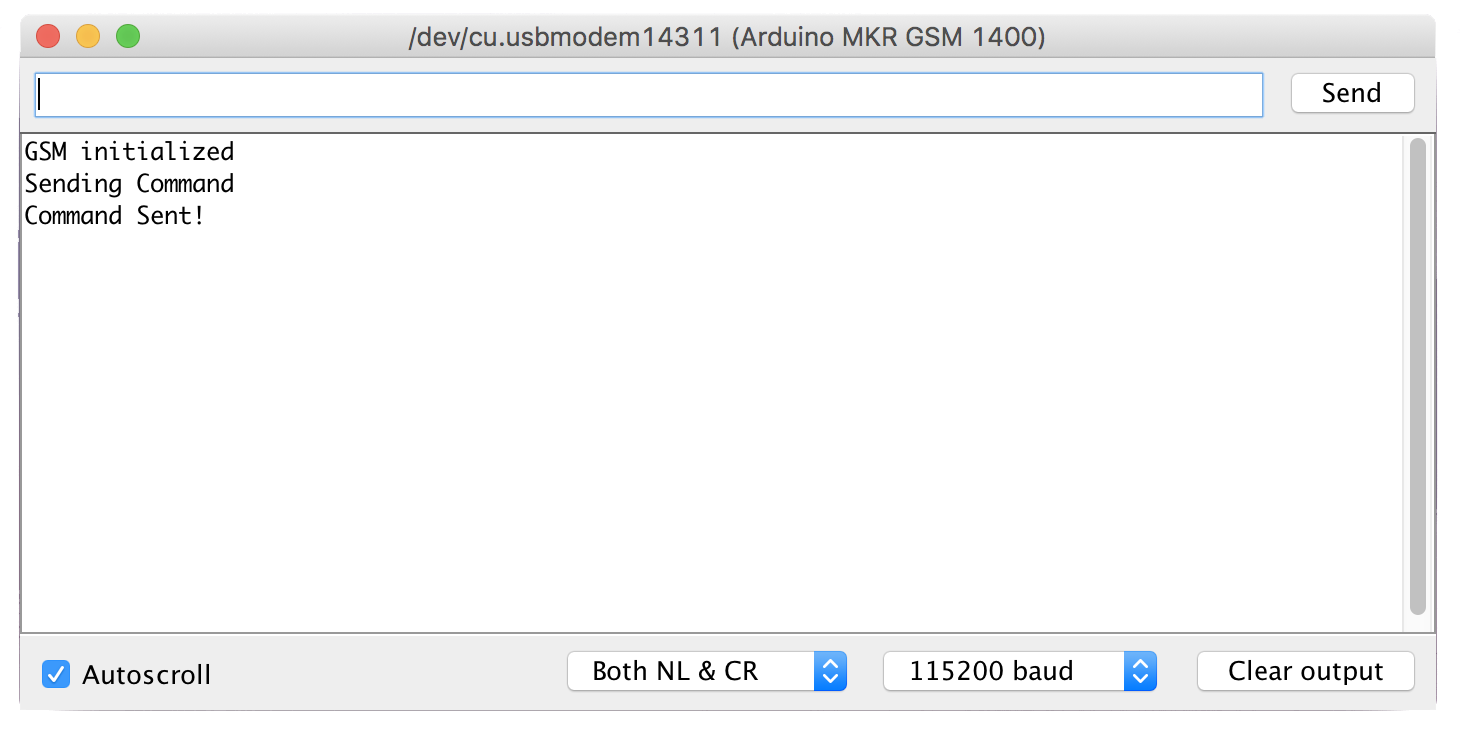
Once the M2M Command is sent from the “2936” shortcode it is then routed to ngrok and onto the go application using the Commands Callback Url.
And finally the M2M Command reaches the server and the “helloworld.mp3”
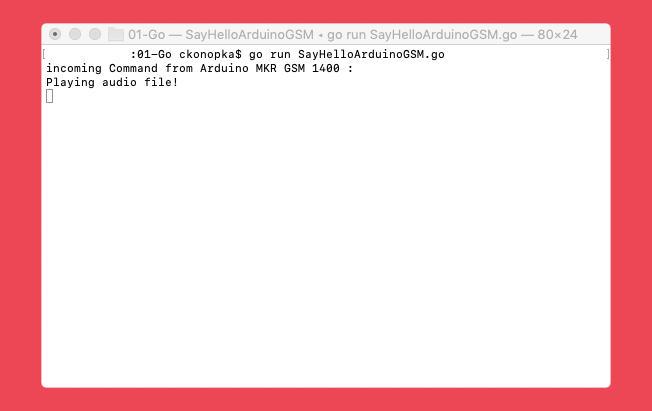
Celltactular!
Continue to connect things
You just sent your first M2M Command using magic.

This M2M Command model is a foundational piece of how to use Twilio to send M2M Commands from a remote hardware device. With the integrated modem and software for sending AT commands as functions, it makes the Arduino MKR GSM 1400 an ideal piece for any IoT prototyping kit.
If you are interested in learning about other pieces of hardware that can send M2M Commands check out the Wireless Machine-to-Machine Quickstarts. This project, along with other projects, can be found on the TwilioIoT GitHub.
Feel free to reach out with any questions or curiousity. If you have any cool IoT projects you have built or are planning on building drop me a line.
- Email: ckonopka@twilio.com
- Github: cskonopka
- Twitter: @cskonopka
Related Posts
Related Resources
Twilio Docs
From APIs to SDKs to sample apps
API reference documentation, SDKs, helper libraries, quickstarts, and tutorials for your language and platform.
Resource Center
The latest ebooks, industry reports, and webinars
Learn from customer engagement experts to improve your own communication.
Ahoy
Twilio's developer community hub
Best practices, code samples, and inspiration to build communications and digital engagement experiences.


