Help Those Helping Others
Time to read: 7 minutes
In so many countries, when you think of December, you think of Christmas. And, for as long as I can remember, Christmas has always been about giving, not receiving.
When you think about giving, is your first thought of gifts and presents? For many, that would be true. But what about, instead of giving gifts, you give to those helping others in need instead?
Sure, it's nice to receive presents. But, as studies regularly show, if your focus is only on things, on the material, you'll likely end up depressed and anxious, not blissfully happy as the ads suggest.
So in this tutorial, I'm going to show you how to build an application to help anyone quickly donate to any number of charities and nonprofits.
For the sake of simplicity, I've compiled a small list of six charities that I feel are doing great work, and which are especially dear to my heart. These are:
- Rueben's Retreat (UK)
- The Asylum Seeker Resource Center (Australia)
- The Australian Pancreatic Cancer Foundation
- The Birthday Bank (UK)
- The ME-CFS Portal (German)
- The Michael J. Fox Foundation for Parkinson's Research (USA)
Feel free to add any others that you feel are worthy too!
The application will be built as a combination of a Vue.js frontend styled by Tailwind CSS, and powered by a simplistic PHP backend centred around the Slim Framework.
Prerequisites
To follow along with this tutorial you will need the following:
- Prior experience with PHP, JavaScript, Tailwind CSS, and Vue.js
- PHP 8.0 or above
- Composer installed globally
- Node version 18 or above
- curl
- Your preferred editor or IDE (I recommend PhpStorm and VIM)
Create the PHP API backend
It doesn't matter whether you build the backend or front end first. As I'm more familiar with PHP and backend services than JavaScript and the front end, let's start by building the backend API.
Create the project directory structure
Create the project's directory structure and switch into it, by running the commands below.
Install the dependencies
Then, with the project's directory structure created, it's time to install the third-party dependencies that the application requires. These are
| Dependency | Description |
|---|---|
| laminas-diactoros | This package simplifies returning JSON content. Okay, it's not strictly necessary, but I love using it as it's so intuitive. |
| php-di/slim-bridge | Marketed as "The dependency injection container for humans", PHP-DI is a pretty straightforward and intuitive DI container. We’re using it so that we can instantiate certain application resources once and then make them available to the application. |
| slim/psr7 | In addition to Slim, this library is required to integrate PSR-7 into the application. It's also not strictly necessary, but I feel it makes the application more maintainable and portable. |
| slim/slim | Naturally, as the application is based on the Slim framework, then Slim is required. |
To install the packages, in the top-level directory of the project, run the command below.
Create the bootstrap file
Next, in the public directory, create a new file named index.php. In the new file, paste the code below.
Despite the amount of code in the file, there isn't a lot going on in index.php.
It starts off by initialising a DI (Dependency Injection) container ($container). Then, it registers a single service with it, named charities, which returns an associative array of charities.
Each element's key is a short code for the charity, and the value is an associative array of the charity's properties. These include the charity's name, description, some of the key actions that it undertakes, its email address, website, and a direct donation link.
Following that, a new Slim application ($app) is initialised with the container, and the application's sole route is added. The route returns the charities array in JSON format.
Two things are worth noting about the route:
- Responses from the endpoint include the Access-Control-Allow-Origin header so that XHR (XMLHttpRequest) requests can be successfully sent to it.
- The
ContentLengthMiddlewareis added to the request so that the response contains the length of the response's content body, should requests require it.
Finally, the app is started.
Test that the backend works
Before you move on and create the front end, test that the backend works. Start it by running the command below.
Then, in a separate terminal, use curl to make a request to the charities endpoint by running the following command.
You should see output similar to the example below.
If you saw the charities list output to the terminal in JSON format, then you're ready to build the front end.
Create the Vue.js frontend
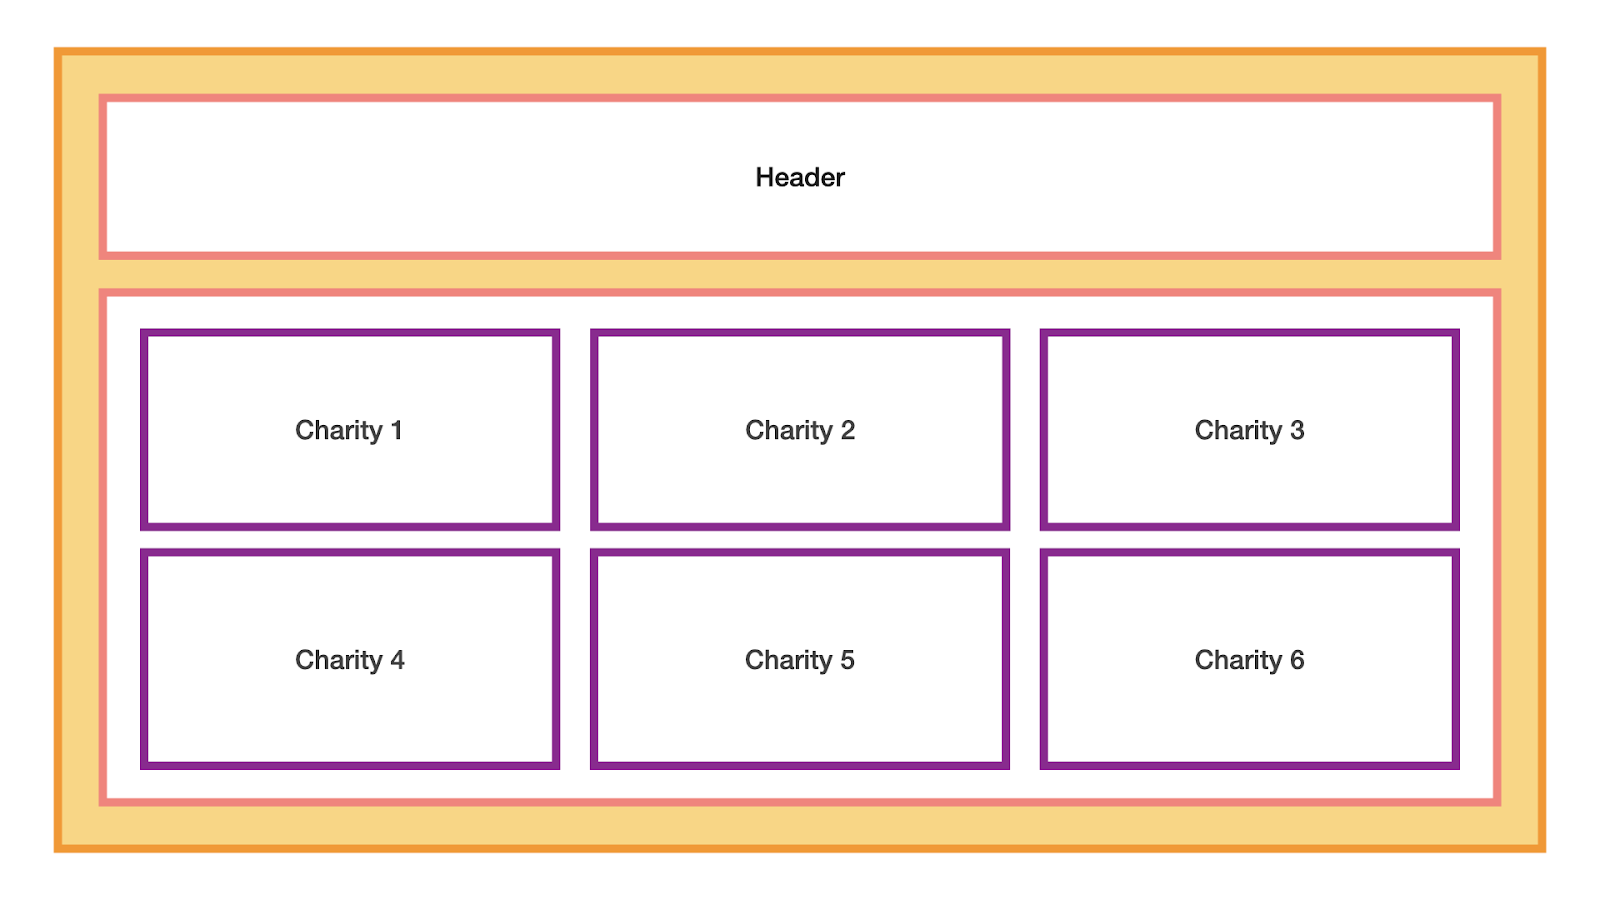
The front end will be built with a combination of JavaScript, Vue.js, and Tailwind CSS. If you're new to any of these, please don't be concerned. This isn't an overly complicated application. Here's a small design layout to help you visualise what it will look like.
Bootstrap a new Vue.js application
Now it's time to create the front end. Navigate up a directory and scaffold a new Vue.js application by running the commands below.
Respond to the prompts as follows.
| Question | Response |
|---|---|
| Need to install the following packages: create-vue@3.4.1Ok to proceed? (y) | y |
| Project name | the-gift-of-giving-frontend |
| Package name | the-gift-of-giving-frontend |
| Add TypeScript? | No |
| Add JSX Support? | No |
| Add Vue Router for Single Page for Application development? | No |
| Add Pinia for state management? | No |
| Add Vitest for Unit Testing? | No |
| Add an End-to-End Testing Solution? | No |
| Add ESLint for code quality? | No |
After the command completes, the application will be available in a new directory named the-gift-of-giving-frontend in the current directory. Change into the newly created directory, install the dependencies, and start the application in development mode by running the commands below.
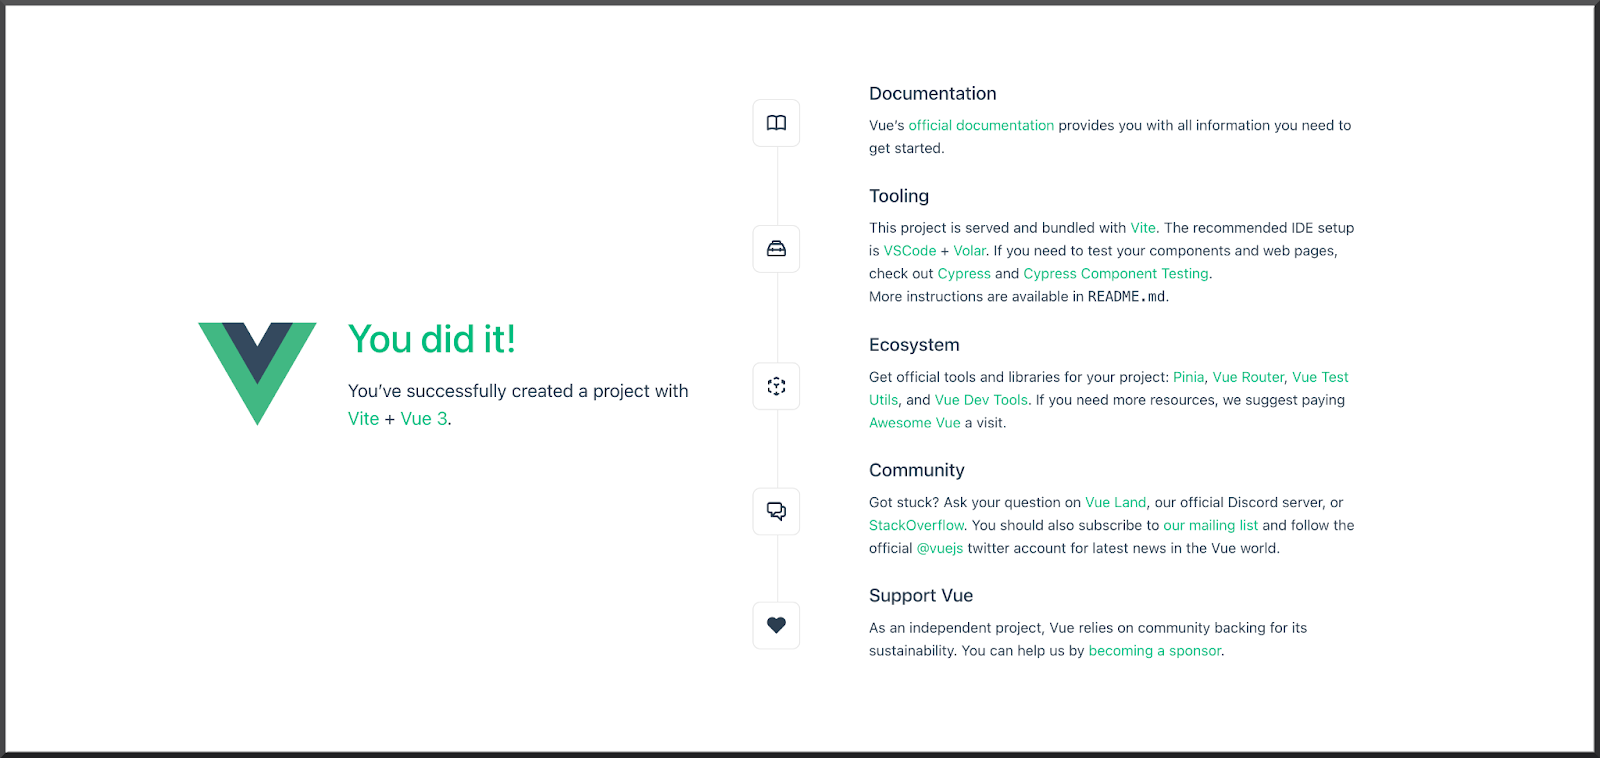
After running the second npm command, open your browser to http://localhost:5173/ where you should see it look like the screenshot below.
Add extra dependencies
The scaffolded application already provides a lot of functionality, however, it will need a few more dependencies for it to function properly. These are
| Dependency | Description |
|---|---|
| AutoPrefixer | AutoPrefixer automatically manages vendor prefixes in the generated CSS. |
| PostCSS | PostCSS helps Tailwind CSS build faster and avoid any quirks or workarounds. |
| Tailwind CSS | Tailwind CSS is a utility-first CSS framework which I love using as it greatly simplifies creating original and professional designs. |
| Vue3 Markdown IT | This provides Markdown support to convert each charity description, written in Markdown, into HTML. |
To install them, in the-gift-of-giving-frontend directory in a new terminal session, run the following commands.
Then, update tailwind.config.js, in the top-level directory of the project, to match the following configuration.
Next, download additional.css from the project's GitHub repository to src/assets. Then, update src/assets/main.css to match the following — make sure you remove the custom CSS at the end of the file after these two import statements.
For what it's worth, while the classes in additional.css could be included directly in the Vue.js Component templates, I felt that doing so would be too distracting and that it was better to extract them.
Remove the unnecessary files
With the frontend application working, it's time to remove some of the auto-generated files which, while potentially helpful, aren't necessary.
In src/components remove HelloWorld.vue, TheWelcome.vue, and WelcomeItem.vue, as well as the icons directory. Then, remove references to them by updating src/App.vue to match the code below.
Download the frontend's images
The application uses two types of images, a header image for each charity, along with three social media icons; one for Instagram, LinkedIn, and Twitter. Download an archive of the images from the project's GitHub repository, then extract the archive to the public directory.
Add the core application logic
Now, it's time to add the core application logic. There's not that much to it, just a single component named CharitiesList. It is responsible for retrieving the list of charities and beautifully rendering them on the page.
To build it, create a new file named CharitiesList.vue in src/components. In that new file, paste the HTML and JavaScript code below.
Like all Vue.js Components, the file consists of a template and a script section. The template section renders the list of charities retrieved in the script section rendering the respective details of each one. For each charity, its name, description, image, actions, respective social media accounts, and direct donation link are rendered.
I've done my best to keep it as succinct as possible, making use of the Vue.js elements that make the most sense, such as conditional rendering, list rendering, and class and style bindings.
In the script section's fetchData() method, which is run when the component is mounted, the /charities endpoint of the backend application is requested and the response is set in the charities element.
In addition, a Markdown component from the Vue3 Markdown IT package is added, so that it can be used to convert charity descriptions from Markdown to HTML.
Update App.vue
Next, it's time to enable the CharitiesList component. Do that by importing it, and then adding it to the template section of App.vue, as in the code below.
Update index.html
Next, you need to make a small update to index.html, so that the header of the page will be for the project, and not for the original scaffolded application. They also add two paragraphs explaining what the application is about.
To do that, update index.html to match the code below.
Test the application
Now that all of the code has been written, it's time to test the application. If you still have your browser open from before, when you first tested the front end, switch to it, otherwise, open a new window or tab in your browser of choice to http://localhost:5173/. It should look like the screenshot below.
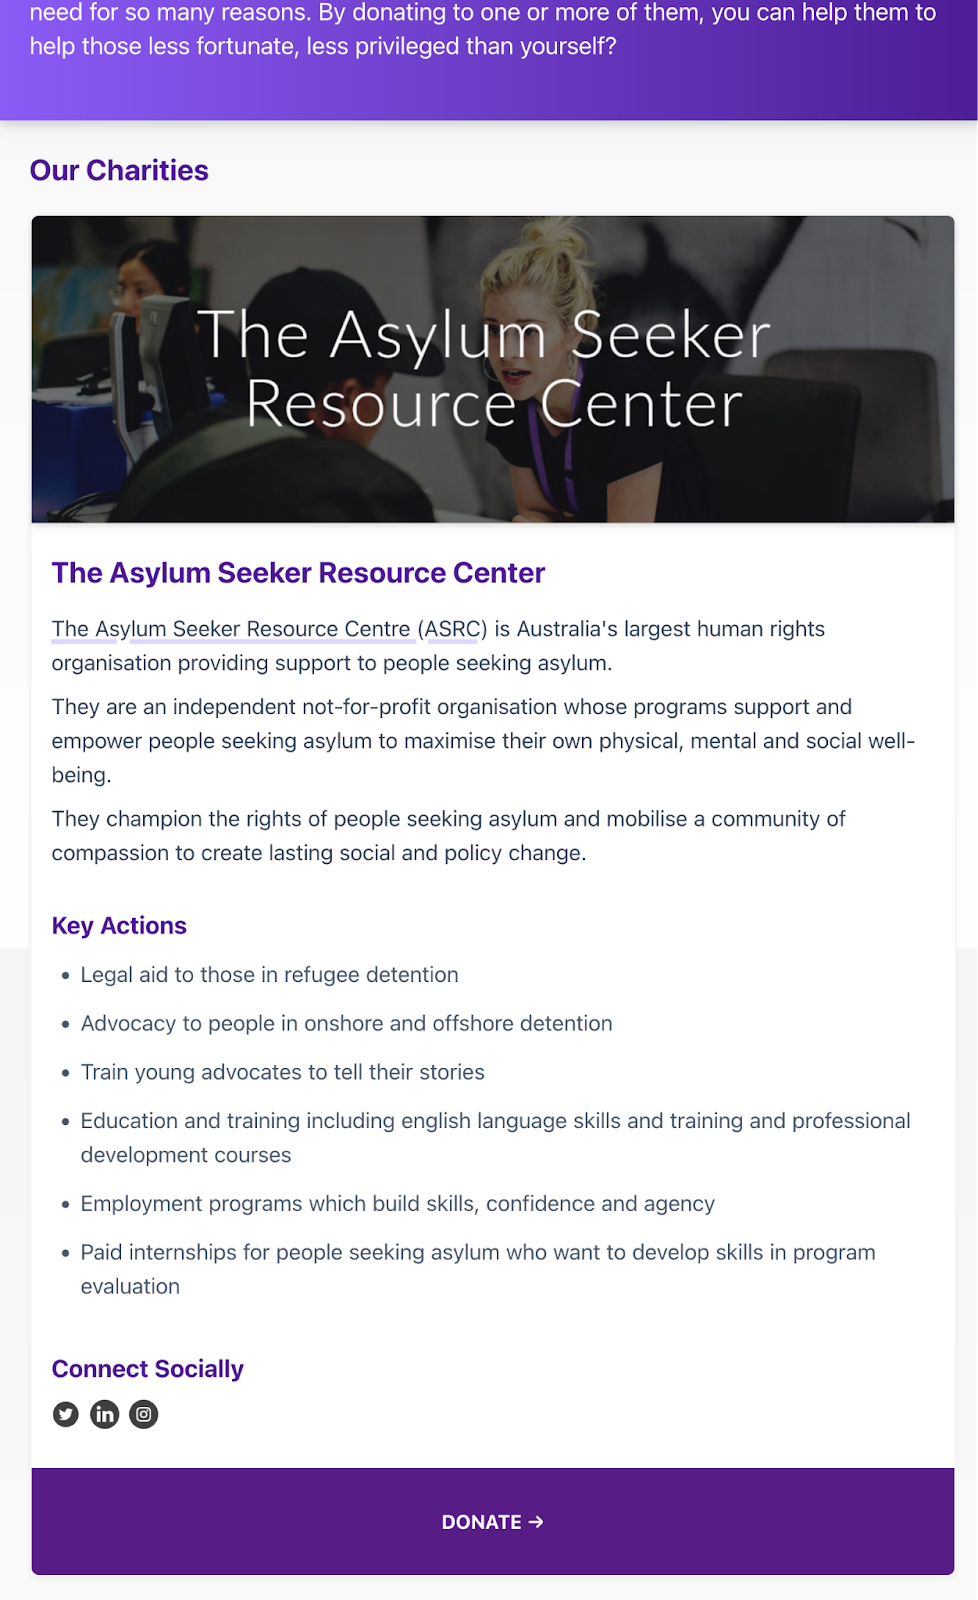
Then, click on any of the donate links under the respective charities to open the charity's donation link. If you have some funds to spare, please consider making a donation. They're all doing very worthwhile work in their respective communities.
The application's finished
It wasn't the most complicated of applications, but rather a fun exercise in building a Vue.js-powered frontend backed by a simplistic PHP API backend. Feel free to play with the code, change the charities, and update it to your heart's content. The code for the front end and back end are available on GitHub.
Are any of these charities ones you're familiar with? If not, which worthwhile charity do you want to draw attention to? Share it with me on Twitter.
Matthew Setter is a PHP and Go editor in the Twilio Voices team, and a PHP and Go developer. He’s also the author of Mezzio Essentials and Deploy With Docker Compose. You can find him at msetter@twilio.com. He's also on LinkedIn and GitHub.
Related Posts
Related Resources
Twilio Docs
From APIs to SDKs to sample apps
API reference documentation, SDKs, helper libraries, quickstarts, and tutorials for your language and platform.
Resource Center
The latest ebooks, industry reports, and webinars
Learn from customer engagement experts to improve your own communication.
Ahoy
Twilio's developer community hub
Best practices, code samples, and inspiration to build communications and digital engagement experiences.
