Getting Things Done in Trello with Python, Flask and Twilio SMS
Time to read:
This post is part of Twilio’s archive and may contain outdated information. We’re always building something new, so be sure to check out our latest posts for the most up-to-date insights.
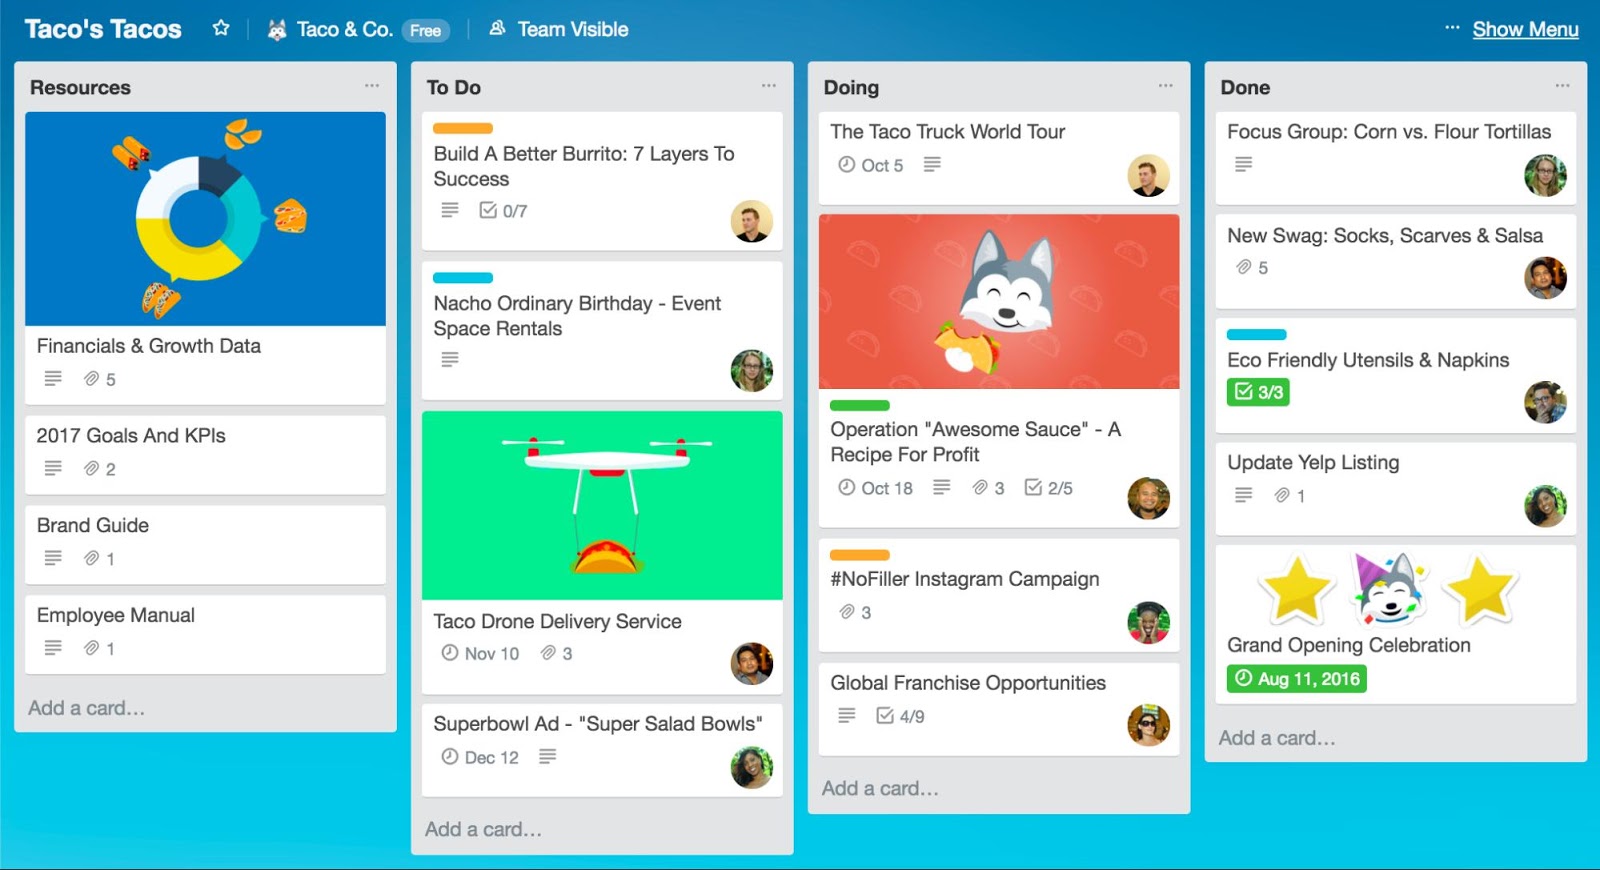
Do you ever have so many things to do that you can’t even decide where to begin? This is me, all the time. So every once in a while, when I’m a bit overwhelmed by all the tasks I have to do, I make my code decide for me. In this tutorial, we’ll build a system that responds to a text with a to-do item. I’m an avid Trello user so we’ll use the Trello API and Twilio API to send tasks via SMS.
First, we have to set our environment up. This guide was written in Python 3.6. If you haven't already, download Python, Pip and Ngrok. Next we will install virtualenv to create and activate your virtual environment by entering the followings command in your command-line:
Next, you’ll need to install several packages that we’ll use throughout this tutorial on the command line in our project directory:
Setting up Trello
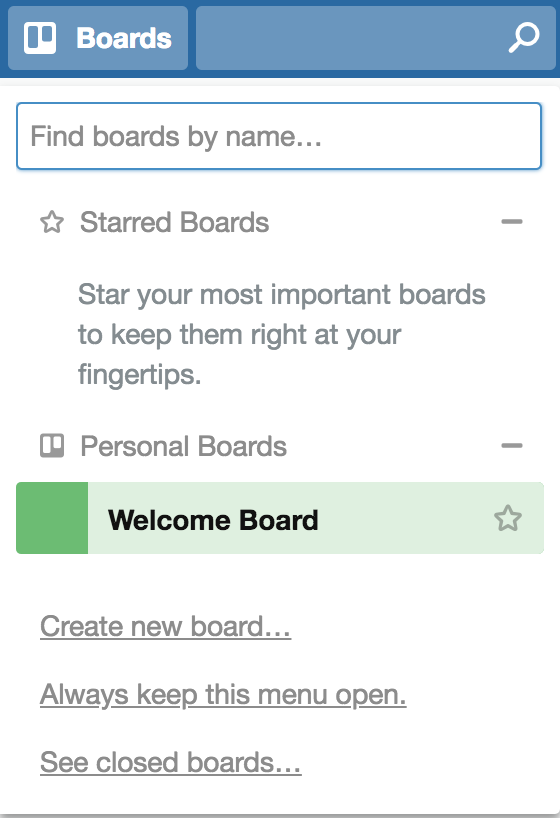
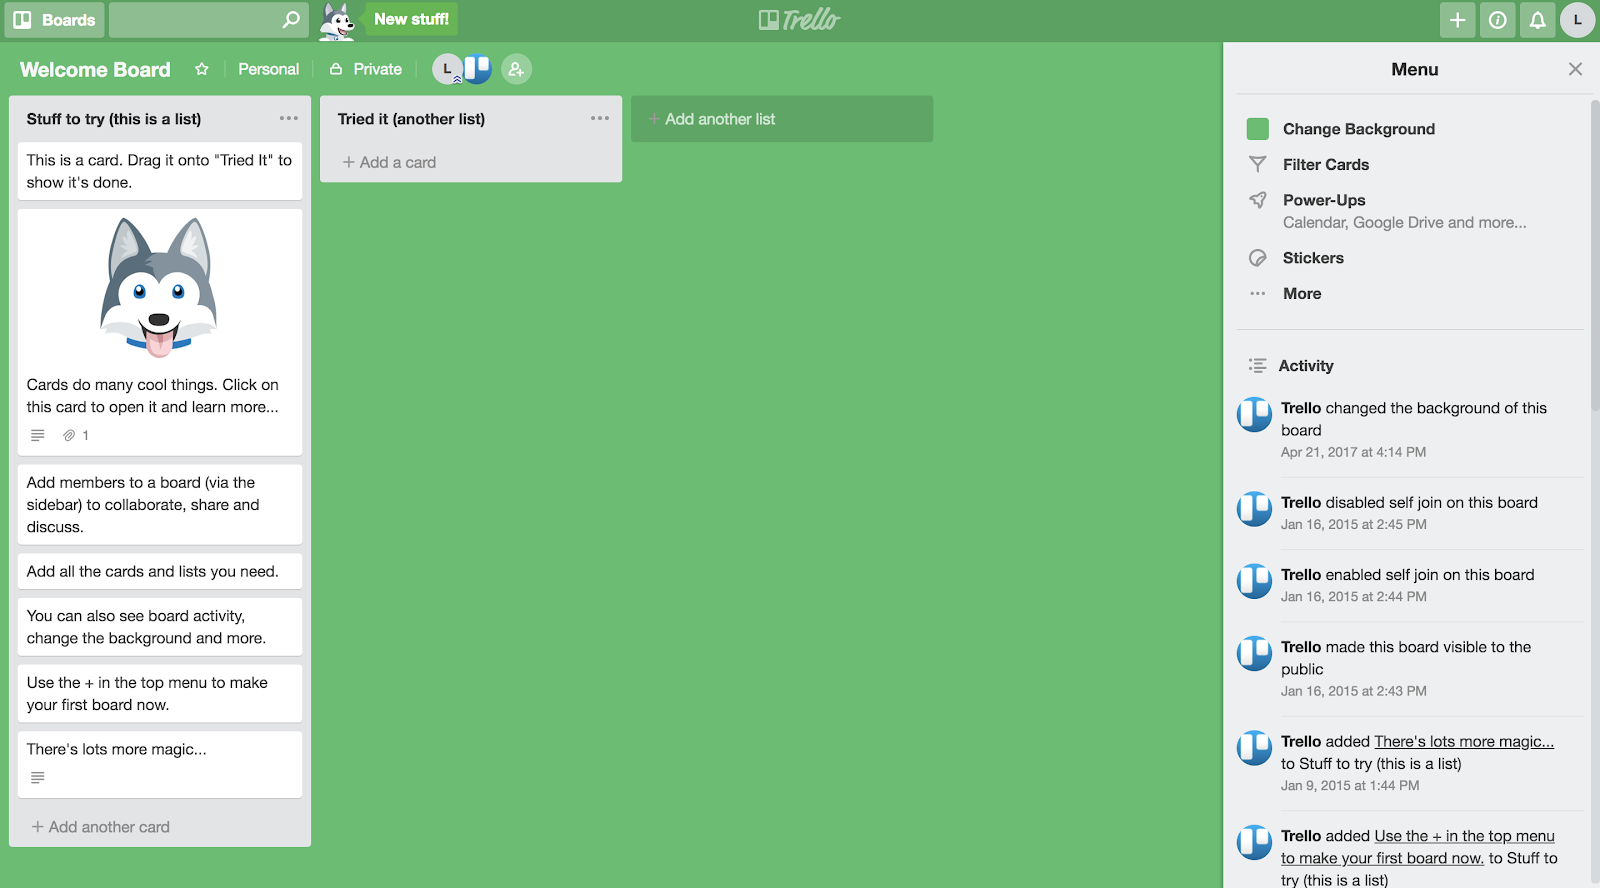
You’ll need to sign up for a free account because we'll be using Trello throughout this tutorial. Once you have an account, click on the “Boards” button on the upper left corner of the page. You’ll see a “Welcome Board” there that, if you click on it, looks like the image below. Here, you can add to-do items, or you can just continue on with this tutorial.
Now that you have an account, we need to set up the API keys, so head over to the Developer Portal here. You should see a page with the following text in the beginning:
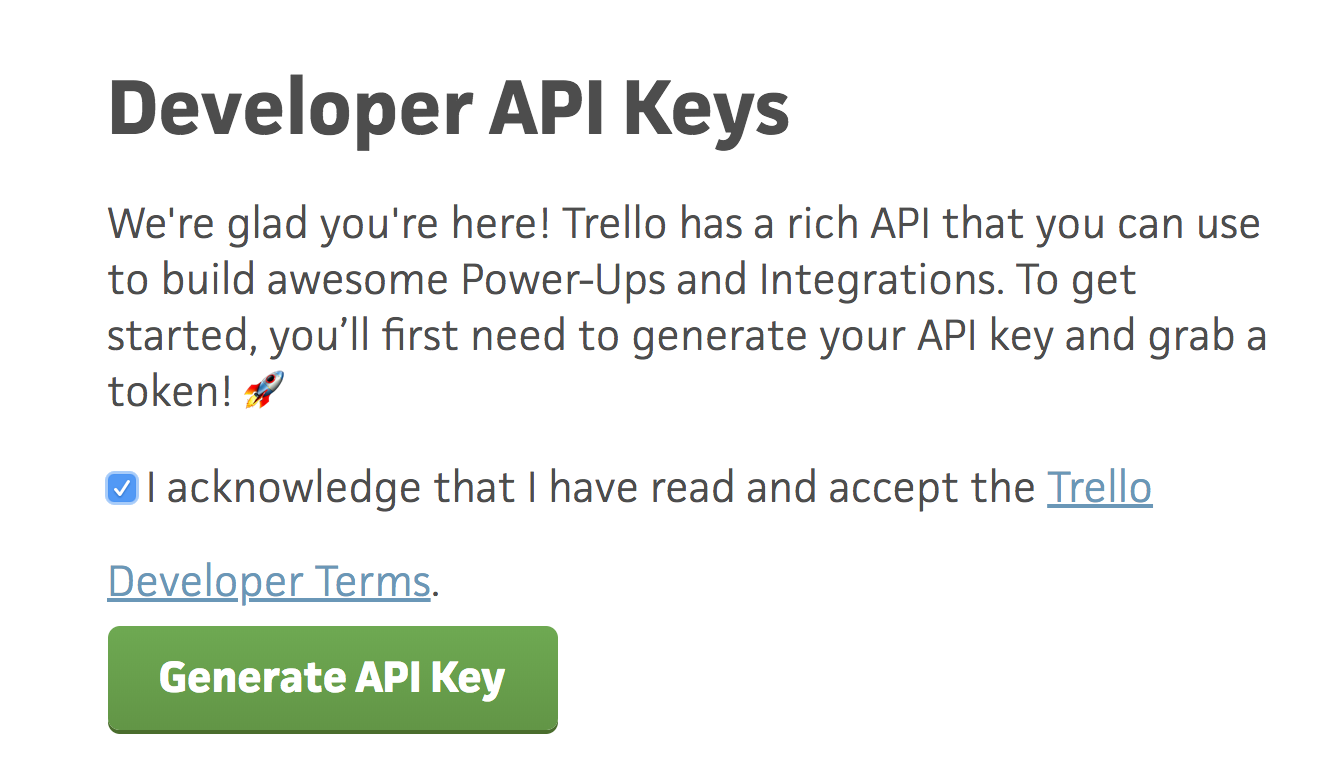
After you check the acknowledgment agreement, click the green “Generate API Key” button for a new page to load that includes your API Key.
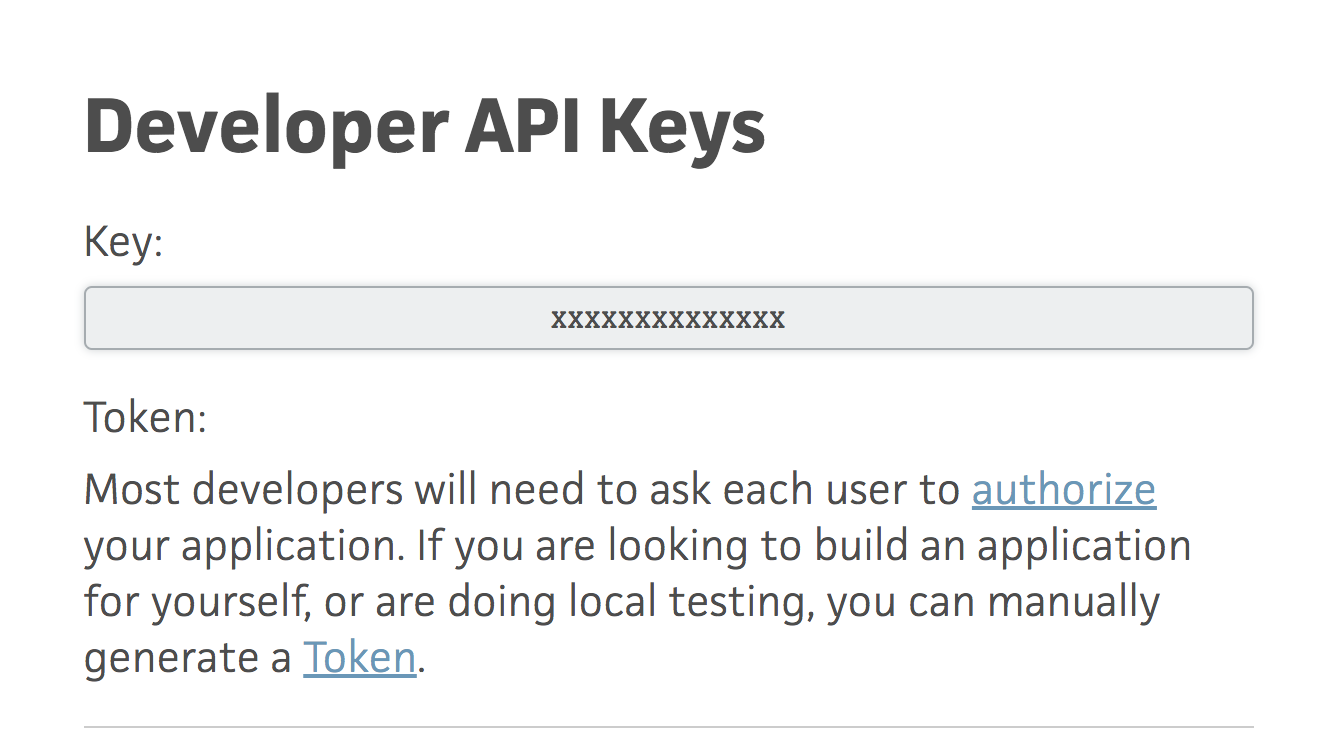
Next, click on the hyperlinked word, “Token”, that will lead you to an authorization page that looks like:
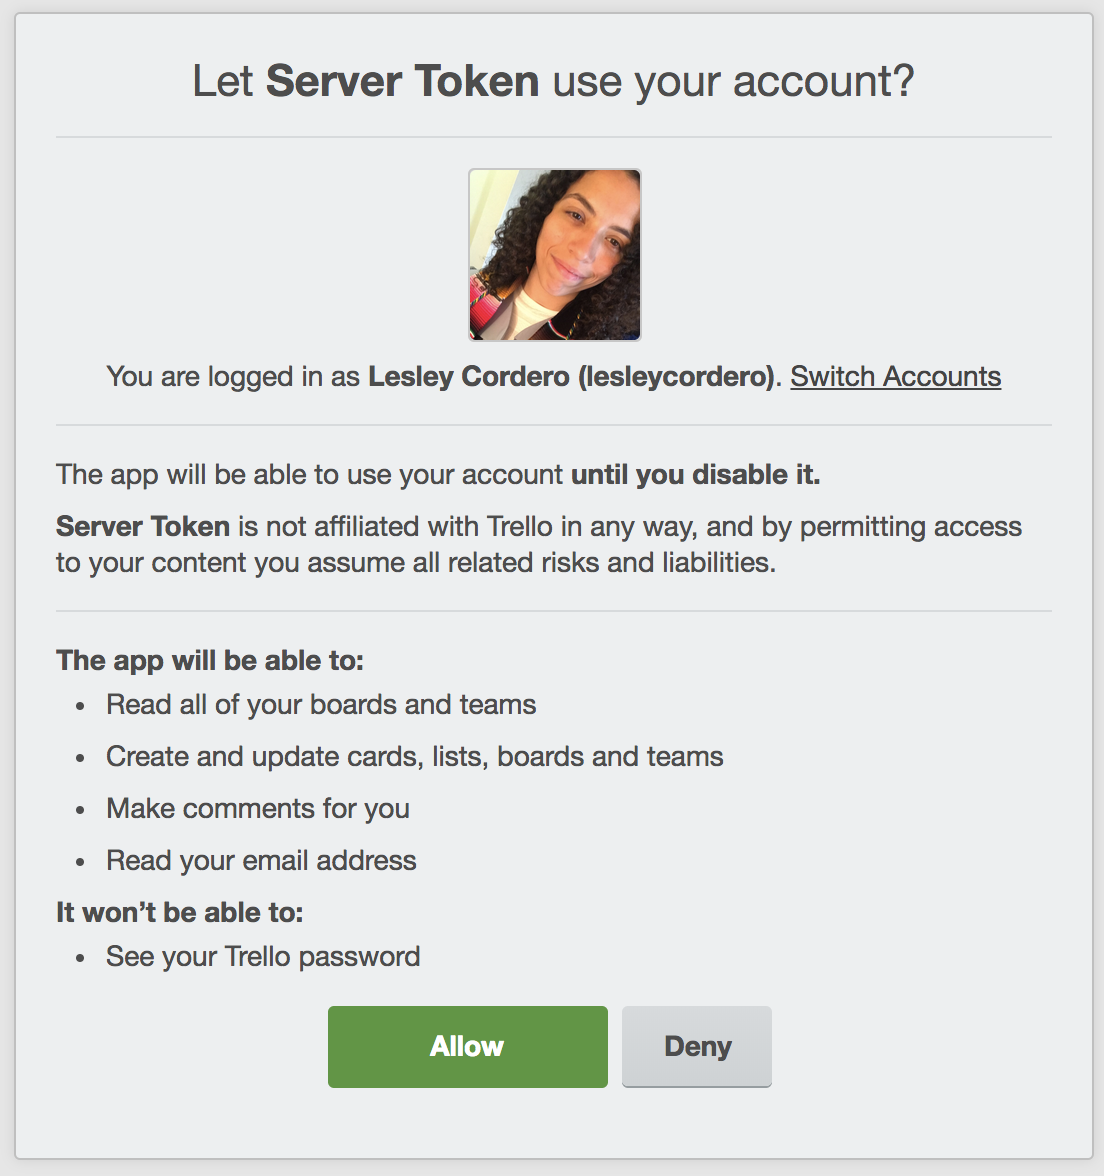
Once you click “Allow”, you’ll be redirected to a final page with your token as follows:

Make sure to keep this token handy—you’ll need it for this tutorial.
Getting Started
Now that you've successfully acquired your API keys, we can start off by importing all the needed modules. In a file named hello.py, import the following modules:
We initialize the microframework Flask first to start our application:
We can authenticate the Trello Client with the API Keys we generated earlier:
Once we’ve authenticated your Trello account, we can ask for a list of boards associated with your Trello account by calling the list_boards() function. Since this returns a list of boards, we’ll need to choose one board for the rest of this tutorial. We’ll choose the first element, since everyone has the “Welcome Board” to begin with.
We need to iterate through all the lists on the board to receive your all your Trello cards. Luckily, Trello has a function to output a list of lists. Note: this will include all your lists, including ones you archived.
Next, we’ll create a function called get_todo_item() that returns a card, which is equivalent to a “To Do” item. To do this, we’ll need to iterate through the my_lists we just created and call the list_cards() function on each object. We will also initialize an empty list, which will later be used to add cards to.
The variable cards, however, is now a list of cards, so we still have to iterate through it to extract the cards, hence the second for loop. This for loop is only entered if the cards aren’t closed since we assume that closed cards are tasks that have already been completed.
As we extract the cards, we’ll add them to an empty list, shown below, before finally ending our function with a return statement that randomly chooses a card with the random.randint() function.
Next, we need to set up the Flask server and write a function to be called every time a text message is received at your Twilio number. We’ll call this function sms_reply() and use the route() decorator to tell Flask which URL should trigger this function.
In this tutorial we’ll assume that any text message is asking for a To-Do item, so we won’t actually parse the text message at all. Instead, we’ll head straight to putting together a response. To do this, first we initialize the MessagingResponse() class. Then we call the resp.message() function with a string of the format “Why don’t you try doing:” and the To-Do item we generate by calling the get_todo_item() function. Finally, we return the TwiML that Twilio will use to send the text message back to the user.
Setting up Ngrok
Once we put it all together, we have our Flask app! In your terminal, enter python3 hello.py and open a new tab while this continues to run. In this new tab, enter ngrok http 5000 and expect a response like:
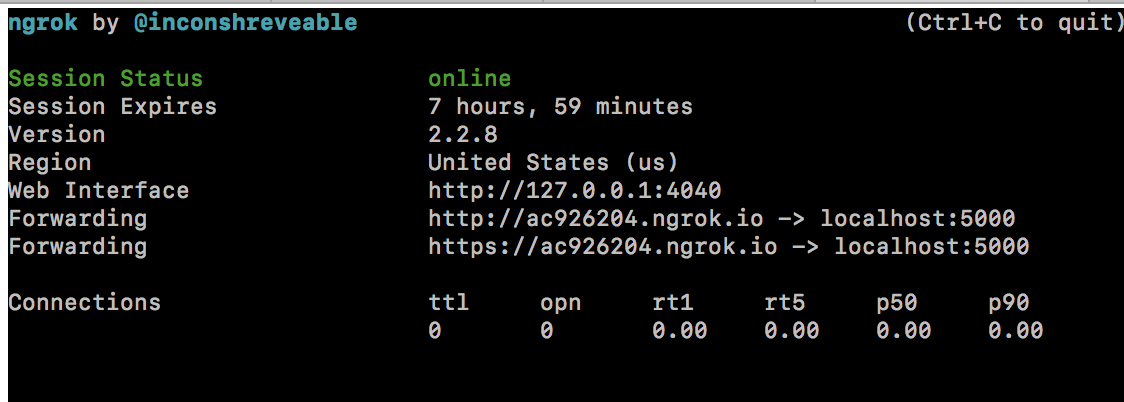
Copy the ngrok.io link next—you’ll need this soon!
To get this app functioning with Twilio, you’ll have to create a free account at Twilio.com. Once you have an account, you’ll need to set up a Twilio phone number here, making sure to enable SMS capabilities.
Now you can get your Flask app working with Twilio. Scroll down to the part of your Twilio number setting that looks similar to this:
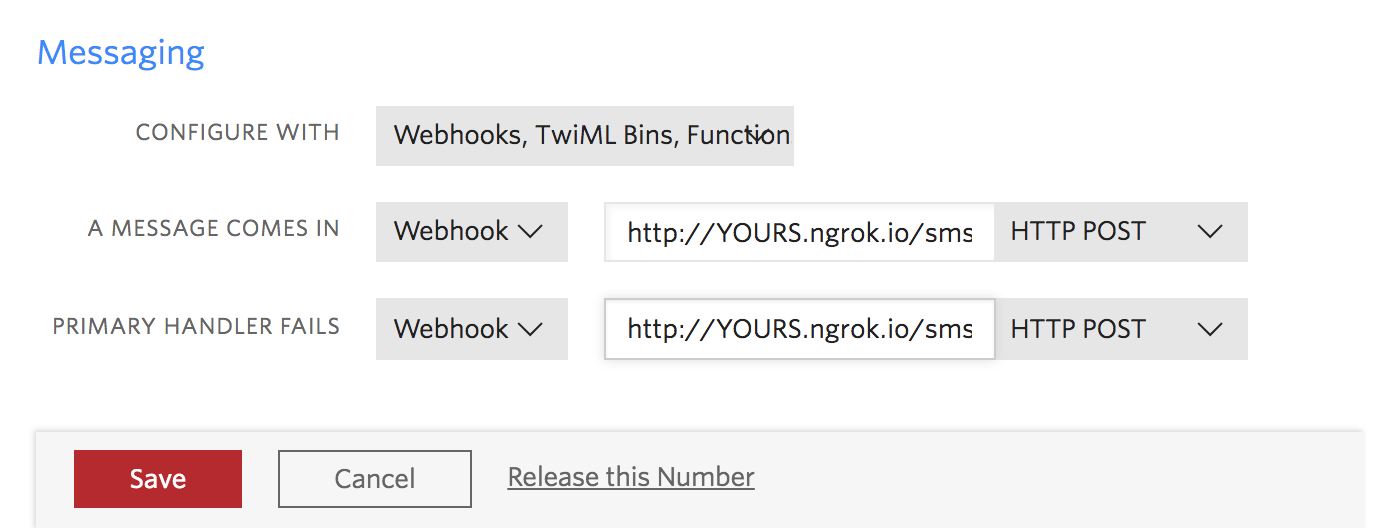
The important part is the “Configure With” button: make sure the “Webhooks, TwiML Bins, Functions, Studio, or Proxy” option is selected so you can fill in the Webhooks with the Ngrok link we set up before, making sure to add /sms so that it communicates with your Flask app correctly.
What’s Next
Once you save, you’re finished! To review, you created an app that uses the Trello API to retrieve your to-do list and send a random task via the Twilio SMS API. After setting it up with ngrok, you can now send text messages to your Twilio number and receive a response as follows:

Related Posts
Related Resources
Twilio Docs
From APIs to SDKs to sample apps
API reference documentation, SDKs, helper libraries, quickstarts, and tutorials for your language and platform.
Resource Center
The latest ebooks, industry reports, and webinars
Learn from customer engagement experts to improve your own communication.
Ahoy
Twilio's developer community hub
Best practices, code samples, and inspiration to build communications and digital engagement experiences.


