Generate Images with DALLE 2 and Twilio SMS using Python
Time to read: 3 minutes
Art has the power to inspire and evoke emotions, but what if I told you that you can now generate unique pieces of art with just a simple text message? With DALL·E 2 and Twilio SMS, combined with the power of Python, the possibilities are endless. In this blog post, you will explore how to harness these technologies to create images at your fingertips with text prompts.
Prerequisites
You'll need the following things in this tutorial:
- A free Twilio account
- A Twilio phone number with SMS/MMS capabilities.
- Python 3.9 (newer and older versions may work too)
- A code editor or IDE (Recommended: Visual Studio Code)
- A free OpenAI account
- ngrok (A free ngrok account is sufficient for this tutorial)
DALL·E, is a machine learning model that uses GPT-3 to generate realistic images from a description. In April 2022, DALL·E 2, was announced, which is the latest iteration of the system.
To use DALL·E in your app today, you will utilize OpenAI's DALL·E API, which automatically uses the latest version of DALL·E 2, for which you will need an OpenAI API Key.
Get Started with OpenAI
To be able to use the OpenAI API, you will need an API key and some credits. When you sign up, OpenAI gives you free credits.
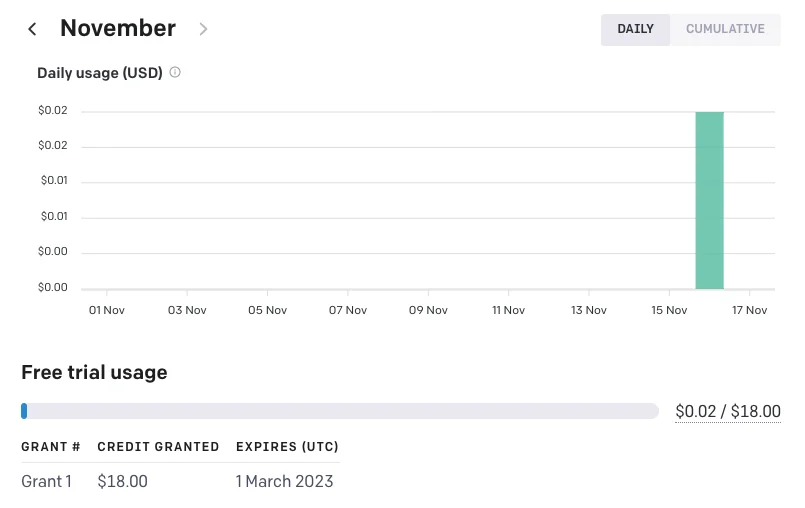
You get quite a lot of credits ($18) considering 1 image generation costs $0.02. There are even cheaper options depending on the image size and generation model.
After making an OpenAI account, click on the API tab in the navbar. You can get an OpenAI API Key here by clicking on + Create new secret key.
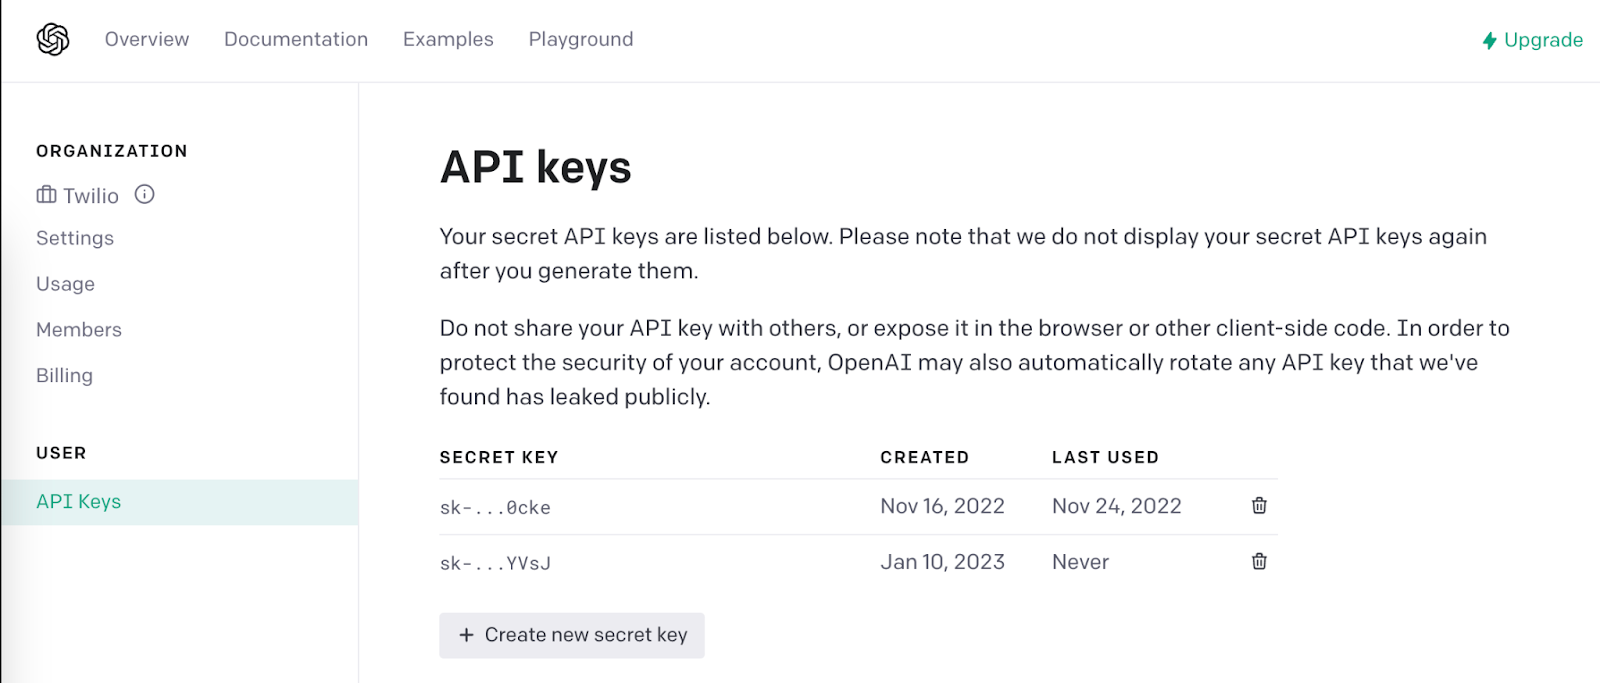
Save that API key for later to use the OpenAI client library in your Python app.
Project Implementation
You must create a new project directory and virtual environment because you will need to install several Python packages for this project.
If you're using a Mac or Unix system, open a terminal and enter the following commands:
If you're following this tutorial on Windows, enter the following commands in a command prompt window:
And now you will use pip, the python package installer, to install the four packages that you are going to use in this project, which are:
- Twilio Python Library
- Open AI Python Library
- Flask
- Python-dotenv package
Now that you have installed all the packages and dependencies, let’s configure the authentication to OpenAIs API by using the python-dotenv package to store your API key.
Create a .env file in your project’s root directory and enter the following line of text, making sure to replace <OPENAI_API_KEY> with your actual key:
The Python application will need to have access to this key, and that’s where the python-dotenv comes into play. The python-dotenv package will import this key as an environment variable.
Let’s write some code now!
Inside your project’s root directory, make a new file called app.py.
To start, add the following Python code to app.py, which imports the required modules and also sets the OpenAI API key from the .env file you created earlier.
Directly beneath the imports, add the following code:
Inside of the /sms webhook, this code creates a variable inb_msg from the inbound text message users will text in and prints it out. It then calls the openai.Image.create method to use one of their models to generate an image based on the prompt read from inb_msg. The next couple of lines contain some of the parameters that you can pass to this method, like size="1024x1024" and n=1.
You can learn more about additional parameters from the OpenAI documentation.
Also, you can find the complete app on my GitHub here.
Now it's time to test what you have created!
Run the Python Flask app by running the following command:
Configure the Flask app with a Twilio Phone Number
Your Flask app is running on the localhost on port 5000. In order to make this accessible over the internet, you will use ngrok.
Run ngrok http 5000 in a new terminal tab.
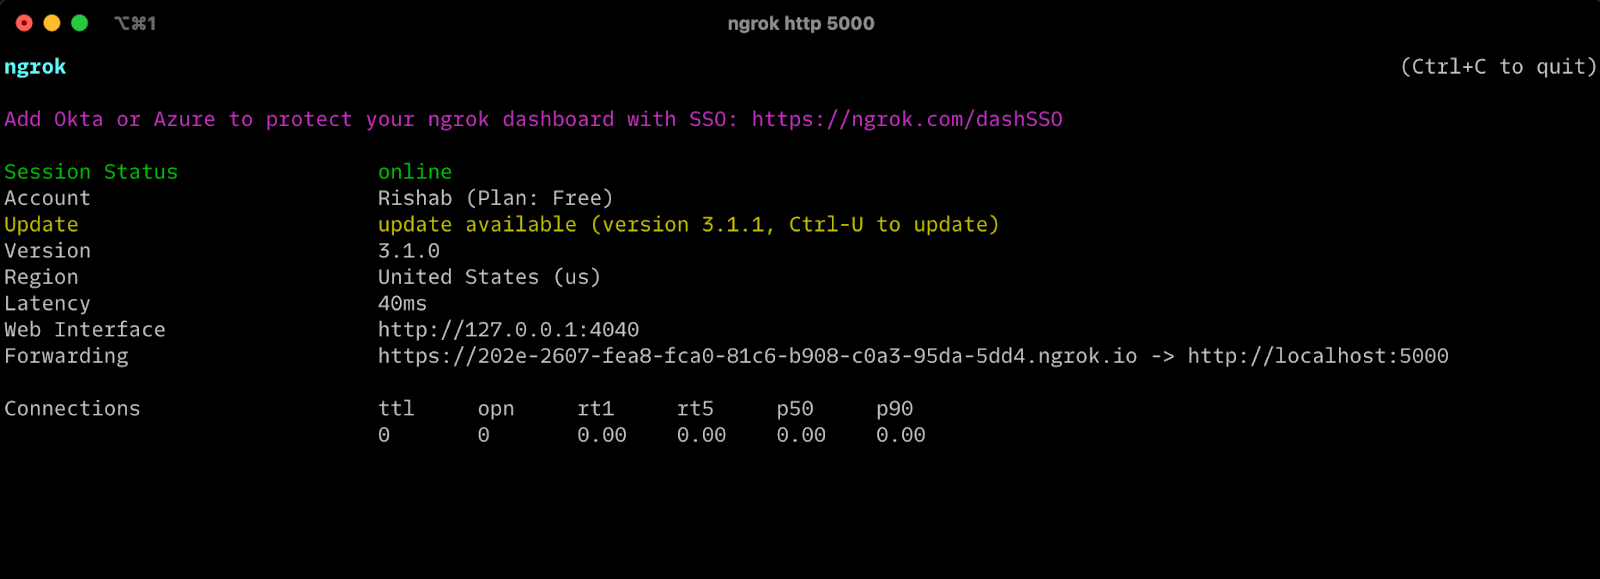
Now, make a note of the Forwarding URL provided by ngrok, you will use this to configure webhooks on your Twilio number.
To configure your Twilio number: go into the Twilio Console and then Phone Numbers → Manage → Active Numbers and click on the number you want to configure, and scroll down to the Messaging section. Paste the ngrok forwarding URL into the text field for A MESSAGE COMES IN webhook, and make sure that the HTTP method is set to HTTP POST. It should look like this:
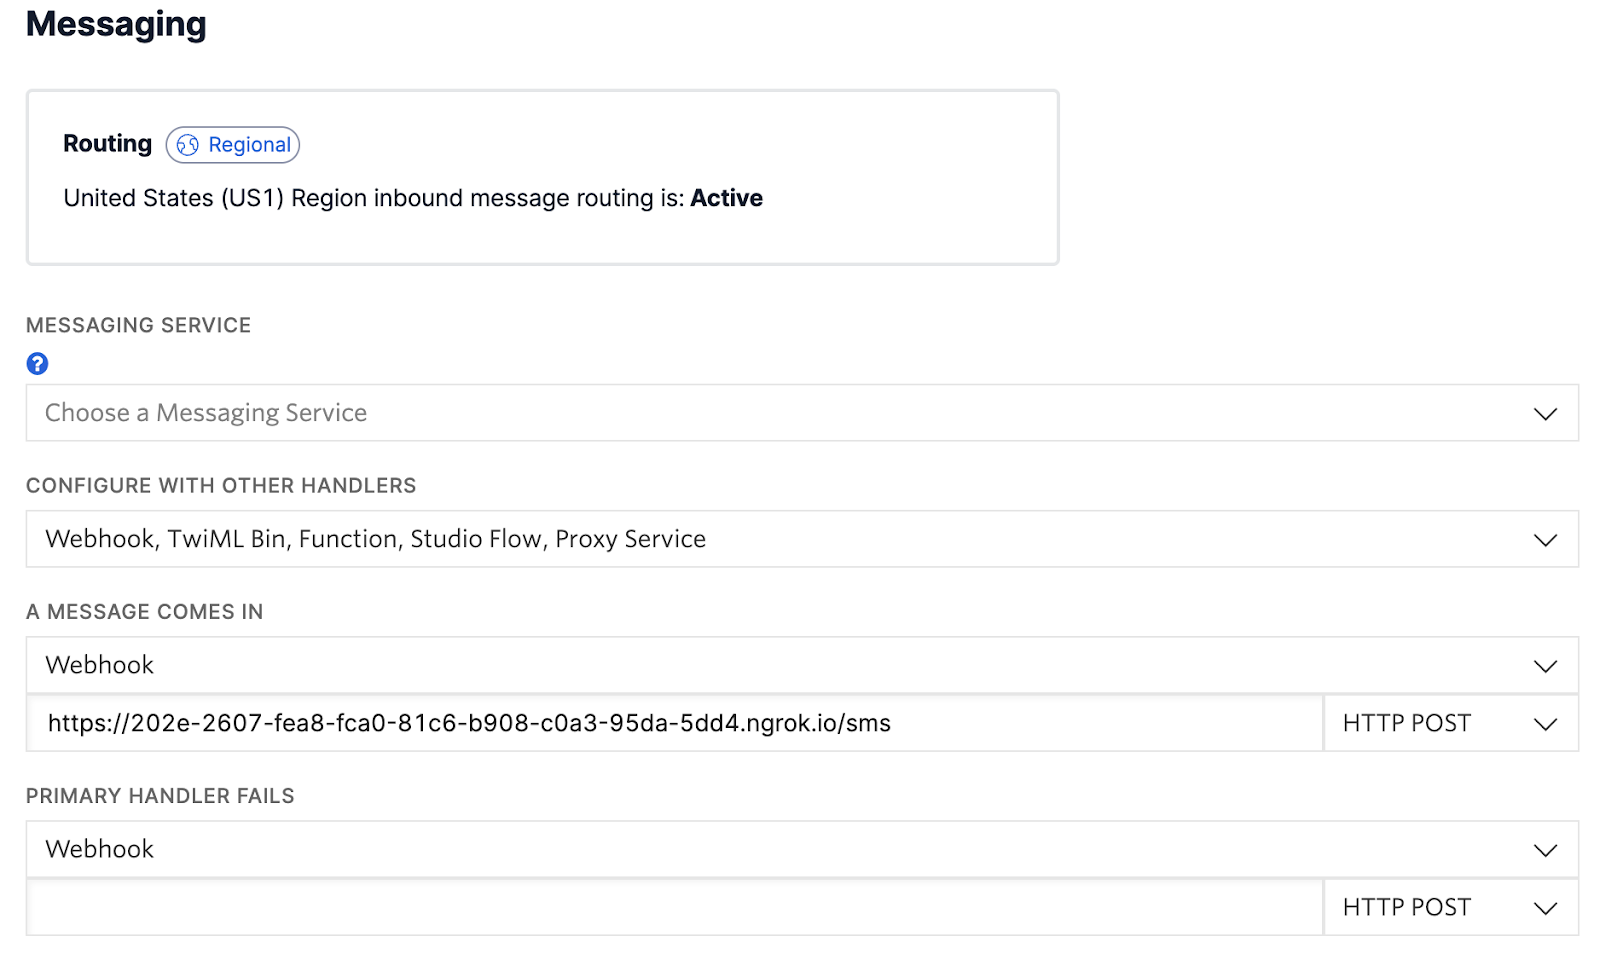
Finally, click Save.
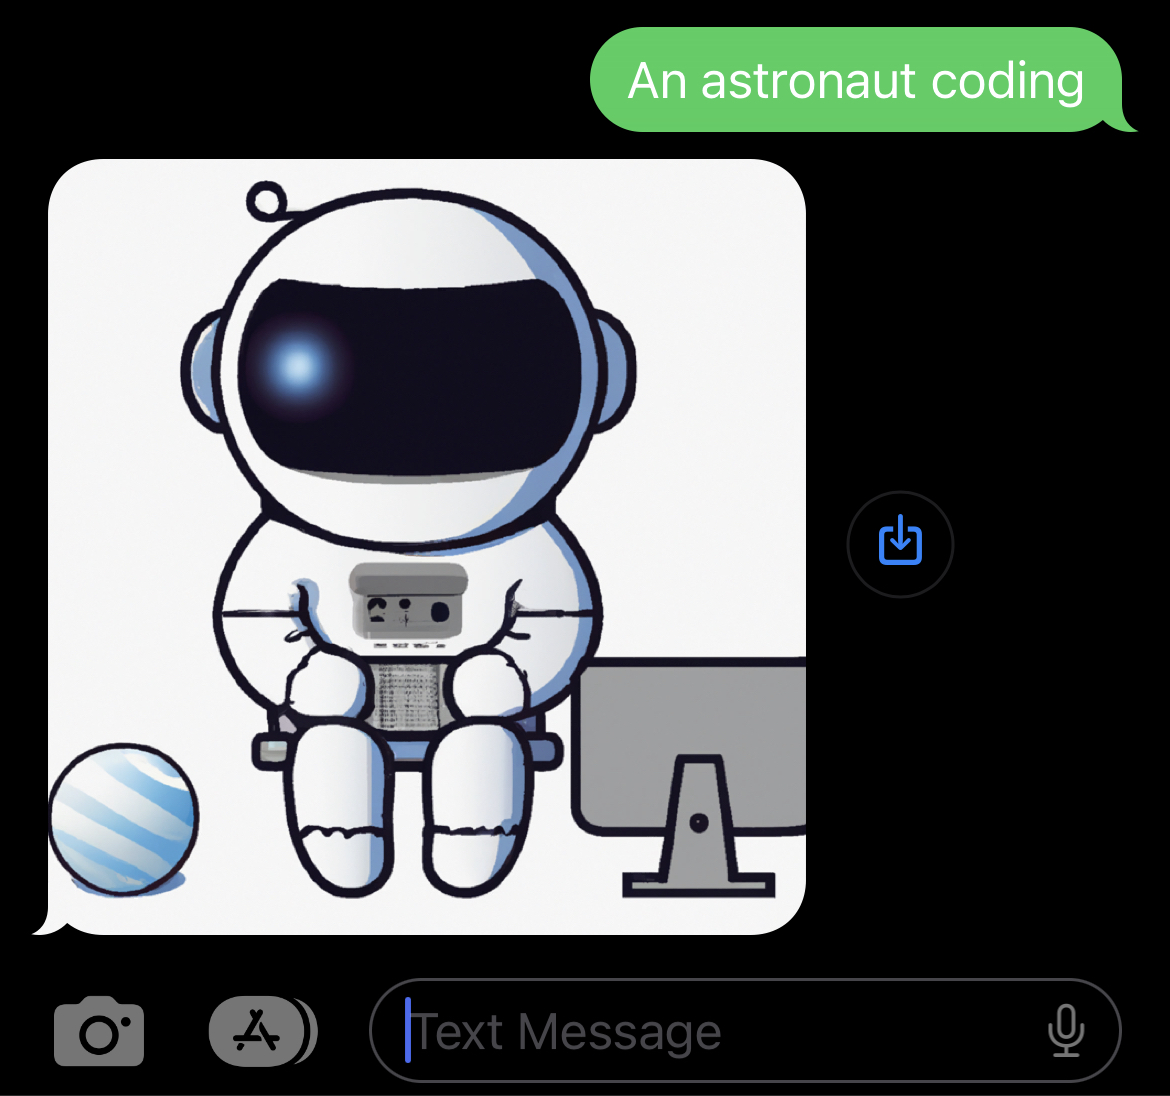
Now, text your Twilio number to generate an image for “An Astronaut coding”. You should receive an MMS response with an image generated by DALL·E 2.
More with Twilio and AI
The development possibilities offered by ChatGPT and Twilio are endless! You can Generate images with DALL·E using .NET, Get summarized audio of an image, Generate Art with DALL·E 2 and Twilio Serverless via SMS and more. Let me know what you're working on with OpenAI or Python–I can't wait to see what you build.
Rishab Kumar is a Developer Evangelist at Twilio and a cloud enthusiast. Get in touch with Rishab on Twitter [at]rishabk7 and follow his personal blog on cloud, DevOps, and DevRel adventures at blog.rishabkumar.com
Related Posts
Related Resources
Twilio Docs
From APIs to SDKs to sample apps
API reference documentation, SDKs, helper libraries, quickstarts, and tutorials for your language and platform.
Resource Center
The latest ebooks, industry reports, and webinars
Learn from customer engagement experts to improve your own communication.
Ahoy
Twilio's developer community hub
Best practices, code samples, and inspiration to build communications and digital engagement experiences.

