Collect Survey Responses with Twilio Voice, Airtable and OpenAI

August 28, 2024
Written by
Eluda Laaroussi
Contributor
Opinions expressed by Twilio contributors are their own
Reviewed by

Collect Survey Responses with Twilio Programmable Voice, Airtable and OpenAI

In today's digital landscape, the convergence of communication and data management tools provides a powerful avenue for enhancing user interactions and data collection. This technical article is your gateway to a project centered around the creation of engaging phone surveys. We'll achieve this by combining the capabilities of Twilio Programmable Voice and the Airtable API.

Diagram showing a phone call process using Twilio API and PSTN with labeled steps and a parent leg cost.

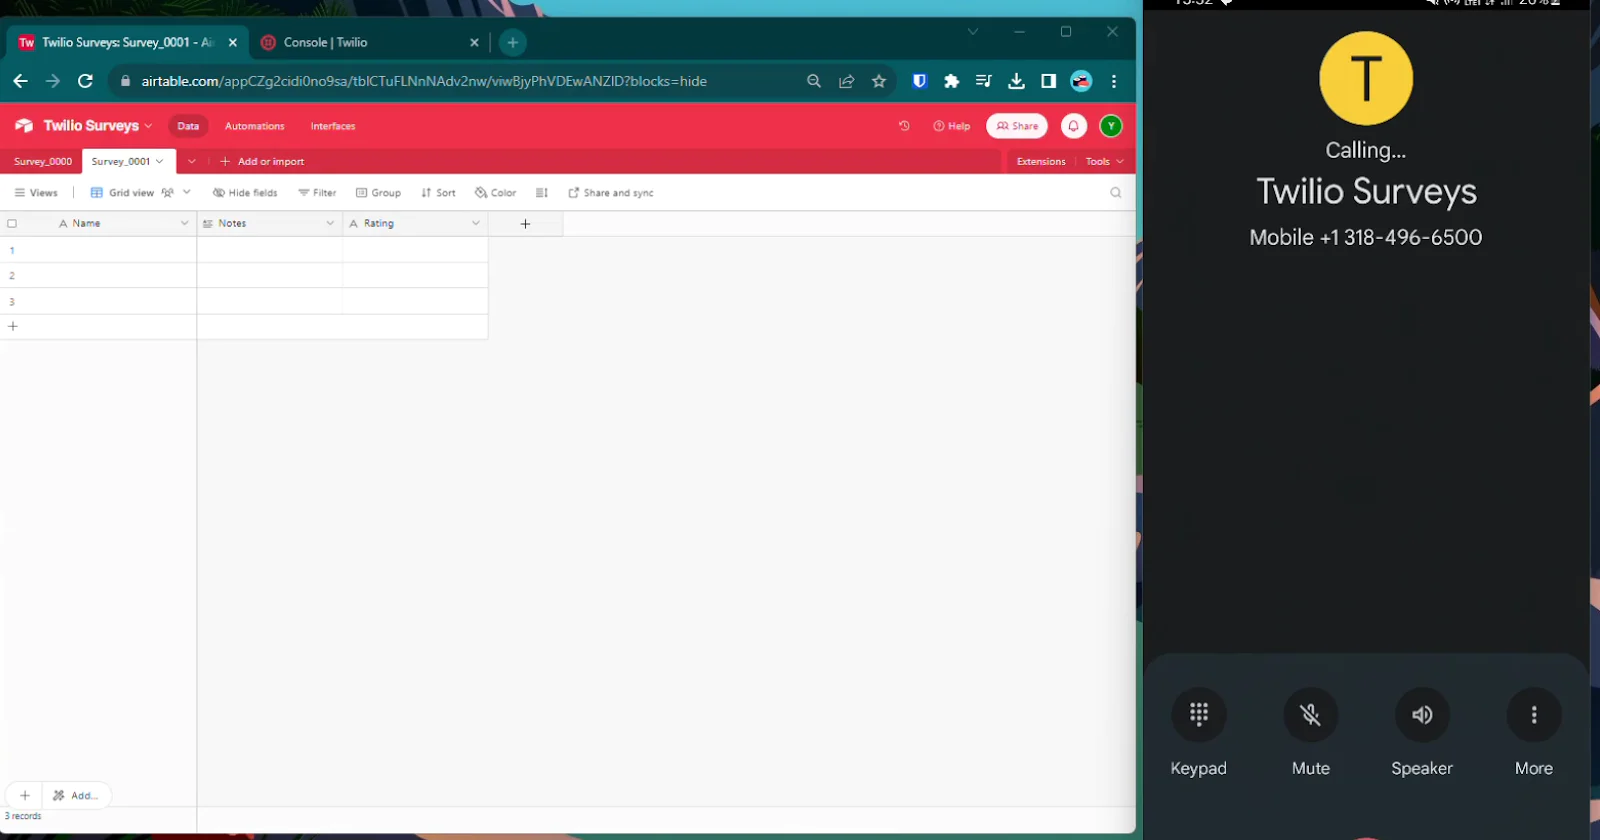
This application handles incoming calls from users who dial in to participate in surveys. After receiving a call, the system prompts the user to choose a survey, retrieves relevant details from Airtable, and then guides them through a series of questions. The responses are recorded and automatically added as a new row in an Airtable document.

Prerequisites

Before delving into the tutorial, it's essential to ensure that certain prerequisites are in place:

Refer to the GitHub Repository for the final code.

Setting up the server

To initiate your project, follow these commands in your terminal:

mkdir twilio-voice-airtable
cd twilio-voice-airtable
npm init -y
npm install express

This sequence of commands creates a new directory for the project, initializes a Node.js project, and installs the necessary dependencies for a basic Express server. Following this, a new file, index.js, is created with the boilerplate code for a basic server:

const express = require("express");
const app = express();
const port = process.env.PORT || 3000;
// Start the server
app.listen(port, () => {
  console.log(`Server is running on port ${port}`);
});
Result of running npm run dev

Start your server with the command node ./index.js or use nodemon for automatic restarts.

npm install --save-dev nodemon

Add the following script to your package.json:

{
  "scripts": {
    "dev": "nodemon . localhost 3000"
  }
}

Run it from your terminal:

npm run dev

Handling incoming calls

When a user calls your Twilio phone number, a webhook should call your server with necessary logic. Expose your app using ngrok for development:

Result of running ngrok http 3000
ngrok http 3000
Twilio Dashboard, highlighting the active numbers page and the webhook URL

Copy the forwarding URL and paste it into your Twilio dashboard under Phone Numbers > Manage > Active Numbers > your_number > Configure > Voice Configuration > A call comes in > paste_your_url + /voice.

Make sure to select the HTTP POST option.

Let’s implement this POST endpoint /voice to handle incoming calls. And while you can manually write TwiML code, which is a subset of XML, it’s much more delightful to use Twilio’s node package:

npm install twilio

Import the package, create an instance of twiml.VoiceResponse, and use it to define the desired response:

const twilio = require("twilio");
// Handle incoming call
app.post("/voice", (req, res) => {
  const twiml = new twilio.twiml.VoiceResponse();
  twiml
    .gather({
      input: "dtmf",
      numDigits: 4, // Or as needed for your survey ID
      action: "/handle-survey-id",
    })
    .say("Please enter the survey ID.");
  res.type("text/xml");
  res.send(twiml.toString());
});

When a user calls, Twilio will prompt them to enter a four-digit code using DTMF (Dual-Tone Multi-Frequency) input. Let's explain the <Gather> function, which collects user input during a call:

  • <Gather>: This TwiML verb allows you to collect digits or speech from the caller. In this case, it's set up to collect a four-digit code using DTMF input.

The action attribute specifies the endpoint where Twilio will send the collected input for further processing.

Result of running curl on the /voice endpoint

Try this out! In your console, use curl to make a POST request to the /voice URL:

curl -X POST http://localhost:3000/voice

Processing gather digits

After the user inputs four digits, Twilio calls the /handle-survey-id URL, providing you with the digits in the request’s body.

// Body Parser Middleware
app.use(express.json());
app.use(express.urlencoded({ extended: false }));

These lines of code configure Express to parse the request body as JSON and handle URL-encoded data.

// Handle survey ID input
app.post("/handle-survey-id", async (req, res) => {
  const surveyId = req.body.Digits; // Assuming DTMF input
  const tableName = `Survey_${surveyId}`;
  console.log(tableName);
});

We’ll now attempt to create a new record in this table. If it fails, then the table doesn’t exist and the survey ID is invalid, in which case we should inform the user and end the call.

// Create a new response in Airtable with the survey ID
table.create({}, async (err, record) => {
  if (err) {
    twiml.say("Sorry, survey does not exist.");
    res.type("text/xml");
    return res.send(twiml.toString());
  }
  const responseId = record.getId();
  // TODO: (will implement in next paragraph)
  res.type("text/xml");
  res.send(twiml.toString());
});

If the record is successfully created, then we should begin the flow of asking the user to fill out each field of that row. You can do that by redirecting the user to another URL, which we’ll implement in the next section:

// Replace last TODO with this:
twiml.redirect(
  {
    method: "POST",
  },
  `/handle-response/${tableName}/${responseId}`
);

Using speech recognition to fill out the form’s fields

Using Airtable’s Metadata API, you can gather all tables that are in your database, find the survey in question, and return the field names:

// Note: we’ll define airtableApiKey and airtableBaseId in the next section of this article
async function getTableFieldNames(tableName) {
  const headers = {
    Authorization: `Bearer ${airtableApiKey}`,
  };
  try {
    const response = await axios.get(
      `https://api.airtable.com/v0/meta/bases/${airtableBaseId}/tables`,
      {
        headers,
      }
    );
    if (response.status !== 200) {
      throw new Error("Failed to fetch base schema");
    }
    const tables = response.data.tables;
    const table = tables.find((table) => table.name === tableName);
    if (!table) {
      throw new Error(`Table "${tableName}" not found.`);
    }
    const fieldNames = table.fields.map((field) => field.name);
    return fieldNames;
  } catch (error) {
    throw error;
  }
}

Similar to gathering the survey ID using the dtmf input format, you can use the speech format to tell Twilio that it should gather the user’s speech, transcribe it, and feed it back to your server:

// Handle field responses
app.post("/handle-response/:tableName/:responseId", async (req, res) => {
  const fields = await getTableFieldNames(tableName);
  if (fields.length === 0) {
    // No fields to gather, end the call
    twiml.say("No fields to gather. Thank you. Goodbye.");
    res.type("text/xml");
    res.send(twiml.toString());
    return;
  }
  const field = fields[0];
  twiml
    .gather({
      input: "speech",
      action: `/handle-response/${tableName}/${responseId}`,
    })
    .say(`Please enter the value for the field ${field}.`);
  res.type("text/xml");
  res.send(twiml.toString());
});
There’s an optional parameter that we’re not mentioning, timeout, that is set to five seconds by default. Twilio will guess that the user finished saying their input if they stay silent for the duration of this timeout.

This will immediately end the call if there are no fields in the current survey. Otherwise, it will ask the user to fill out the first column, and then redirect back to the same URL.

To keep this flow running, meaning that after processing the first field, it asks for the next one until there are none left, we can use a Query parameter, call it remainingFields, and keep truncating it until there are no fields left.

app.post("/handle-response/:tableName/:responseId", async (req, res) => {
  const responseId = req.params.responseId;
  const tableName = req.params.tableName;
  let remainingFields = req.query.remainingFields
    ? JSON.parse(req.query.remainingFields)
    : null;
  const twiml = new twilio.twiml.VoiceResponse();
  if (!remainingFields) {
    // Fetch all field names from getTableFieldNames() when remainingFields is null or undefined
    const fields = await getTableFieldNames(tableName);
    if (fields.length === 0) {
      // No fields to gather, end the call
      twiml.say("No fields to gather. Thank you. Goodbye.");
      res.type("text/xml");
      res.send(twiml.toString());
      return;
    }
    remainingFields = fields;
  }
  if (remainingFields.length === 0) {
    // All fields have been gathered
    twiml.say("Thank you for providing your responses. Goodbye.");
    res.type("text/xml");
    res.send(twiml.toString());
    return;
  }
  const field = remainingFields[0];
  twiml
    .gather({
      input: "speech",
      action: `/handle-response/${tableName}/${responseId}?remainingFields=${encodeURIComponent(
        JSON.stringify(remainingFields.slice(1))
      )}`,
    })
    .say(`Please enter the value for the field ${field}.`);
  res.type("text/xml");
  res.send(twiml.toString());
});
After the user inputs the survey ID, we call /handle-response without mentioning remainingFields, meaning that it is null. In this case, it’s the first time that this URL is being called and we know that we should fetch the table fields (only once). Note that this is different from an empty array [], which will signify that we processed all fields in this survey and it is time to end the call.
Airtable console page after clicking on "Create a base", showing the Start from Scratch option.

After creating your Airtable account, create a new base, select "Start from Scratch", and name it whatever you want. You can then call the first table Survey_0000 because that’s the format that your application expects: Survey_{ID}.

Airtable developer page, highlighting the newly created base

After that, you should head to the Airtable developers page, find your base, and open its API documentation. It will redirect you to a URL that follows this format:

https://airtable.com/appXXXXXXXXX/api/docs

Copy the code between the hostname and the /api path: appXXXXXXXXXX. This is your base ID.

Airtable API page to create a PAT key, with the correct scopes selected

After that, head over to the API access page and create a new personal access token. You can call it whatever you want, but you should grant it the following scopes:

- data.records:read

- data.records:write

- schema.bases:read

This will allow your application to read and write the Survey table and fetch metadata, which we’ll be using at the end of this guide.

Now, create a .env file at the root of your project, and paste your personal access token and base ID into the AIRTABLE_KEY and AIRTABLE_BASE_ID variables:

AIRTABLE_KEY=paste_your_key_here
AIRTABLE_BASE_ID=paste_your_base_id_here

And to use your keys in the application, install the dotenv module, which loads the .env file. This is also the time to download the airtable Node module:

npm install dotenv airtable

And finally configure your app to use Airtable:

require('dotenv').config();
const Airtable = require("airtable");
// Configure Airtable
const airtableApiKey = process.env.AIRTABLE_KEY;
const airtableBaseId = process.env.AIRTABLE_BASE_ID;
const airtable = new Airtable({ apiKey: airtableApiKey });
const base = airtable.base(airtableBaseId);
Even though it says apiKey, this module also accepts PATs.

Saving the responses to Airtable

After the user fills out the first field, meaning the second time /handle-response is being called, which again means that the remainingFields Query param is not null, we should grab the user’s response and push it to the table’s data.

For speech inputs, this is encoded in the request body as SpeechResult.

There’s also a Confidence parameter that scores the transcription’s accuracy, but we won’t be using it in this application.

if (!remainingFields) {
  // same code here
} else {
  const fieldName = remainingFields[0];
  const fieldValue = req.body.SpeechResult;
  const table = base(tableName);
  await new Promise((resolve) => table.update(responseId, { [fieldName]: fieldValue }, (err, record) => resolve()));
  // slice off first field that we just consumed
  remainingFields.shift();
}
// Also change this line (remove slice)
twiml
  .gather({
    input: "dtmf",
    numDigits: 1,
    action: `/handle-response/${tableName}/${responseId}?remainingFields=${encodeURIComponent(
      JSON.stringify(remainingFields)
    )}`,
  })
  .say(`Please enter the value for the field ${field}.`);

Spicing it up: Using ChatGPT to communicate with user, and parse responses

Our Twilio app, as it stands, sounds a bit robotic, consistently prompting users with the same line: "Please enter the value for field X." While efficient, real surveys are conducted with a human touch for better communication. Fortunately, leveraging Large Language Models (LLMs), such as ChatGPT, enables our automated survey app to mimic human-like interactions.

Moreover, we can enhance our system by not merely copying the user's exact response into our Airtable database. Instead, we can process responses as natural language, extracting precisely what we need for a production-ready table.

Generating humanized prompts

To infuse a human touch into our automated prompts, let's extract additional information from the database, specifically its schema. We'll feed this information to GPT-4 to help it communicate business goals more effectively.

Begin by installing axios, as the Airtable node module doesn't implement the Metadata API. Use the following command:

npm install axios

Now, add the following code to your project:

const axios = require("axios");
// Replace the last function with this one:
async function getTableFieldNames(tableName) {
  const headers = {
    Authorization: `Bearer ${airtableApiKey}`,
  };
  try {
    const response = await axios.get(
      `https://api.airtable.com/v0/meta/bases/${airtableBaseId}/tables`,
      {
        headers,
      }
    );
    if (response.status !== 200) {
      throw new Error("Failed to fetch base schema");
    }
    const tables = response.data.tables;
    const table = tables.find((table) => table.name === tableName);
    if (!table) {
      throw new Error(`Table "${tableName}" not found.`);
    }
    const fieldNames = table.fields.map((field) => field.name);
    return { fieldNames, schema: table };
  } catch (error) {
    throw error;
  }
}

This function, getTableFieldNames, fetches the schema of the specified table from Airtable and extracts the field names.

To humanize our prompts further, we want our app to react to previous responses, saying things like "Great response." To achieve this, save the last responses in a query parameter:

// Get last responses for context
const lastResponses = req.query.lastResponses
  ? JSON.parse(req.query.lastResponses)
  : [];
twiml
  .gather({
    input: "speech",
    action: `/handle-response/${tableName}/${responseId}?remainingFields=${encodeURIComponent(
      JSON.stringify(remainingFields)
    )}&lastResponses=${encodeURIComponent(
      JSON.stringify(
        fieldValue ? [...lastResponses, fieldValue] : lastResponses
      )
    )}`,
  })
  // Rest of the code...

Now, when prompting the user, you can reference previous responses for a more context-aware interaction.

Setting up OpenAI for dynamic prompts

To introduce dynamic prompts using ChatGPT, install the openai package:

npm install openai

Configure OpenAI by importing the package and authenticating with your API key (store it in the .env file as OPENAI_KEY):

// Configure OpenAI
const { OpenAIApi } = require("openai");
const openai = new OpenAIApi({
  apiKey: process.env.OPENAI_KEY,
});

Now, utilize the following prompt template to generate a dynamic response:

// Generate prompt
const chatCompletion = await openai.chatCompletion.create({
  messages: [
    {
      role: "system",
      content: "You are a surveyor. Your job is to ask questions to people.",
    },
    {
      role: "system",
      content: `Last responses: ${lastResponses.join(", ")}`,
    },
    {
      role: "system",
      content: `Form Schema: ${formSchema}`,
    },
    {
      role: "system",
      content: `Current field that you must fill in the form: ${field}`,
    },
    {
      role: "assistant",
      content: `
        For example, if the field is "name," and there are no last responses, say: "Please, what is your name?"
        If there are last responses, react to the last one: "Great answer!" then transition to the current question "What is your age?"
        If there are NO (0) last responses, introduce yourself before asking the question.
        OTHERWISE, DO NOT INTRODUCE YOURSELF. ASK THE QUESTION DIRECTLY.
        If the ${field} form field has "options," list them out to the user one by one.
        Ask the user to give you the value, not a number corresponding to the value.
        ALWAYS REACT TO THE LAST RESPONSE (IF IT EXISTS), BEFORE ASKING A QUESTION.
        EXPLAIN THE EXPECTED FIELD (${field}) TYPE. PHONE NUMBER, EMAIL, TEXT, ETC...
        Short prompt to say to the user: `,
    },
  ],
  model: "gpt-4.0-turbo",
});
if (!chatCompletion || chatCompletion.error || chatCompletion.messages.length === 0) {
  // Handle the case where no response is generated.
  throw new Error("Failed to generate a response");
}
const message = chatCompletion.messages[0].content;

In this code, ChatGPT is given a user prompt with context about the surveyor's role and current form field. The generated response is then used to humanize the interaction with the user.

If the gpt-4 model fails, you can fallback to the gpt-3.5-turbo-0613 model.

Reading dynamic prompts to the user

Lastly, incorporate the generated dynamic prompt into your TwiML response to be read out to the user:

twiml
  .gather({
    input: "speech",
    action: `/handle-response/${tableName}/${responseId}?remainingFields=${encodeURIComponent(
      JSON.stringify(remainingFields)
    )}&lastResponses=${encodeURIComponent(
      JSON.stringify(
        fieldValue ? [...lastResponses, fieldValue] : lastResponses
      )
    )}`,
  })
  .say(message);
res.type("text/xml");
res.send(twiml.toString());

Now, when the user interacts with the system, they'll experience prompts that are not only context-aware but also dynamically generated, mimicking a more natural and engaging conversation.

Parsing user inputs using NLP

Users might provide responses in a conversational manner, such as saying, "My phone number is X." To extract the relevant information, we'll use ChatGPT with context about the table schema, the user's current response, and prompt it to extract the useful part:

// Get schema for AI context
const { schema: rawSchema } = await getTableFieldNames(tableName);
const formSchema = JSON.stringify(rawSchema, null, 2);
if (!remainingFields) {
  // Same code as before...
} else {
  const fieldName = remainingFields[0];
  // Extract response using AI
  const extractCompletion = await openai.chatCompletion.create({
    messages: [
      {
        role: "system",
        content: "Your job is to extract the value from the user's response to a form survey.",
      },
      {
        role: "system",
        content: "For example, if the user says 'My phone number is 01 23 45 67 89,' you should process it as '01 23 45 67 89.'",
      },
      {
        role: "system",
        content: "Sometimes, the user might input a digit, like 1. This should mean that they are selecting the second option in the list of options corresponding to the field.",
      },
      {
        role: "system",
        content: `Form Schema: ${formSchema}`,
      },
      {
        role: "system",
        content: `Current Field: ${fieldName}`,
      },
      {
        role: "system",
        content: `User Response: ${fieldValue}`,
      },
      {
        role: "assistant",
        content: "Extracted Information: ",
      },
      {
        role: "user",
        content: fieldValue,
      },
    ],
    model: "gpt-4.0-turbo",
  });
  if (!extractCompletion || extractCompletion.error || extractCompletion.messages.length === 0) {
    // Handle the case where extraction fails.
    throw new Error("Failed to extract information");
  }
  const extractedResponse = extractCompletion.messages[extractCompletion.messages.length - 1].content;
  fieldValue = extractedResponse;
  // Same code as before...
}

This code snippet integrates ChatGPT to extract useful information from user responses, ensuring that the system understands and captures the intended data.

Trying it out: real-world example

Let's set up an Airtable database for collecting user feedback about an imaginary game developed by a firm. The fields include:

  • Your name
  • Your phone number
  • Star rating: from one to five stars
  • Explanation: describe your feedback in words
  • Can we reach out to you? Yes or No

https://vimeo.com/884460342

Follow the instructions in the article to call your Twilio number, input the correct survey ID, and witness the magic unfold.

The system, with access to the table schema, intelligently describes possible values for the star rating field and maps sentences like "I give this game a five-star rating" to the string "5," aligning with our database structure.

Conclusion

In conclusion, our revamped Twilio-powered survey app now boasts a more engaging and human-like interaction, thanks to the integration of GPT-4. By employing dynamic prompts, our system responds contextually, creating a personalized user experience. The use of NLP enhances data extraction from user responses, contributing to a more seamless and efficient survey process. This integration showcases the potential of combining technologies to elevate automated interactions, emphasizing user engagement and adaptability.

Useful resources: