Build a No-Code Site with a Contact Form using Bubble.io and SendGrid
Time to read:
June 26, 2024
Written by
Reviewed by
Build a No-Code Site with a Contact Form using Bubble.io and SendGrid
Websites are crucial for any kind of business and it is very important to give customers a way to be able to reach out. It’s now easier than ever to build a fully functional website without writing any code through no code applications like Bubble.io. Bubble.io lets you build your website through drag and drop components and workflow actions that can help you build and deploy your website in much less time and cost. This tutorial guides you in creating a landing page with a contact form using Bubble.io and Twilio SendGrid.
Prerequisites
- A free Twilio SendGrid account
- A free bubble.io account
- A custom domain name for your application
Building the landing page on Bubble.io
After you create your account you will be able to start creating a new application. You can either create a new blank application or select a template to edit.
Templates are a great choice for applications that don’t need a lot of custom features, this would help you publish a polished application faster.
Create the application from a template
To select a template, you will need to click on the Templates link to the left of your bubble home page as shown below.

Then, click on the Explore templates button at the top right as shown below.

You will be able to explore all the available templates that you can use to build your application. There are free and paid templates and you can filter the templates’ search according to your needs. You will need to select the free filter and search for a “landing page” as shown below.

Select the template “Startly - Startup Landing Page” (or you can click here to get it) which will lead you to the template details and a Preview button. You will notice that the template has a landing page that contains a “Contact us” form which is what you need to build in your application.
Click on the Get Template button in the template details page as shown below.

Then, name your application as “Twilio contact demo”. After you save, you will see a popup that recommends the free trial of the Starter plan which you will need to be able to deploy your application and link your custom domain so click on Activate free trial.

Create Twilio SendGrid API key
Before you can start sending emails, there are a few more mandatory steps you’ll need to complete.
- Verifying your Email.
- Setting up 2-Factor Authentication.
- Verifying your sender email.
Once you’ve completed the above steps, you’ll need to create a new API Key . Keep this key somewhere safe as we’ll need it in the subsequent steps.
Integrate custom domain
In order to link your custom domain, click on Settings on the left tab, then click on Domain/email tab and add your domain name.

Then, you will get a popup to enter google maps key you can skip it and click Cancel.
It will also give you a list of DNS records that you need to add in your domain’s dashboard to verify that you own the domain. You can follow the bubble guidelines here.
After your domain is verified you will see the Email settings section enabled and you can now paste and verify your SendGrid API key.
You also need to click on the Verify SendGrid key button after you add your API key, so that the application will send an email using “From” email as: admin@your_custom_domain to make sure that SendGrid is configured correctly with your custom domain.

You will also need to configure the “From” email for your outgoing emails as shown below, it is by default using “admin”. You also need to check on the checkbox for redirecting all requests to the domain, so that when the user is sending an email to you through “Contact us” section, the “From” email needs to be the user’s email, not admin in this case.

Update the contact us workflow
The button's actions are handled via components called Workflows, which you can configure with a sequence of actions of what needs to be done when a button is clicked.
You can now get back to the design tab by clicking the Design on the left navigation.

Then scroll down to the contact section and double click the Send Message button then click on Edit Workflow as shown below.

It will take you to the workflows tab which contains all workflows for all the button clicks and will have the Send message workflow expanded showing the sequence of actions it will run when the user clicks the button.
Currently, the template already has the actions added so you will just need to configure how you will receive the email when a user tries to send a message and you will also add an action to send a confirmation email to the user that their message has been received.
Configure “To” email
Click on the Send email action as shown below.

Then, add your email to receive the “Contact us” messages as shown below.

Add a confirmation email action
Click on the button that says “ Click here to add an action” which will show a list of actions you can choose from as shown below.

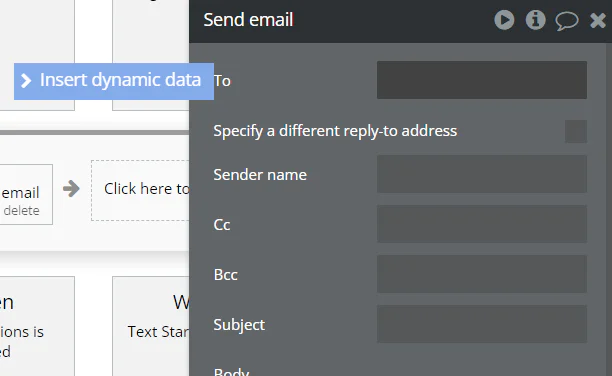
You can search for the “send email” action to send a confirmation email to the user. The configuration popup will show up then you need to configure the “To” email to be the user’s email by clicking on Insert dynamic data as shown below.
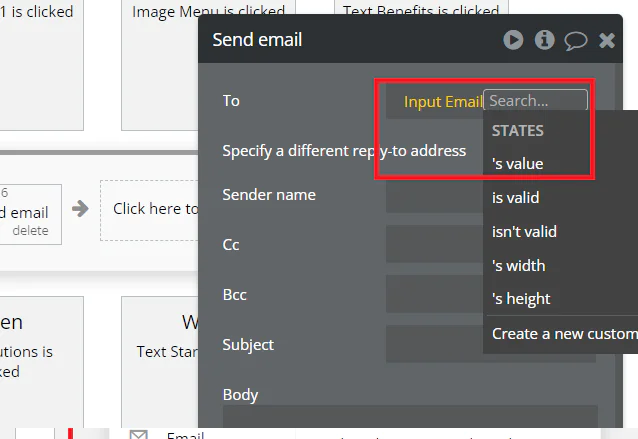
Then, add the “Input Email’s value” as shown below.
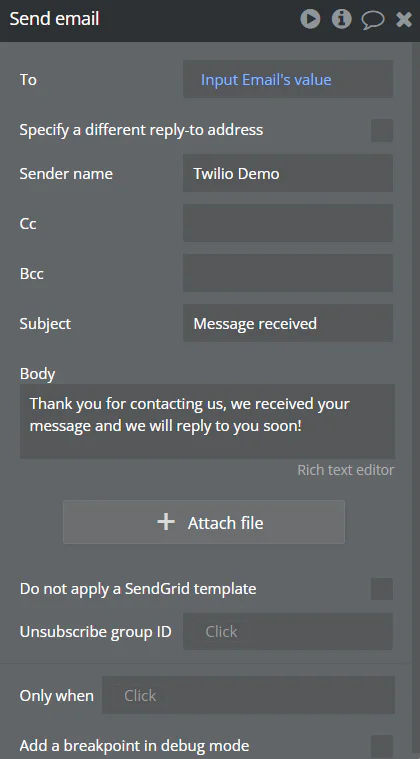
Then, add the message content as shown below.
Test and deploy
Now the application is ready. You can click on Preview on the top right to test that when a user sends a message, you will receive an email and the user will also receive a confirmation email.
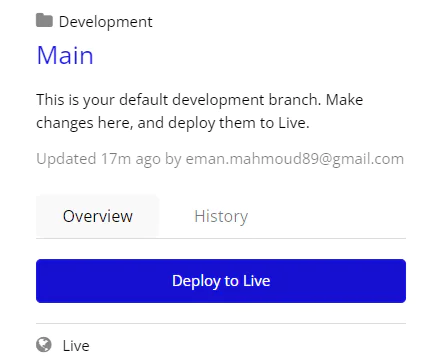
After the application is tested successfully, you can deploy the landing page to your custom domain by clicking on Main on top right then click on Deploy to live button.
More customization
It is important to note that you will need to customize the template’s content like descriptions, titles, etc. with your own content that is needed for your application. Most of the customizations are done the same way through a configuration popup when you click on the component you need to configure. More guidelines can be found here.
Conclusion
At the conclusion of this tutorial, you will have acquired the knowledge and practice of how to use no code application development to configure and build your applications and how to integrate Twilio SendGrid with your no code applications to manage and send your outgoing emails.
Eman Hassan, a dedicated software engineer, prioritizes innovation, cutting-edge technologies, leadership, and mentorship. She finds joy in both learning and sharing expertise with the community. Explore more on her profile: https://emhassan.medium.com/


Related Resources
Twilio Docs
From APIs to SDKs to sample apps
API reference documentation, SDKs, helper libraries, quickstarts, and tutorials for your language and platform.
Resource Center
The latest ebooks, industry reports, and webinars
Learn from customer engagement experts to improve your own communication.
Ahoy
Twilio's developer community hub
Best practices, code samples, and inspiration to build communications and digital engagement experiences.