Build app authentication with .NET Core, Auth0 and Twilio SendGrid
Time to read:
August 20, 2024
Written by
Reviewed by
Build app authentication with .NET, Auth0 and Twilio SendGrid
Introduction
Authentication is essential for almost every application, but it can feel complicated and overwhelming to implement securely. Luckily, tools like Auth0 make it easier by handling the authentication process for you. In this post, you'll learn how to create a .NET Core MVC web application with Auth0 authentication and Twilio SendGrid email notifications for user registration.
Prerequisites
In order to be successful in this tutorial, you will need the following:
Building the app
Open Visual Studio. Click on Create a new project, then search for asp.net core web app. Click on ASP.NET Core Web App (Model-View-Controller). If there are multiple matching projects, be sure you select the project using the C# code base.Click Next.

Add a name to your project and click Next. Select your .NET version, and set the Authentication type to None. Keep the rest of the defaults and click Create.

You will see the project created with a working MVC web app. If you try to run it, you will see a starting home page. You can learn more about MVC here.
Install Auth0 .NET SDK
In the top menu, click Tools > NuGet Package Manager > Manage NuGet Packages for Solution.

Using the search bar and the Browse tab, browse for Auth0.AspNetCore.Authentication. Install it to the project as shown below. A popup will show up to apply dependencies and accept licenses. Click Apply, then Accept, to proceed.

Configure Auth0 application
Log in to your account at auth0.com. From the Auth0 dashboard, go to Applications > Applications > Create Application. Choose a name for your application. Select Regular Web Applications and click Create.
Select the settings tab for your application and review the Domain, Client ID and Client Secret for the application. You will use these later to connect to the application from the MVC application in Visual Studio.

Then scroll down to the Application URIs section and add the following URLs to allow the connection between your localhost web app and the Auth0 application and authentication flow.
- Allowed Callback URLs:
https://localhost:7601/callback - Allowed Logout URLs:
https://localhost:7601/ - Allowed Web Origins:
https://localhost:7601
Be sure to click Save Changes before you continue.
Configure SendGrid in Auth0 Dashboard
Before you can start sending user registration emails to the users, there are a few more mandatory steps you’ll need to complete in your SendGrid account:
Once you’ve completed the above steps, you’ll need to create a new API Key. Keep this key somewhere safe as you will need it in the Auth0 dashboard.
Go to Auth0 dashboard and in the left navigation, click Branding > Email Provider. Then, make sure you enable the option to Use my own email provider. Choose SendGrid from the providers list as shown below.

Scroll down the page and you will be able to add your SendGrid API key and your SendGrid verified from email.

Configure your MVC application
Go back to Visual Studio and open the appsettings.json file. Replace the code in that file with the code below. Replace the placeholder values with the corresponding Domain, Client ID and Client Secret from your Auth0.
Open the program.cs file, and replace the code in the file with the following code. This includes adding the function AddAuth0WebAppAuthentication, which is responsible for loading Auth0 with your Auth0 application credentials.
Create login and logout actions
Right click the Controllers folder, then click Add > Controller. Select MVC Controller - Empty and click Add.

Name your controller as AccountController.cs. Replace the following code in your controller:
Now you need to add Login/Logout links to your MVC application’s layout header. Go to the Viewsfolder then click on Shared, then open _Layout.cshtml . Replace the code in this file with the following code to include the nav items for Login and Logout.
Run the application
Now your application has authentication configured. You can run the application in Visual Studio by clicking on the run button on the top toolbar as shown below.

A console window will appear with the localhost url the application is running on. Make sure to revise it and match it with the URLs you have configured in Auth0.

Then browse to the localhost URL and you will see the web app showing up as shown below. You can then click Login.

The login action will redirect you to the Auth0 generated login page. Here, you can register as a new user and login to the app.

When signup and login are successful, it will redirect back to your application. When you are already logged in, the Login button will now show as Logout as shown below.

You can then secure any action page in the controllers of the MVC app with the annotation [Authorize] above the function if you want to have a page accessible to only logged in users.
Navigate registered users on Auth0
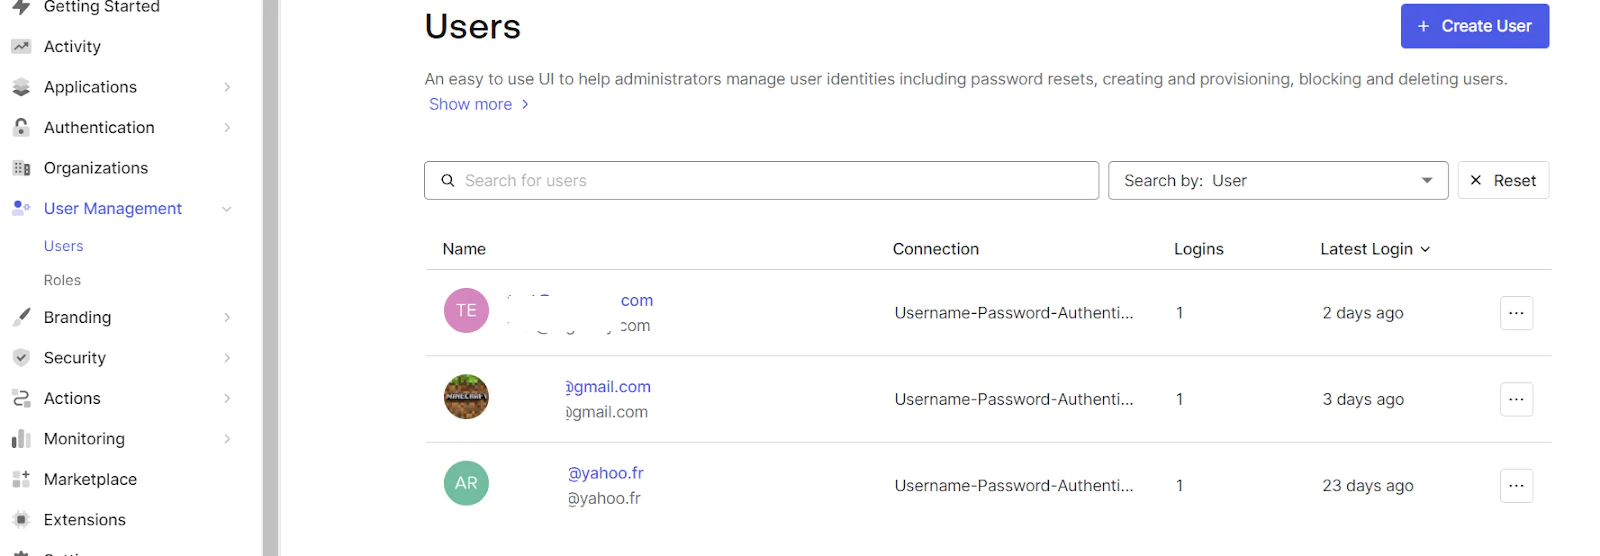
To see all your registered users, go back to the Auth0 dashboard and click on User Management > Users. From here,you will be able to see the list of all users registered to your application.
Registered users will have a welcome email sent to their inbox with Auth0’s default template.
Customize your Auth0 Application
It is a good idea to extend your application through customization. You can start on Auth0’s login page by adding your logo. Customize how it looks by clicking on Branding > Universal login in the left navigation bar in the Auth0 dashboard. When you are ready to publish your application to a custom domain, you will be able to have the login page tied to your custom domain through the configuration in Branding > Custom domains.
What's next for Auth0 Applications?
At the conclusion of this tutorial, you will have acquired the skill sets to set up and utilize Twilio SendGrid APIs, and to create, configure and run ASP.NET Core MVC web applications with Auth0 authentication.
For more advanced customization for your Auth0 application, like implementing certain login or user registration events, you can explore Auth0 Actions. Actions can allow you to customize the authentication flow according to your application’s needs.
You can find the full code for this tutorial here.
Eman Hassan, a dedicated software engineer, prioritizes innovation, cutting-edge technologies, leadership, and mentorship. She finds joy in both learning and sharing expertise with the community. Explore more on her Medium profile: https://emhassan.medium.com/ .


Related Resources
Twilio Docs
From APIs to SDKs to sample apps
API reference documentation, SDKs, helper libraries, quickstarts, and tutorials for your language and platform.
Resource Center
The latest ebooks, industry reports, and webinars
Learn from customer engagement experts to improve your own communication.
Ahoy
Twilio's developer community hub
Best practices, code samples, and inspiration to build communications and digital engagement experiences.