How to Handle Routing in Angular Single Page Applications (SPAs) with JavaScript and Node.js
Time to read:
This post is part of Twilio’s archive and may contain outdated information. We’re always building something new, so be sure to check out our latest posts for the most up-to-date insights.

Routing is an essential concept in Single Page Applications (SPA). When your application is divided into separated logical sections, and all of them are under their own URL, your users can easily share links among each other.
In my previous post, Building an App from Scratch with Angular and Webpack, I covered how to start working with Angular and Webpack. Today we will take a closer look at implementing more components and navigating between them.
In this post we will:
- Navigate between components.
- Use path and query parameters.
- Prefetch data with resolvers.
- Create lazy loaded modules.
To accomplish these tasks, make sure you:
- Install Node.js and npm (at the time of writing I am using Node.js v8.5.0 and npm 5.3.0),
- Are familiar with the knowledge covered in Building an App from Scratch with Angular and Webpack.
Creating Components
As a codebase, we will use the code from the previous Angular and Webpack blog post. Clone it and install the dependencies by running:
Right now our application is fairly limited with just one page. Let’s add more components to it:
Now we need also install @angular/router which we will be playing around with today.
Okay, we have a lot of new files. We should walk through them and modify them. We will start by modifying an entry point of the application – src/app/app.component.ts:
Next, we need to create one of the new components – the HomeComponent. It will be displayed as a “welcome message” when our user navigates to the main page of our app. Place the following code into src/app/home/home.component.ts:
Now we will create a second component – ListComponent. Here, the user will be able to see a list of posts from https://jsonplaceholder.typicode.com/posts. Update src/app/posts/list.component.ts to contain:
Place the following code into src/app/posts/list.component.html:
Now we need to create a method used in ListComponent – echoService.getPosts();. This method will be returning an IPost type, so let’s create it first. Place this code in src/app/model/ipost.ts:
And this code in src/app/services/echo.service.ts:
Add Routing
We are ready to tell Angular how the user will be navigating within our application. To do that we are registering RouterModule.forRoot() in the AppModule. Copy this code to src/app/app.module.ts:
Apart from routes, we also declared a MenuComponent used inside AppComponent, just before . Go on and create it by placing this code in src/app/menu.component.ts:
If you take a closer look, you will see the connection between ‘routerLink’ and routes declared in the AppModule. This is how we are linking stuff in Angular; routerLink is an Angular built-in directive which takes ‘path’ as a parameter and matches it with ‘path’ declared in RouterModule. When there is a match, it loads given component into , which we added earlier into src/app/app.component.ts, next to the
:
We have also introduced one more Angular directive, routerLinkActive. By adding it, we are telling Angular that whenever a given route is activated, we want to add to the <a> tag a given class (in our case active).
Now we are ready to compile and run our app:
Open your browser and navigate to http://localhost:3000. This is what you should see in your browser:
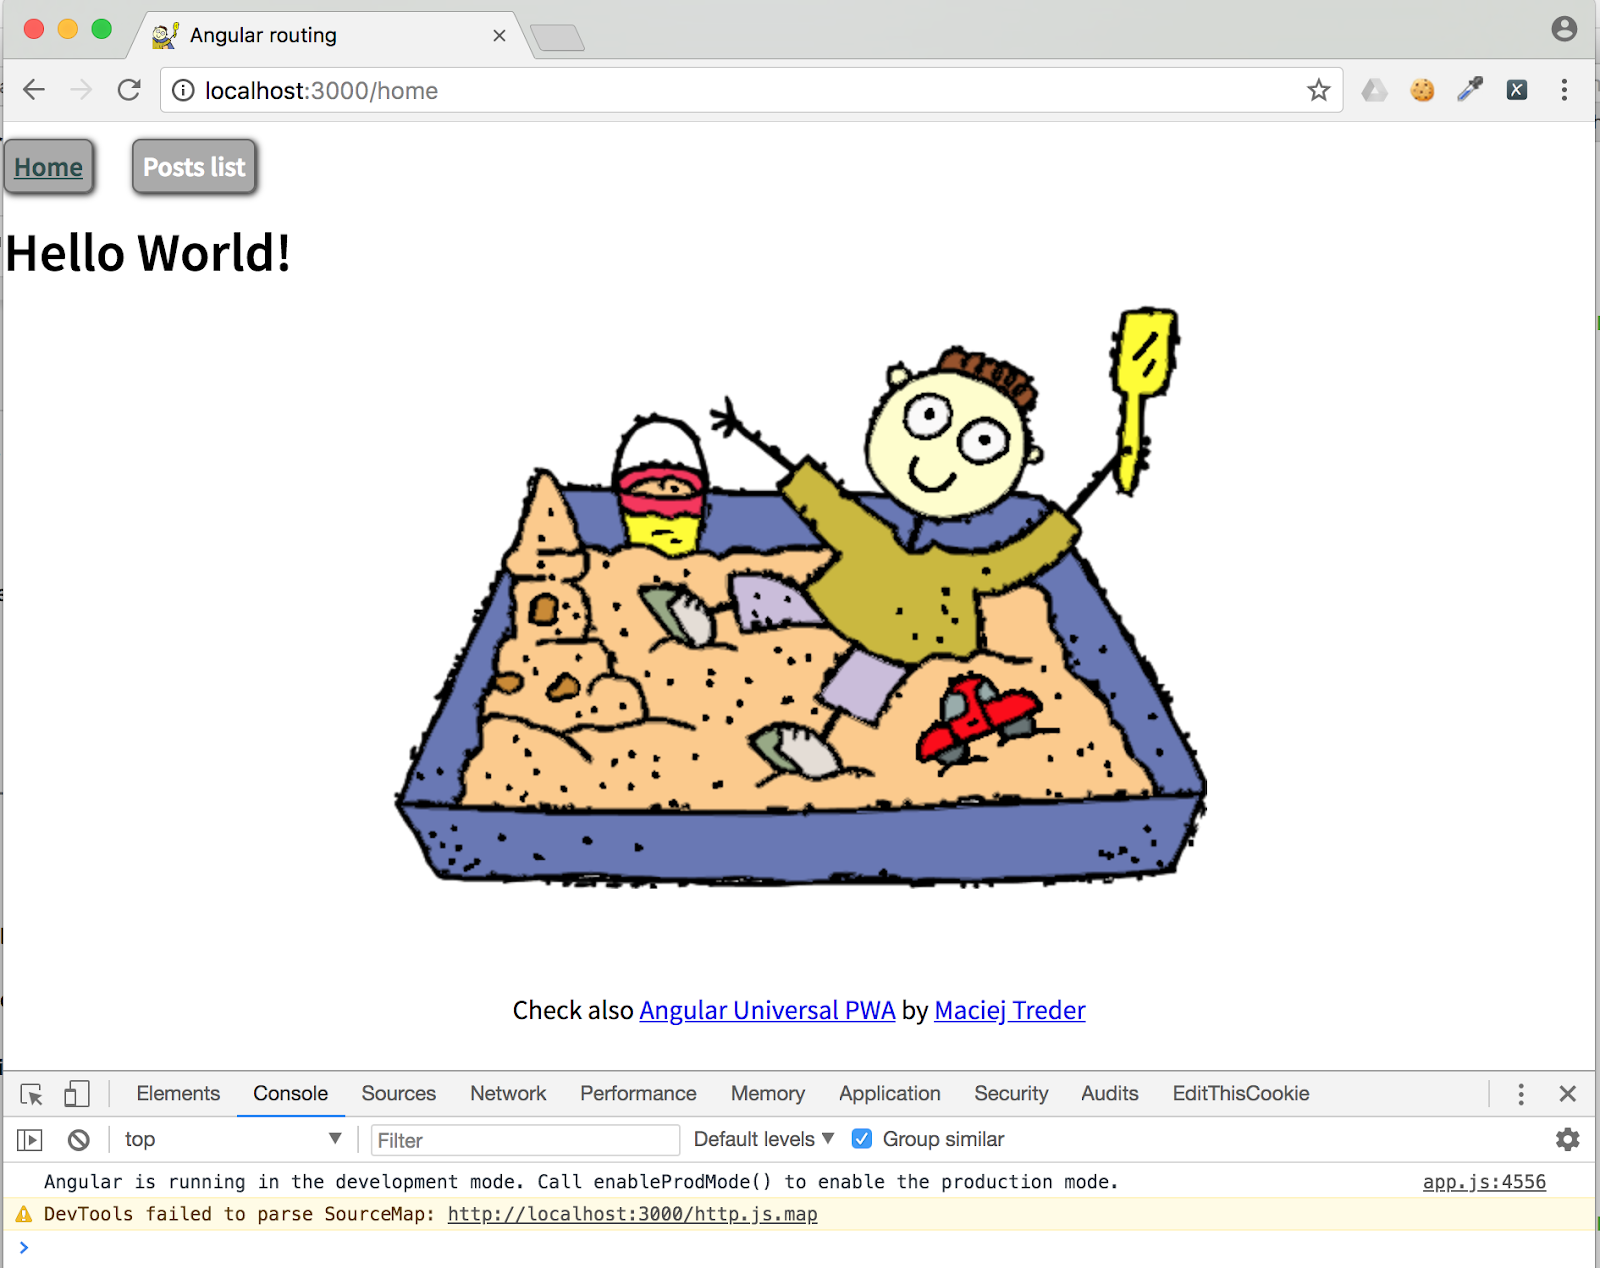
Click on the “Posts list” link at the top and the page should change respectively:
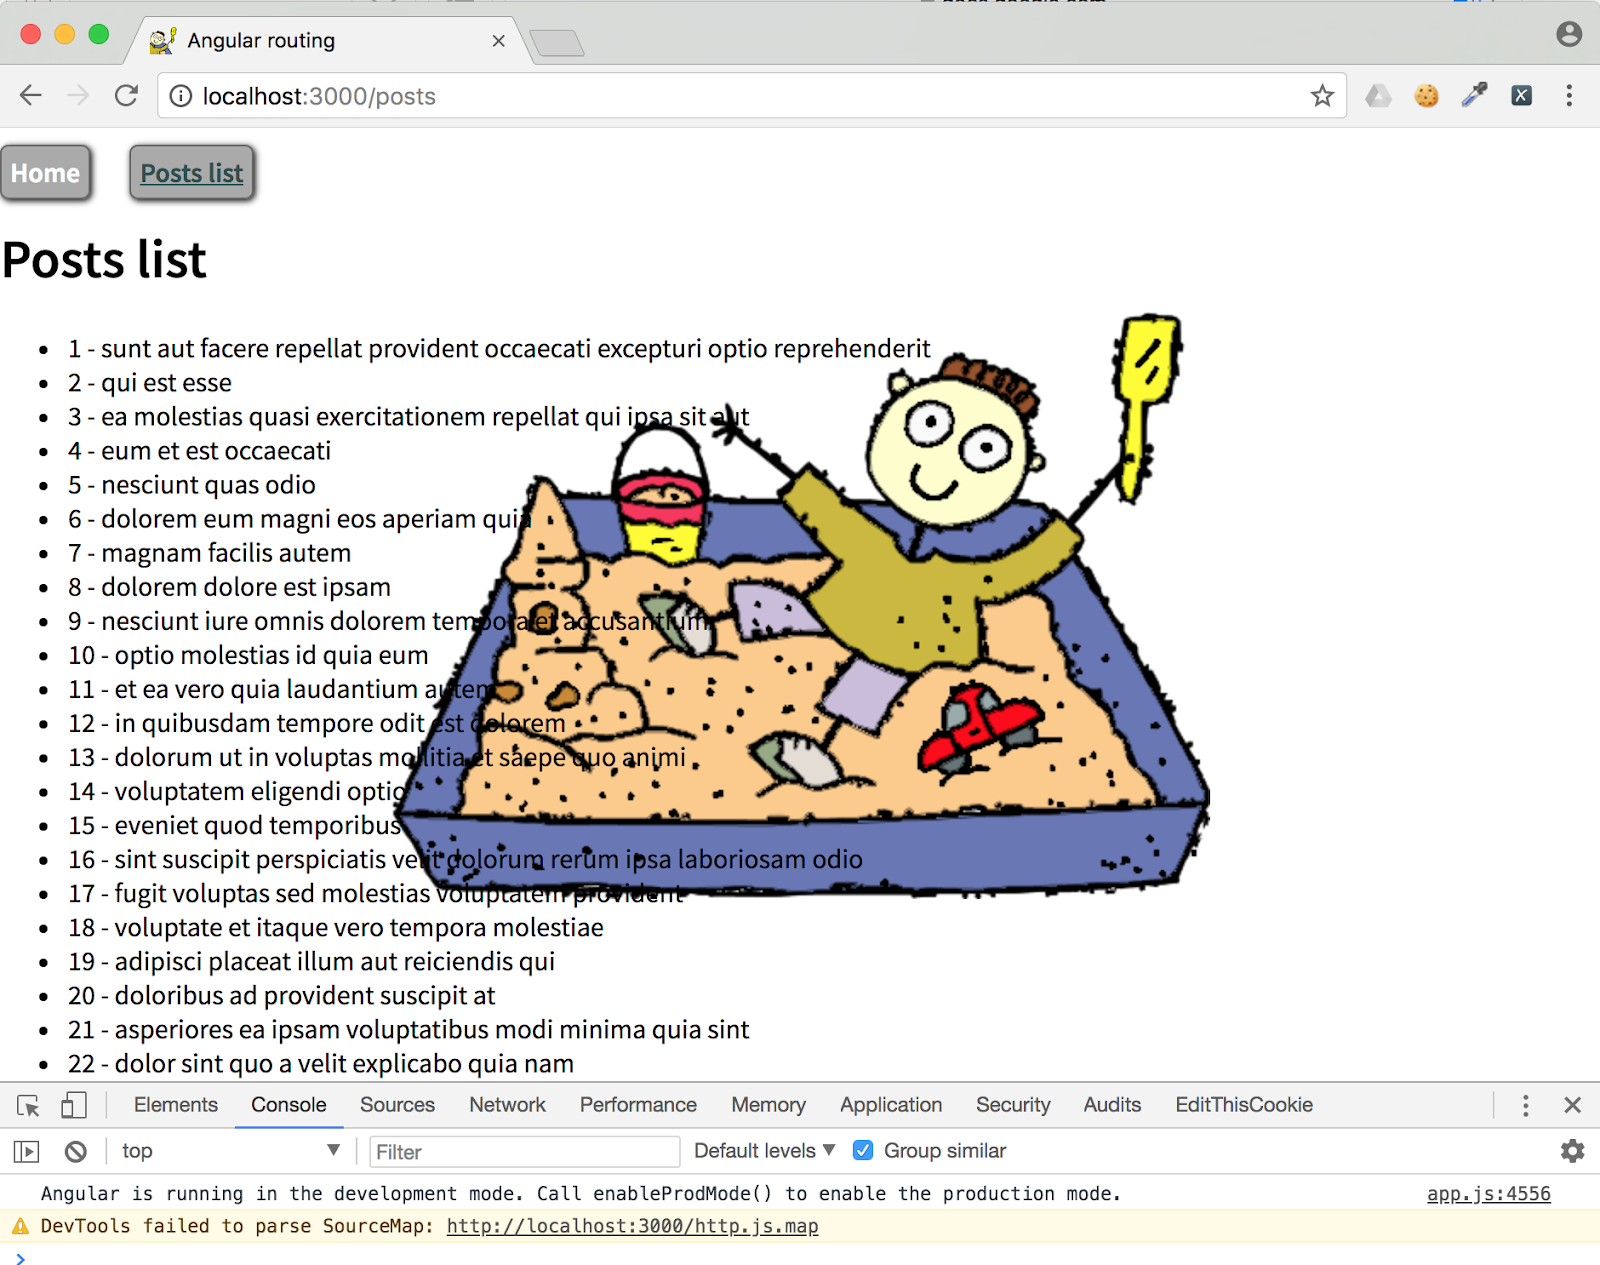
You’ll find all the code up to this point in this GitHub repository which you can clone:
Path Params
So far, you know how to navigate between components. For some pages we might want to make Angular pass some values via the URL. Here path parameters comes into use.
Before we start writing code, we need to create a file in which we will place a new component:
First, we are going to prepare a route with a placeholder for the value which we want to pass in the routes definition. Add the following route and component import to src/app/app.module.ts:
Now you need to create the PostComponent. Place this code in the src/app/posts/post.component.ts file:
We are injecting the ActivatedRoute service in the constructor; it is representing the actual routing state of our application. With the use of this service, we can retrieve information about the active path, outlets, or pathParams. In our case, we are retrieving them by calling this.route.snapshot.params[‘id’]. Note that the index name which we are calling on this.route.snapshot.params is exactly the same as the one we used for the placeholder in app.module.ts. After retrieving the post ID from the URI, we are passing it to the echoService.getPost(id: number) method to retrieve the given post.
Let’s implement this method! Add the following code to the src/app/services/echo.service.ts file:
And check if the routing works as expected:
Here is what you should see after navigating to http://localhost:3000/posts/1:
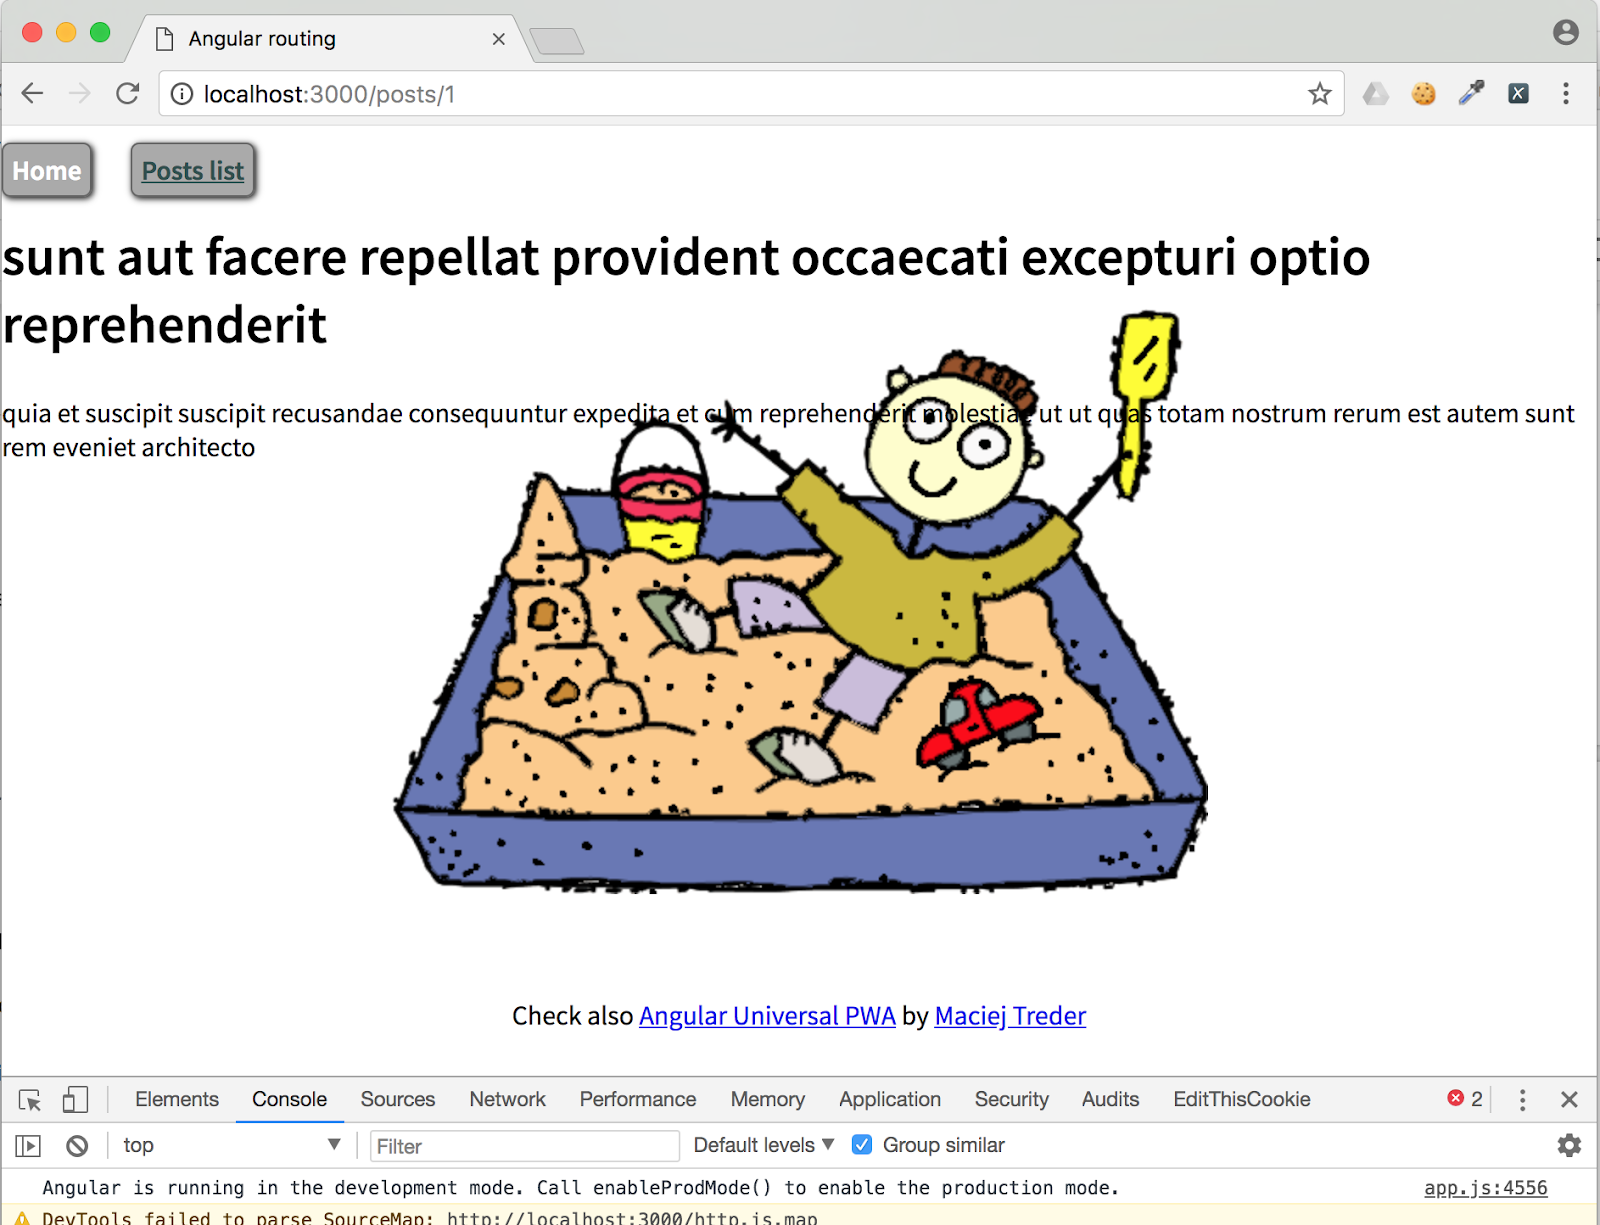
The final step for this section is linking posts in the ListComponent to the PostComponent. Modify src/app/posts/list.component.html as follows:
We are passing an array to the routerLink directive. As a first element, we are telling Angular which route we want to activate; the second one is a value which we want to pass as a pathParam. Now every post title listed in the ListComponent routes to the PostComponent and passes the id of given post. Then PostComponent retrieves it from the back end and displays it.
Congratulations! Now you know how to use path parameters in Angular!
Query Params
We are displaying 100 posts in the ListComponent. That’s a lot. We should make it more readable by adding pagination.
First, replace the current code in src/app/posts/list.component.ts with the following:
What we are doing here is displaying a filtered part of the allPosts array, based on the query parameter page, retrieved from this.activatedRoute.queryParams observable.
The last step is changing the template. Copy this code to src/app/posts/list.component.html:
Let’s check if pagination works. Re-run:
Go back to the List page at: http://localhost:3000/posts and click on the “previous” and “next” links. The content of the page should update. You should also see the URL update with query parameter called page.
You’ll find all the code up to this point in this GitHub repository which you can clone:
Prefetching Data with Resolvers
There is one more thing which is not looking nice in our app. Did you notice the delay between loading component and retrieving data displayed in the template? It occurs because the flow of retrieving data in our applications is:
User clicks on the link -> Angular navigates to the route and loads component -> component retrieves data from back end -> data is displayed to the user.
Wouldn’t it be nice to first retrieve data and then load component when the data is already fetched and ready to display? That’s job for Resolver. Let’s play with it a little bit.
Create the necessary files:
We will start by creating the PostsResolver. Place this code in src/app/services/resolvers/posts.resolver.ts:
As you can see we moved the retrieving posts list logic from ListComponent into this file. Now you can edit the ListComponent to get this data from the router. Make the following changes in src/app/posts/list.component.ts:
The last step is to inform Angular Router that we are using Resolver to prefetch data. We will do that in the AppModule. Edit it accordingly (src/app/app.module.ts):
Now we can bundle the app again, and check if we still see the delay between loading component and retrieving data displayed in it:
Navigate to http://localhost:3000 and click on posts list link. And..? Data is prefetched before Angular navigates to the component.
Error Handling
We will use a similar concept to retrieve data for PostComponent. The only additional logic we will add here is error handling, in case that post won’t be found in the back end.
Copy this code to src/app/services/resolvers/post.resolver.ts:
Now we should change PostComponent accordingly (src/app/posts/post.component.ts):
And routing in src/app/app.module.ts:
Now PostComponent uses prefetched data as well. Let’s check if error handling works appropriately.
Navigate to http://localhost:3000/posts/101. Here is what you should see:
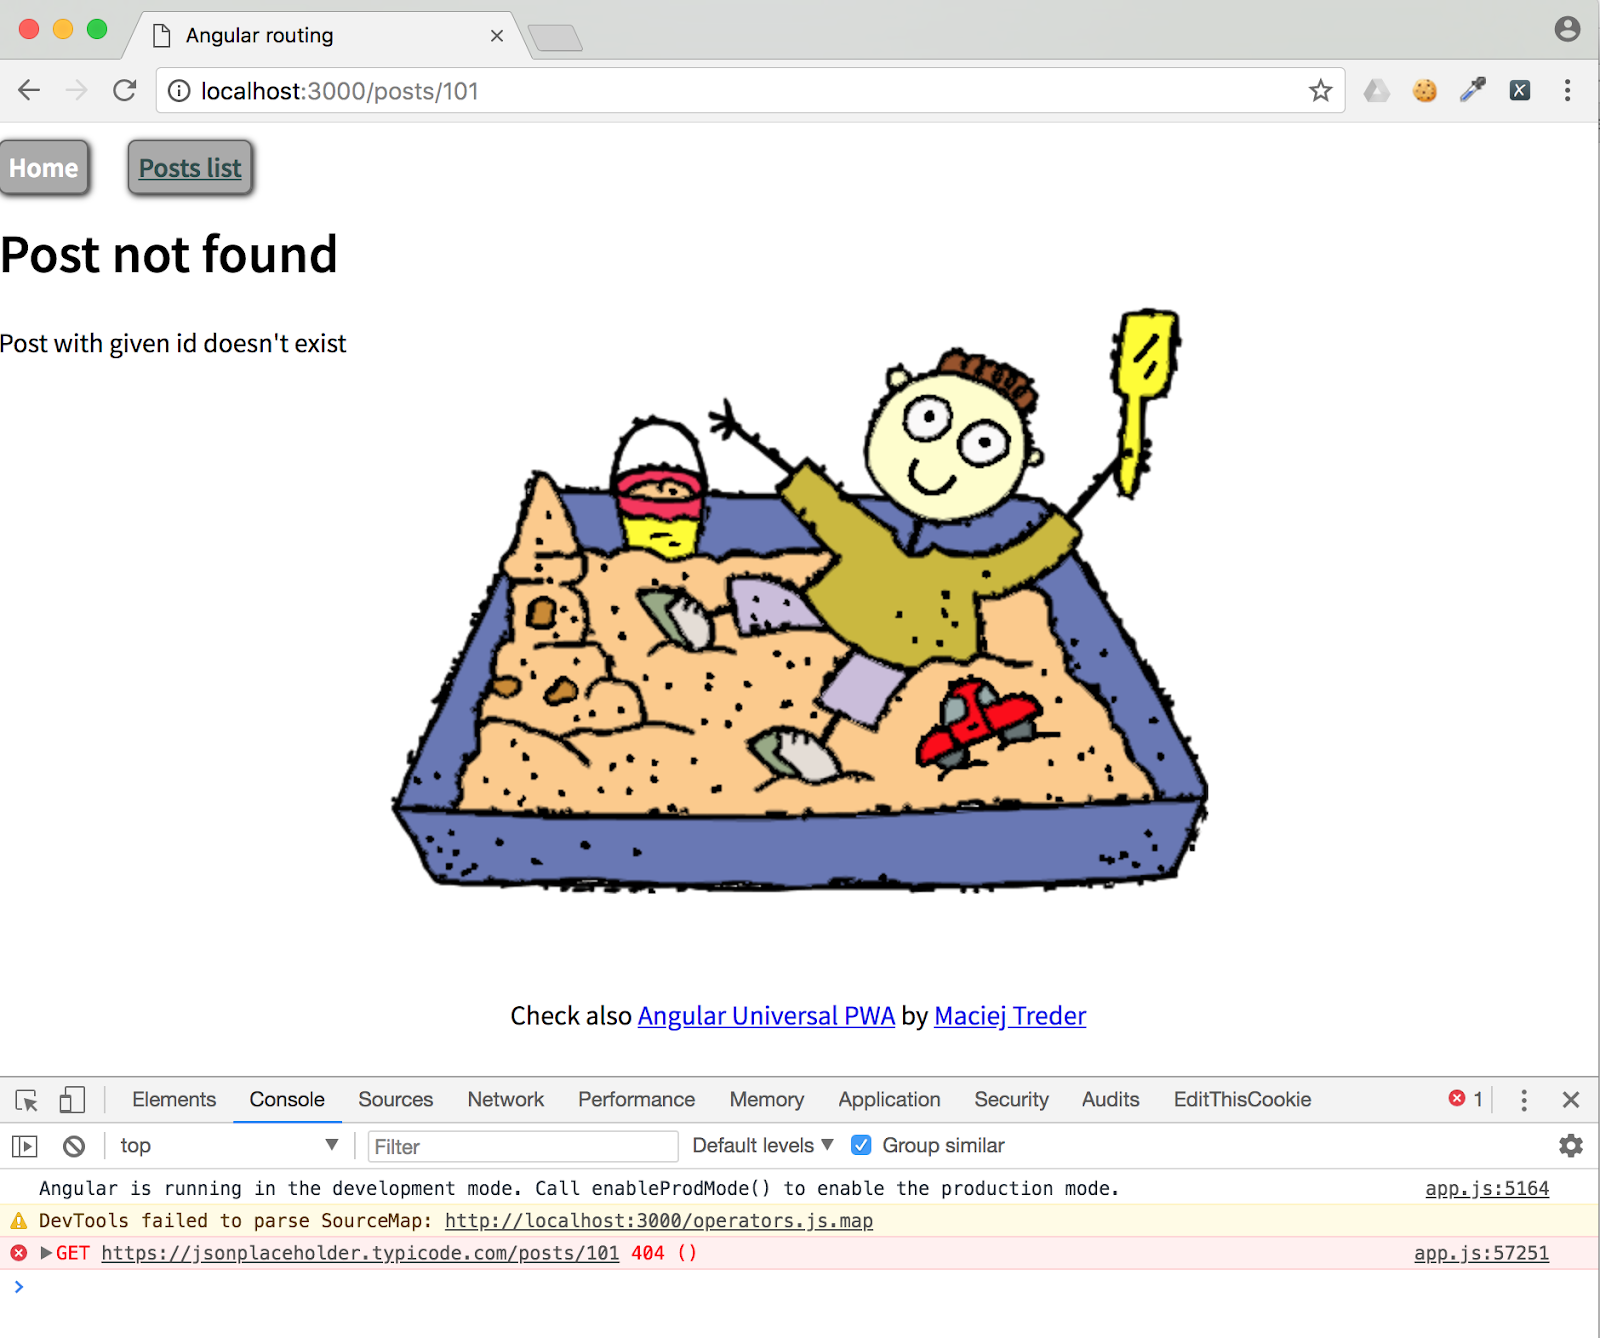
You’ll find all the code up to this point in this GitHub repository you can clone:
Lazy Loading
We have our app complete and running. We are prefetching data to improve the user experience. Can we do even more? Yes! Right now our app is bundled into file dist/app.js, and this file is loaded in the user browser even if he only reaches the main page. We can enforce Angular Compiler and Webpack to split it into more files, and load them on demand when the user navigates to different parts of the app. This concept is called Lazy Loading.
First, create the file we are going to edit:
Start by preparing our new module PostsModule. Place the following code in the src/app/posts/posts.module.ts file:
What do we have here? We declared RouterModule.forChild(), in which we are specifying what routes should be served from this module. We also moved our resolvers here: PostResolver, PostsResolver, and EchoService used by resolvers to prefetch data. The last thing we do is declare components, ListComponent and PostComponent to which this module is navigating.
Now that we moved all of this code into a separate module, we do not require it any longer in the AppModule. Replace the code in the src/app/app.module.ts file with this code:
Build the app again:
As you can see from the output, we have one more file created by the Angular compiler:
Let’s check how the app behaves now. First we navigate to http://localhost:3000 and take a look at the Network tab of Developer Tools:
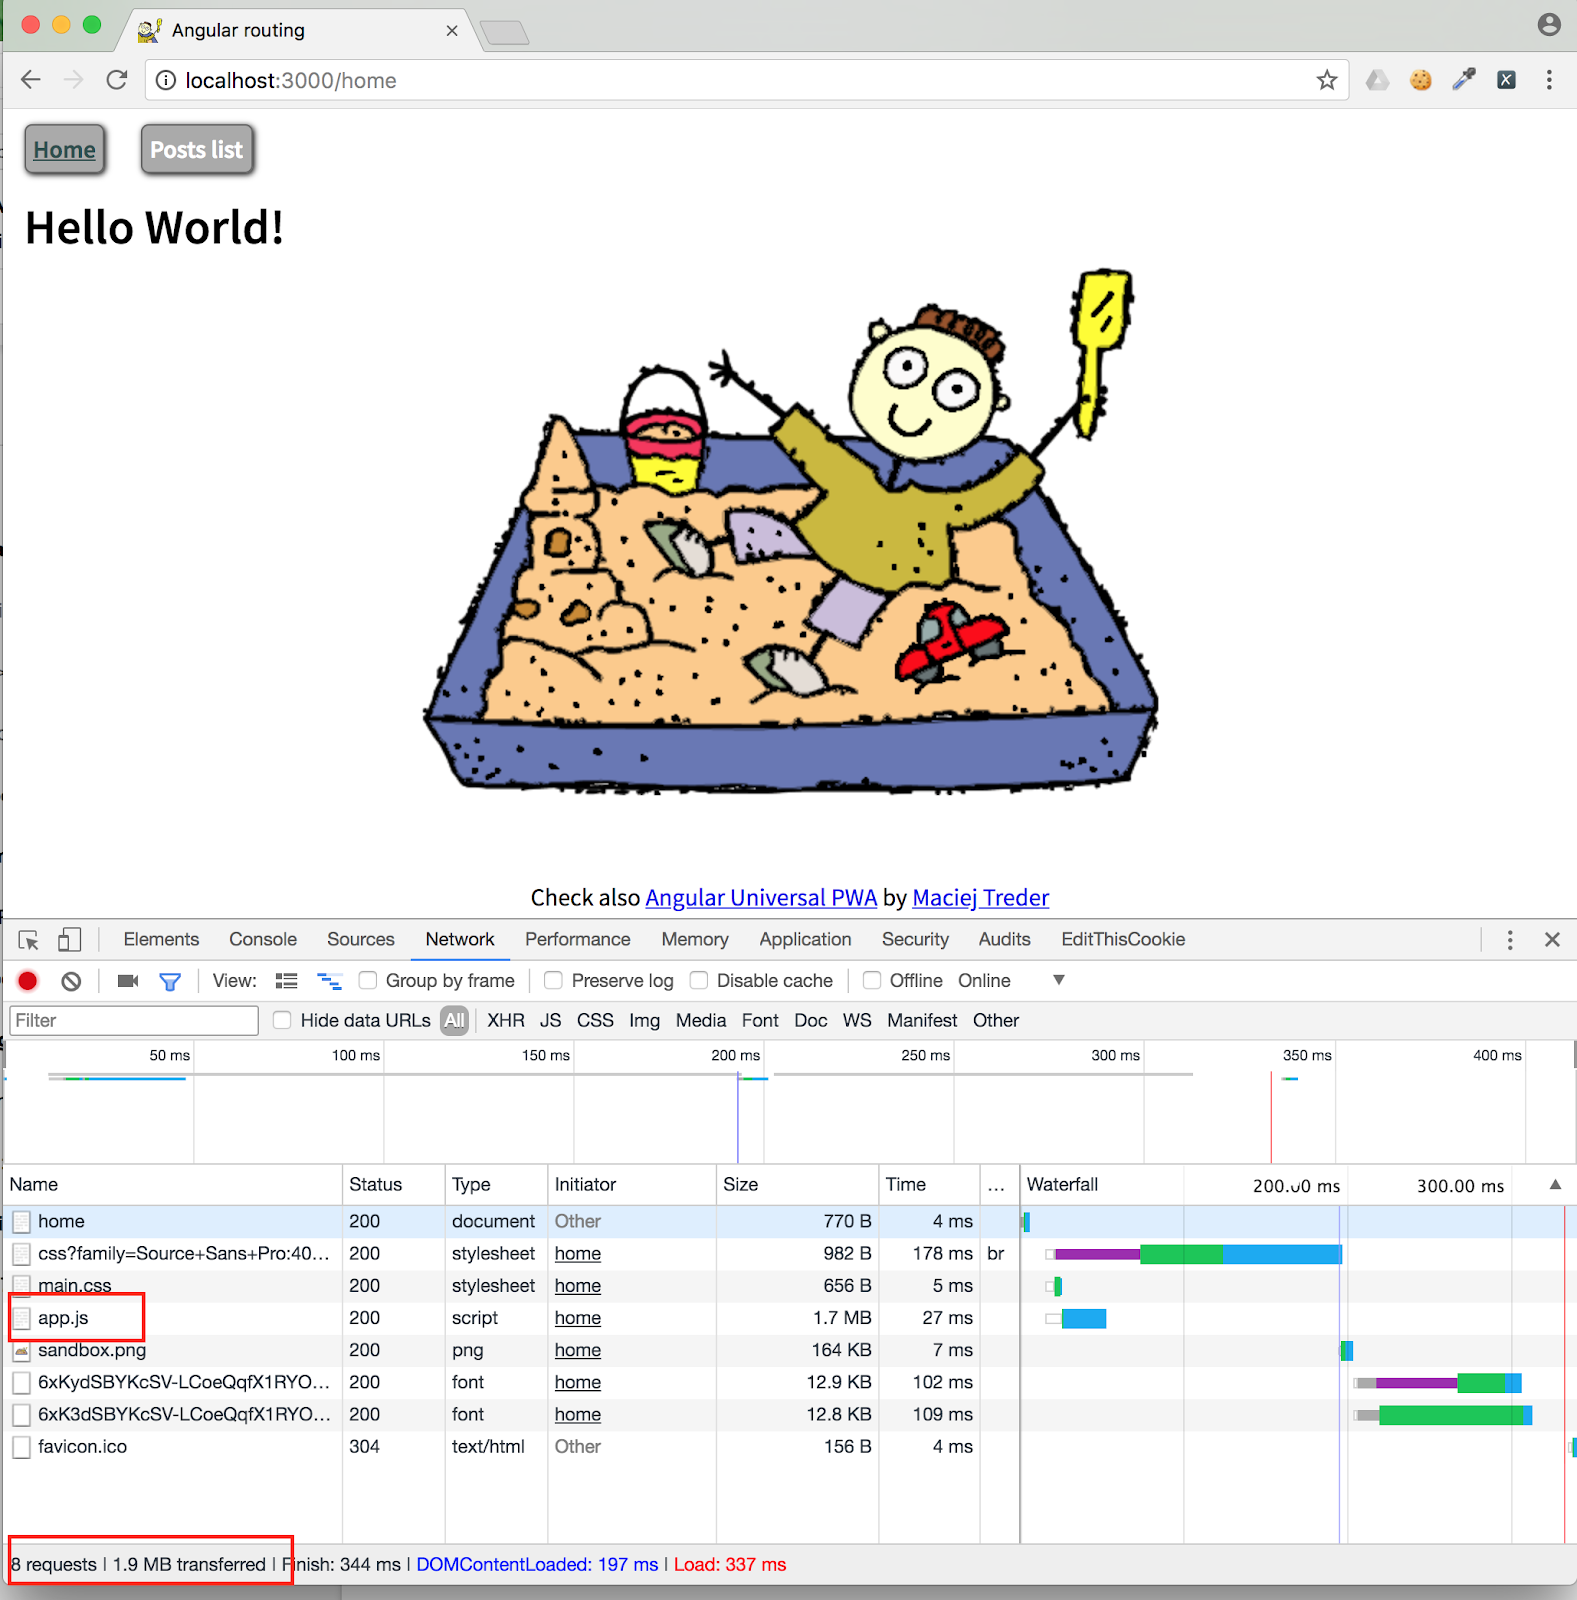
We performed eight requests while loading HomeComponent. Now navigate to the Posts List:
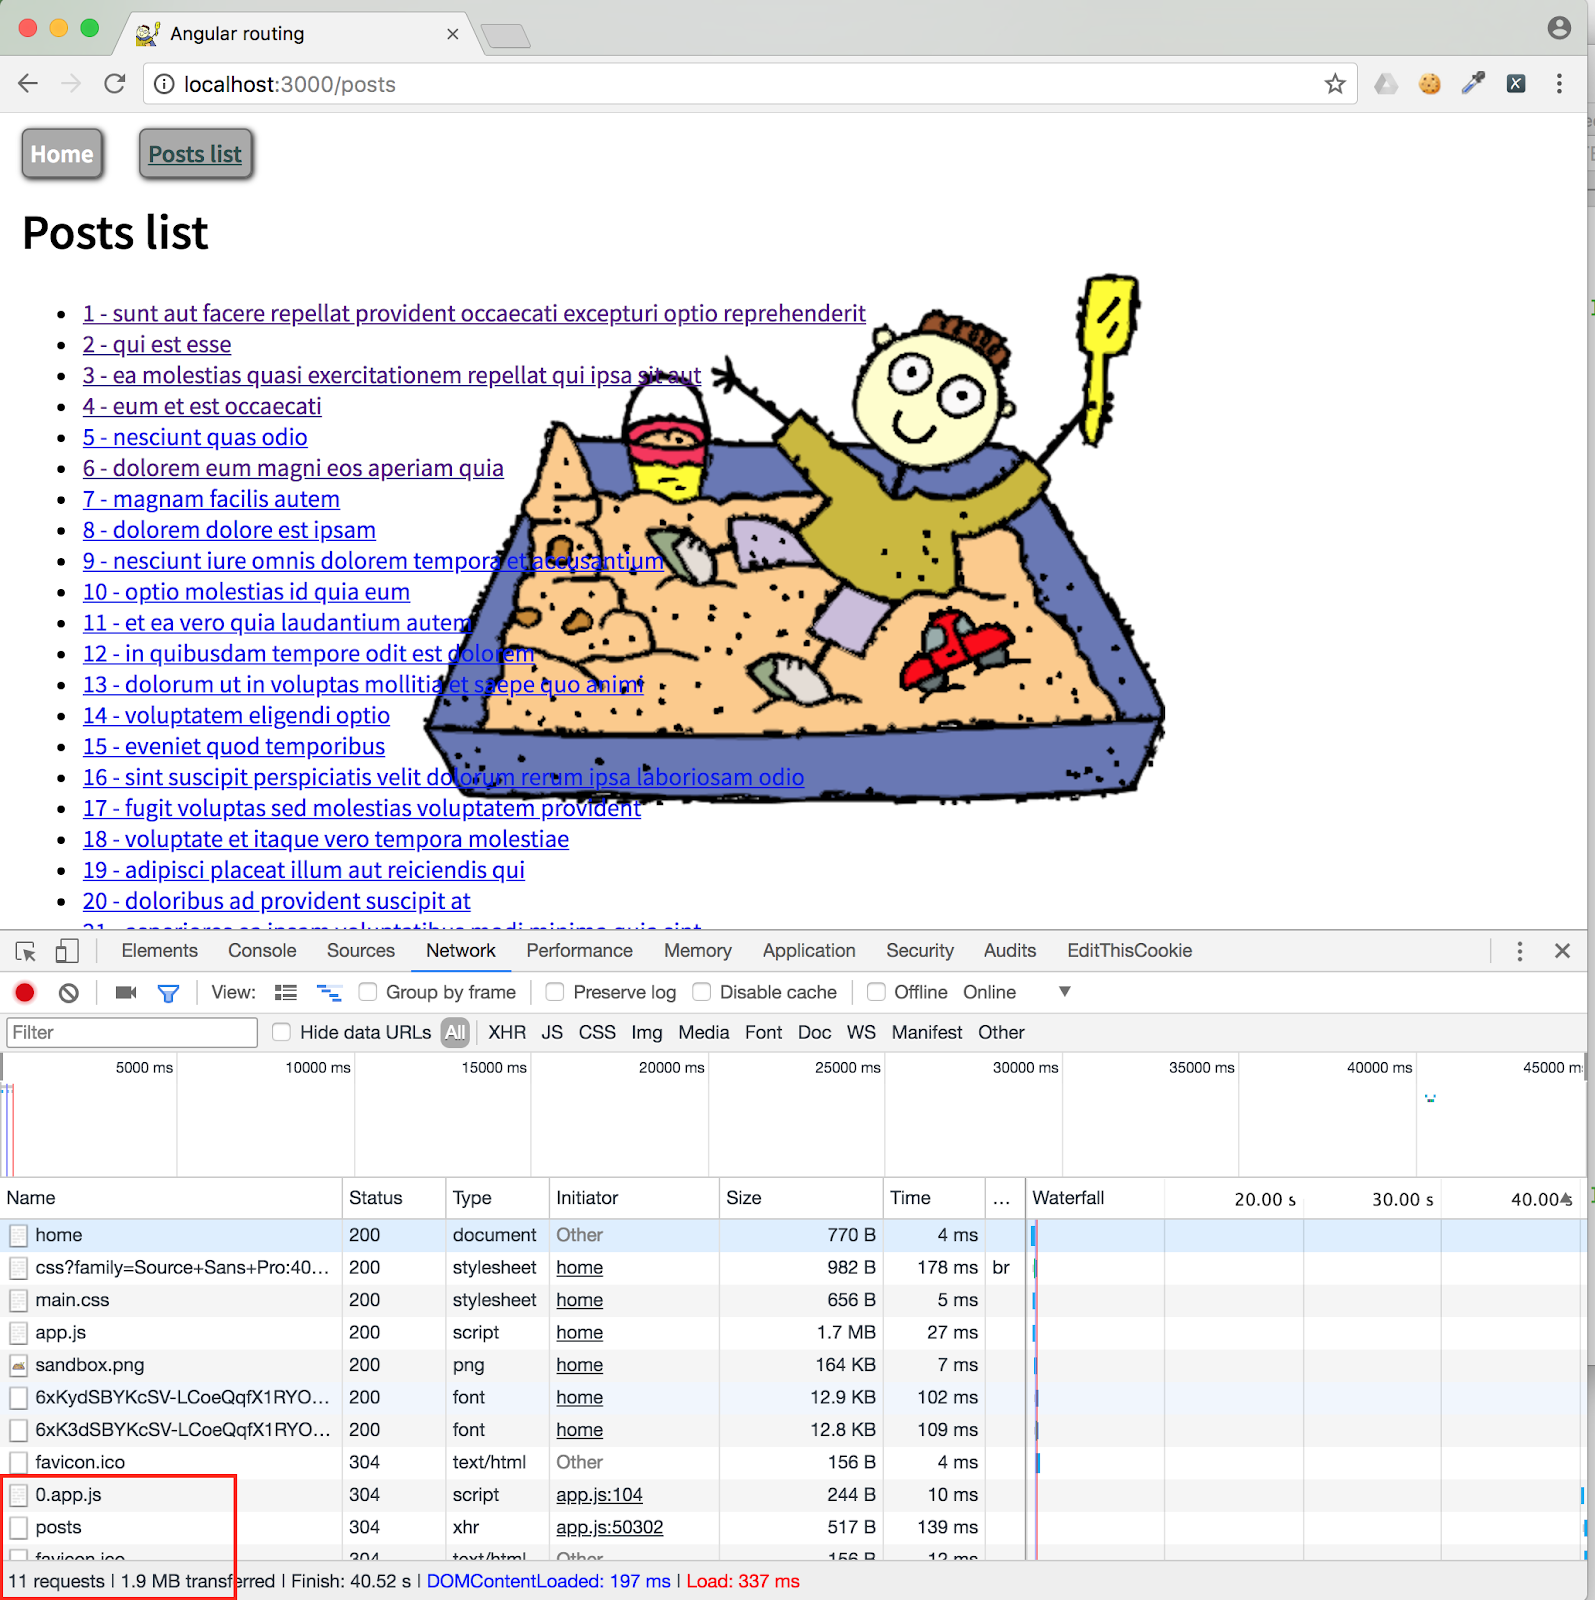
As you can see, the rest of the application is loaded on demand, only when the user navigates to the given route.
Summary
Today, we learned how to create routing in the Angular app. We covered the basics as well as more advanced concepts like prefetching data using path resolvers, passing data with pathParams, and decreasing load time with lazy loading.
I hope that this post was helpful for you and you will start to use your new knowledge in your one-in-a-million app!
Take a look at the GitHub repository for step 4 and check out angular-universal-pwa to learn more Angular features.
Maciej Treder:
contact@maciejtreder.com
https://www.maciejtreder.com
@maciejtreder (GitHub, Twitter, StackOverflow, LinkedIn)
Related Posts
Related Resources
Twilio Docs
From APIs to SDKs to sample apps
API reference documentation, SDKs, helper libraries, quickstarts, and tutorials for your language and platform.
Resource Center
The latest ebooks, industry reports, and webinars
Learn from customer engagement experts to improve your own communication.
Ahoy
Twilio's developer community hub
Best practices, code samples, and inspiration to build communications and digital engagement experiences.


