Getting Started with Unit Testing a Laravel API using PHPUnit
Time to read:
Performing unit, automated feature, and API endpoint testing is considered best practice to ensure the proper implementation of specified software requirements. These tests help guarantee the success of such applications. Testing, by all means, tends to give you assurance that any incremental changes and newly implemented features in your project won’t break the app. This practice is often referred to as Test-driven Development.
Laravel, one of the most popular PHP frameworks, was built with testing in mind and comes with a testing suite named PHPUnit. PHPUnit is a testing framework built to enhance PHP developers’ productivity during development. It is primarily designed for testing PHP code in the smallest possible components known as unit tests, but is also flexible enough to be used beyond unit testing.
In this tutorial, we will take a test-driven development approach and learn how to test the endpoints of a Laravel API project. We will start by writing tests, expecting them to fail. Afterward, we will write the code to make our tests pass. By the time we are done, you will have learned how to carry out basic testing and be confident enough to apply this knowledge on your new or existing Laravel API projects.
Prerequisites
Basic knowledge of building applications with Laravel will be of help in this tutorial. Also, you need to ensure that you have installed Composer globally to manage dependencies.
Getting Started
Our Laravel API will be used to create a list and display details of top tech CEOs in the world. This is similar to what we built in a previous post. To get started as quickly as possible, download the starter project that contains the structures that enable our application to work as specified.
To begin, run the following command to download the starter project using Git:
Next, move into the new project’s folder and install all its dependencies:
This sample project already contains the following:
- User and CEO Models with respective fillable properties
- Controllers, migration files, as well as an API route contained in the
routes/api.phpfile. And finally, - Laravel Passport installed and configured to work with the project. Read this article to learn more about securing the Laravel API.
Next, create a .env file at the root of the project and populate it with the content found in the .env.example file. You can do this manually or by running the command below:
Now, generate the Laravel application key for this project with:
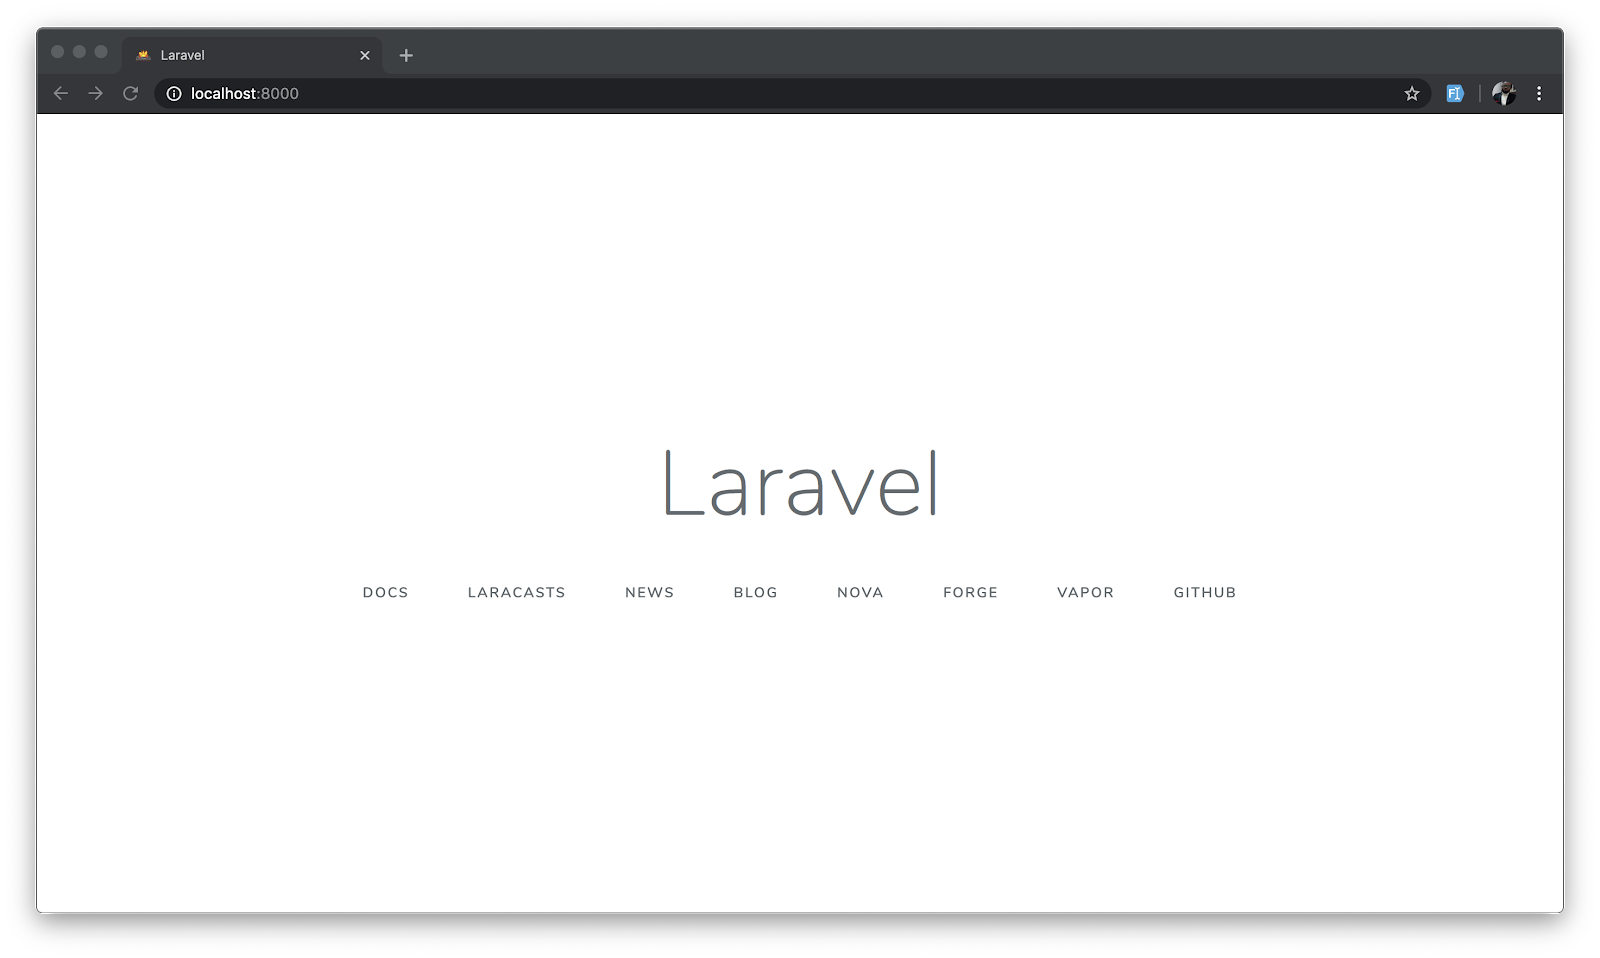
You can now run the application with php artisan serve and proceed to http://localhost:8000 to view the homepage:

There is not much to see here as this is just a default page for a newly installed Laravel project.
Setting Up the Database
To get started with testing, you need to set up your testing database. In this tutorial, we will keep things simple by using an in-memory SQLite database. It gives the advantage of improved speed for our test scripts.
Create a test.sqlite file in the database folder. This file will be used to interact with our testing database and maintain a separate configuration from the main database. Next, replace the database environment variables from .env.testing in your .env file.
Each test requires migrations. We will need to run migrations before each test to properly build the database for each test. Let’s configure that by opening your base TestCase class located in tests/TestCase.php file and update it as shown below:
Here we included the DatabaseMigrations trait and then added an Artisan call to install passport.
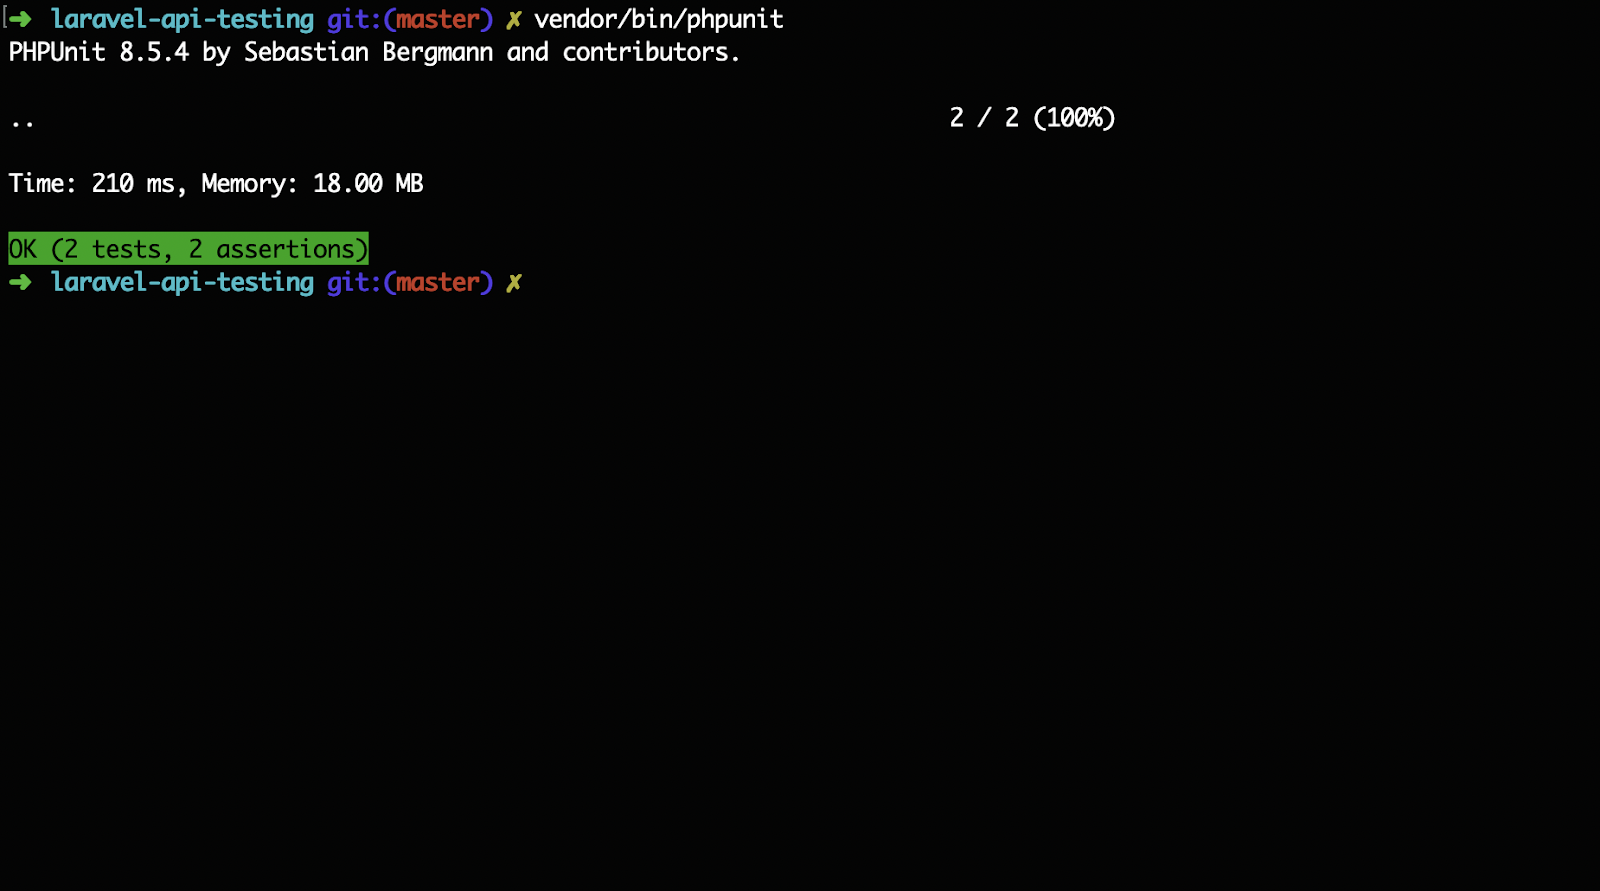
Lastly, use the following command to run PHPUnit from the terminal:
You will see the results as shown below:

The output above showed that two tests were run successfully. These were the default tests that came installed with Laravel. We will make modifications in a bit.
To make the command for running the PHPUnit relatable, open composer.json file and add the test command to the scripts section as shown below:
Henceforth, the test command will be available as composer test.
Create CEO factory
Factories in Laravel make use of the Faker PHP library to conveniently generate random data for testing. Since Laravel comes preloaded with a factory definition for User class. We will run the following command to generate one for the CEO class:
This will create a new file named CEOFactory.php within the database/factories folder. Open this new file and paste the following content in it:
We have specified the fields for our CEO table and used the Faker library to generate the correct format of random data for all the fields.
Writing our First Test
Let’s start writing our test as mentioned earlier. Before that, delete the two example test files within tests/Feature and tests/Unit folders respectively.
We will begin by writing a test for the authentication process. This includes Registration and Login. We already have a controller created for that purpose within the API folder. So create the AuthenticationTest file with:
This will create the AuthenticationTest.php file inside the test/Feature folder. Open the new file and replace its contents with:
From the file above, the following tests were written:
testRequiredFieldsForRegistration: This test ensures that all required fields for the registration process are filled accordingly.testRepeatPassword: This mandates a user to repeat passwords. The repeated password must match the first one for this test to pass.testSuccessfulRegistration: Here, we created a user, populated with dummy data to ensure that users can sign up successfully.
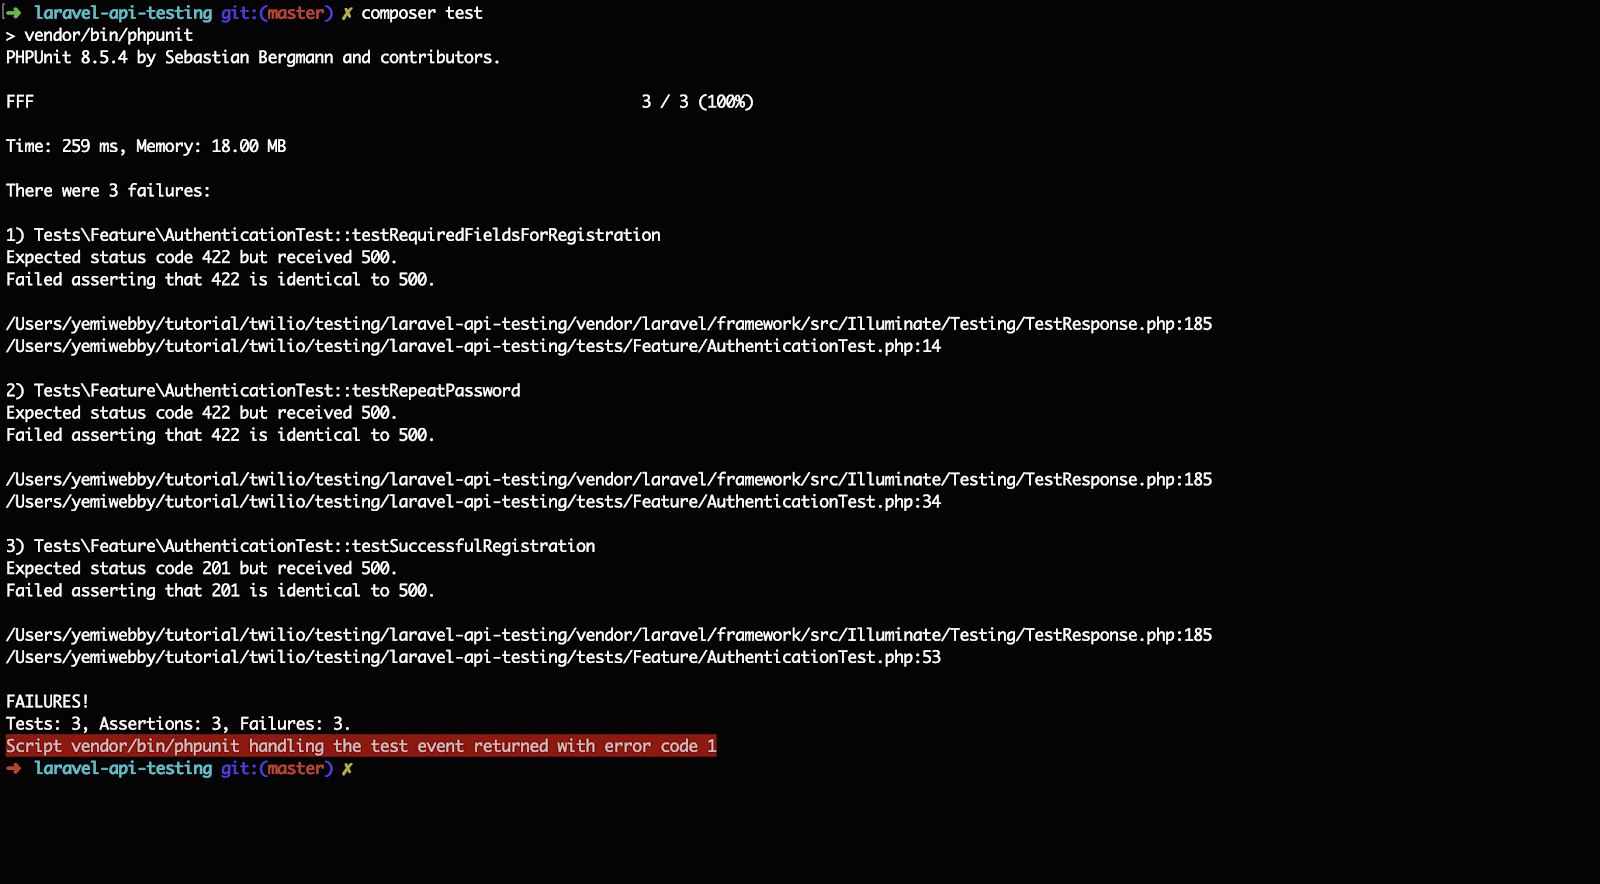
Now use the following command to run our test using PHPUnit:
You will see results as below:

This is expected as we are yet to implement the feature. Now let’s write the code to make our test pass. Open app/Http/Controllers/API/Auth/AuthController.php and use the following content for it:
Now run composer test. At this point, our test should pass.
Test the Login Endpoint
Update the AuthenticationTest.php file by adding more methods as shown here:
Here we also created a test to ensure that the required fields are not left empty by the user using the testMustEnterEmailAndPassword() method. Within the testSuccessfulLogin() method, we created a dummy user to ascertain that the user is authenticated successfully.
We can now go ahead and run the test again using composer test. You guessed it, this will fail once more. To ensure that the test passes, update the AuthController.php file as follows:
In total, we have written five different, important tests. Some of the tested cases include the status and the json() structure of the response from the API. In the next section, we will create the sets of tests for CEO endpoints.
Writing Tests for the CEO Endpoints
In this section, we will start by creating a new test file to house the test scripts for the CEO endpoints. Use the following command for that purpose:
The preceding command will create a new test file named CEOTest.php file within the tests/Feature folder. Open it and replace its contents with the following:
This may look somewhat daunting, but it is similar to the tests we wrote earlier. Let’s break it down. We created two different methods:
testCEOCreatedSuccessfully: To test that we can create a CEO record using the appropriate data.testCEOListedSuccessfully: Here we ensure that the list of created CEOs can be retrieved and returned as a response.
Unlike the AuthenticationTest, the CEOTest was written for endpoints that are protected by a middleware named auth:api. To ensure that the newly created dummy user is authenticated before accessing the endpoints, we used $this->actingAs($user, 'api') to authenticate and authorize such user to have access to carry out any of the CRUD (create, read, update and delete) activities.
Now run the test again using composer test. You will see that it fails again. By now, I am sure you understand why this wasn’t successful. Just in case you’re still learning the logic of these tests, we need to populate the CEOController.php file with the appropriate code to make the test pass.
Update the CEOController
Navigate to the app/Http/Controllers/API/CEOController.php file and use the following content for it:
Here, we created methods to store the records of a new CEO and also retrieve the list of CEOs from the database respectively. You can run the test again and discover it passes this time.
Lastly, let’s add more tests to retrieve, update, and also delete the details of a particular CEO. Open the CEOTest.php file and add the following methods:
The above written tests were used to target the records of a particular CEO by passing a unique id as a parameter to the api/ceo endpoints using the appropriate HTTP verbs (i.e., GET, PATCH, DELETE).
Next, we will update the CEOController file to ensure that the new tests pass as well. Open the app/Http/Controllers/API/CEOController.php and include the following methods:
The methods created here will retrieve, update, and delete the records of a CEO from the database.
We can now run the test command for the last time using composer test and you will see the following output:
Conclusion
In this tutorial, we were able to use a test-driven development approach to write a couple of tests for the endpoints in our Laravel API project. You will further appreciate test-driven development when you discover that once you keep adding more features, the new implementations do not in any way interrupt the functioning of your existing codebase.
The complete codebase for the tutorial can be found here on GitHub. You can explore, add more tests, and write the code that will enable your test to pass accordingly.
Olususi Oluyemi is a tech enthusiast, programming freak, and a web development junkie who loves to embrace new technology.
- Twitter: https://twitter.com/yemiwebby
- GitHub: https://github.com/yemiwebby
- Website: https://yemiwebby.com.ng/
Related Posts
Related Resources
Twilio Docs
From APIs to SDKs to sample apps
API reference documentation, SDKs, helper libraries, quickstarts, and tutorials for your language and platform.
Resource Center
The latest ebooks, industry reports, and webinars
Learn from customer engagement experts to improve your own communication.
Ahoy
Twilio's developer community hub
Best practices, code samples, and inspiration to build communications and digital engagement experiences.


