Build a Svelte App that Uses the National Parks Service API to Plan Your Perfect Trip
Time to read:
The United States National Park Service, created in 1916, operates 423 unique sites that cover 85 million acres of land. Our national parks are some of the United States’ greatest treasures, and most people agree: in 2021, the National Park Service welcomed 297,115,406 visitors across its multitude of locations.
This summer, if you’re feeling bored, listless, or over the heat, plan a trip to a national park. There are parks to suit absolutely everyone’s needs, and in this article you’ll learn how to build a Svelte app that lets you leverage the National Parks API to search for your perfect national park by filtering through all possible activities and park amenities.
Prerequisites
To get started with this tutorial, you’ll need the following:
- Node.js installed on your machine, along with a package manager like
npmoryarn - A basic knowledge of JavaScript and Svelte
- An API key for the National Parks API service
Overview of the app
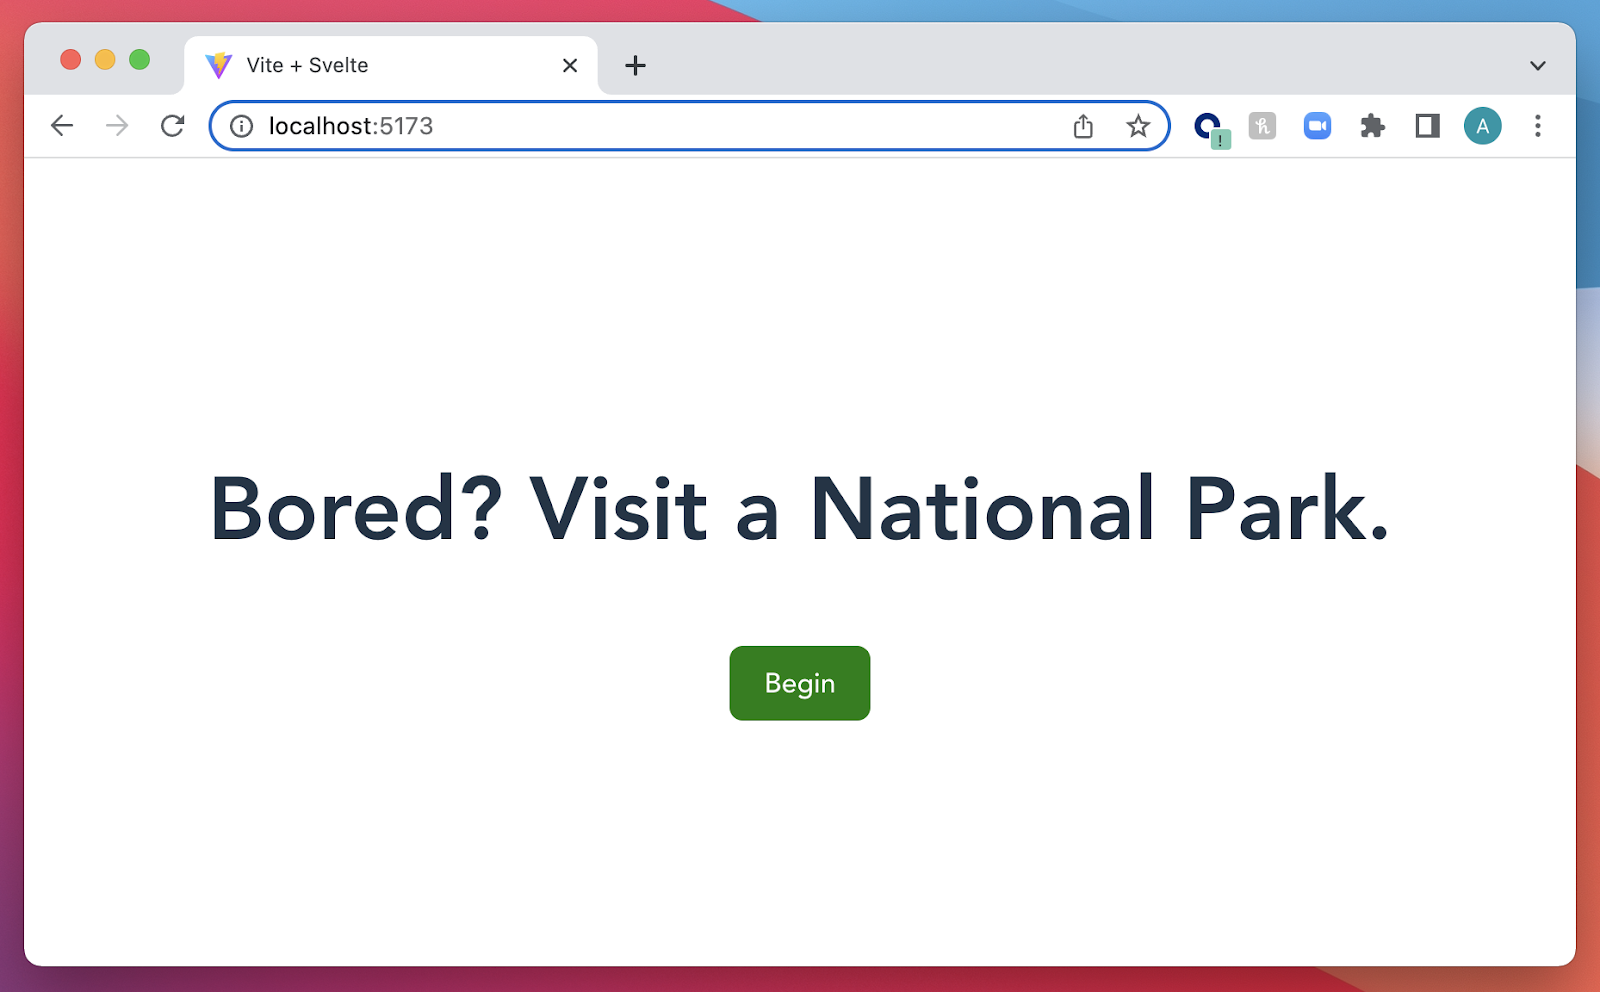
When the user visits the app in their browser they will be presented with a welcome screen that will look like this:
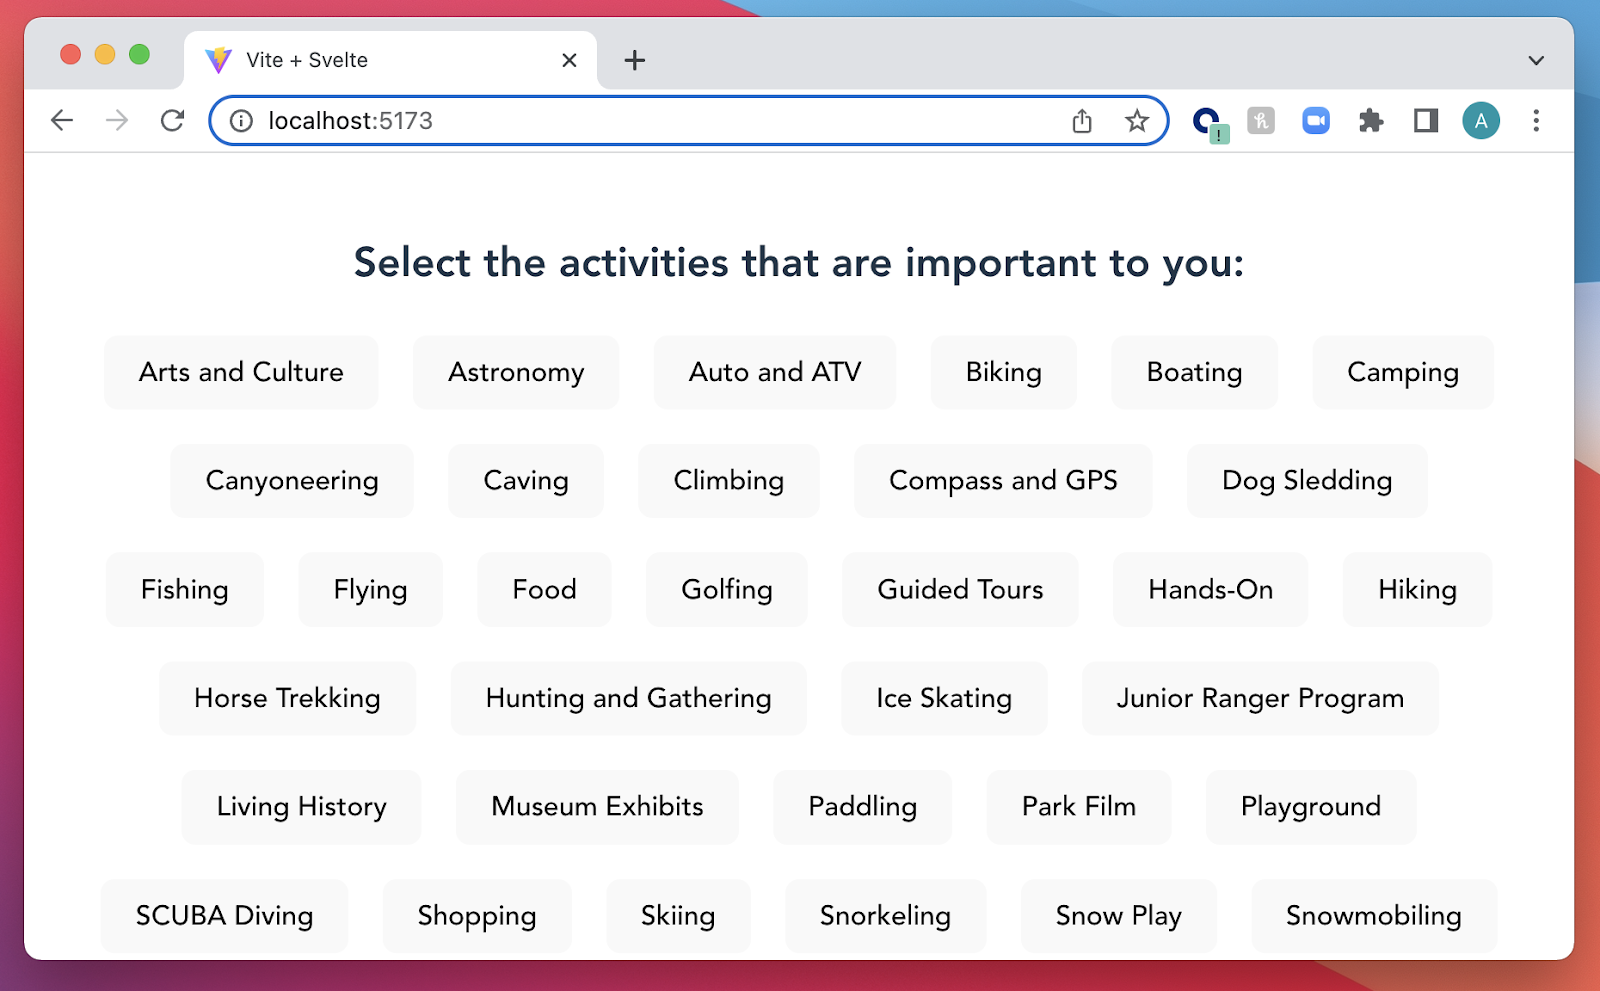
When the user clicks Begin they will be presented with a screen where they can select activities that they would like to be able to do when they visit a national park:
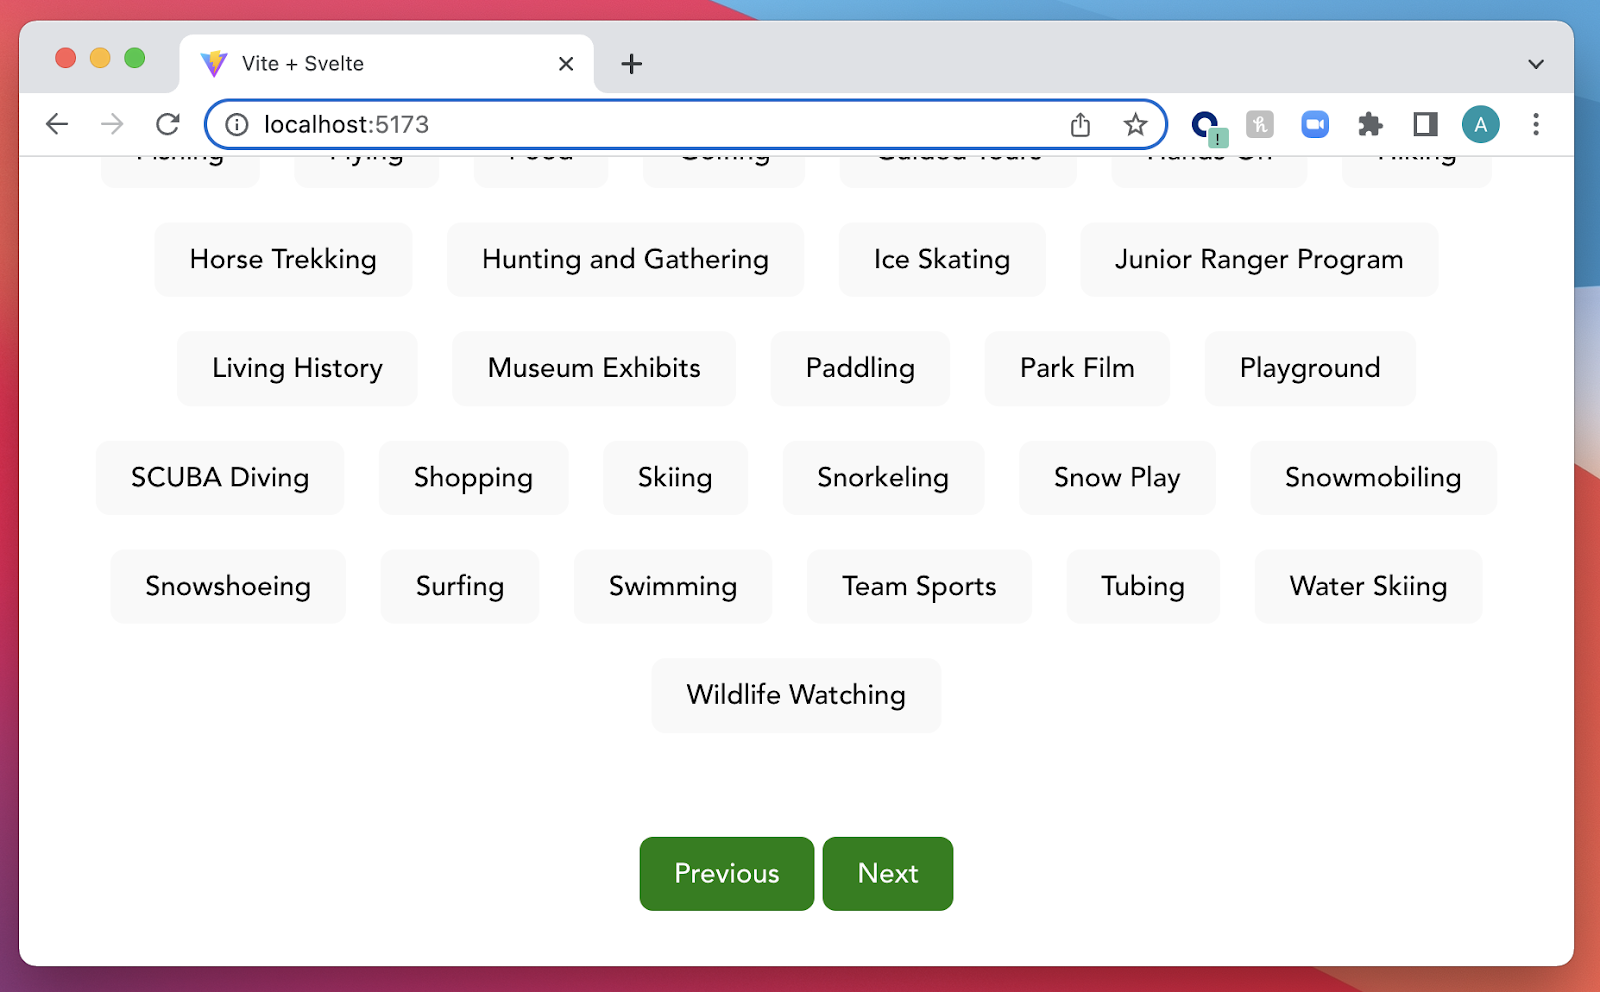
After the user makes their selections, they can hit the Previous button to start over, or the Next button to move to the second question:
After clicking Next, the user will be shown the second question, which asks them to select their needed amenities:
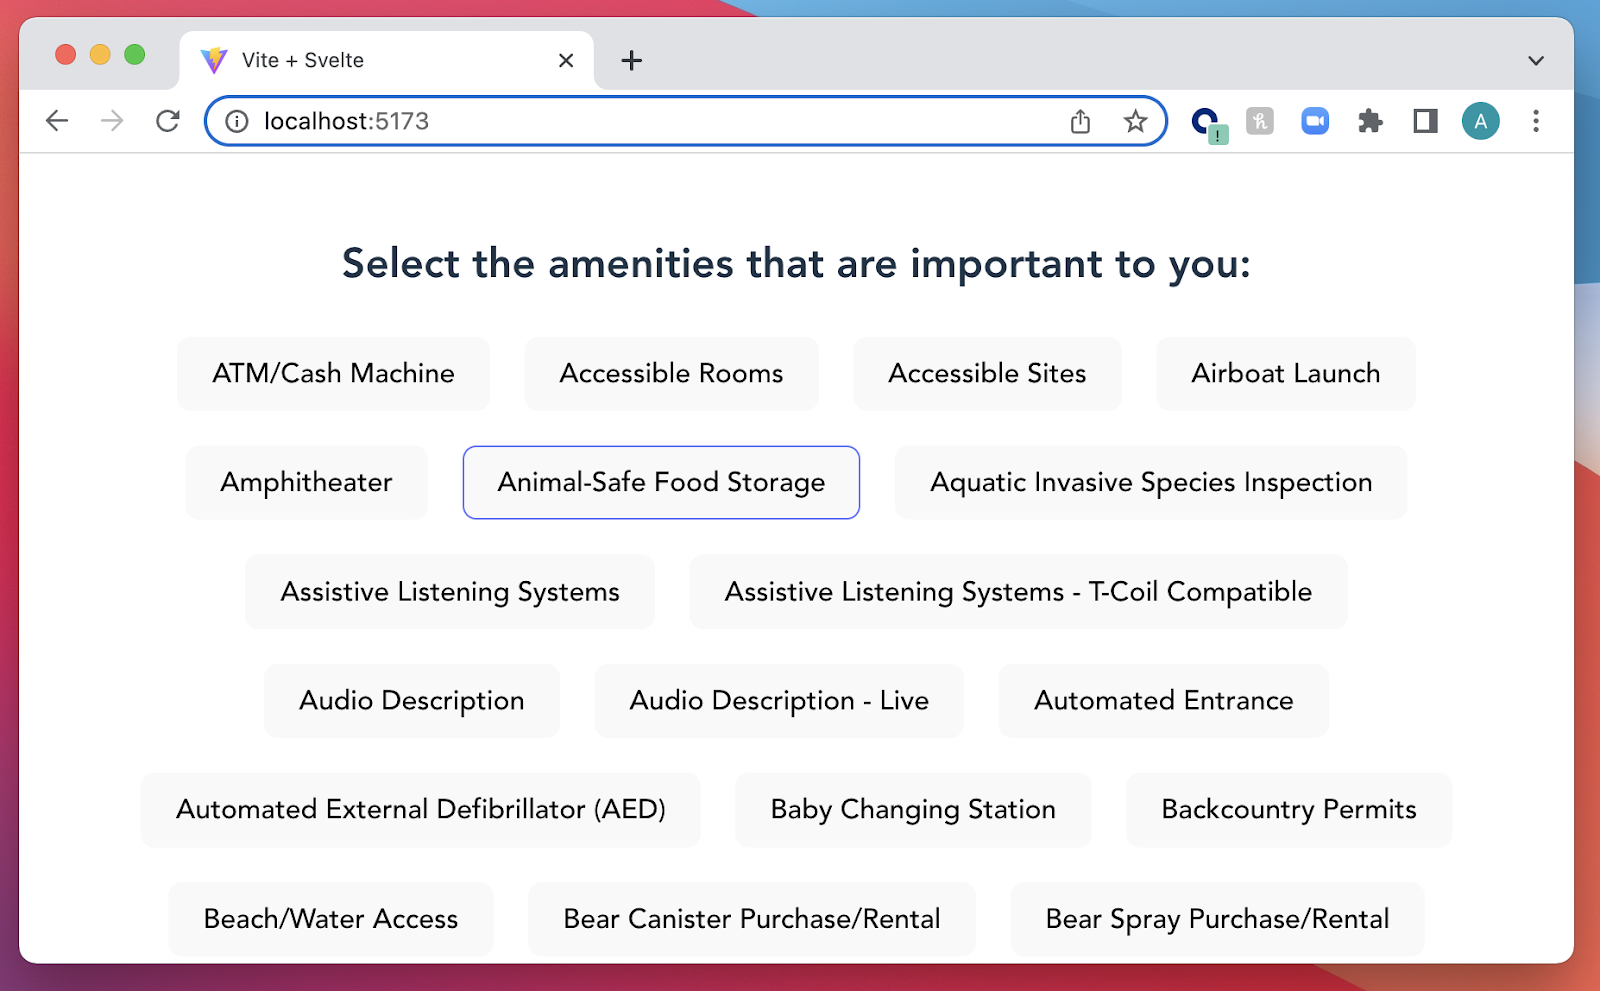
After the user makes their selections, they can click Previous to be taken to the previous question, or Finish to be shown their results:
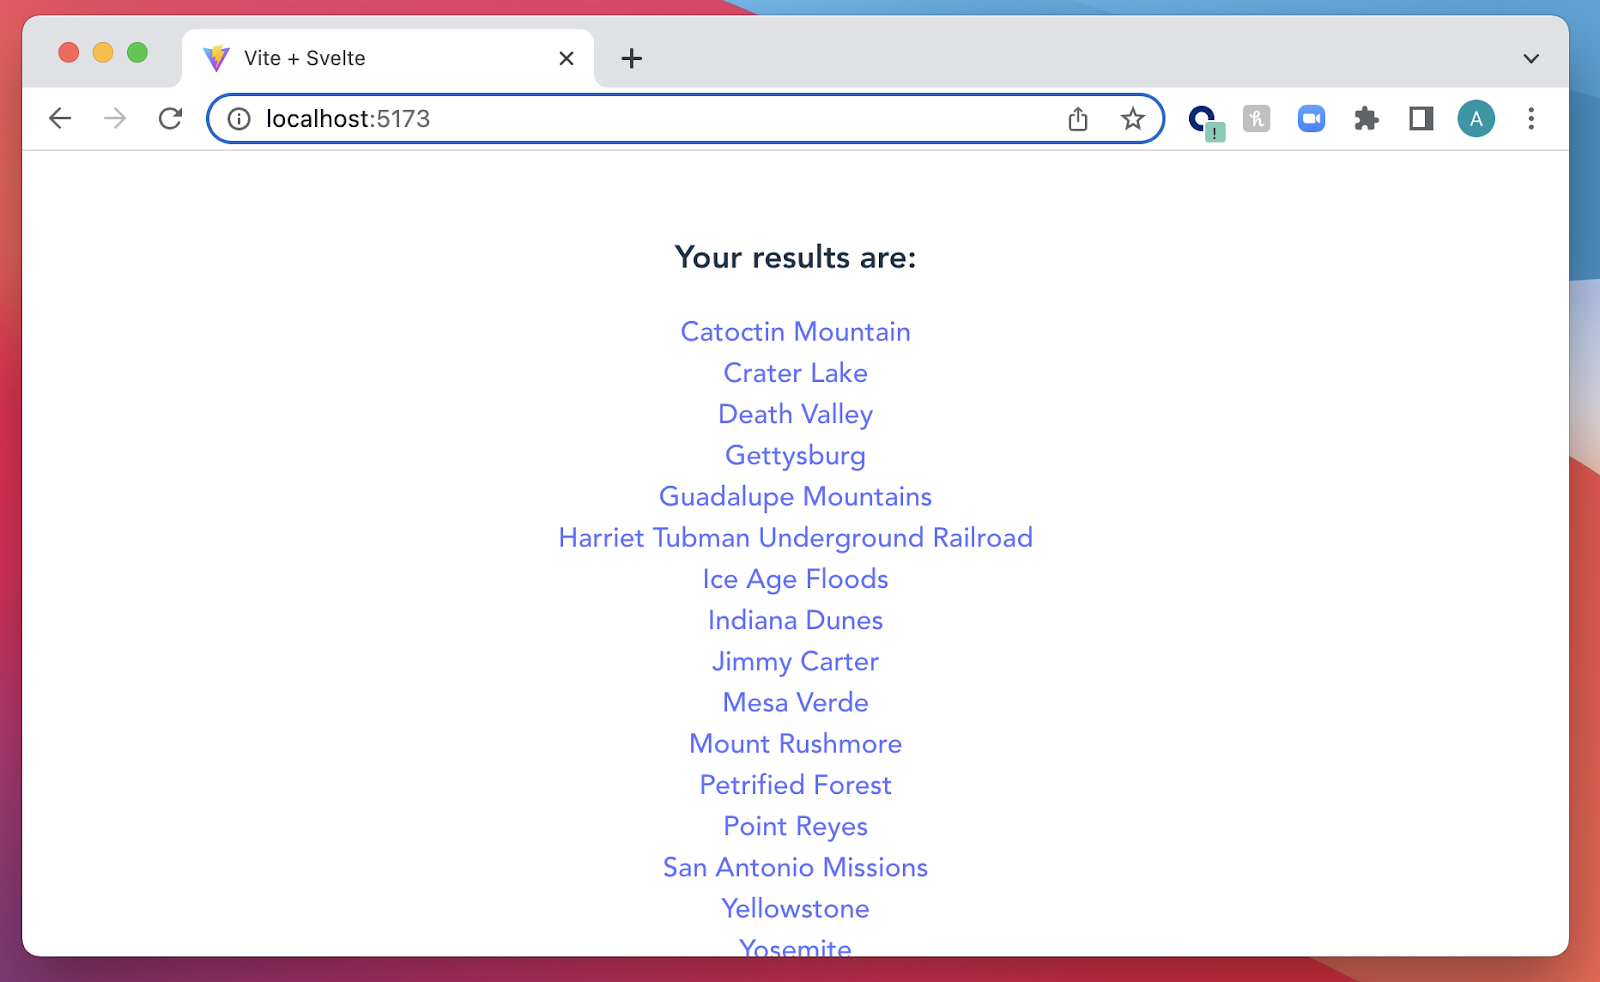
On the results screen, the user will be able to click on any of their results to be taken to that park’s website. They can also click a button that says Start Over to begin their search again.
Scaffold the app
To get started, open up a new terminal window, navigate to a suitable parent directory, and run the following command:
This will prompt you to select a framework. Select svelte by hitting the down arrow key until svelte is selected and then hit the enter key.
You will then be prompted to select a variant. Select svelte, which is the default, and then hit enter. svelte-ts is for typescript projects, which won’t be covered in this article.
This command cloned a template app into your parent directory. All of the code is inside a folder called national-parks. To finish setting up your app, run the following commands:
These commands navigate to your new app folder and install any required dependencies.
Create your Svelte stores file
Inside your new app folder is a folder called src. This is where most of your code files will go. Using your terminal, navigate into this src folder:
Stores are Svelte’s mechanism to share state and data across different, unrelated components. You’ll be using stores to keep track of the user’s progress through the app.
Create a file called stores.js by running the following command in your terminal, still within the src folder:
In this app, the three pieces of state that will be managed inside of stores are: step, questions, and responseOptions.
step is an integer value that tracks how far the user is through the quiz. This piece of state has a default value of -1, which is the step value associated with the welcome screen. When the user moves to the next screen, step will increase by 1. Likewise, if they move to the previous screen, step will decrease by 1.
The questions state is an array of objects. Each object contains three values: the question to be displayed to the user, the request URL that should be made to get the corresponding response options from the National Parks API, and an empty array to store the user’s selections for that question.
Finally, responseOptions is a derived store that makes the appropriate request to the National Parks API based on the current step. All of the values returned from the request are accessible via this state object. Every time the value of step changes, so will the value of responseOptions.
To create these three stores, copy the following code and paste it into stores.js:
Be sure to replace the XXX placeholders on lines 8 and 13 with your actual API key from National Parks API.
Create your component file structure
A file called App.svelte was already created for you inside the src folder. You’ll edit this file shortly. Before that though, create all your other components by running the following command in your terminal, still within the src folder:
This command creates five files, one for each of your new components. These components are as follows:
Question.svelte will contain code for the Question component. This component will be used to show the user the two quiz questions: “Select the activities that are important to you” and “Select the amenities that are important to you”.
Nested as a child component of the Question component is ResponseOption, which renders an individual option that the user could select for each question, such as Wildlife Viewing for activities or ATM for amenities. These options are generated via the API.
Also nested inside the Question component are the Navigation component and its child component NavigationButton. These two components control user movement through the app via the Previous, Next, Finish, and Start Over buttons.
Finally, the Results component displays the user’s filtered results and the option to start the quiz over.
Edit the App component
Open App.svelte in your text editor and delete all of the code you find inside. Replace it with this:
The App component is the top-most component in the app and controls which screen the user sees.
Save and close this file.
Add code to the Question component
Open Question.svelte and paste in the following code:
This component will show a loading message while the responseOptions derived store is making its request to the National Parks API. Once the store is populated with response options, this component will render each of these options in its own ResponseOption component. Beneath the response options, it will render the navigation buttons.
There’s two Svelte specific features to be noted in this code:
On line 7, this variable assignment begins with $:. This is Svelte’s way of creating reactive code. Anytime any of the dependent values of this assignment change, so will the variable’s value itself. This is a very handy feature, because typically, the script will only run when the component loads the first time.
That means, without this reactivity, the value of loading would be static, regardless of whether or not the value of the responseOptions store changes. By adding $: to the beginning of the statement, loading will now update every time the current value of responseOptions changes.
Secondly, on line 19, the Navigation component is rendered, with a child component, NavigationButton inside it here instead of in its component file. This is demonstrating a feature of Svelte called slots. Slots allow you to customize the content of a component depending on its context, while still providing a consistent look and functionality.
In this case, the navigation area of each screen should be styled the same and function the same, but the buttons inside will be different depending on the user’s current step in the flow. Using slots makes this dynamic rendering easier to code. You’ll see what this looks like in the Navigation component file later in this article.
Save and close this file.
Add code to the ResponseOption component
Open the ResponseOption.svelte file found in the src folder. Paste the following code into the file:
This code renders an individual ResponseOption component. As a prop it receives an option object, which contains details about the response option, including its id and its name. These details come from the API. Each option is rendered as a button that can be clicked to select or deselect it.
If an option is selected, then its id will be added to the selections array for the appropriate quiz question inside the questions store value. This is how the app keeps track of what the user has selected. Once the option has been selected, it can be deselected with a second click. If this happens, the id will be removed from the selections array.
Save and close this file.
Add code to the Navigation component
Open the Navigation.svelte file and paste in the following code:
In the highlighted line above, the <slot></slot> is where Svelte will render the child content of Navigation that was included in the Question component. Slots can also have default content, in case nothing was provided.
Save and close this file.
Add code to the NavigationButton component
Open the NavigationButton.svelte file. Paste the following code inside the file:
This code renders an individual navigation button whose text is provided as a prop. Also provided as a prop is the targetStep. When clicked, the navigation buttons will update the user’s step in the app flow based on whatever target step it receives as a prop.
Save and close the file.
Add code to the Results component
The final component, Results, has the most complicated code. In this component, the code will use the user’s selections, saved in the questions store, to query the National Parks API and filter the results. It will then render the results and a Start Over button that users can click to search for a park again. Paste the following code into the file, taking care to replace the placeholder API key value with your actual API key on lines 12 and 17.
The app needs to perform three processes: the first is to query for every park and filter that list for only parks that offer the activities the user selected; the second is to take the user’s required amenities to generate a list of parks that offer these amenities; the third is to compare these lists and only return parks that meet all the requirements.
The reason this code looks more complicated than the other component files is because of the way the data is returned from the National Parks API.
The API returns amenities data in a way that doesn’t lend itself easily to processing. The query returns an array of amenities objects. Each amenity object contains a nested array of park place objects, representing individual locations within a national park that have the requested amenity. From this park place object, you can obtain the park code required to cross reference against the filtered list of parks with the right activities.
Save and close this file, it’s time to test the app.
Test the app
In your terminal, navigate back to the root of your project. If you’re in the src directory, this command will be:
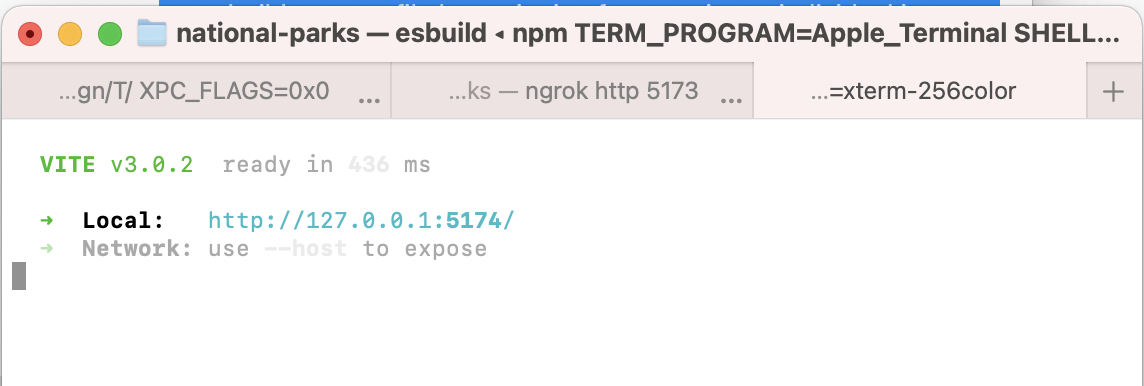
Start your local server by running the following command:
Copy the URL next to Local: and paste it into your browser.
Enjoy, and have a fabulous time at the National Park that most perfectly suits you. For me, I’m off to Mammoth Cave in Kentucky, where I can paddle, look at the stars, view wildlife, have a drink at the end of a beautiful day and charge my electric car up before heading back home.
Ashley is a JavaScript Editor for the Twilio blog. To work with her and bring your technical stories to Twilio, find her at @ahl389 on Twitter. If you can’t find her there, she’s probably on a patio somewhere having a cup of coffee (or glass of wine, depending on the time).
Related Posts
Related Resources
Twilio Docs
From APIs to SDKs to sample apps
API reference documentation, SDKs, helper libraries, quickstarts, and tutorials for your language and platform.
Resource Center
The latest ebooks, industry reports, and webinars
Learn from customer engagement experts to improve your own communication.
Ahoy
Twilio's developer community hub
Best practices, code samples, and inspiration to build communications and digital engagement experiences.


