Send an SMS When Your Build Fails on Travis CI
Time to read: 6 minutes

Introduction
Every year just before Christmas, this tweet warning about holiday deployments resurfaces within Engineering circles. It is testament to the complications that could arise when we deploy changes to code. For this reason many companies have made the shift to Test Driven Development (TDD).
Developed by @KentBeck , TDD requires that you write tests before writing code. This guarantees that you get instant confirmation that your code behaves as it should. TDD together with Continuous Integration (CI) - the process of testing code and automating the build every time a team member commits changes to a shared repository - helps ensure that production code works as is expected.
In this tutorial, we will, using TDD, build a small Laravel/Lumen project and use Travis CI for Continuous Integration. We will also build a webhook that listens for failed build triggers. When the build fails, we will send a Twilio SMS to notify team members of the failure.
Tutorial Requirements
- PHP 7 development environment
- Global installation of Composer
- Global installation of ngrok
- Twilio Account
- Github Account
- Travis CI Account
Setting Up Our Development Environment
Using TDD, we will work on building the user controller of a Lumen project.
Start a Lumen Project
To start a lumen project using Composer, open up Terminal and let’s run the following command. Note that the final part of the command is the name of the folder. I have named mine test-driven-development.
We will need to push our code to Github in order to add version control, so let’s go ahead and change directories to our project folder test-driven-development and create a new repository.
In your preferred code editor, open up the project to make a few changes. Open the file app/bootstrap/app.php and uncomment the following lines of code:
This allows us to use Laravel’s Eloquent ORM to interact with our database. Note: My project is built on v5.7.6 and the above lines of code are lines 26 and 28.
Under the tests folder, you will find two files, ExampleTest.php and TestCase.php. It is always good practice to have your tests folder structure similar to the app structure. Since we will be testing the controller, let us create the controller directory within the tests folder:
Now let’s move the ExampleTest.php file and rename it to UserControllerTest.php:
Lastly, let’s create the UserController.php file:
Great! In the next section we will talk about setting up the database.
Database Configuration
Lumen supports the use of MySQL, PostgreSQL, SQLite and SQL Server for your database. For this tutorial, I am using PostgreSQL but you are free to use another driver if you prefer.
Let’s create our database and name it test_db.
Since this tutorial is centered around testing, we will only set up the testing environment. From the root directory of your project, open the file phpunit.xml and add the following lines of code inside the <php></php> element:
Note: When building out an application, you would have to add these values in the .env file. I have set my username as postgres. This is the default username and there is no password. If yours is different, make sure you put the appropriate username and DB_PASSWORD if you have set a password.
Create a Migration
Migrations allow you to build, modify and share the application’s database schema with ease. We need to create one table, the user table. Using an Artisan command, let’s create the users table:
In the directory database > migrations you will find our new migration. We need to add two fields to it. Name and email. In the up() method let’s update the schema:
Since we will be using seeded data in our tests, the tests will need to access the test database. This migration will be used to create the schema before our tests run. The next step is to configure the data needed in the database. To do that we will configure seeded data in the next section.
Configure Seeded Data
Out of the box, Lumen makes it easy to create mock data using factories. Model factories are defined in the file database/factories/ModelFactory.php. By default this is what it looks like:
This is exactly what we need so we will leave it as is. Next, we have to let our application know that we would like to seed data using ModelFactories.php by calling it in the file database/seeds/DatabaseSeeder.php.
Let’s modify DatabaseSeeder.php to look like this:
The code on line 15 creates ten users and they are seeded to the database when we run tests. We are now done with setting up. Let’s go ahead and write our first test!
Write Tests
To run tests let’s run the command:
Note: I personally prefer to add this "test": "phpunit --debug" under scripts in my composer.json file. To run tests I run the command composer test.
You should see results similar to this:

The test that passed is the default test in the file UserControllerTest.php. Let’s get rid of the content in that file and add the following lines of code:
Now let’s run the test again. This is what you should now see:
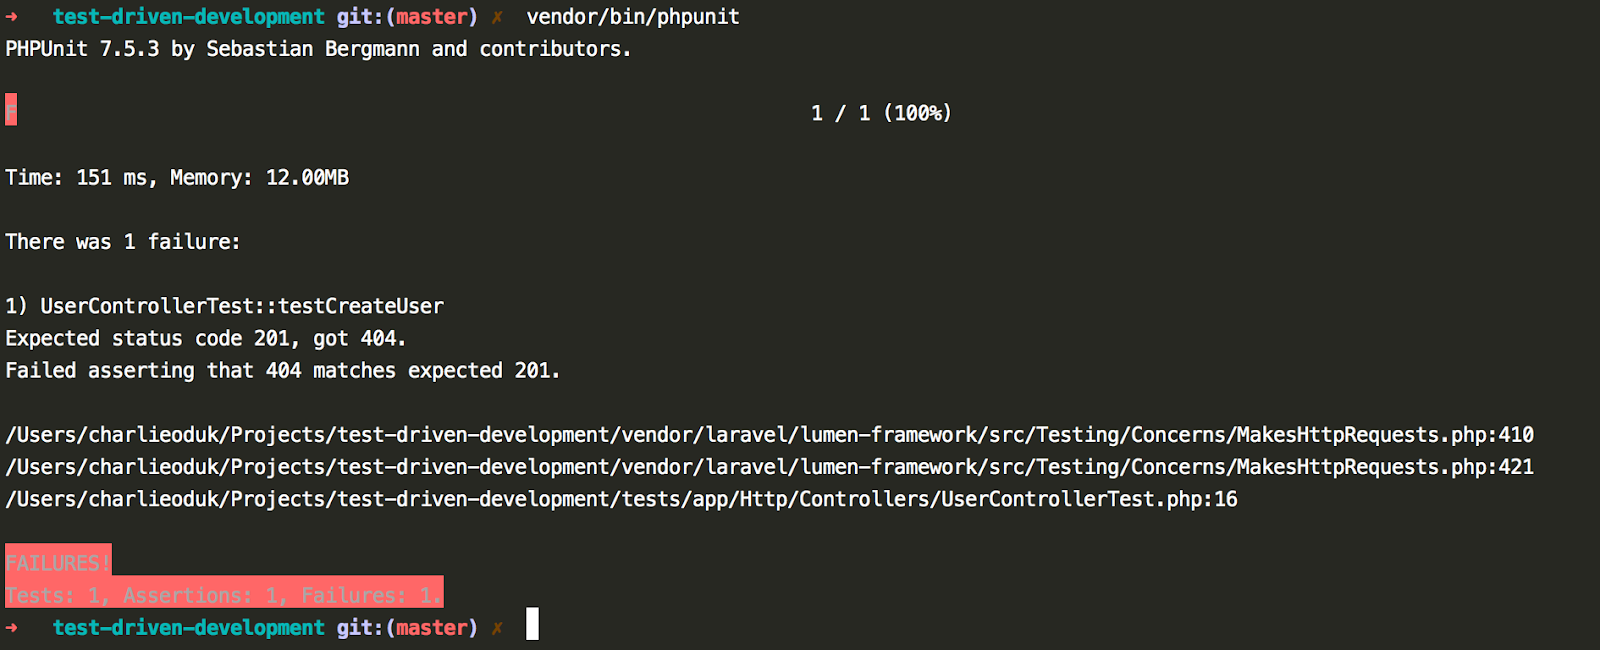
This is the expected outcome because we haven’t worked on the User controller. Let’s go ahead and add this code in the UserController.php file:
In routes/web.php let’s add an endpoint to the user controller:
We need the database to be set up before the tests run, so let us add the setup in tests/TestCase.php as follows:
The setUp() method ensures that the database is set up and data is seeded before the tests run.
Now let’s run the tests again. This is what we get:
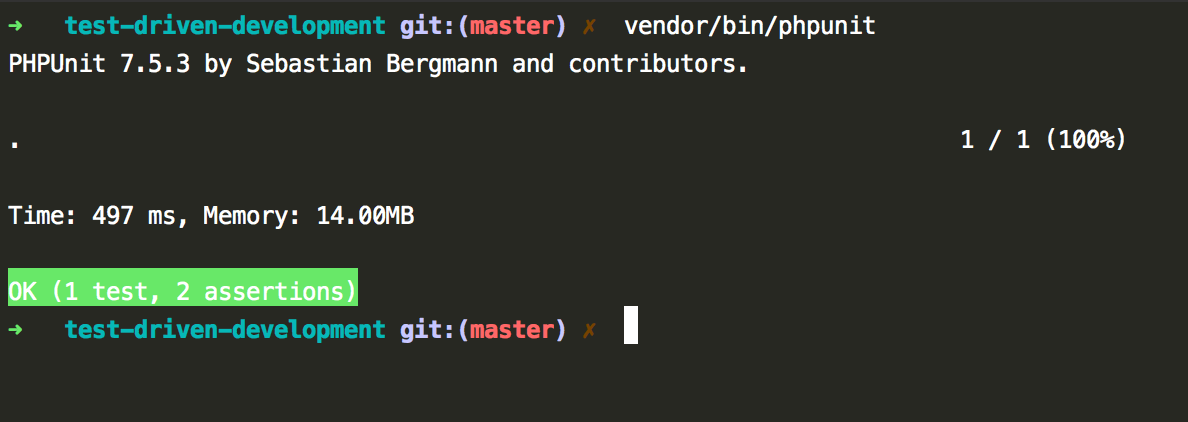
This is the process of building software using TDD. For this tutorial, we are going to leave it at that but you can go ahead and write more tests and corresponding functionality if you desire.
Set up Travis CI
Now that we have set up our application and written some tests, we need to set up Travis CI. In the root directory, create a file called .travis.yml and add the following piece of code:
The above piece of code will be used to set up an environment for our application on Travis CI.
Note: We have created a database called test_db and the default user is postgres. This matches what we have in our phpunit.xml file. If yours is different, you may have to either add environment variables on Travis CI or change the information in your phpunit.xml file.
If you don’t have an account on Travis CI, you can sign up with Github. After accepting authorization of Travis CI, you will be redirected to Github. Click the activate button and select the repository (in our case “test-driven-development”) you want to use with Travis CI. Click Approve and Install.
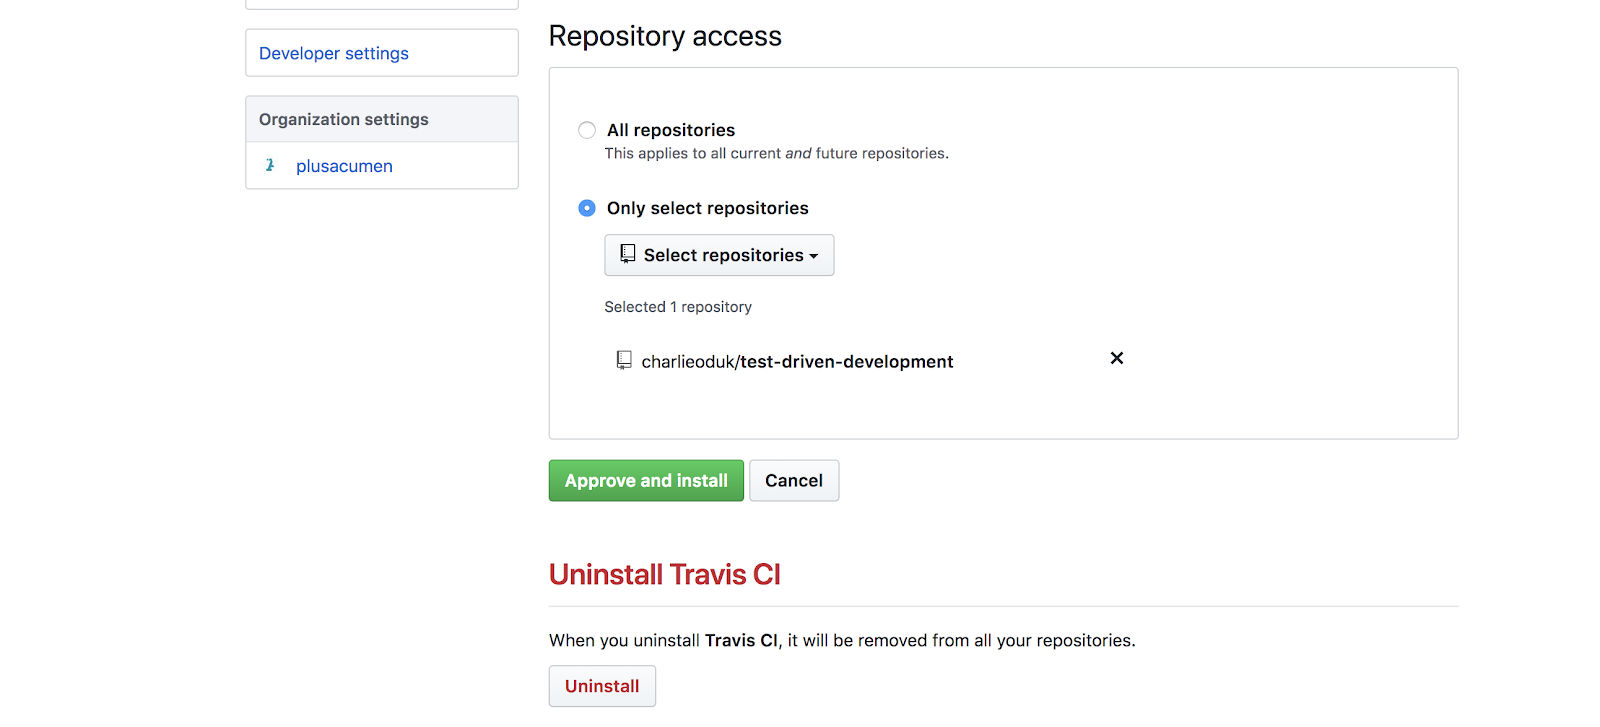
Now we are ready to push our code to Github and have the build tested on Travis CI. From your terminal, add the recent changes, commit and push your code to Github. From your Travis CI dashboard, you will notice the build running. After a short while the build passes and you get a result similar to this:
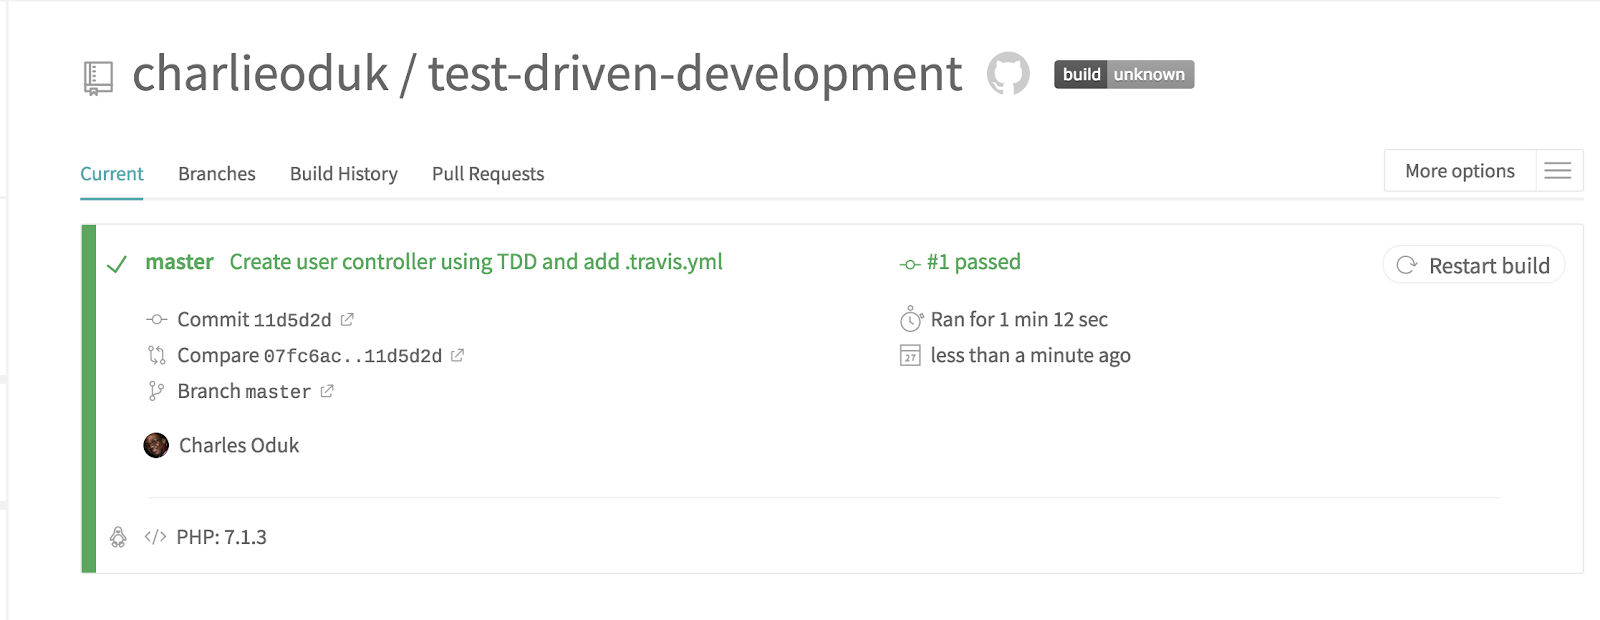
Congratulations! You have just implemented test driven development and continuous integration using Travis CI.
Set Up A Webhook To Send Twilio SMS
Currently our build is passing. We would like to be notified via SMS when the build is failing. To do this we will configure a webhook to receive failed build notifications. To help us interact with the Twilio API, we need to install Twilio SDK for PHP dependency. Let’s do so by running the command:
In the .env file, add the following credentials:
You can find the credentials on your Twilio dashboard:
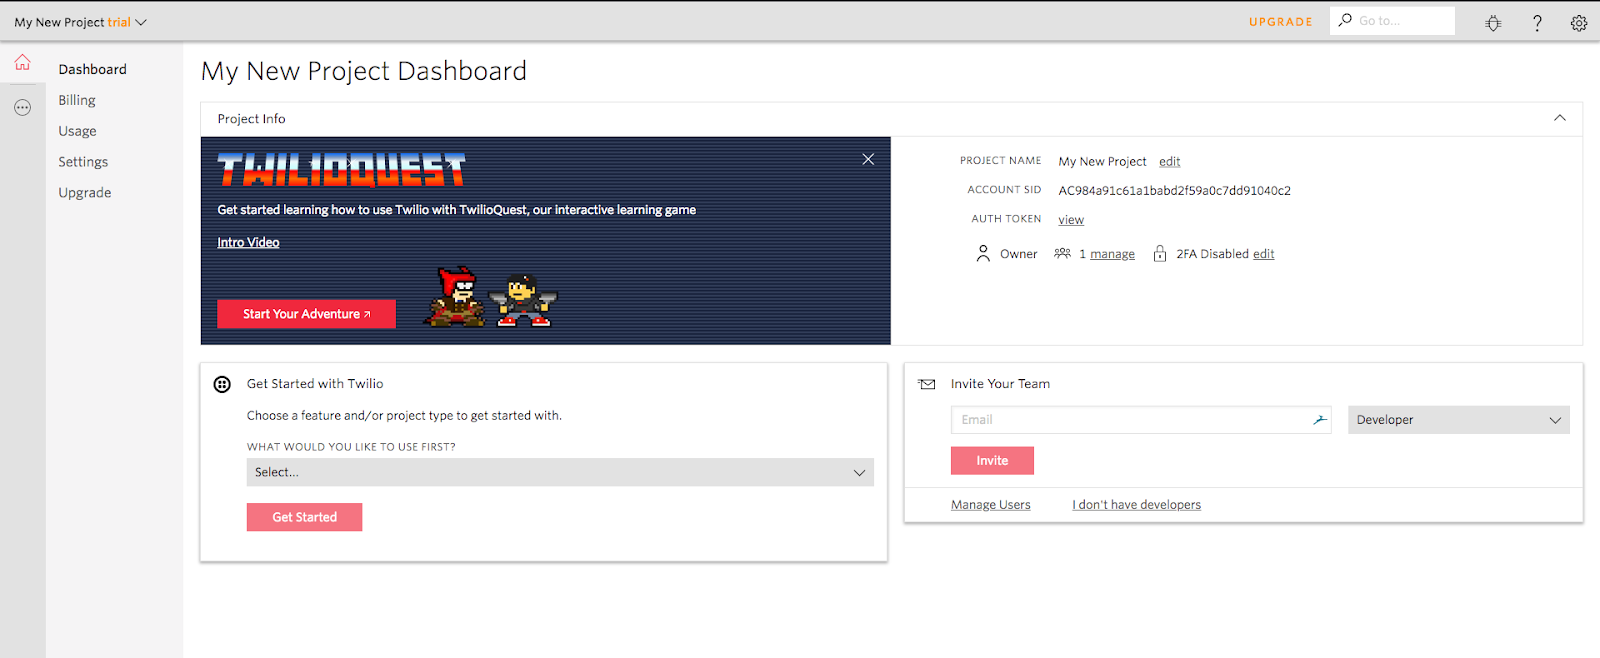
We need to prepare a Twilio Client, that we will inject into our webhook to handle sending a message. Let’s do that by running the following command:
In TwilioClient.php let’s add the following code:
Now let’s create a controller for the webhook by running the following command:
In the NotificationController.php file let’s paste the following piece of code:
Note: Remember to enter a verified number if you are using a Twilio trial account.
In the routes/ > web.php let’s add an endpoint to the user controller:
To make our webhook accessible through a public URL from our localhost, we will use ngrok. In your terminal, within the root directory of your project, run the command:
In a new terminal window, run the command:
You should see a similar result in your terminal:

We will use the generated URL to make our webhook accessible. Mine will be https://ea5ca623.ngrok.io/notifications
Test Our Webhook
In order to test our webhook, we need to make some changes to our Lumen project. In our .travis.yml file, let’s update it to include the webhook URL:
Since we want to be notified when a build fails, let’s make our test fail. Let’s update tests/app/Http/Controllers/UserControllerTest.php to look like this:
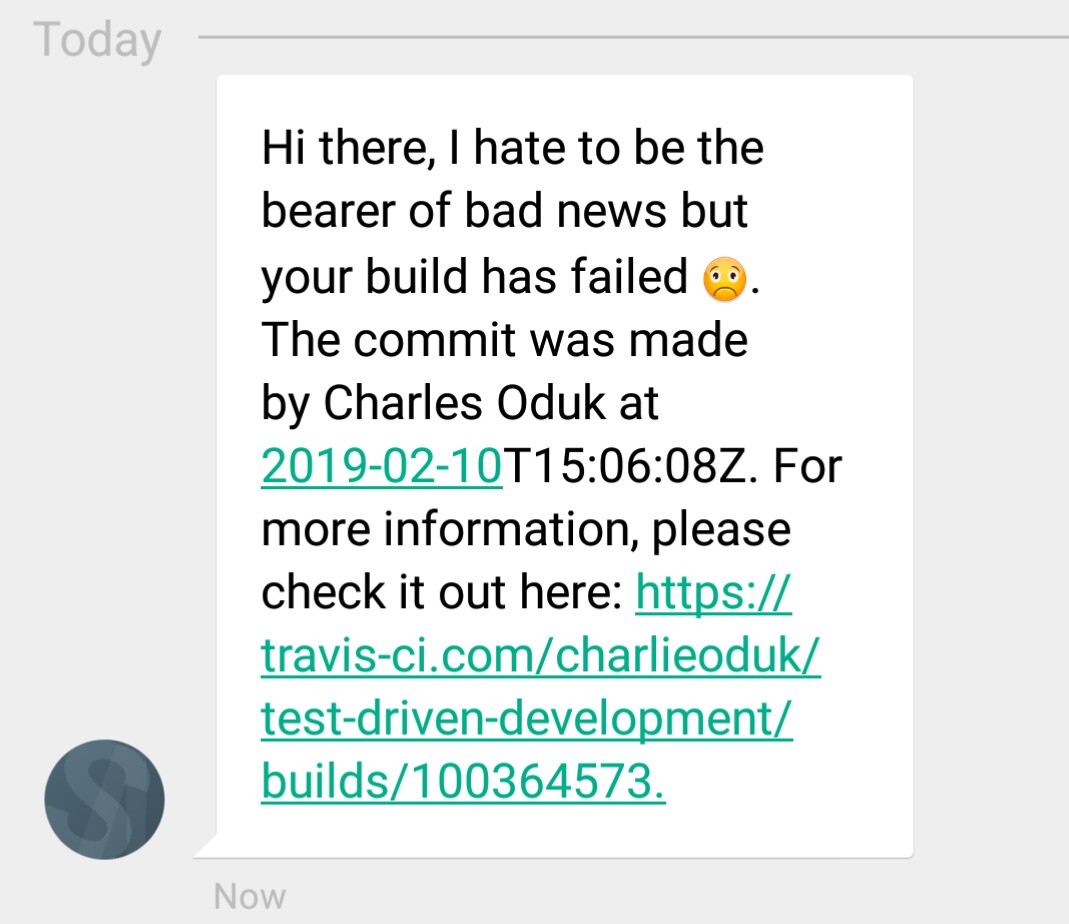
Great! We are ready to test. Add the new changes, commit and push to Github. After the build fails, you should receive an SMS like the one below:
Conclusion
We have only written one test in this tutorial. You can now continue to build out your project using TDD. You could also add a code coverage report to check what percentage of your code is covered by the tests. Here’s to writing clean and tested code!
You can find the complete code on Github. I look forward to hearing about the amazing work you do. You can reach me on:
Email: odukjr@gmail.com
Twitter: @charlieoduk
Github: charlieoduk
Related Posts
Related Resources
Twilio Docs
From APIs to SDKs to sample apps
API reference documentation, SDKs, helper libraries, quickstarts, and tutorials for your language and platform.
Resource Center
The latest ebooks, industry reports, and webinars
Learn from customer engagement experts to improve your own communication.
Ahoy
Twilio's developer community hub
Best practices, code samples, and inspiration to build communications and digital engagement experiences.


