Scaling your Go Application with Kubernetes
Time to read:

In this tutorial we’ll walk through scaling your Go application with Kubernetes. We will do this by building an application in Go. We will then get it up and running locally on your development machine, containerize it with Docker, deploy it to a Kubernetes cluster with Minikube, and create a load balancer that will serve as its public facing entry point.
Docker is a containerization tool used to provide applications with a filesystem holding everything they need to run. This ensures that apps will have a consistent run-time environment and behave the same way regardless of where they are deployed. Kubernetes is a cloud platform for automating the deployment, scaling, and management of containerized applications.
Prerequisites
Before you can complete the tutorial, you’ll need a few things.
- Go 1.19
- Kubernetes 1.25
- Minikube 1.26
- You preferred editor or IDE
- Some prior experience with containers and with developing applications in Go would also be ideal
Build a Sample Web Application
First up, you will build a sample application written in Go. Once you containerize this app with Docker, it will serve requests to your server’s IP address port 3000.
Create a new directory to contain the project files by running the following command in your development workspace:
We’ll then go ahead and create a service with Gin to respond to HTTP requests.
Next, run the application using the following command. This will compile the code in your main.go file and run it locally on your development machine.
In the next step we are going to add some logging to our application to make debugging easier.
Add Logging to our Go Application
We’ll use Gin Zap as middleware to our application to handle logging of HTTP requests in our application.
In the next step, we will dockerize the application.
Dockerize Your Go Application
Create a new file in the top-level project directory named Dockerfile
Next use the following command to create and start the container.
When you deploy your containerized application to your Kubernetes cluster, you’ll need to pull the image from a centralized location. So you need to first push your newly created image to your Docker Hub image repo. However, before you can do that, you first have to log in to Docker Hub.
Run the following command to do this:
After logging in push your new image up to Docker Hub using the docker push command
Now that we have pushed the image to a central location we are ready to deploy it to your Kubernetes cluster.
Start your local kubernetes cluster
We’ll use minikube which implements a local Kubernetes cluster on macOS, Linux, and Windows. Run the following command on your command line to begin:
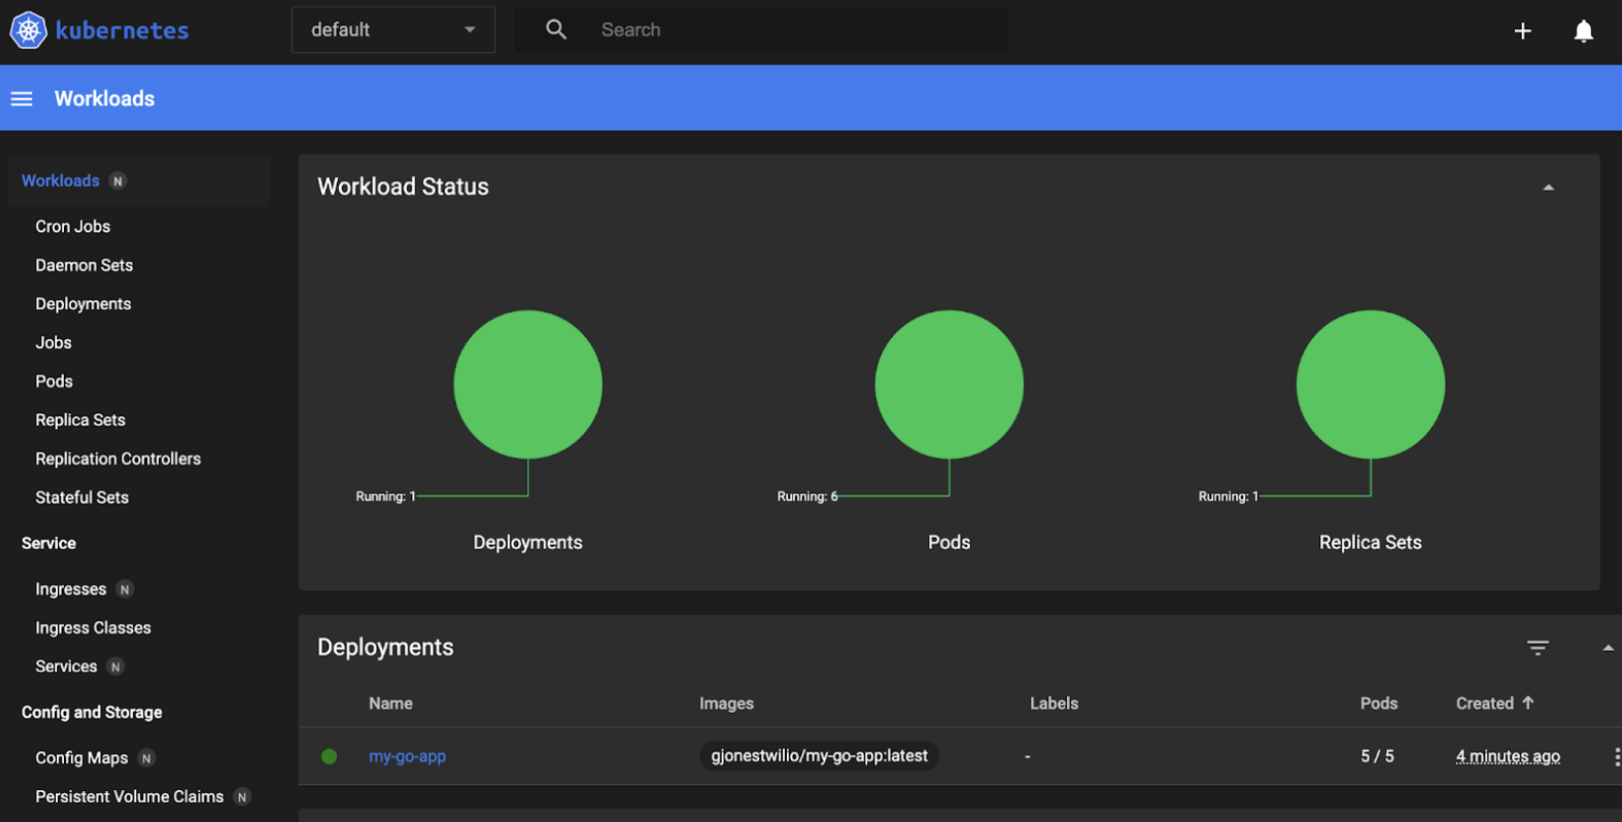
If you're interested, you can view a Kubernetes dashboard via the minikube dashboard command.

Create a Deployment
One kind of Kubernetes object, known as a deployment, is a set of identical, indistinguishable pods, where a pod is a grouping of one or more containers which are able to communicate over the same shared network and interact with the same shared storage.
A deployment runs more than one replica of the parent application at a time and automatically replaces any instances that fail ensuring that your application is always available to serve user requests.
In this step, you’ll create a Kubernetes object description file known as a manifest for the deployment. The manifest will contain all the configuration details needed to deploy your Go app to your cluster.
Begin by creating a deployment file in the root of your directory named deployment.yaml.
Next apply your new deployment using this command:
In the next step you’ll create another kind of Kubernetes object, a service, which will manage how you access the pods that exist in your deployment. This service will create a load balancer which will then expose a single IP address. Requests to this IP address will be distributed to the replicas in your deployment. This service will also handle port forwarding rules so that you can access your application over HTTP.
Create a Service
Now that you have a successful Kubernetes deployment, you’re ready to expose your application to the outside world. In order to do this you’ll need to define another kind of kubernetes object: a service. This service will expose the same port on all of your cluster’s nodes. Your nodes will then forward any incoming traffic on that port to the pods running your application.
Create a new file called service.yml
After adding these lines, save and close the file. Following that, apply this service to your Kubernetes cluster by, once again, using the kubectl apply command:
This command will apply the new Kubernetes service as well as create a load balancer. This load balancer will serve as the public-facing entry point to your application running within the cluster.
As we are using a custom Kubernetes Cluster with minikube, there is no load balancer integrated (unlike with AWS or Google Cloud) so we need to tunnel requests. You can do this with minikube tunnel command
To view the application, you will need the new load balancer’s IP address. Find it by running the command:
The load balancer will take in the request on the port 80 and forward it to one of the pods running within your cluster.
Conclusion
Congratulations! With that you’ve created a Kubernetes service coupled with a load balancer, giving you a single, stable entry point to your application.
Gareth Paul Jones is a Group Product Manager for our Developer Experience (DX) Team. He's invested in helping solve large scale software problems. When he is not staring at screens, he enjoys family time with his wife and daughter. He can be reached at gjones [at] twilio.com.
Related Posts
Related Resources
Twilio Docs
From APIs to SDKs to sample apps
API reference documentation, SDKs, helper libraries, quickstarts, and tutorials for your language and platform.
Resource Center
The latest ebooks, industry reports, and webinars
Learn from customer engagement experts to improve your own communication.
Ahoy
Twilio's developer community hub
Best practices, code samples, and inspiration to build communications and digital engagement experiences.


