Live Transcribing Phone Calls using Twilio Media Streams and Google Speech-to-Text
Time to read:
With Twilio Media Streams, you can now extend the capabilities of your Twilio-powered voice application with real time access to the raw audio stream of phone calls. For example, we can build tools that transcribe the speech from a phone call live into a browser window, run sentiment analysis of the speech on a phone call or even use voice biometrics to identify individuals.
This blog post will guide you step-by-step through transcribing speech from a phone call into text, live in the browser using Twilio and Google Speech-to-Text with Node.js.
If you want to skip the step-by-step instructions, you can clone my Github Repository and follow the ReadMe to get setup or if you prefer to watch Video, check out a video walkthrough here.
Requirements
Before we can get started, you’ll need to make sure to have:
- A Free Twilio Account
- A Google Cloud Account
- Installed ngrok
- Installed the Twilio CLI
Setting up the Local Server
Twilio Media Streams use the WebSocket API to live stream the audio from the phone call to your application. Let’s get started by setting up a server that can handle WebSocket connections.
Open your terminal and create a new project folder and create an index.js file.
Open your index.js file and add the following code to set up your server.
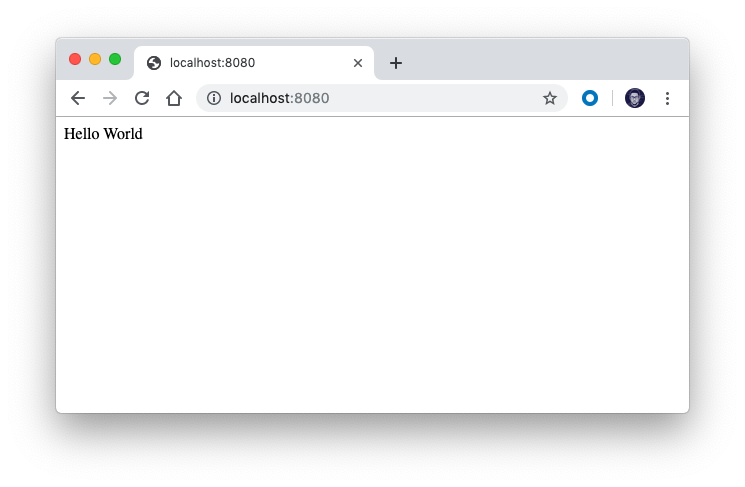
Save and run index.js with node index.js. Open your browser and navigate to http://localhost:8080. Your browser should show Hello World.
Now that we know HTTP requests are working, let’s test our WebSocket connection. Open your browser’s console and run this command:
If you go back to the terminal you should see a log saying New Connection Initiated.

Setting up Phone Calls
Let’s set up our Twilio number to connect to our WebSocket server.
First we need to modify our server to handle the WebSocket messages that will be sent from Twilio when our phone call starts streaming. There are four main message events we want to listen for: connected`, `start`, `media` and `stop`.
- Connected: When Twilio makes a successful WebSocket connection to a server
- Start: When Twilio starts streaming Media Packets
- Media: Encoded Media Packets (This is the Raw Audio)
- Stop: When streaming ends the stop event is sent.
Modify your index.js file to log messages when each of these messages arrive at our server.
Now we need to set up or Twilio number to start streaming audio to our server. We can control what happens when we call our Twilio number using TwiML. We’ll create a HTTP route that will return TwiML` instructing Twilio to stream audio from the call to our server.
Add the following POST route to your index.js file.
For Twilio to connect to your local server we need to expose the port to the internet. The easiest way to do that is using the Twilio CLI. Open a new Terminal to continue.
First let’s buy a phone number. In your terminal run the following command. I have used the GB country code to buy a mobile number, but feel free to change this for a number local to you. Hold on to the number’s Friendly Name once the response is returned.
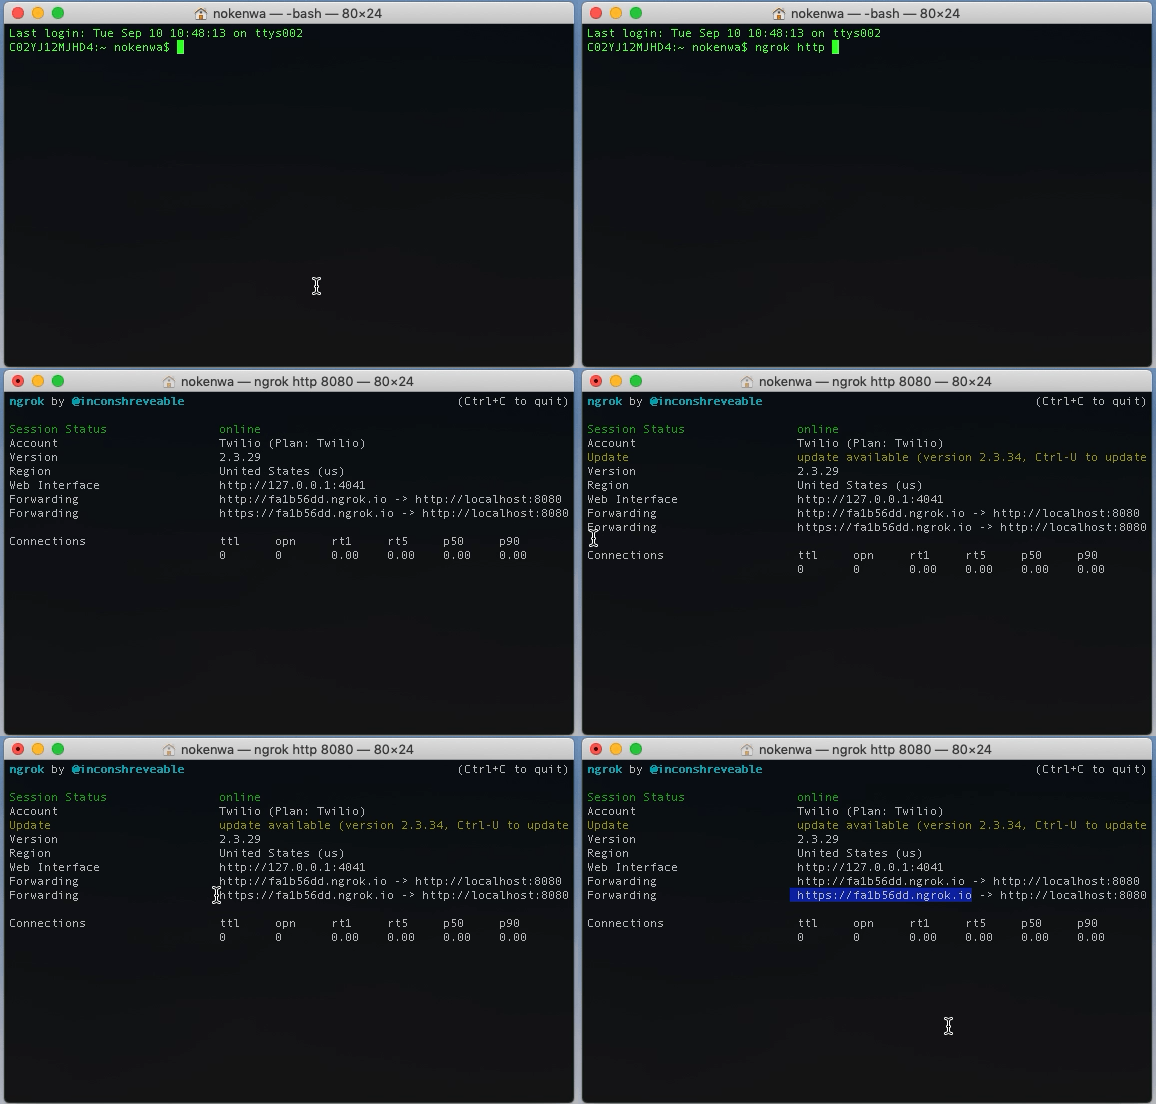
Finally lets update the phone number to point to our localhost url. We need to use ngrok to create a tunnel to our localhost port and expose it to the internet. In a new terminal window run the following command:
You should get an output with a forwarding address like this. Copy the URL onto the clipboard. Make sure you record the https url.
Back in the terminal window where we bought our twilio number lets update our phone number to make a post http request to our server.
Run the following command:
Head over to a new terminal window and run your index.js file. Now call your Twilio phone number and you should hear the following prompt, “I will stream the next 60 seconds of audio through your websocket”. The terminal should be logging Receiving Audio…
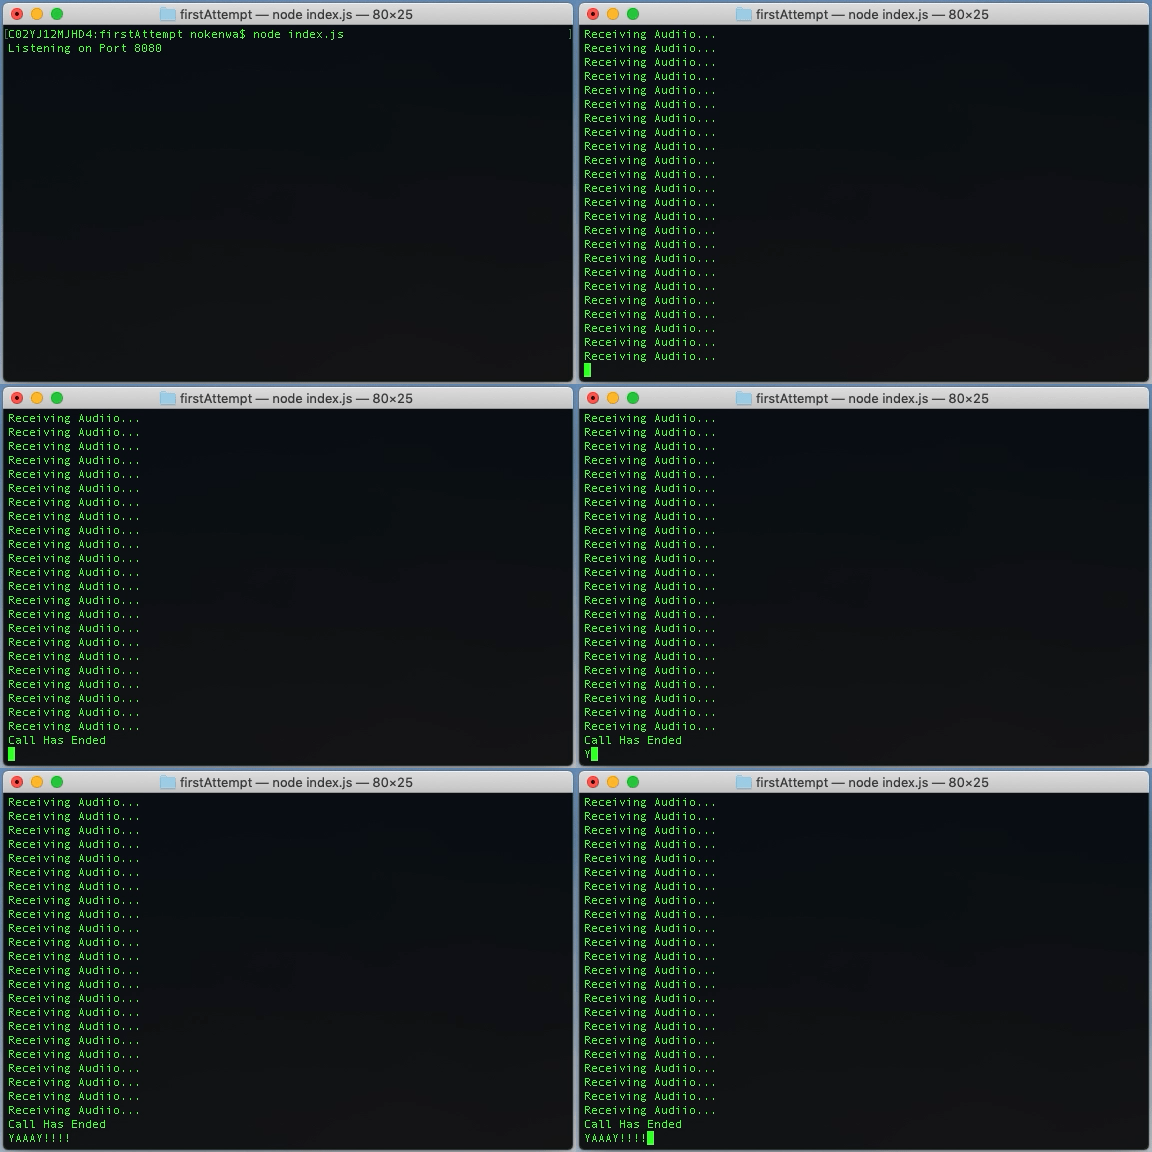
NOTE: Make sure that you have at least 2 terminals running if your log doesn’t match the expected response. One running your server (index.js) and one running ngrok.
Transcribing Speech into Text
At this point we have audio from our call streaming to our server. Today, we’ll be using Google Cloud Platform’s Speech-to-Text API to transcribe the voice data from the phone call.
There is some setup that we need to do before we get started.
- Install and initialize the Cloud SDK
- Setup a new GCP Project
- Create or select a project.
- Enable the Google Speech-to-Text API for that project.
- Create a service account.
- Download a private key as JSON.
- Set the environment variable
GOOGLE_APPLICATION_CREDENTIALSto the file path of the JSON file that contains your service account key. This variable only applies to your current shell session, so if you open a new session, set the variable again.
Run the following command to install the Google Cloud Speech-to-Text client libraries.
Now let’s use it in our code.
First we’ll include the Speech Client from the Google Speech-to-Text library then we will configure a Transcription Request. In order to get live transcription results, make sure you set interimResults to true. I have also set the language code to en-GB, feel free to set yours to a different language region.
Now let’s create a new stream to send audio from our server to the Google API. We will call it the recognizeStream and we will write our audio packets from our phone call to this stream. When the call has ended we will call .destroy() to end the stream.
Edit your code to include these changes.
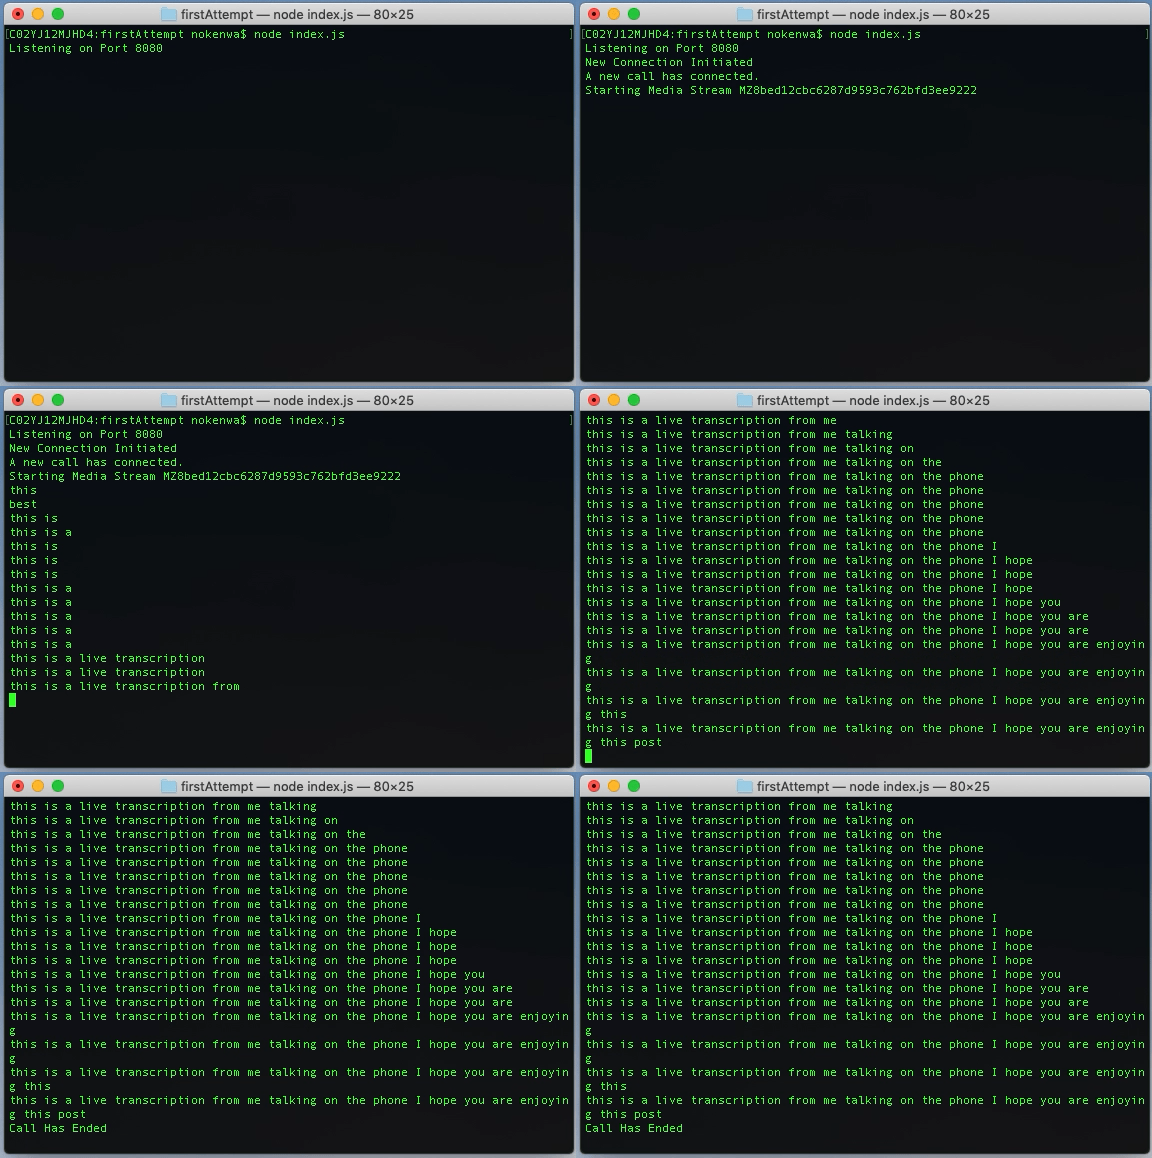
Restart your server, call your Twilio phone number and start talking down the phone. You should see interim transcription results begin to appear in your terminal.
Sending Live Transcription to the Browser
One of the benefits of using WebSockets is that we can broadcast messages to other clients, including browsers.
Let’s modify our code to broadcast our interim transcription results to all connected clients. We’ll also modify the GET route. Rather than sending ‘Hello World’ let’s send a HTML file. We will need the path package also, so don’t forget to require it.
Modify your index.js file like below.
Let’s setup a web page to handle the interim transcriptions and display them in the browser.
Create a new file, index.html and include the following:
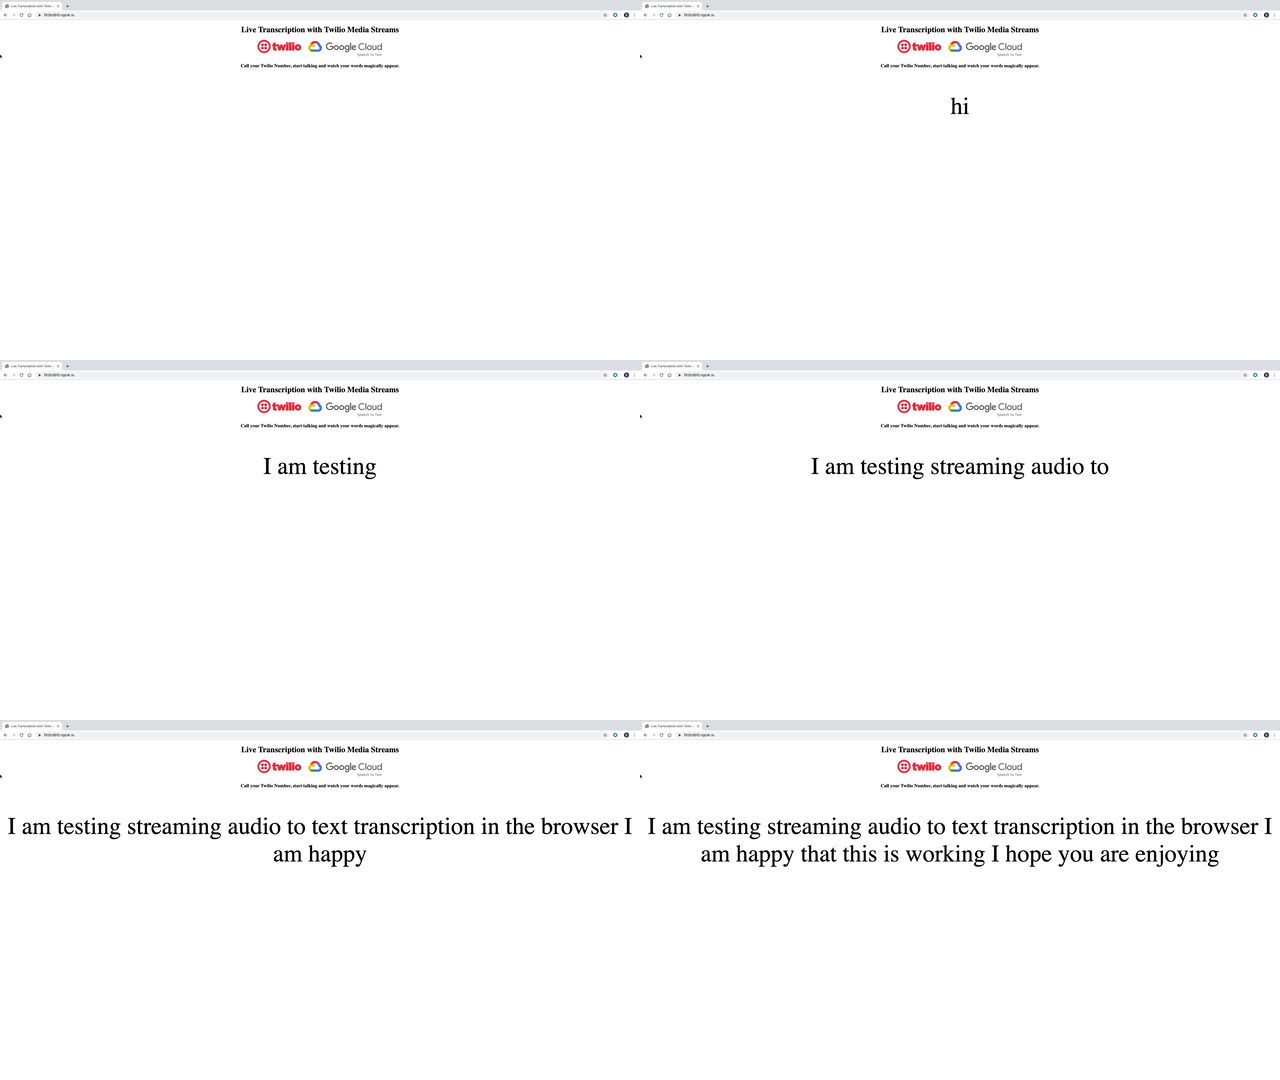
Restart your server, load localhost:8080 in your browser then give your Twilio phone number a call and watch your words begin to appear in your browser.
Wrapping up
Congratulations! You can now harness the power of Twilio media streams to extend your voice applications. Now that you have live transcription, try translating the text with Google’s Translate API to create live speech translation or run sentiment analysis on the audio stream to work out the emotions behind the speech.
If you have any questions, feedback or just want to show me what you build, feel free to reach out to me:
- Twitter: @chatterboxcoder
- GitHub: nokenwa
- Email: nokenwa@twilio.com
Related Posts
Related Resources
Twilio Docs
From APIs to SDKs to sample apps
API reference documentation, SDKs, helper libraries, quickstarts, and tutorials for your language and platform.
Resource Center
The latest ebooks, industry reports, and webinars
Learn from customer engagement experts to improve your own communication.
Ahoy
Twilio's developer community hub
Best practices, code samples, and inspiration to build communications and digital engagement experiences.


