How to Create a Local WordPress Setup in 5 Minutes using Valet
Time to read:

As a WordPress developer, I’m always looking for the lightest solution to spin up a local development environment for new projects. I know that some devs swear by Vagrant and Docker, but when you’re local environment takes more resources than your operating system, it makes you wonder if there's a better way.
In my agency days I used a MacBook Air for development, which is notorious for running out of space and memory. Just in case you are in the same boat and you want a quick, clean solution to spinning up new WordPress environments, I can’t recommend Valet by Laravel enough. Valet is a Laravel development environment for Mac minimalists that doesn’t rely on Vagrant or Docker to load a separate operating system.
Technical Requirements
For this tutorial we’ll assume the following:
- You are on a Mac
- You have Git installed
- You have Homebrew installed
- You have MySQL installed
- You are familiar with MySQL in the command line or use a GUI like Sequel Pro
Turn your timer on, and let’s get started setting up a new local WordPress install using Valet.
Install Valet
The first thing we need to do is install Valet. Valet requires Homebrew, so if you don’t have that installed be sure to do so via the link provided. Let’s update our brew install to make sure we have access to the latest repositories. In the command line, type:
Next, we want to make sure that we have PHP7.2 installed as this is what Valet requires.
Assuming that you already have Composer installed, we’re now ready to install Valet. If you don’t have Composer installed follow the instructions here. Using Composer, let’s install Valet:
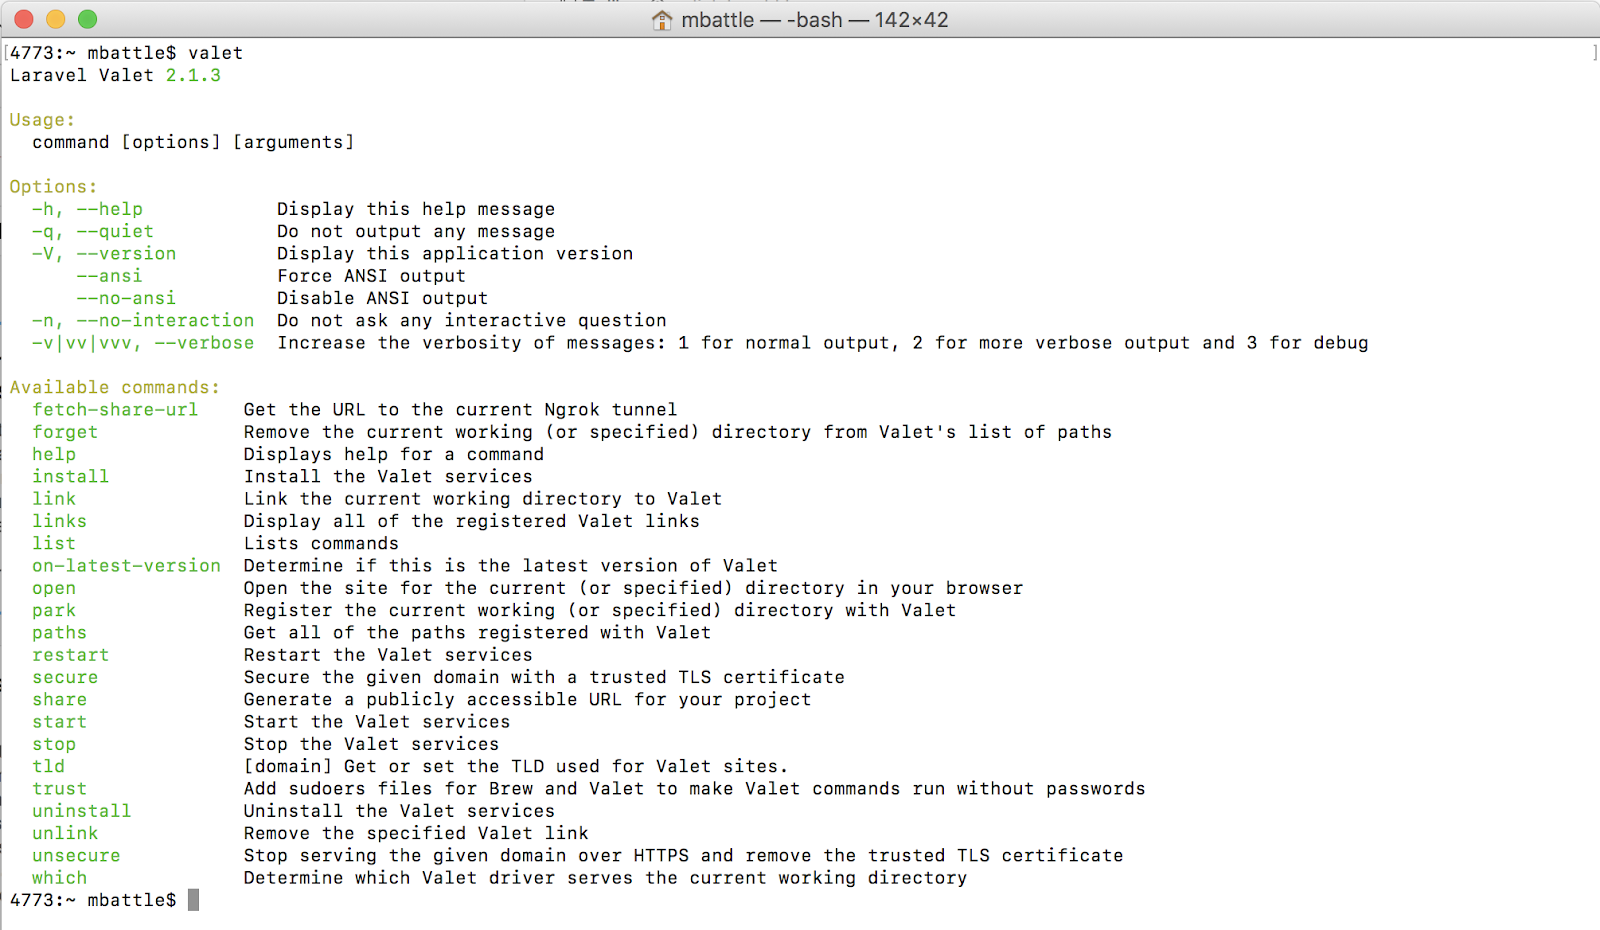
You’re going to want to make sure that the valet command is globally accessible, so be sure to add ~/.composer/vendor/bin to your system’s “$PATH” by running export PATH="$HOME/.composer/vendor/bin:$PATH". You can test that this works by running:
It should display the following menu:

Now that you’ve confirmed that Valet is working, one simple command will install the Valet services that handle local DNS and the daemon to load Valet on system start. Let’s run:
Valet is now installed! This means that our computer is ready to host PHP sites and frameworks locally.
Create a Database
Since having an available database is a prerequisite of WordPress, our next step should be to create one. If you use a GUI like SequelPro to manage your databases, create one named ‘wordpress' and skip this step. If by chance you don’t have MySQL installed, run the following command. Your username will become root and the password will be empty:
Otherwise, let’s fire up the command line and log in to MySQL:
If you have a password for your MySQL instance, be sure to use the -p parameter to prompt for the password. Once you’re logged into MySQL, run the following command to create a new database named ‘wordpress’:
You’re now ready to install WordPress!
Install WordPress
In the command line, let’s navigate back to the folder that’s going to serve our sites. There we’ll download the most recent version of WordPress and run the installation. The following command will clone the most recent version of WordPress and copy the files to a new folder called ‘mystic’. Feel free to rename this to whatever folder you prefer.
Run Valet
Valet takes all of the hassles out of customizing etc/hosts and accessing our website. The following command will handle all of the DNS routings and create a custom URL for us to access the site. Notice that the last parameter is the value of our local domain. It follows the format *.test, so if you’d like it to be something different, define that value here.
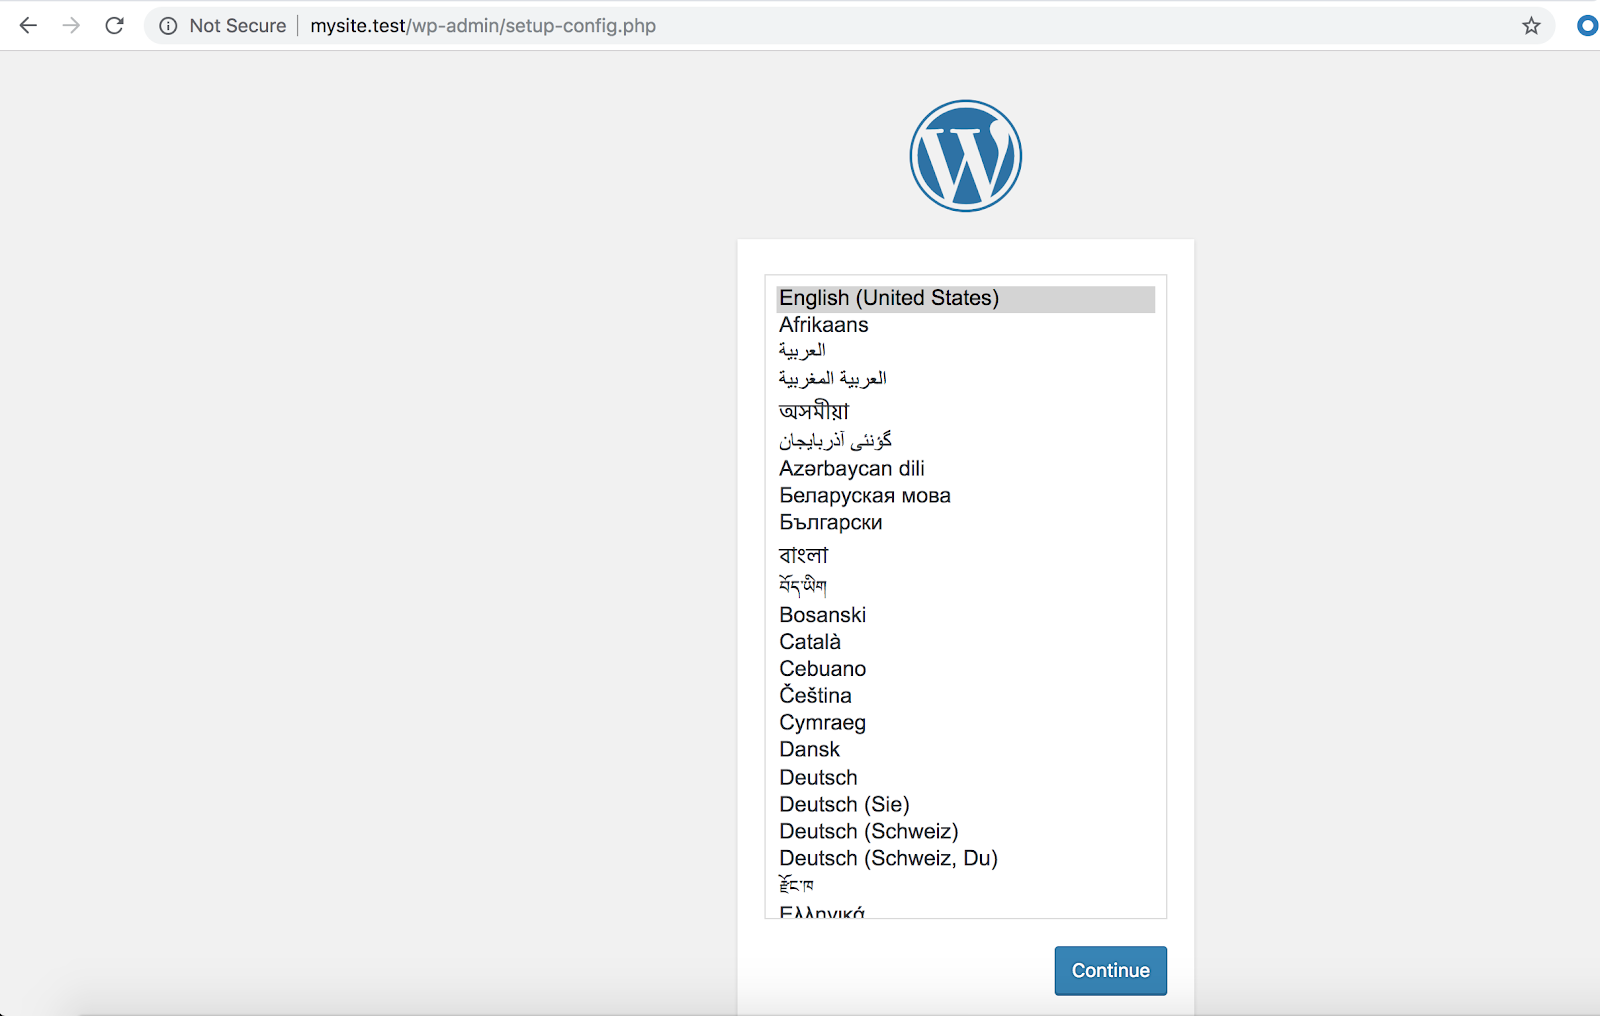
That’s it. Seriously. Your website is set up and you can continue your WordPress setup from here. When you visit http://mysite.test, you’ll see the WordPress installation page. Just follow the instructions to complete the installation.

Conclusion & Next Steps
Now that you have set up one instance of WordPress, you can see how easy it is to repeat this formula and set up more sites in less time. As a recap, the next time you need a site you can skip all of the Valet setup related steps and just:
- Download WordPress into a new folder
- Run valet link and set up the URL to access the folder
- Install WordPress
As Twilio’s lead for PHP Community Tutorials, I’d love to hear more about what you’re creating with Twilio and PHP.
- Twitter: @themarcusbattle
- Email: mbattle@twilio.com
- Github: themarcusbattle
Related Posts
Related Resources
Twilio Docs
From APIs to SDKs to sample apps
API reference documentation, SDKs, helper libraries, quickstarts, and tutorials for your language and platform.
Resource Center
The latest ebooks, industry reports, and webinars
Learn from customer engagement experts to improve your own communication.
Ahoy
Twilio's developer community hub
Best practices, code samples, and inspiration to build communications and digital engagement experiences.


