Build a Contact Form for a Python Django Application with Twilio SendGrid
Time to read:

A contact form is a common feature of many websites that provides a way for users to get in touch with the site’s administrators without having to open their email or hop on the phone. In a Python Django application, a contact form can be used to store a user’s contact information in the site’s database. And with Twilio SendGrid, we can also trigger an automated email containing that information as soon as the form is successfully submitted.
In this tutorial, we will build a simple contact form for a Django web application that does just that.
Tutorial requirements
- Python version 3.6 or higher. If you do not have Python installed on your computer, you can download a free installer here.
- A free Twilio SendGrid account. Sign up here to send up to 100 emails per day completely free of charge.
- The Django web framework. Django is a fully featured free and open source web development framework written in Python. We will install it using Python’s pip package manager in the section below. No previous knowledge of Django is required to complete this tutorial.
Django project set up
Before you install Django on your system, it is a best-practice in Python development to create an isolated ‘virtual environment’. A virtual environment keeps project-level dependencies separate from your global Python installation, and prevents version conflicts between the software requirements of different Python projects on your computer.
To set up a virtual environment, begin by creating an outer folder for your project where we will use Python’s venv command to generate a special directory for isolating our project’s requirements. If you are working on a Mac OSX or Linux machine, enter the following commands in your Terminal program:
On Windows, enter these commands in a command prompt window:
With your project’s virtual environment activated, you will see your command line prompt prepended with the name of your environment in parentheses, indicating that any Python packages you install will now be installed into this directory rather than globally on your system. You can deactivate your project’s virtual environment at any point by running the deactivate command.
Now that we have a location to store our projects dependencies, let’s go ahead and install them with the pip Python package manager:
If all goes well, you should see a bit of command line output as the installer downloads your packages, ending with something similar to this (though your package versions may vary from what was installed on my system at the time of writing):
With Django installed, we’re ready to create the actual project files where our Python code will live. From the outer project directory, alongside your virtual environment, run the following commands:
Now if you go to http://127.0.0.1:8000/ in your computer’s web browser, you should see the Django launch screen, indicating that Django has been successfully installed and is ready for you to start building your project:
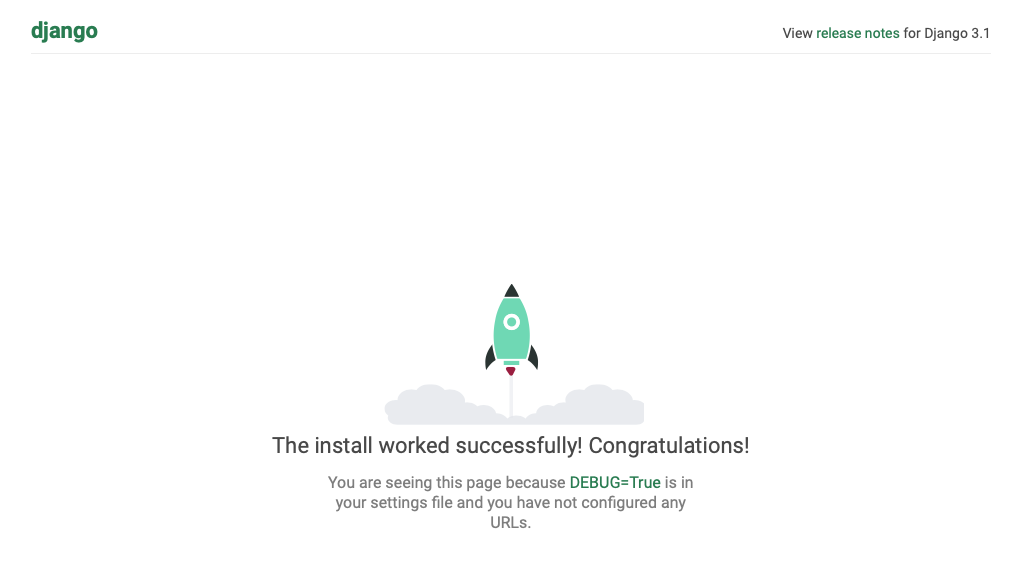
Note that at this point you will see a warning on the command line about unapplied database migrations. We will fix this shortly when we create our project’s first database model.
Create the Contacts app
Django projects are built out of apps: small, focused bundles of functionality that serve a single purpose in a larger web-based software application. Blogs, user accounts and news feeds are common examples of apps in Django-built websites, and for this tutorial we’ll be building a bare-bones ‘contact’ app that uses Twilio SendGrid to email the site’s administrators with a user’s contact information and a message.
To create a new ‘contact’ app for our project, return to the command line and either stop your development server by entering CONTROL-C, or open a second terminal window and run this command from the root of your Django project (the folder containing the manage.py file):
The startapp Django management command we ran here will generate a contact folder containing some boilerplate files that we will use to begin building our app. In order to load the app in our project, we need to tell Django where to find it by adding it to the INSTALLED_APPS configuration in our projects settings.py file. You can find this file in the inner contact_form directory at contact_form/contact_form/settings.py. Add ‘contact’ to the list of our project’s apps like so:
Now that Django knows where to find our app, we need to give our users a place to find it by routing our app’s view function to a specific URL that can be visited in a web browser. Open contact_form/contact_form/urls.py and add a new path() function call to the urlpatterns list below the Django-provided admin path so that the file’s contents look like this:
Now when a user navigates to the ‘contact/’ path in our website, Django will know to call the contact.views.contact_view function. Let’s go ahead and define that function now so that we can make sure our contact app is wired up properly and ready to go. Open the contact_form/contact/views.py file and add this code:
When you visit http://127.0.0.1:8000/contact/ in your browser you should see the text “Contact app works!”.
Now we’re ready to actually start building our own custom ‘contact’ application. Let’s start by replacing the HttpResponse function with a rendered HTML template for displaying our app’s contact form.
Create a new folder named templates inside your contact app folder, and inside of that, create another contact folder to hold a new template file called contact.html. The path to this file from the root of your project will look like this: contact_form/contact/templates/contact/contact.html. Add the following line of HTML code to that file:
Now, back in contact_form/contact/views.py we can update the code to use Django’s render() shortcut, which allows our view function to return a rendered HTML template.
If you refresh your browser after these changes, you will see a new ‘Contact us’ header at the top of the page.
Build the Contact model form
Before we can add our contact form to this page, we need a place to save the data that our users enter into that form. Even though the end goal here is to email the contact information to our site’s administrators, it is still a good idea to save the form data in our project’s database. In addition to providing a backup of our website’s contacts in the event that an email does not send, we could also potentially use this data to build an email list or to run analytics on the types of inquiries we commonly receive from our site’s users.
The startproject command that we used to create our project set us up with a db.sqlite3 file to serve as our project’s initial database. Django also has support for Postgres, MySQL and other production-level database options, but SQLite works just fine for local development.
In Django, you can create database tables for storing your project’s persistent data by defining a model. A Django model provides a way of representing database tables, fields and relationships in Python code that will be translated into SQL commands for our database to execute.
Let’s define a ‘Contact’ model by opening contact_form/contact/models.py and adding the following code:
This Contact model class maps to a single table in our project’s database, with each of its attributes corresponding to a specific column in that table. The email attribute is an instance of Django’s models.EmailField() class which only allows valid email addresses to be saved, a feature that will come in handy when we need it for validating our contact form data. Django has many other built-in model fields to provide useful constraints and additional features for various kinds of data, such as the CharField and TextField classes that we use here for our subject and message fields.
After defining or updating your Django models, there are two management commands that need to be run for those changes to be applied at the database level. The makemigrations command generates a file that Django will use to translate your Python code into SQL. This file also serves as a record of the change to your data model and should be tracked in your project’s version control system along with the model changes. After running makemigrations, the migrate command is used to run the actual SQL commands that alter the state of the database.
After saving your models.py file, return to the command line at the root of your Django project and run the makemigrations command:
After the migration file is generated in your contact_form/contact/migrations directory, you can enter python manage.py migrate and you should see this output (as well as output for any other unapplied migrations from the Django project generation), indicating that our contacts database table was successfully created:
Django is known as a ‘batteries included’ web framework, meaning that it provides many tools to simplify and streamline commonly repeated or boilerplate patterns in web development. One of these tools, known as a model form, provides an interface for creating an HTML form from an existing database model with very little code.
Let’s define a model form for our Contact model by creating a new forms.py file in the contact folder at contact_form/contact/forms.py and adding this code to that file:
The purpose of a ModelForm instance in Django is to generate an HTML form that can be used to save data to a specific table in our database. Class attributes for a ModelForm subclass define the specific form fields, and their corresponding HTML form widgets and can be used to add custom validation methods to each field. In our case, we’ll be using the default Django widgets and validators for every field in our Contact model so we don’t need to define any class attributes for our ContactForm class.
Django uses an inner Python class named Meta in a ModelForm subclass to define data values that do not map directly to individual form fields. We use the Meta definition here to connect the form to our Contact model via the model attribute, and to declare that we want to create form fields for all the fields in our contacts database table with fields.
With our ContactForm class defined, we can now return to our contact_form/contact/views.py file and use it to add the rendered HTML form code to our template. Open that file in your text editor and edit the existing view code to look like this:
Here we add an import statement for the ContactForm class we just defined, and in our contact_view function we instantiate that class as a form variable and add it to the context dictionary that our Django template uses to display dynamic data on the front-end of our web application. Be sure to pass that context dictionary into the render function that the view returns.
With the ContactForm instance now available to our Django template, add the following code at the end of contact_form/contact/templates/contact/contact.html to display the form:
There are several important details to note about this code. The empty quotes in the action=”” attribute tells the browser to submit the form element’s data back to the same URL that was used to load the page, which in our case means it will call our contact_view function with that form data attached the Django request object. The {{ form }} template variable uses Django’s template syntax to interpolate the data from our context dictionary into our website’s generated HTML code. The method="post" attribute means our form will be handling ‘POST’ requests, and therefore modifying data on the server, so it is important to include Django’s built-in CSRF security protection with the {% csrf_token %} template tag.
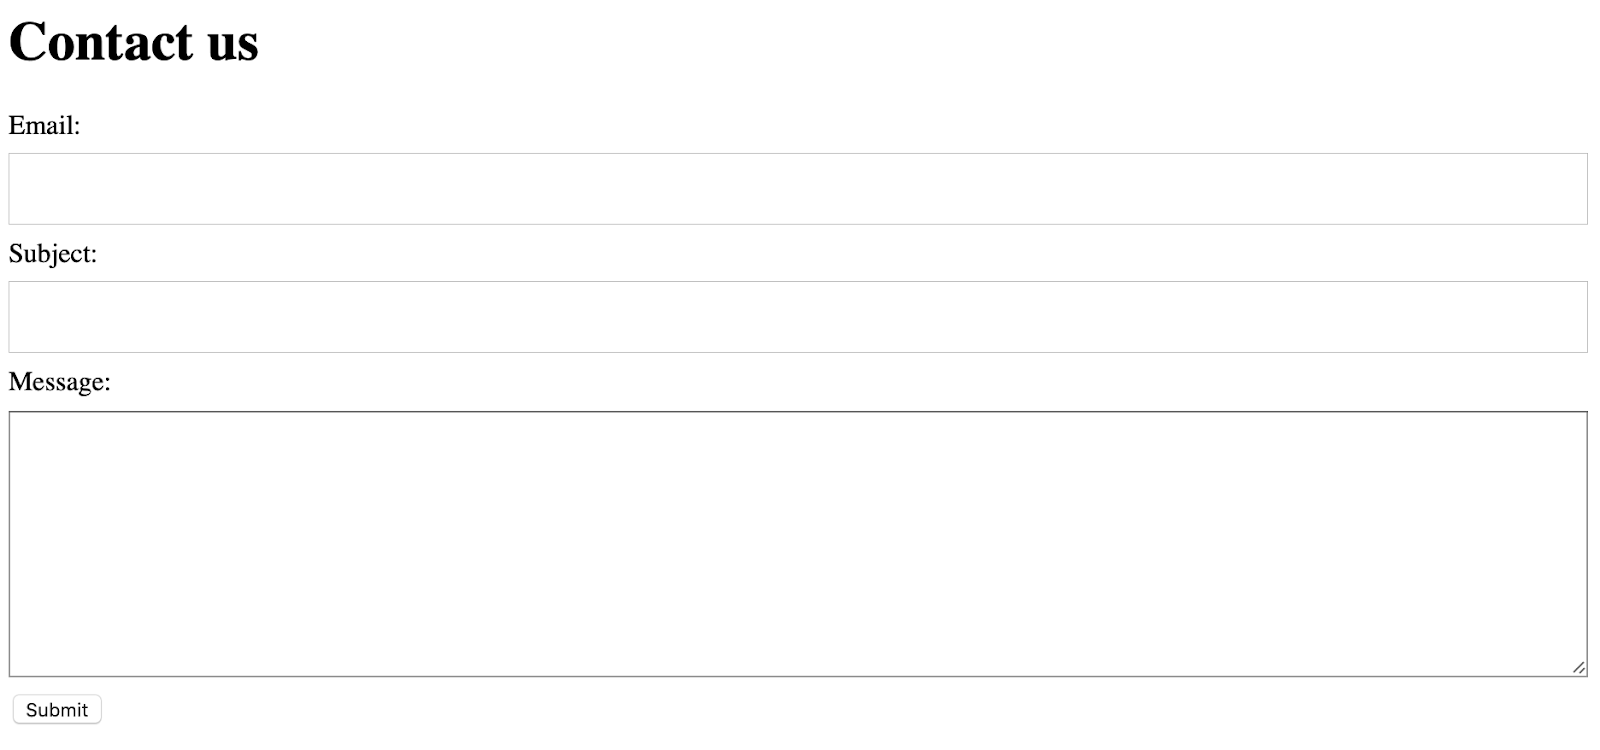
Now if you go to the site running in your local browser at http://127.0.0.1:8000/contact/ you should see something like this:

Looks pretty bad at this point. But if you inspect the form element in your browser’s dev tools, you can see how much boilerplate HTML our Django model form just saved us from writing:
Pretty great, right? Now let’s make it look a bit more presentable by adding some minimal CSS. To do that, you’ll need to create a new folder named static inside your contact app folder, and inside of that, an additional contact folder to hold a new contact.css file. The path to this file from the root of your project will look like this: contact_form/contact/static/contact/contact.css. Add the following CSS rule to that file:
Then add this code to the top of your contact_form/contact/templates/contact/contact.html file with the {% load static %} tag on the first line:
The static template tag is Django’s way of loading static assets such as CSS and JavaScript files from specific folders in our project to use in HTML templates. But in order for Django to locate our new static file directory, we need to restart our dev server by entering CONTROL-C, followed by this:
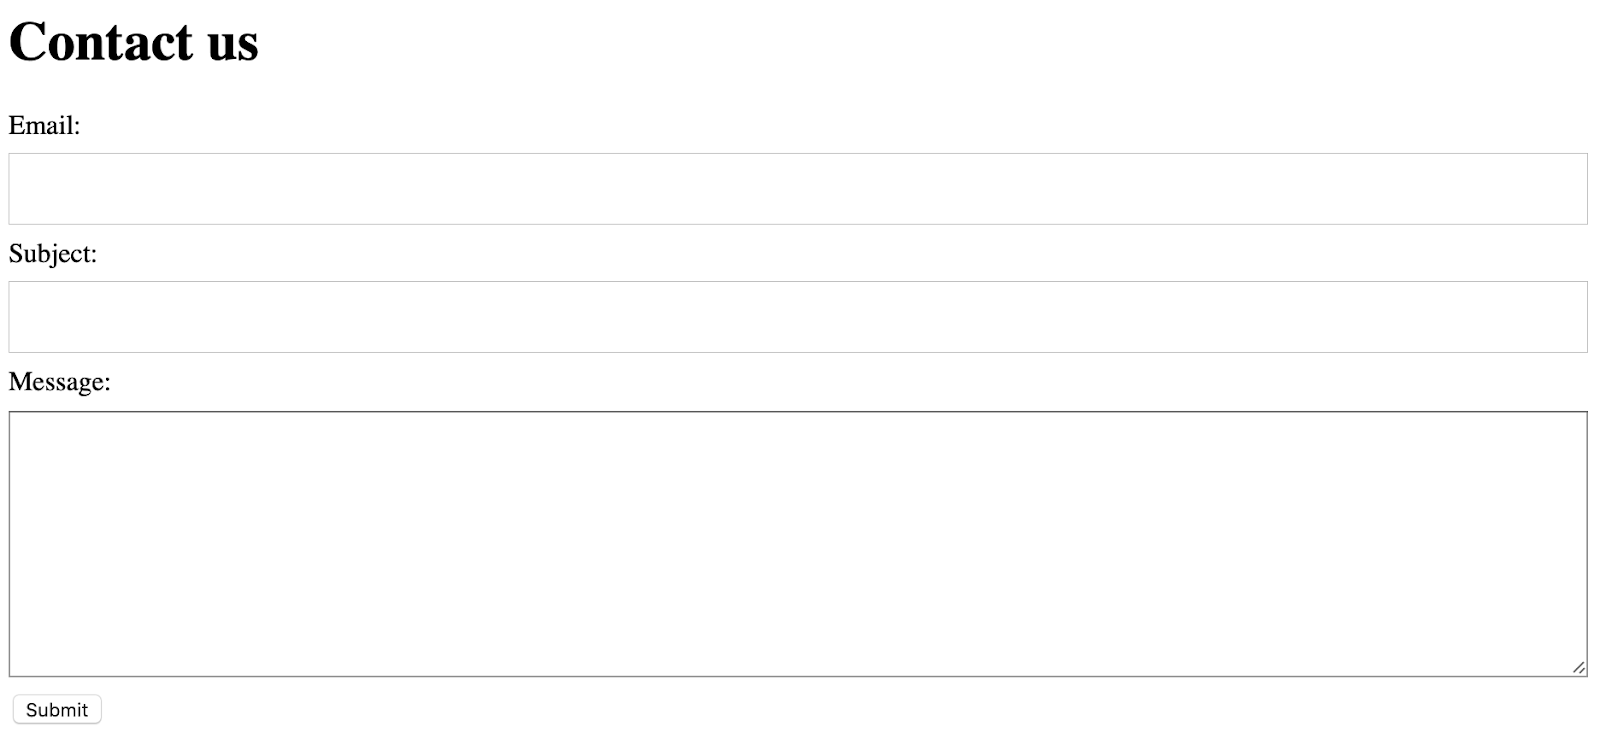
Now if you refresh the contact page, you should see the form fields stacked vertically and occupying the full width of their containing element (I leave any additional CSS styling up to you):
Now that we have our HTML form displayed on our website, Django needs to know what to do with the form data once it is submitted. We can provide those instructions by editing the `contact_view` function code to look like this:
When a user hits the ‘Submit’ button on our form, Django will pass a request along with the form data to our view function using the HTTP ‘POST’ method. So we add a conditional check for a ‘POST’ request to our view where we pass in the ‘POST’ submission as the initial data for our ContactForm class.
The form.is_valid() method runs the built-in Django form validators for each of our form fields, checking, for example, that the email field contains a valid email address. Once the validation passes for each field, we are safe to save the form data to the database table that we defined in the Contact model via the form.save() method. And since we need a way to let our users know their submission was received, we’ll create a new template file at contact_form/contact/templates/contact/success.html with a success message to display after the contact data is saved:
Note that in a real world application, you would also want to include error handling code to display form errors to the user if the form.is_valid() check were to fail.
Now if you enter a valid email address in the email field on the contact form, along with a subject and message, and hit ‘Submit’, you should see your success message load on the page.
To confirm that the contact data you entered did indeed save to the database, you can take a peek into the Django admin interface which provides a way to view your Django’s project’s model data via an easy-to-use web UI.
Open the contact_form/contact/admin.py file that was created by the startapp management command and edit it to look like this:
This code tells Django to register the Contact model with the Django admin site so that we can view the data on our project’s built-in admin dashboard. In order to access that dashboard, we need to give ourselves admin-level user permissions. We can do that with the createsuperuser management command:
Follow the prompts to enter your user name, email and password and then go to http://127.0.0.1:8000/admin/ in your web browser. Enter the login information that you just used and you should now have access to the Django admin dashboard where you will see a ‘CONTACT’ section for viewing your project’s contact app data. Click on the ‘Contacts’ link from the main dashboard, and you should see something like this:
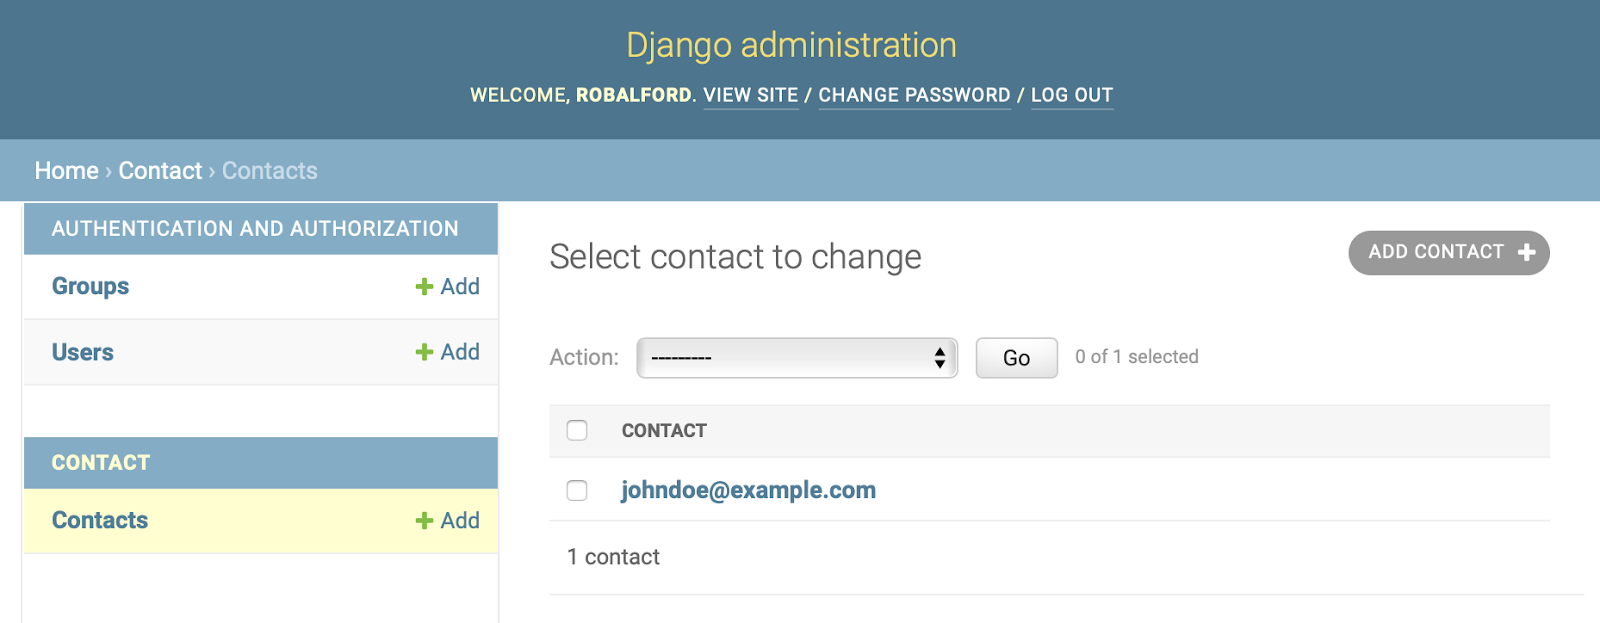
Select the email that you entered in the form and you will see all of the form data that you submitted displayed in the interface. Big thanks to Django for this awesome built-in admin functionality! Our site’s administrators can now view all of their website’s contacts in a nice, readable and approachable format. Batteries included indeed.
Automated emails with Twilio SendGrid
With our Django contact form working, let’s put the finishing touch on our contact application by using Twilio SendGrid’s free email service to send an email to our website’s administrators every time a user submits their contact information. If you haven’t already created your SendGrid account you can do that here now.
After creating your account, you’re going to need to generate a SendGrid API key for configuring our Django application to securely use the SendGrid email service. On the main side menu of the SendGrid dashboard, select ‘Settings’ and then ‘API Keys’. From the API Keys page, click on ‘Create API Key’ and give your key a unique name with the default ‘Full Access’ permissions. Then select ‘Create and View’ to view your key. Save the key in a secure location, as this is the only time it will ever be viewable via SendGrid in plain text. If you lose it, you will need to create another key.
After you click ‘Done’ you should see your new API key listed on the SendGrid API Keys page of your account. Here’s what mine looks like:
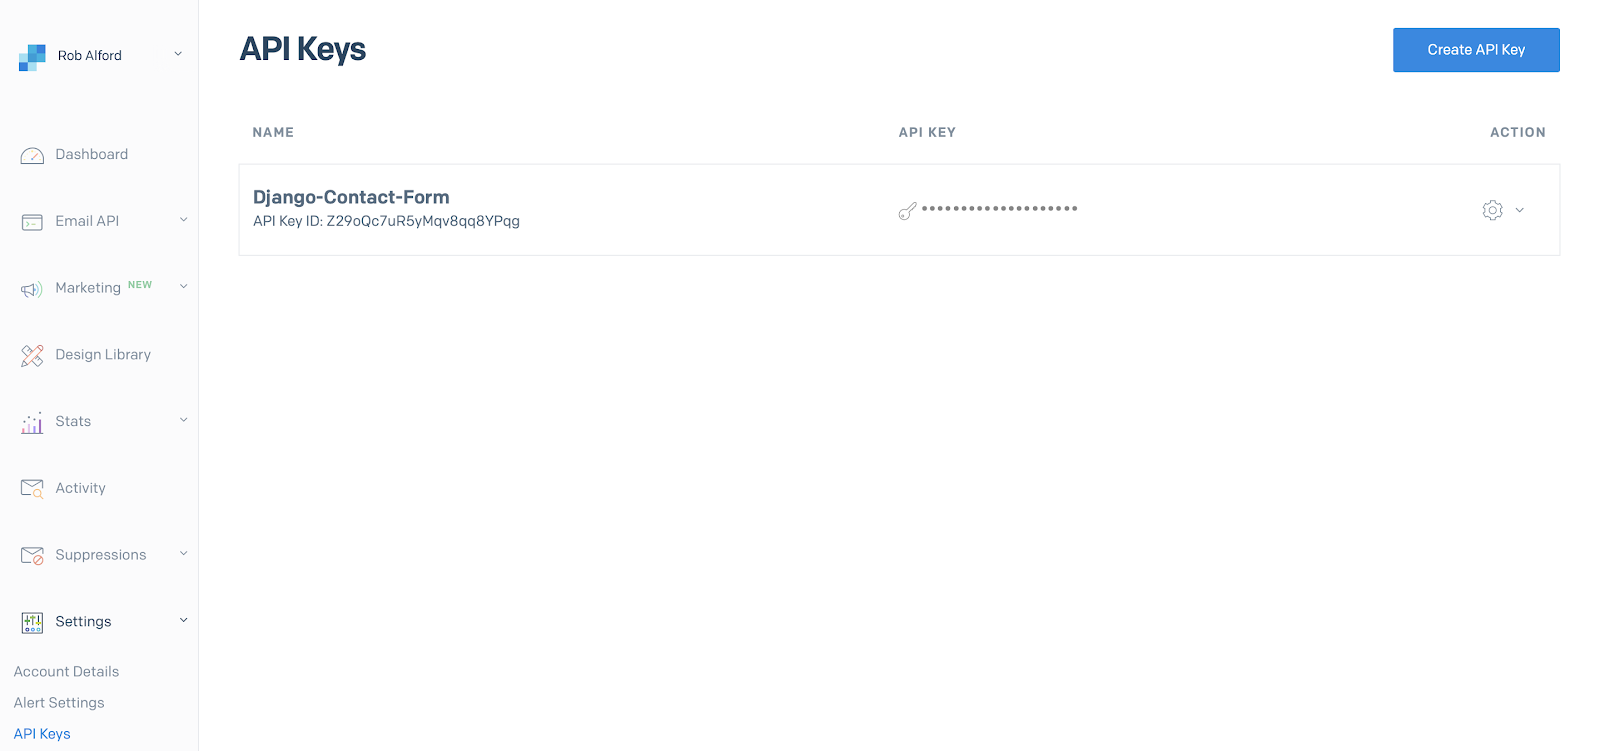
To add the API key to our Django project, we will follow web security best practices and store it outside of our source code in an environment variable that can be set on the server or defined in a .env file and ignored by our project’s version control system. Create a .env file in the contact_form folder at the root of your Django project (don’t forget the leading dot) and define the SENDGRID_API_KEY environment variable there:
If you use git for version control, you will also want to add the .env file to your project’s .gitignore.
Django needs to know to use our .env file for looking up environment variables, so we add the following code to the contact_form/contact_form/settings.py file where our project’s global configuration settings are stored (put it near the top of the file below the other existing import statements):
The import os statement above the dotenv import will be used to retrieve the SENDGRID_API_KEY environment variable from the .env file with Python’s built-in os.environ.get() method while keeping the value of that variable safely hidden outside of our project’s source code.
Now we’re ready to use the SendGrid SMTP email interface to send emails from our Django project. In the same settings.py file that you just edited, add the following configuration settings to the bottom of the file:
The CONTACT_EMAIL and ADMIN_EMAILS settings will be used to define the ‘from’ and ‘to’ email addresses for our automated SendGrid emails. In a real world website, these would most likely be emails hosted at the website’s domain. However for the purposes of this tutorial you may use any emails that you own for either setting. The CONTACT_EMAIL email needs to match the email that you entered for ‘Single Sender Verification’ when you created your SendGrid account. You can add additional ‘Single Sender’ emails or entire email domains to your SendGrid account under Settings => Sender Authentication.
The # Twilio SendGrid configuration settings need to be set to the exact values listed above in order for the SMTP interface to work. The ‘apikey’ value for EMAIL_HOST_USER is the same for all SendGrid accounts. The EMAIL_HOST_PASSWORD setting uses os.environ.get() to load the SendGrid API Key that you defined in your .env file.
That dash of Python configuration code was all we needed to enable the SendGrid email service in our Django project. Now we can use Django’s built-in send_mail() function to trigger automated emails when our contact form successfully submits. Return to your contact_form/contact/views.py file and edit the contents to look like this:
Django’s send_mail() function accepts four arguments here in this order: the email subject, the body of the email, the sender’s email address and a list of recipient email addresses. We use the CONTACT_EMAIL and ADMIN_EMAILS settings that we defined in our project’s settings.py file for the email address values. For the subject and email body, we use our validated ContactForm’s cleaned_data values along with Python’s f string formatting to build up a readable string for the subject and pass along the message that our user entered in the contact form.
Now if you go back to your site at http://127.0.0.1:8000/contact/ with your dev server running and fill out the form, when you hit submit, Django will pass your email along to SendGrid, and in just a few moments you should see it arrive in the inbox (or inboxes) that you added to the ADMIN_EMAILS list. Here’s what the email looks like in my gmail account:

Be sure to check your spam folder if you don’t see it. Some email clients may mark the email as spam if it is sent from and to the same email address via SendGrid. If there weren’t any errors raised by your Django application when you hit the ‘Submit’ button, and you still aren’t seeing the email arrive within a few minutes, you can check out the Activity dashboard in SendGrid to see if there were any issues captured there that need to be resolved.
Conclusion
Congrats! You’ve built a functional contact application that you can reuse in other Django projects, and wired it up to send automated emails with Twilio SendGrid. This tutorial has only scratched the surface of what you can do by combining Django and SendGrid, but I hope it gave you a sense of how easy it is to get started sending automated emails in your web projects by using these free tools together.
If you’re looking for more inspiration, check out this tutorial on creating an email newsletter with Django and SendGrid: Build an Email Newsletter with Django and Twilio SendGrid
And if you want to dig into more of what Twilio has to offer developers for automating SMS messages and many other forms of communication, check out the Twilio Quest documentation video game.
Robert Alford is a software developer, writer and educator based in Seattle. You can find him on GitHub and LinkedIn.
Related Posts
Related Resources
Twilio Docs
From APIs to SDKs to sample apps
API reference documentation, SDKs, helper libraries, quickstarts, and tutorials for your language and platform.
Resource Center
The latest ebooks, industry reports, and webinars
Learn from customer engagement experts to improve your own communication.
Ahoy
Twilio's developer community hub
Best practices, code samples, and inspiration to build communications and digital engagement experiences.


