Intro to Alpine.js with Twilio Verify and Laravel Livewire
Time to read:
This post is part of Twilio’s archive and may contain outdated information. We’re always building something new, so be sure to check out our latest posts for the most up-to-date insights.

Alpine.js is a relatively new front-end framework that promises the reactive and declarative nature of big frameworks like Vue.js or React.js without having to run npm, compile scripts, configure webpack all in a nice 7.37kb cdn hosted file. You get to keep your DOM, and sprinkle in behavior as you see fit. Think of it like Tailwind for JavaScript. After using Alpine on several enterprise projects, I can testify to its ease of use and scalability.
According to the Alpine.js docs, its syntax is almost entirely borrowed from Vue.js (and by extension Angular.js), so if you already know either of these frameworks there is a very low learning curve to getting started.
Prerequisites
Before you begin this tutorial, make sure you have the following set up/installed:
- A Laravel 7 application already installed
- A Twilio account
NOTE: We are leveraging the power of Laravel Livewire for this demo, but it is not a requirement in learning Alpine.js. If you want to learn more about Laravel Livewire and learn the basics, check out my post where we build a phone-dialer app with Livewire and Twilio.
What We’ll Build
To demonstrate some of the basic functionality of Alpine.js, I thought it appropriate to create a simple Twilio Verify form that allows users to enter their phone number, receive a code and verify their phone number, all while showing some nice transitions and conditionals with Alpine.js in a Livewire component.
Install Dependencies
First, you will need to have the Twilio PHP SDK installed along with Laravel Livewire. Run the following commands in your terminal to install these dependencies inside of your Laravel application folder:
As with any Laravel project handling secure credentials, you will need to store them safely in a dotenv file. Grab your Twilio Account SID and Auth Token from the console and add them to your .env:
Routes and Components
Next, create a Livewire component. This command will generate a Livewire class and Blade file for our markup.
Add a Livewire route to routes/web.php:
If it’s not present, create a layout file resources/views/layouts/app.blade.php and add the following code:
Basic Functionality
In your VerifyApi class, located in the app/Http/Livewire folder, add the following methods and properties:
NOTE: I added a binding in our container to make it simpler to resolve our Twilio Client. In app/AppServiceProvider.php in the register method you can add the following:
Now, whenever we need to get the Twilio Client, we can resolve it out of the container, and will already have our credentials attached.
Before we can begin using this code to make verification requests, we need to head over to the Twilio console and create our Verify Service. Click create and make a friendly name for your app (this will display in the SMS messages sent to your users). Once that is done, Twilio will display an SID. Copy this and add it to your .env.

Besides the render method in our VerifyApi class (which simply tells Laravel which blade file to render), we have added a sendCode and a verifyCode method. These methods will be called from our blade file by submitting a form. Add the following markup to the verify-api.blade.php file in the views/livewire folder:
In order for these x-input components to work, create a directory inside ‘resources/views called components and another directory there called inputs. Create two new files, group.blade.php and text.blade.php.
Inside of group.blade.php` add the following code:
Andi inside text.blade.php add this code:
NOTE: We are using anonymous blade components that are explained in detail here, as well as Tailwind CSS for styling.
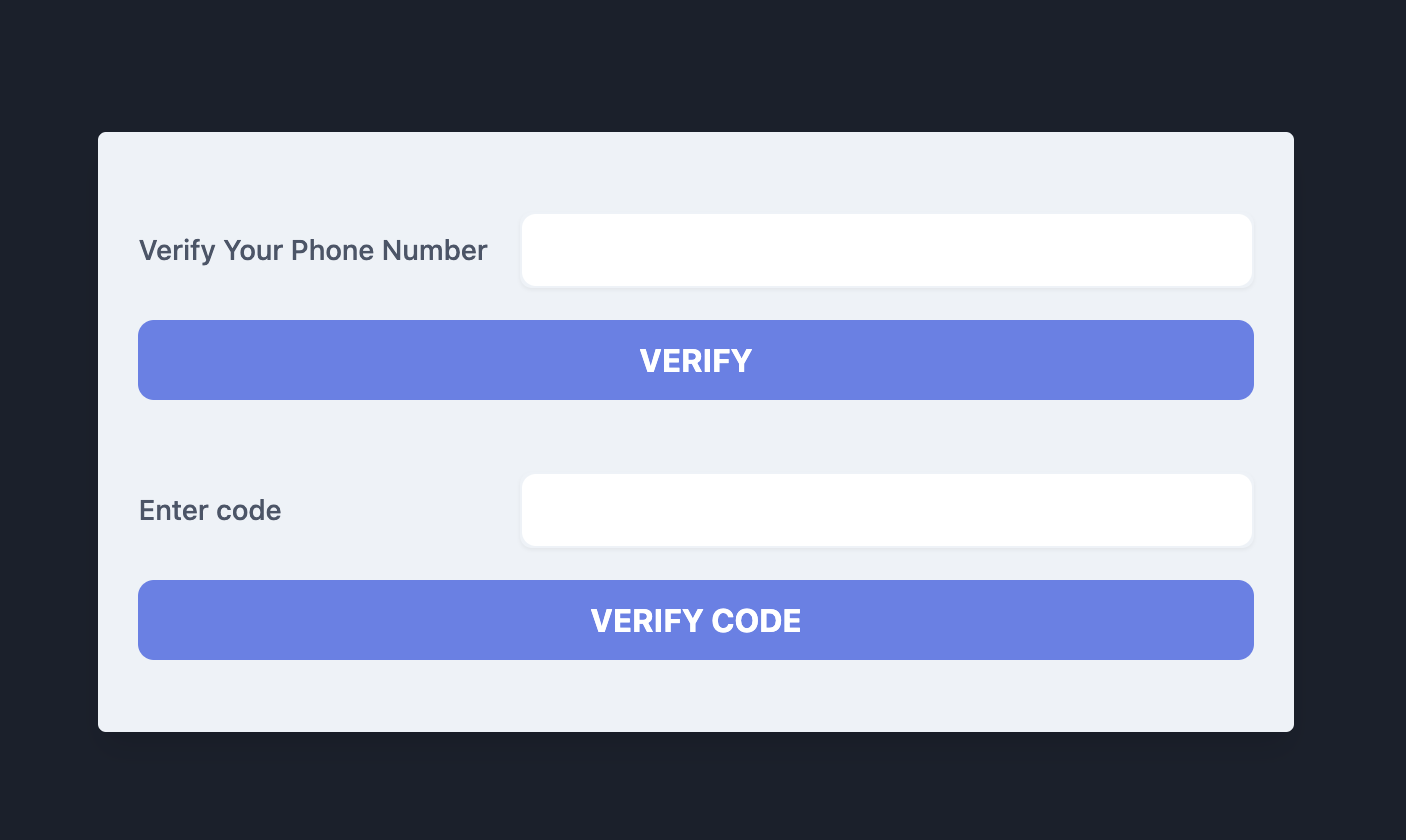
Take a moment and start your Laravel application by running php artisan serve. Navigate to http://127.0.0.1:8000/verify and you should see the following:

If you enter your phone number in the first input and click “Verify” you should receive an SMS message with a code, and by entering that code into the second field and clicking “Verify Code” we will have executed the functionality of this nifty tool!
x-data
Now, I don’t know about you, but this is nowhere near prime-time ready for me. What if there is an error? How do we tell the user the code is sent and verified accordingly? This is what Alpine was created for. We can achieve this flexibility (and much more) without having to manage any dependencies in webpack/mix and without running npm run ….
Adding Alpine.js is as easy as adding a single line of code into the head section of your layout app.blade.php file:
That’s it!
Much like Vue.js, we can add properties to our DOM and initialize them with some default values and conditionally change our site when these properties are changed.
Back in the blade file, change the outer-most div to the following:
This x-data attribute tells Alpine what we are watching and sets the initial values. In this case status and error are now properties we can use anywhere inside of this div. To demonstrate, let’s hide the second form, until a phone number is submitted and the code is sent. Replace the inner code in resources/views/livewire/verify-api.blade.php with the following:
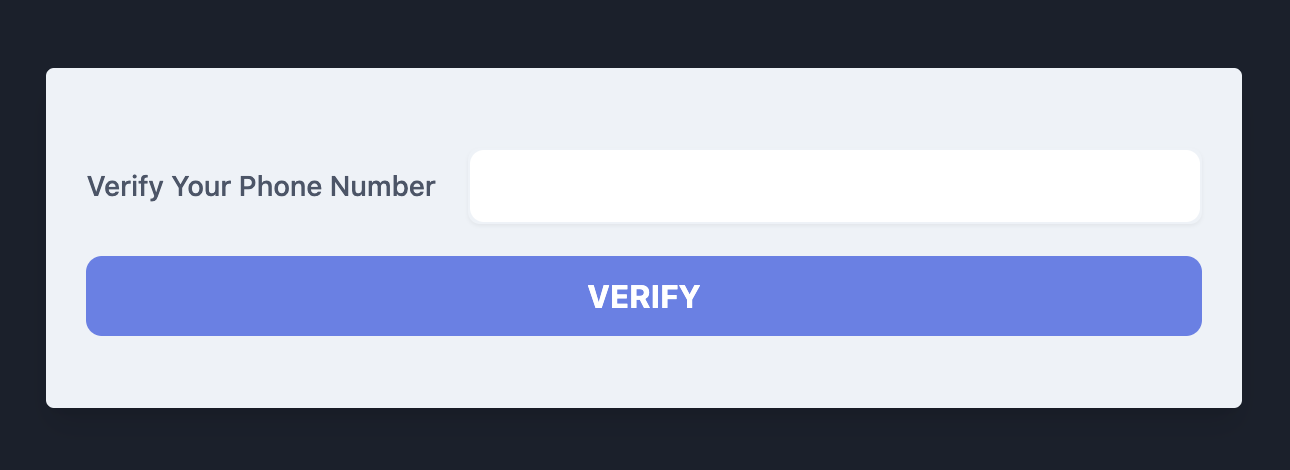
x-show will display that portion of your code, based on a condition. In this case, if the status is an empty string (which is set in our VerifyApi class on the public property), it will display the first form. When that status changes to pending, we hide the first form and show the second form. Refreshing your page should show the following:

Now, when we enter our phone number and submit the form, the first form hides and the second form is shown conditionally! Perfect!
But wait, there’s more!
Change your whole blade file to the following:
You can now start to see the incredible power and flexibility we can obtain with Alpine. Transitions and conditionally binding classes to elements is only scraping the surface of what Alpine can do!
Next Steps
If you want to extend this tutorial, you can check out Alpine’s docs on Github, Awesome Alpine (a curated list of awesome resources related to Alpine.js), iterate through an array with x-for, add two-way binding with x-model, and even add @click handlers to your buttons, all without creating a separate component or running npm!
What will you build with Alpine? Are you already using it in the wild? Leave some comments below and keep the conversation going!
Shane D. Rosenthal is an AWS Certified and experienced full-stack developer that has worked with Laravel since 2013. He is open for consultation regarding Laravel and VueJS applications and AWS architecture and can be reached via:
- Email: srosenthal82@gmail.com
- Twitter: @ShaneDRosenthal
Related Posts
Related Resources
Twilio Docs
From APIs to SDKs to sample apps
API reference documentation, SDKs, helper libraries, quickstarts, and tutorials for your language and platform.
Resource Center
The latest ebooks, industry reports, and webinars
Learn from customer engagement experts to improve your own communication.
Ahoy
Twilio's developer community hub
Best practices, code samples, and inspiration to build communications and digital engagement experiences.


