Building a Multilingual Email App with SendGrid and Amazon Translate
Time to read:
July 12, 2024
Written by
Reviewed by
Building a Multilingual Email App with SendGrid and Amazon Translate
Email communication is usually one of the first points of contact companies have with their audience. Just as it is important to ensure that your web application is accessible to everyone, personalizing your email content to your audience's preferences gives you an edge. It allows potential customers to warm up to your business.
As a startup with global ambitions or a multinational company, prioritizing customer engagement is important for business. And what better way to do that than by speaking their language – literally? Sending marketing emails or even generic signup messages in their mother tongue can leave a lasting impression. It demonstrates that you've gone the extra mile to cater to their preferences.
For this tutorial, you will learn how to use Twilio SendGrid, Amazon Translate, and Node.js to add email translation to your application.
Prerequisites
To follow this tutorial, ensure you have the following:
- A Twilio Sendgrid Account. Sign up for a Twilio Sendgrid account if you don't already have one.
- An AWS Account (free or paid) and an access key. Amazon Translate allows you to use AI to generate translation files for any list of languages. You can skip this step if you prefer to manually create JSON files for each language. Learn how to create an AWS access key here.
- A Node.js environment and Node package manager (NPM).
Overview
Before you start coding, it's important to understand the workflow of the code.
First, the application will generate translation JSON files for each language you want to support. This involves iterating through an array of ISO 639-2 language codes and creating a separate JSON file for each language. These JSON files will contain the translated email content.
In the SendGrid template editor, you will create a dynamic email template with variable placeholders that match the keys in the JSON files.
Finally, the application will loop through your user data list, extracting each user's preferred language and email. The application will use the preferred language as a reference. It will find the matching translation file, and send it to SendGrid’s API. This allows SendGrid to fill the placeholders in your template with the right content.
Set up your project
Open your terminal and navigate to the directory where you want to create your new project. Run the following commands to create a new project folder:
Run the following command to initialize a new Node.js project. This command will create a package.json file inside your project folder:
To enable the use of ES6 syntax in your JavaScript files, add this line to your package.json:
In the scripts section of your package.json file, add the following line:
When you run this command, it will start your application.
Next, you need to install the required npm packages. You'll use the @aws-sdk/client-translate and i18next packages for language management. You'll use the @sendgrid/mail package to send emails. And, you'll use dotenv to read from your .env file. Run the following command to install these packages:
After successfully installing the packages, create two new files: index.js and .env at the root of your project. The server.js will serve as the entry point into your application and the .env file will store sensitive authorization credentials.
Generate translation files
To get started, navigate to your AWS console and create new security credentials. Copy the generated access keys and save them in your .env file as shown below:
Replace the placeholder values with your copied credentials.
At the root of your directory, create a new file called data.js and copy and paste the following code:
The userDataList represents the list of users in the application. Make sure to replace the emails in userDataList with real emails.
The mailData object contains the default content of the email that will be sent. The languages array lists ISO 639-2 language codes for the languages the email content will be translated into. The default_language variable specifies the source language. In this case, it is set to English (en).
Next, create a new folder called translations within your projects directory, and inside this folder, create a file called locale-en.json. Copy the following JSON data to the file:
This JSON file will serve as the fallback translation file for the default language.
Next, create another file called helperfunctions.js. Import the necessary dependencies at the top of the file:
After the import statements, add a function for generating the translation files:
In handleCreateTranslationFiles, TranslateClient is initialized by passing your default AWS region (found in the AWS console) and security credentials to the client. This step is important because it sets up a connection to the Amazon Translate service.
Next, you'll loop through the languages array, to perform translations for each language.
Copy the code chunk below inside the handleCreateTranslationFiles function below the TranslateClient initialization.
Inside the loop, the method, path.join constructs the path for the translation file for each language. fs.existsSync is called to make sure that if a translation file for the current language already exists, the code for translation doesn’t run.
Finally, to generate translation files, add the code below to the function, just after the comment on generating translation files:
This code above translates the email content from the default language to each language specified in the languages array. After translation, the method fs.writeFileSync creates a separate JSON file for each language in the translations folder.
Initializing i18next Library
In this section, you will create a new function that uses the i18next library to dynamically load the correct translation file for each user. Copy the function below inside the helperfunctions.js file:
The initializei18next function configures the i18next instance with various options, including the fallback language, and preferred language. Also, it sets the loadPath option to dynamically load the translation file based on the provided preferredLanguage parameter,
Set up a SendGrid Template
Create a SendGrid API key
To get started, you need to create a SendGrid API key. Navigate to your SendGrid account page. On the sidebar, click on Settings, then select API Keys from the dropdown options.

Click the Create API Key button on the next page, and provide a descriptive name for your API key. In the API Key Permissions section, you'll need to select Full Access. This option grants the API key complete access to all SendGrid's features.
Once you've selected Full Access, click the Create & View button to generate and display your new API key.

Open the .env file, and add your SendGrid API key and your SendGrid account email to the file as shown in the following code:
Replace the placeholder text with the appropriate values.
Design an email template
Twilio SendGrid allows users to create dynamic templates that can be customized with unique content for each recipient. This feature enables sending personalized emails at scale. It ensures that messages are tailored to a specific set of preferences.
SendGrid uses the Handlebars templating language to support dynamic content. To use Handlebars, wrap any section of your email content that needs to be dynamic with double curly braces, like {{variable_name}}. This syntax allows you to specify placeholders that will be replaced with actual values when the email is sent. The variable_name can be added to JSON data referenced by the template.
To get started, click on Email Templates on your sidebar. Then select Dynamic Templates from the dropdown optionsto navigate to the templates page.
To create a new template, click the Create a Dynamic Template button, enter a name for your template, and click the Create button.

After a template has been created, click on the template’s name. This will reveal a detailed view that shows the template ID. There, you can add a new template version. Take note of your template ID; you will need it later in the code.

Click on the Add Version button, and a window modal will appear. In the modal, go to Select a Design. Click on the SendGrid Email Designs tab. Then, select the Real Estate Newsletter template.

On the next page, you'll be prompted to choose between using the Design Editor or the Code Editor. Select the Design Editor option, this allows you to use an already customized template. You will be redirected to the Templates editor page. On this page, give your template version a name. To ensure that the Subject field is dynamic, wrap the text with double curly braces, like so: {{subject}}. Do the same for any section of the email you wish to make a dynamic field just like the image below:

To preview how your email template will look with actual data, click the Preview button at the top of the page to navigate to the Preview page. On this page, click the {} Show Test Data button to reveal a code editor. Copy the code below into the editor:
The keys in the JSON data above correspond to the variable names you defined within the double curly braces in your email template.
The content of your email will be updated to reflect the values in the JSON data. Click the Save button to persist your work.

Build the email-sending functionality
Add a function for sending emails
In the root directory of your application, create a folder called mails. Inside this folder, create a file called test_email.js. Copy the following code into the file:
Replace your_template_id in the code with the template ID for the template you created earlier.
The sendTestEmail function starts by loading the translation file using the initializei18next function created earlier. initializei18next takes the preferredLanguage as an argument. This initializes the i18next library with the right language file.
Next, the translated values for each key in the email body are retrieved using the i18next.t() function.
Finally, the method sgMail.send() sends the email. This method takes an object as a parameter, which contains the details and content of the email to be sent.
Calling the email system
Navigate to index.js and copy the following code inside the file:
The code inside server.js brings together all the functions you have been creating. sgMail.setApiKey makes sure the SendGrid API key is available when sgMail.send is used to send an email
The handleStart function first calls handleCreateTranslationFiles, which generates translation files for different languages. After generating the translation files, the code loops through the userDataList array. For each user, it calls the sendTestEmail function, passing the user's email and preferred language as arguments.
Testing and troubleshooting the application
Testing
In your CLI, ensure you are in the project directory and run the following command:
If everything works right, your console will display output similar to the image below:

Navigate to the translations folder and you will see JSON files for each language specified in the languages array. Open these files to verify that the translations are correct.

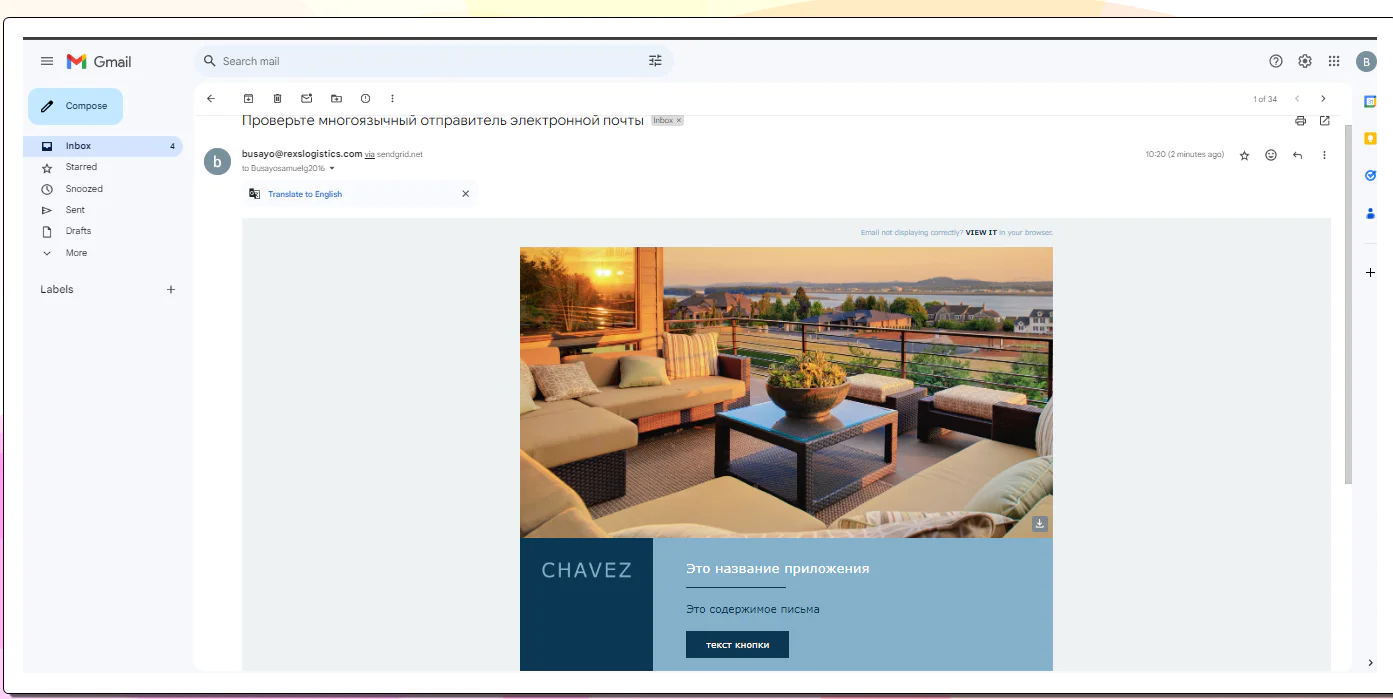
Check the email inboxes of the users listed in the userDataList. You should receive test emails with the content translated into respective preferred languages.
Troubleshooting
- Check your environment variables. Make sure they are properly configured in the .env file. Incorrect or missing values can lead to authentication or connectivity issues.
- Ensure your template ID and design match the JSON data in your files.
- When adding languages to translate, make sure Amazon Translate supports the language. You can find the list of supported languages here.
Conclusion
This tutorial has provided you with a solid foundation for building a multilingual email system using SendGrid's dynamic email templates and Amazon Translate.
While the code in this tutorial explains how to send dynamic emails based on user data stored locally, you can easily extend this functionality to integrate with databases or other data sources. To further extend your application’s functionality, you should check out Twilio’s built-in internalization library, twiml-i18n. This package acts as a middleware that lets you look up a phone number's country code. You can use it to provide localized content and services based on the user's location.
I hope this tutorial will help you beat language barriers and communicate better with your audience. Happy coding!
Busayo Samuel is a full-stack MERN developer. She enjoys building web apps from scratch. In her free time, she can be found buried in a mystery novel or binging a sitcom.


Related Resources
Twilio Docs
From APIs to SDKs to sample apps
API reference documentation, SDKs, helper libraries, quickstarts, and tutorials for your language and platform.
Resource Center
The latest ebooks, industry reports, and webinars
Learn from customer engagement experts to improve your own communication.
Ahoy
Twilio's developer community hub
Best practices, code samples, and inspiration to build communications and digital engagement experiences.