Trying Out WhatsApp with Conversations
This tutorial shows you how to use Twilio Conversations with Twilio's Sandbox for WhatsApp. Twilio controls a dedicated WhatsApp phone number that you can use to test WhatsApp messaging in Conversations.
Before you begin, make sure you have the following:
- A Twilio account—sign up for a free account if you need one.
- The Twilio CLI.
- Your Account SID and Auth Token, available in the Twilio Console.
Note: This tutorial shows both the Conversations API approach and a more basic Messages API alternative. If you're having issues with Conversations, try the Messages API method first.
You can test your application in a developer environment by connecting to the Twilio Sandbox for WhatsApp.
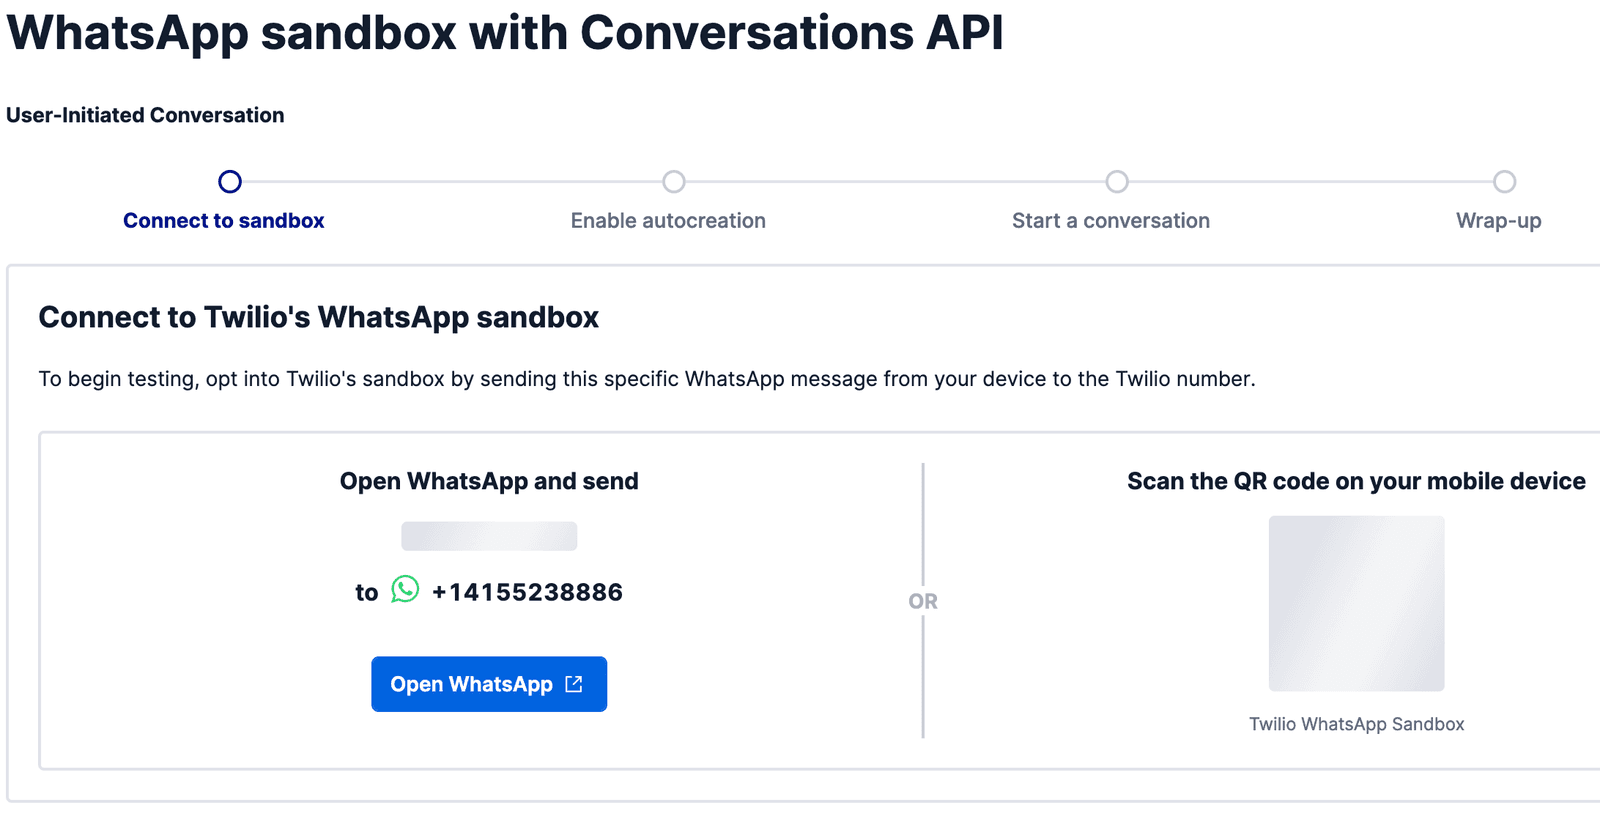
Go to the Conversations > Try it out section in the Twilio Console. Choose a use case, then send the "join <your Sandbox keyword>" WhatsApp message from your device to the Twilio Sandbox for a WhatsApp phone number to connect to your sandbox.

Once you've joined Twilio WhatsApp Sandbox, you'll receive a confirmation message. To disconnect from the sandbox, you can reply to the message from WhatsApp with the word "stop".
Important: Note down your Sandbox WhatsApp number (typically starts with +1415). You'll need this for the next steps.
Before diving into Conversations, let's verify your WhatsApp Sandbox works with a basic message:
1curl 'https://api.twilio.com/2010-04-01/Accounts/YOUR_ACCOUNT_SID/Messages.json' -X POST \2--data-urlencode 'To=whatsapp:YOUR_WHATSAPP_NUMBER' \3--data-urlencode 'From=whatsapp:TWILIO_SANDBOX_NUMBER' \4--data-urlencode 'Body=Testing WhatsApp Sandbox!' \5-u YOUR_ACCOUNT_SID:YOUR_AUTH_TOKEN
Replace:
YOUR_ACCOUNT_SID: Your Account SID from the ConsoleYOUR_AUTH_TOKEN: Your Auth Token from the ConsoleYOUR_WHATSAPP_NUMBER: Your phone number in E.164 format (e.g., +14155238886)TWILIO_SANDBOX_NUMBER: The Sandbox number (e.g., +14155238886)
If this works, you should receive a WhatsApp message. If not, check:
- You've joined the sandbox correctly
- Your phone number format is correct (E.164)
- Your credentials are valid
In this tutorial, we won't need to set a webhook URL for inbound messaging. To remove the existing testing webhook URL configured in the WhatsApp Sandbox's settings section, go to the Messaging > Try it out > Send a WhatsApp message > Sandbox Settings section in the Twilio Console and remove the webhook URL. Click Save.
Not doing so would result in a reply requesting to update the configuration for your WhatsApp Sandbox's Inbound URL when you send your first message.
After you have your Twilio Sandbox for WhatsApp configured, create your first Conversation.
Let's make a Conversation using the Twilio CLI (but remember that you can choose another tool for making the API requests):
1# Install the twilio-cli from https://twil.io/cli23twilio api:conversations:v1:conversations:create \4--friendly-name "whatsapp-sandbox-test"
Copy the Conversation SID that starts with CHXXXXXXX. You'll use this value in the next steps.
If this command fails, verify:
- Twilio CLI is installed and authenticated (
twilio profiles:list) - Your account has Conversations enabled
You've created a Conversation, which you can think of as a virtual space that users can join using a channel of their choice.
Next, you'll add yourself as a WhatsApp Participant. The following code sample does this for you. You'll need to replace the following information:
CHXXXXXXXXXXX: the Conversation SID.YOUR_WHATSAPP_NUMBER: your own mobile phone number in E.164 format.TWI_SANDBOX_WA_NUMBER: the Twilio Sandbox WhatsApp phone number in E.164 format.
1# Install the twilio-cli from https://twil.io/cli23twilio api:conversations:v1:conversations:participants:create \4--conversation-sid CHXXXXXXXXXXXXXXXXXXXXXXXXXXXXXXXX \5--messaging-binding.address whatsapp:YOUR_WHATSAPP_NUMBER \6--messaging-binding.proxy-address whatsapp:TWI_SANDBOX_WA_NUMBER
Troubleshooting: If you get an error about the proxy address, verify:
- You're using the correct Sandbox number
- You've successfully joined the Sandbox
- The numbers are in E.164 format
For this step, you'll add a chat Participant to the Conversation (remember that you can also add an SMS Participant).
The following code sample does this for you. You'll need to replace the following information:
CHXXXXXXXXXX: the Conversation SID.<Chat_User_Identity>: the identity of your chat user. In this tutorial, you will use "chat-user".
1# Install the twilio-cli from https://twil.io/cli23twilio api:conversations:v1:conversations:participants:create \4--conversation-sid CHXXXXXXXXXXXXXXXXXXXXXXXXXXXXXXXX \5--identity "chat-user"
Conversation created. Two participants added.
You can start communicating.
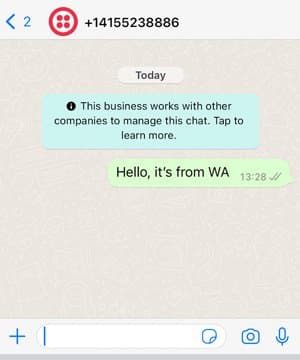
Send a WhatsApp message to your Sandbox number. You should see it appear in the Conversation.

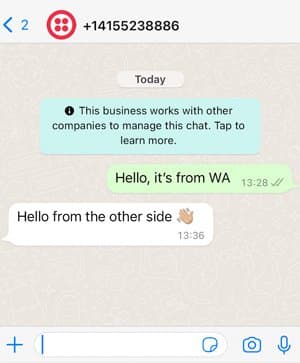
Reply to the WhatsApp message using the Conversations API:
1twilio api:conversations:v1:conversations:messages:create \2--conversation-sid CHXXXXXXXXXXXXXXXXXXXXXXXXXXXXXXXX \3--author "chat-user" \4--body "Hello from the Conversations API"
Replace CHXXXXXXX with your Conversation SID and add the content of the message that you'd like to send.

If you're having issues with the Conversations approach, you can send messages directly using the Messages API:
1# Using Twilio CLI2twilio api:core:messages:create \3--to whatsapp:YOUR_WHATSAPP_NUMBER \4--from whatsapp:TWILIO_SANDBOX_NUMBER \5--body "Direct message via Messages API"67# Or using curl8curl 'https://api.twilio.com/2010-04-01/Accounts/YOUR_ACCOUNT_SID/Messages.json' -X POST \9--data-urlencode 'To=whatsapp:YOUR_WHATSAPP_NUMBER' \10--data-urlencode 'From=whatsapp:TWILIO_SANDBOX_NUMBER' \11--data-urlencode 'Body=Direct message via Messages API' \12-u YOUR_ACCOUNT_SID:YOUR_AUTH_TOKEN
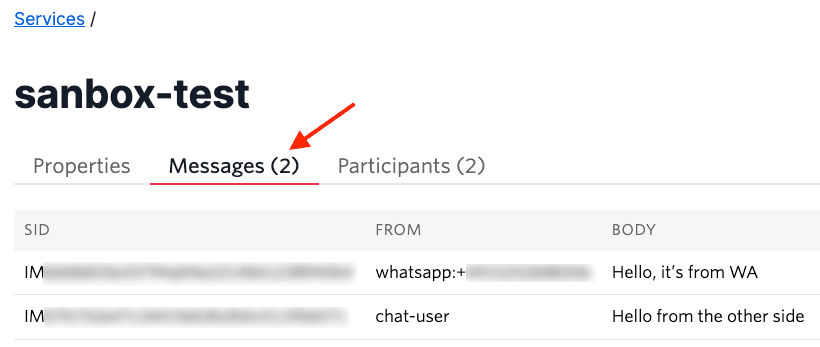
To verify messages are flowing through Conversations, check Monitor > Logs > Messaging in the Console.

- Verify your Conversation SID is correct
- Check that the Conversation was created successfully
- Ensure you've joined the Sandbox correctly
- Verify the webhook URL is cleared in Sandbox settings
- Check that participants were added successfully
- Verify your Account SID and Auth Token
- Ensure Twilio CLI is authenticated:
twilio profiles:list
- Double-check phone number format (E.164)
- Verify you're using the correct Sandbox number
- Ensure you've joined the Sandbox
You have learned how to connect Twilio Sandbox for WhatsApp with Conversations. Next steps:
- Learn more about Using WhatsApp with Conversations
- Check out our Conversations Quickstart
- Explore WhatsApp Business API features
- Set up production WhatsApp messaging